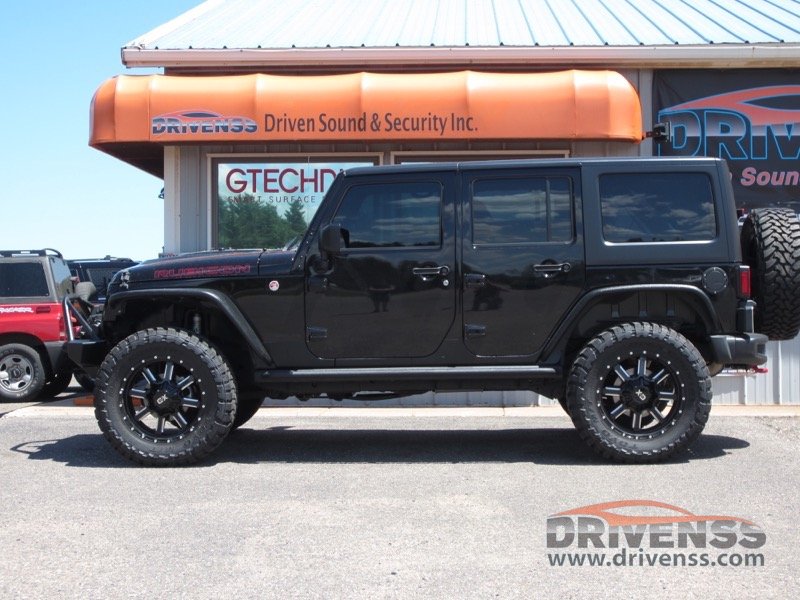
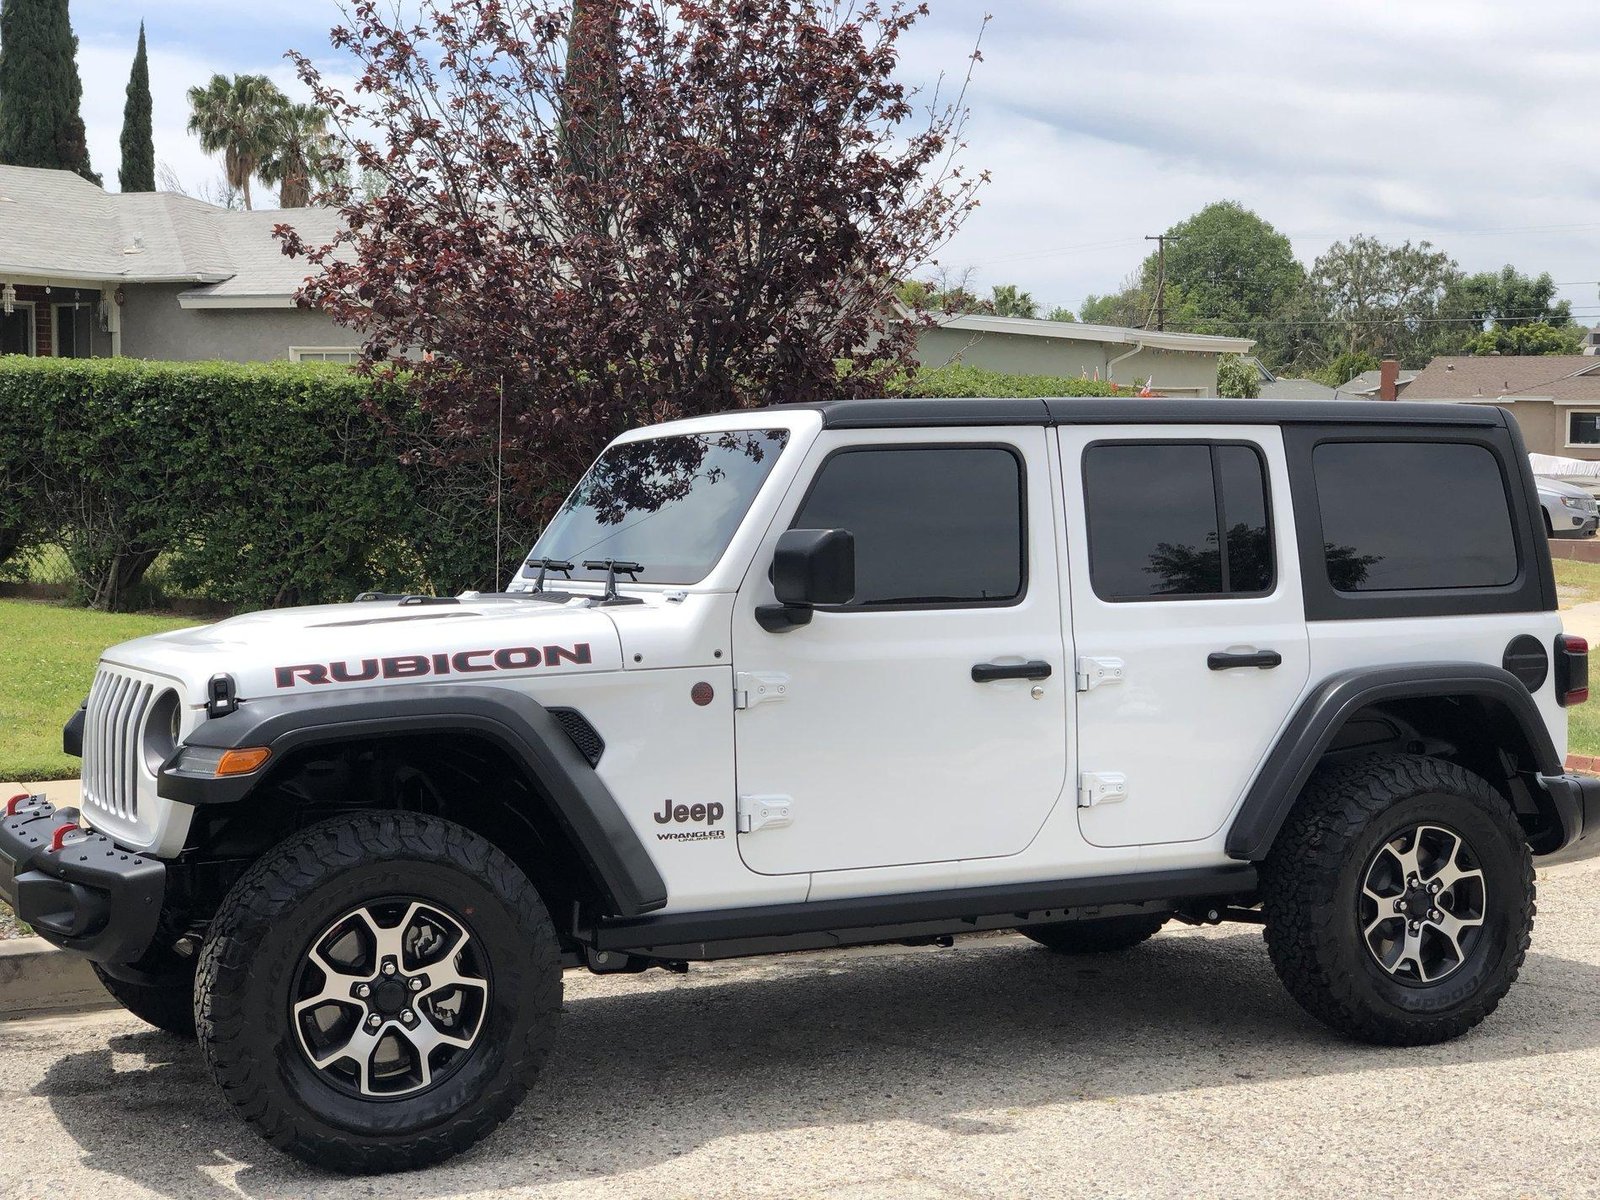
Getting your Jeep Wrangler windows tinted can make your ride cooler, more private, and protect the interior from sun damage. Many Wrangler owners love the tough look that tinted windows add, but doing it right takes care and knowledge.
Whether you want to block UV rays, keep your cabin cooler, or simply upgrade your Jeep’s style, this guide will help you tint your windows step by step. You’ll learn what materials to choose, how to avoid common mistakes, and what results you can expect.
Why Tint Your Jeep Wrangler Windows?
Tinting your windows isn’t just about style. The main benefits include:
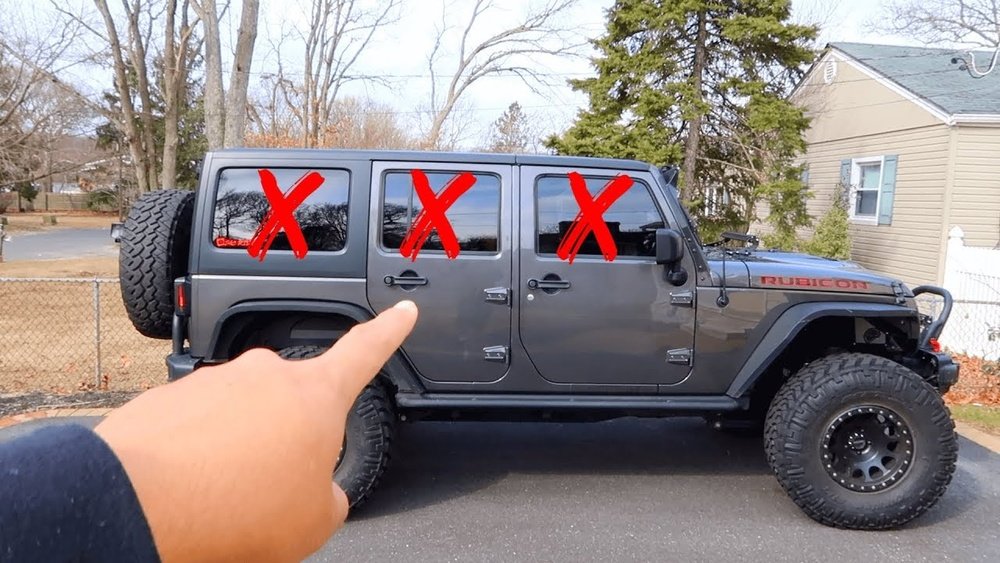
- Heat Reduction: Window tint can block up to 65% of solar heat.
- UV Protection: Quality tint stops 99% of harmful UV rays, protecting your skin and Jeep’s interior.
- Privacy: Tinted windows make it harder for outsiders to see inside.
- Glare Reduction: It cuts glare from sunlight and headlights, improving visibility.
If you drive in hot climates or park outside often, these advantages matter even more. But before you start, check your state laws. Most US states allow certain tint levels on rear windows but limit darkness for front ones. If you ignore this, you might get fined.
Choosing The Right Tint
Not all window tints are equal. You’ll need to decide between several types, each with different performance and cost.
| Type | Heat Reduction | UV Protection | Cost |
|---|---|---|---|
| Dyed Film | Low | Medium | Low |
| Metalized Film | Medium | High | Medium |
| Ceramic Film | High | Very High | High |
Ceramic film is the best for most Wranglers. It offers top heat and UV protection, doesn’t interfere with electronics, and lasts longer. But it costs more—typically $250-$400 for a full Wrangler.
Check the Visible Light Transmission (VLT) rating. This shows how much light passes through the tint. Most states allow 35% VLT for front windows, but you can go darker (like 20%) for rear windows.
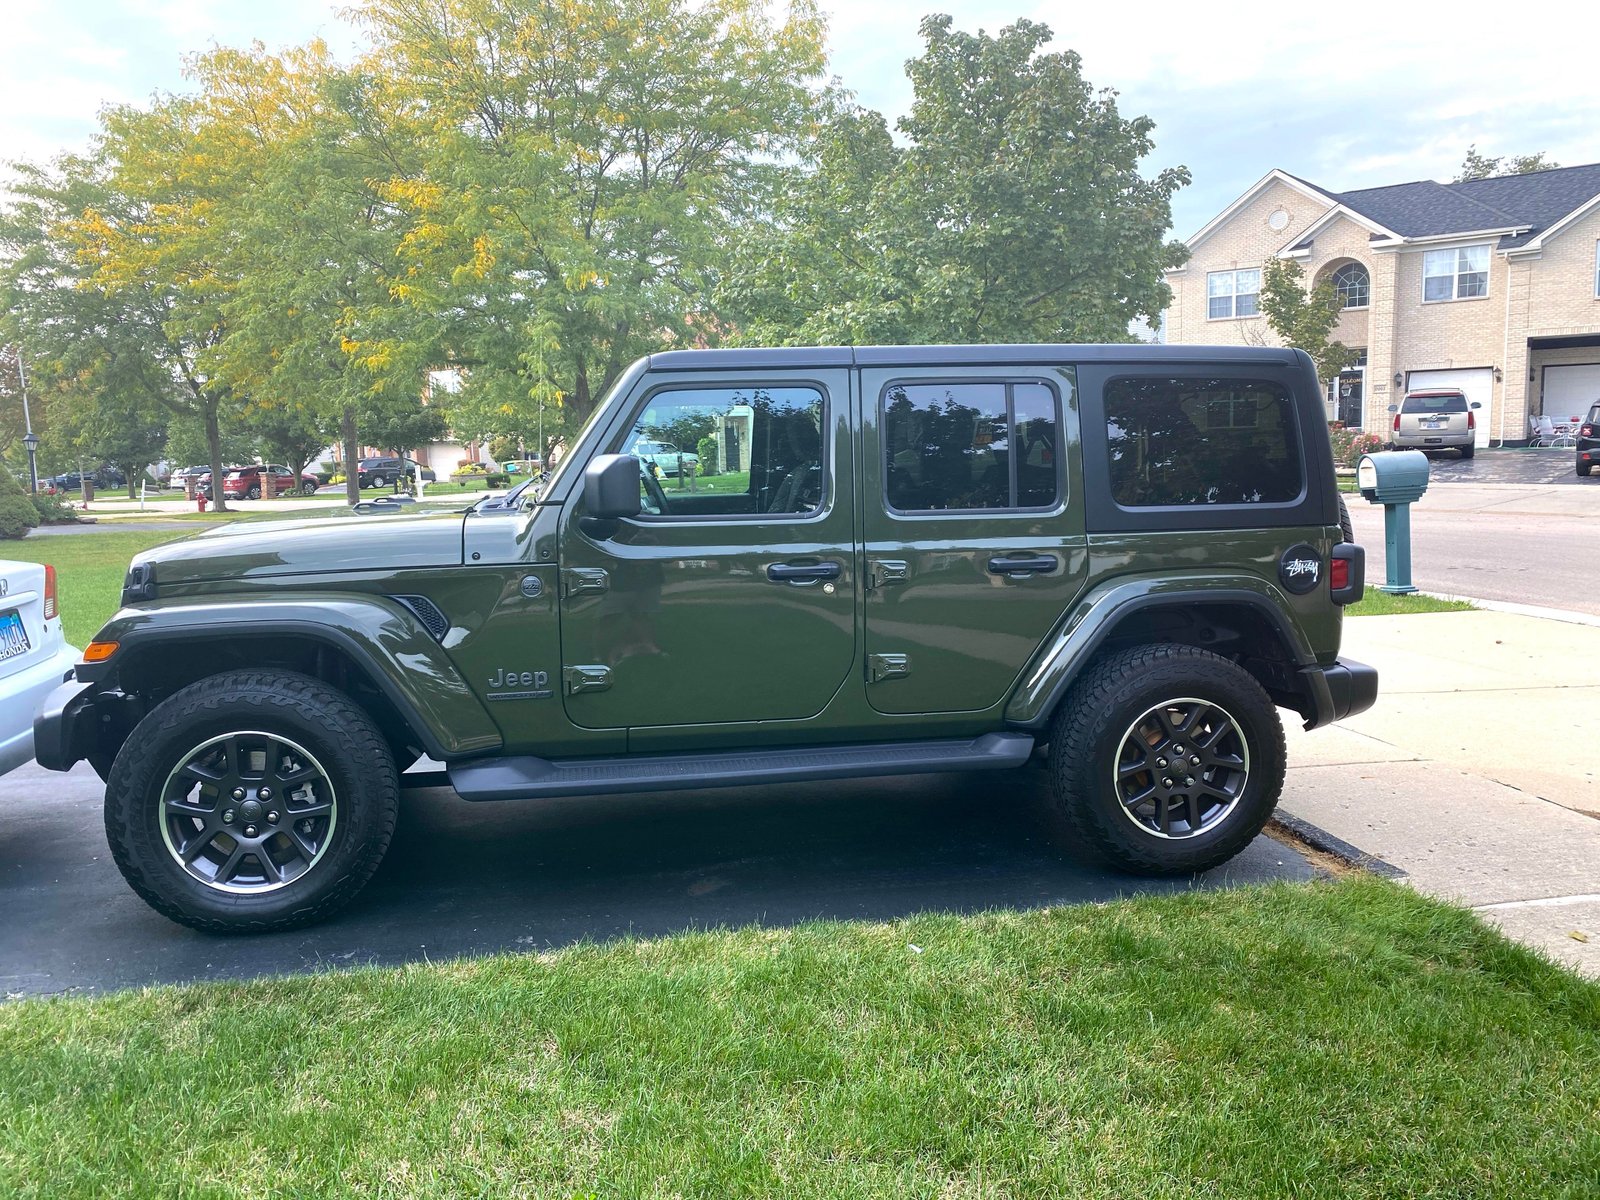
Tools And Preparation
To get professional results, gather these tools:
- Pre-cut tint film for Jeep Wrangler (or buy by the roll)
- Spray bottle with soapy water
- Razor blade or utility knife
- Squeegee
- Microfiber cloths
- Heat gun (optional for curved windows)
- Masking tape
Clean your windows carefully. Any dust, grease, or residue can ruin the tint.
Wipe with alcohol and a microfiber cloth. Remove stickers or adhesives.
For best results, work in a garage or shaded area to avoid dust and direct sunlight.
Step-by-step Tinting Guide
Tinting is a delicate process, but you can do it yourself with patience.
- Cut the Tint Film
- If not pre-cut, lay the film over the outside of the window. Use a razor blade to trim to shape, leaving a small margin.
- For Wranglers, rear side windows have curves. Use a heat gun gently to shape the film.
- Spray and Clean
- Spray soapy water on the inside glass. Wipe again with a microfiber cloth.
- Spray the glass one more time, so the film can slide into place.
- Apply the Tint
- Peel off the backing layer from the film.
- Place the sticky side against the wet window. Start from the top and align carefully.
- Smooth out using a squeegee, pushing water and air bubbles toward the edges.
- Trim Edges
- Use a razor blade to trim excess film for a tight fit. Don’t cut into the rubber seals.
- Remove Bubbles
- Work slowly with the squeegee. Push bubbles outward. If stubborn, use the heat gun to help smooth.
- Drying Time
- Leave windows closed for 48–72 hours. The film needs to cure and stick fully.
- Check for Mistakes
- Look for dust, bubbles, or peeling. If you see problems, gently peel the film and reapply before it dries completely.
Common Mistakes And How To Avoid Them
Many beginners face these issues:
- Dust or lint trapped under film: Always clean glass and your hands carefully.
- Cutting too small: If you trim the film too much, gaps show. Always leave a small margin.
- Stretching the film: Don’t pull or stretch. It can cause wrinkles.
- Touching the sticky side: Oils from fingers can cause spots. Handle edges only.
If you make a mistake, you can remove and reapply the film within the first few minutes. After it dries, you’ll need new film.
Professional Tint Vs Diy
Some Jeep owners prefer hiring a pro. Here’s how the two options compare:
| Factor | DIY | Professional |
|---|---|---|
| Cost | $60–$120 | $250–$500 |
| Quality | Good (with practice) | Excellent |
| Time | 3–5 hours | 1–2 hours |
| Warranty | None | Usually included |
DIY saves money but requires patience. Professionals deliver flawless results and often provide a warranty.
If you want perfect tint or have complex windows, consider a shop.
Extra Tips For Jeep Wrangler Owners
- Wranglers often have removable doors and tops. If you tint, make sure film is compatible with these features.
- Don’t wash windows for at least one week after tinting.
- Use a soft cloth for cleaning tinted windows—avoid ammonia-based cleaners.
- For best privacy, choose a tint that matches factory rear windows.
Many people don’t realize that tinting can also help protect off-road gear stored inside your Jeep from prying eyes.
Frequently Asked Questions
Can I Tint Jeep Wrangler Windows Myself?
Yes, you can. Many owners do it themselves to save money.
The process is easier if you buy pre-cut tint kits. However, practice helps, so start with easier windows first.
How Dark Can I Tint My Wrangler Windows Legally?
Most states allow up to 35% VLT for front windows and darker for rear windows. Always check your local laws before buying tint. Some states have exceptions for SUVs.
How Long Does Window Tint Last?
Quality films can last 5 10 years. Ceramic tints last longest.
Cheap films may peel or fade in just 2 3 years, especially with heavy sun exposure.
Will Tint Affect My Jeep’s Electronics Or Radio?
Only metalized tints can interfere with electronics or radio signals. Ceramic tints do not cause these problems.
For Wranglers with GPS or Bluetooth, ceramic is best.
Where Can I Find More Information On Window Tint Laws?
Visit the Wikipedia page on window film for a summary and links to official state regulations.
Window tinting your Jeep Wrangler is a smart way to improve comfort, style, and privacy. With the right tools and care, you can achieve professional-looking results.
Take your time, follow each step, and enjoy a cooler, more secure ride.