If your Jeep Liberty’s tail light is broken or needs an upgrade, knowing how to remove it yourself can save you time and money. You might think it’s complicated, but the process is simpler than you expect.
In this guide, you’ll get clear, step-by-step instructions that anyone can follow. By the end, you’ll feel confident handling your tail light without needing a mechanic.
Ready to get started? and make your Jeep look and work better!
Tools Needed
Removing the tail light on a Jeep Liberty requires a few simple tools. Having the right tools makes the job easier and faster. This section lists everything needed for the task. Prepare these tools before starting.
Socket Wrench
A socket wrench helps remove the bolts holding the tail light. Use the correct size socket for a tight fit. This tool gives good grip and control.
Flathead Screwdriver
A flathead screwdriver assists in prying out clips or covers gently. It helps avoid damage to the plastic parts around the tail light.
Phillips Head Screwdriver
Use a Phillips head screwdriver to remove screws securing the tail light. This tool fits the cross-shaped screw heads perfectly.
Trim Removal Tool
A trim removal tool is useful to lift and remove trim pieces carefully. It prevents scratching or breaking the trim during removal.
Gloves
Wear gloves to protect your hands from sharp edges and dirt. Gloves also provide a better grip on tools and parts.
Safety Precautions
Removing the tail light of a Jeep Liberty requires care and attention. Safety comes first to prevent injury or damage to your vehicle. Follow these simple safety steps before starting the work.
Taking safety precautions helps avoid electrical shocks and broken parts. It also makes the process smoother and faster. Keep these tips in mind for a safe job.
Turn Off The Vehicle And Lights
Always switch off the engine before removing the tail light. Make sure all lights are off to prevent electric shocks. This step protects both you and the car’s electrical system.
Disconnect The Battery
Remove the negative terminal of the battery before working on the tail light. This stops any current flow. It lowers the risk of short circuits or sparks.
Wear Protective Gloves
Use gloves to protect your hands from sharp edges or broken glass. Gloves also keep your hands clean from dirt and grease. Choose gloves that fit well and offer good grip.
Work In A Well-lit Area
Good lighting helps you see screws and connectors clearly. Avoid working in dark or poorly lit places. Proper light reduces mistakes and speeds up the job.
Locate The Tail Light Assembly
Locating the tail light assembly on a Jeep Liberty is the first step in removing the tail light. The assembly holds the tail light bulbs and covers. Knowing its exact position helps in a smooth removal process.
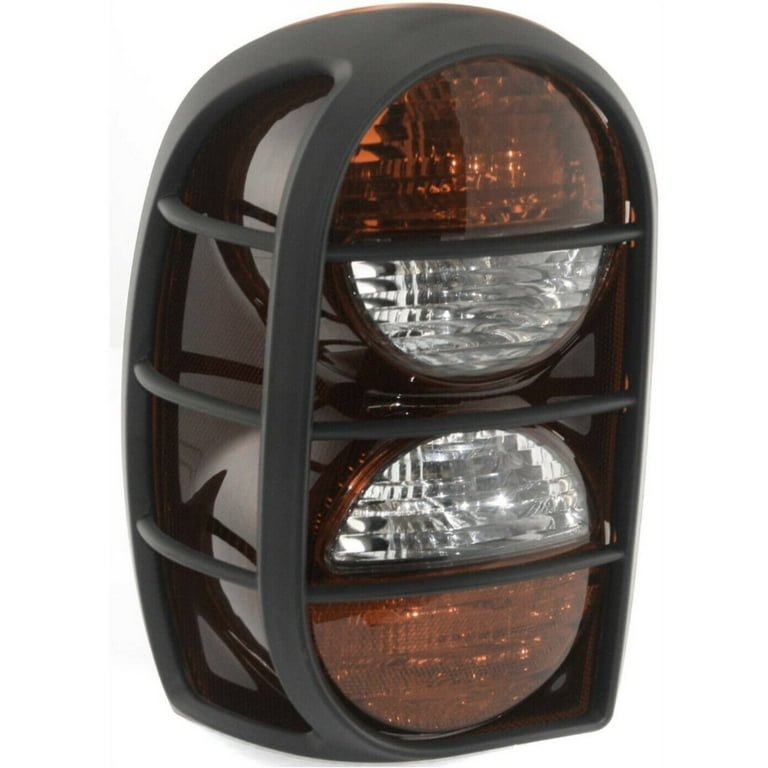
The tail light assembly sits at the rear of the vehicle. It is easy to spot because of its red lens cover. This cover protects the bulbs and wiring inside.
Find The Rear Corners Of The Jeep Liberty
The tail light assemblies are at the lower rear corners. Look just below the rear window on each side. The assemblies fit into the body panels there.
Identify The Red Lens Cover
The red lens is the key to spotting the tail light assembly. It shines bright and reflects light well. This cover is made of plastic and is shaped to fit the Jeep Liberty’s rear design.
Check For Mounting Screws Or Bolts
Look closely around the tail light assembly edges. You will see screws or bolts holding it in place. These fasteners secure the assembly to the vehicle’s frame.
Access The Tail Light From Inside The Trunk
Open the trunk or rear hatch of your Jeep Liberty. Inside, behind the tail light, there is a panel or cover. Removing this panel gives access to the assembly’s backside.
Credit: www.youtube.com
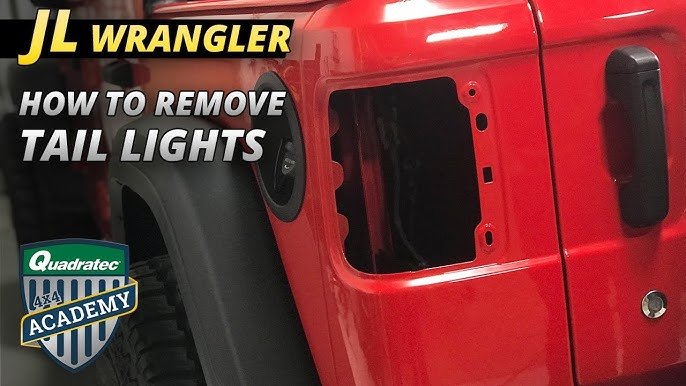
Remove The Tail Light Cover
Removing the tail light cover on a Jeep Liberty is the first step to access the tail light assembly. This task is simple and requires only a few tools. You do not need to be an expert to do it.
Start by preparing your workspace and gathering the necessary tools. A screwdriver is usually enough for this job. Taking your time helps avoid damage to the cover or vehicle.
Locate The Tail Light Cover Screws
Find the screws holding the tail light cover in place. They are often on the outer edges of the cover. Use a flashlight if the area is dark to see clearly.
Remove The Screws Carefully
Use a screwdriver to unscrew each fastener slowly. Keep the screws safe so you do not lose them. Do not force the screws out to avoid stripping them.
Gently Pull The Tail Light Cover Off
After removing the screws, pull the cover gently away from the vehicle. The cover may be tight but do not use excessive force. Wiggle it slightly if it feels stuck.
Inspect The Cover And Area
Look for any dirt or damage around the cover and tail light area. Clean the surface if needed before proceeding. This prevents dirt from entering the light assembly.
Disconnect The Wiring Harness
Disconnecting the wiring harness is an important step to remove the tail light on a Jeep Liberty. This step cuts off the electrical connection between the vehicle and the tail light. It helps avoid any electrical issues or shorts during the removal process.
Take your time to do this carefully. Damaging the wiring can cause extra repairs and costs. Here is how to disconnect the wiring harness safely and easily.
Locate The Wiring Harness Connector
Open the tail light housing or the trunk area. Look for the wiring harness connected to the back of the tail light. It usually has a plastic clip or plug. This connector links the tail light to the vehicle’s wiring system.
Press The Release Tab
Find the small tab or clip on the connector. Press it gently. This releases the lock holding the connector in place. Do not force it. Use your thumb or a small flat tool to press the tab.
Pull The Connector Apart
After pressing the release tab, pull the connector straight out. Pull gently and steadily. Do not twist or yank it. The wires inside are delicate and can break easily.
Check For Any Stuck Wires
Look at the connector and wiring for any stuck or bent wires. Fix any issues before moving on. This prevents damage and helps with reinstallation later.
Remove The Tail Light Assembly
Removing the tail light assembly on a Jeep Liberty is simple. It allows access for repairs or replacements. The process needs only a few tools and basic steps. Follow these instructions to take out the tail light safely.
First, make sure the vehicle is off and the keys are out. This prevents any electrical issues. Next, open the rear hatch to reach the tail light area easily. The tail light assembly sits on the side of the vehicle’s back.
Locate And Remove The Tail Light Screws
Look inside the tail light area for screws holding the assembly. Use a screwdriver to remove these screws carefully. Keep the screws in a safe place. They will be needed to put the tail light back.
Disconnect The Electrical Connector
Behind the tail light, find the electrical connector. Press the tab and pull it out gently. This disconnects the power to the tail light. Avoid pulling on the wires to prevent damage.
Remove The Tail Light Assembly From The Vehicle
After removing screws and disconnecting wires, pull the tail light assembly outward. It may require a little wiggling. Do not force it to avoid breaking clips or plastic parts.
Now, the tail light assembly is free. Ready for bulb changes, repairs, or replacement.
Replace Or Repair Tail Light Components
Replacing or repairing tail light components keeps your Jeep Liberty safe and street legal. Tail lights signal other drivers. Broken lights cause accidents and fines.
Check each part carefully. Sometimes a simple bulb change is enough. Other times, the lens or wiring may need fixing. Knowing what to replace saves time and money.
Inspecting Tail Light Bulbs
Start by removing the tail light assembly. Look for burnt or broken bulbs. Bulbs often fail first. Replace any damaged bulbs with the correct size and type.
Fixing Or Replacing The Lens
Cracked or foggy lenses reduce light output. Clean minor dirt with a soft cloth. Replace badly damaged lenses to keep light bright and clear.
Checking Tail Light Wiring
Loose or corroded wires cause flickering lights. Inspect wiring for breaks or rust. Tighten connections or replace damaged wires for steady light performance.
Testing Tail Light Function
After repairs, test all light functions. Turn on brake lights, turn signals, and reverse lights. Confirm all work correctly before driving.
Credit: www.la-ginestra.com
Reinstall The Tail Light Assembly
Reinstalling the tail light assembly on your Jeep Liberty is a simple task. It restores the light’s function and keeps your vehicle safe on the road. Follow clear steps to fit the assembly back correctly. Proper installation helps avoid damage and ensures the light works well.
Align The Tail Light Assembly
Place the tail light assembly near the mounting area. Check that the clips and holes line up. Hold the assembly steady before pressing it into place. Proper alignment prevents gaps and ensures a secure fit.
Reconnect The Electrical Wiring
Attach the wiring harness to the tail light socket. Push the connector firmly until it clicks. A good connection is vital for the lights to operate. Avoid loose or damaged wires during this step.
Secure The Assembly With Screws
Insert the screws that hold the tail light in place. Use a screwdriver to tighten them gently. Do not overtighten to avoid cracking the plastic. Tight screws keep the tail light from moving or falling out.
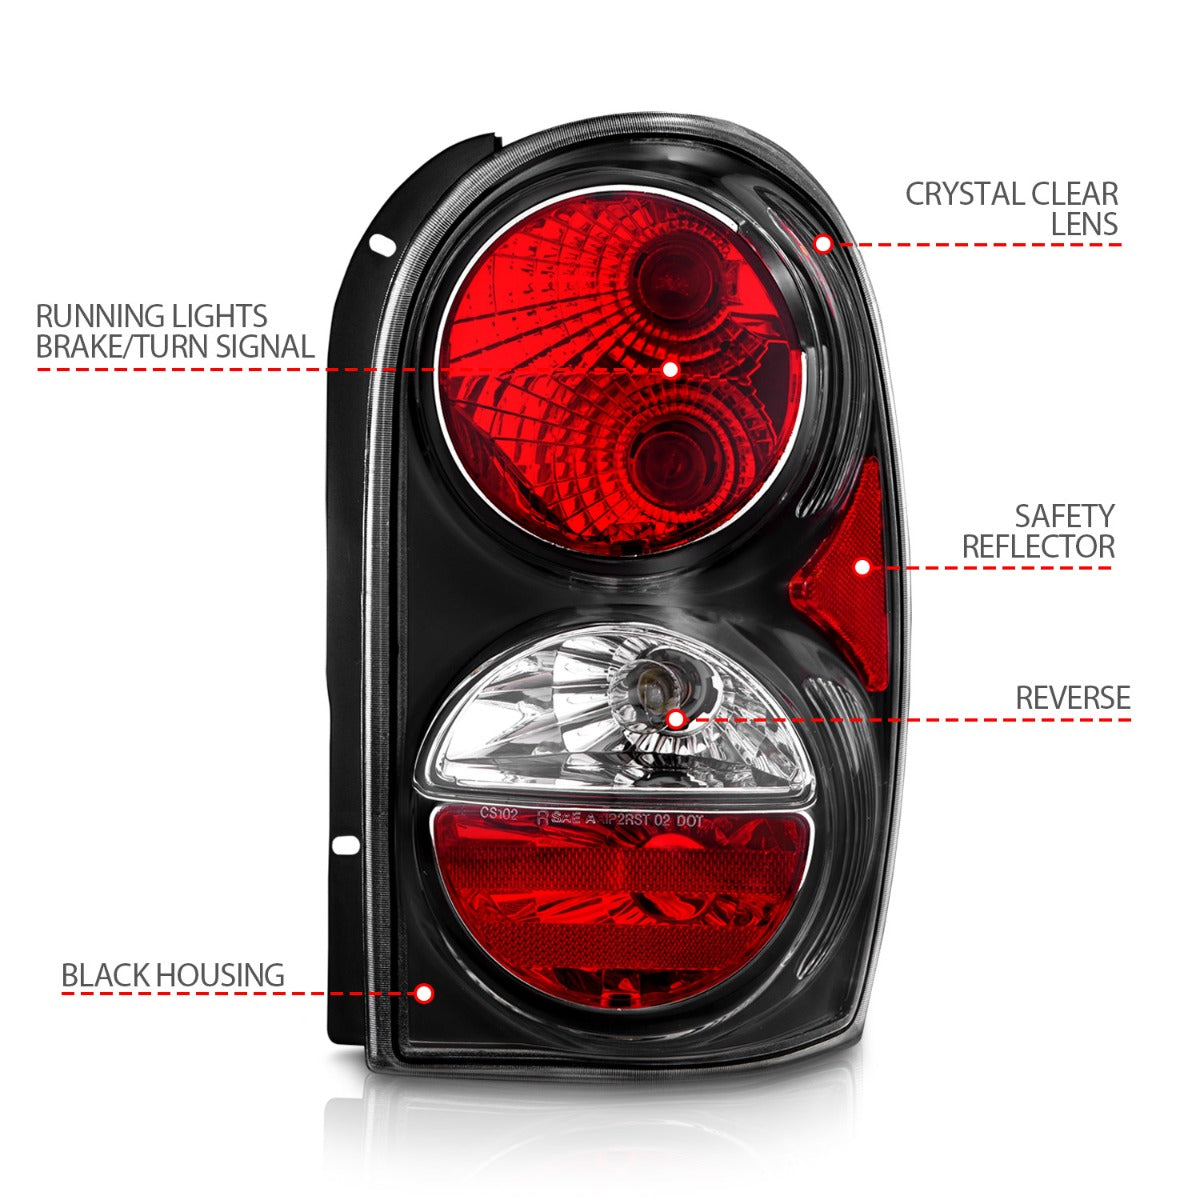
Turn on your Jeep’s lights to check the tail light. Look for brake, turn signal, and reverse lights. Ensure all bulbs light up correctly. Testing confirms the assembly works and is safe for driving.
Test The Tail Light Function
Testing the tail light function is a key step after removing or replacing the tail light on your Jeep Liberty. It ensures the light works correctly and keeps you safe on the road. A quick check can prevent accidents and traffic tickets.
Follow these simple steps to test the tail light properly. This helps confirm the connections and bulbs are working as they should.
Turn On The Vehicle Lights
Start by turning on your Jeep’s ignition. Next, switch on the headlight or parking light. This action powers the tail lights. Observe the tail light area carefully to see if the light glows.
Check Brake Light Function
Press the brake pedal slowly. Look at the tail light to see if the brake light shines brighter. This confirms the brake light is working. Ask a friend to help if you cannot see the light clearly.
Test The Turn Signal
Activate the turn signal for the side you worked on. Watch the tail light to see if it blinks. This test confirms the turn signal bulb and wiring are fine. Make sure the blinking is steady and bright.
Inspect Reverse Light
Shift the Jeep into reverse gear. Check the tail light for the white reverse light. This light helps others see you backing up. Confirm the reverse light turns on without flickering.
Look For Any Flickering Or Dim Light
Observe all tail light functions for flickering or dimness. Flickering signals a loose connection or bad bulb. Dim lights might mean poor wiring or low voltage. Fix these issues before driving.
Credit: anzousa.com
Common Issues And Troubleshooting
Removing the tail light on a Jeep Liberty can sometimes cause small problems. These issues may slow down the process or make it hard to finish the job. Knowing common problems helps you fix them faster. It also prevents damage to the light or vehicle. This section covers usual troubles and easy ways to solve them.
Loose Or Stripped Screws
Screws often get loose or stripped during removal. This makes the tail light hard to take off. Use a screwdriver with a good grip. If screws are stripped, try a rubber band for extra hold. Avoid forcing screws to stop damage.
Stuck Tail Light Assembly
Tail lights sometimes stick due to dirt or rust. Spray some lubricant around the edges. Wait a few minutes, then gently wiggle the light. Do not pull too hard. This avoids breaking the light or clips.
Broken Clips Or Tabs
Clips hold the tail light in place. They can break if pulled too fast. Check clips before removal. Use a plastic pry tool to avoid damage. Replace broken clips to keep the light secure.
Electrical Connector Issues
Disconnecting the wiring can be tricky. Connectors might be tight or dirty. Press the release tab firmly before pulling. Clean connectors with a dry cloth if dirty. Handle wires gently to avoid damage.
<!– wp:rank-math/faq-block {"questions":[{"id":"faq-question-1ab3835a4263","title":"How Do I Remove The Tail Light On A Jeep Liberty?","content":"To remove the tail light, first open the rear hatch. Unscrew the mounting bolts using a socket wrench. Gently pull the tail light assembly away from the vehicle. Disconnect the electrical connector carefully before fully removing the tail light.
“,”visible”:true},{“id”:”faq-question-db7e54c0e17a”,”title”:”What Tools Are Needed To Remove Jeep Liberty Tail Lights?”,”content”:”You need a socket wrench set, typically 8mm or 10mm sockets, and a flathead screwdriver. These tools help loosen mounting bolts and pry off clips safely without damaging the tail light assembly or vehicle body.
“,”visible”:true},{“id”:”faq-question-7b1159e376c7″,”title”:”How Long Does It Take To Remove Jeep Liberty Tail Lights?”,”content”:”Removing the tail lights usually takes 10 to 15 minutes. This includes opening the rear hatch, unscrewing bolts, disconnecting wiring, and carefully removing the assembly. Experience level may affect the total time required.
“,”visible”:true},{“id”:”faq-question-f9ab2a7f4d13″,”title”:”Can I Replace Jeep Liberty Tail Lights Myself?”,”content”:”Yes, replacing tail lights on a Jeep Liberty is straightforward. With basic tools and careful handling, most owners can do it without professional help. Always disconnect the battery before working on electrical components for safety.
“,”visible”:true}]} –>How Do I Remove The Tail Light On A Jeep Liberty?
To remove the tail light, first open the rear hatch. Unscrew the mounting bolts using a socket wrench. Gently pull the tail light assembly away from the vehicle. Disconnect the electrical connector carefully before fully removing the tail light.
What Tools Are Needed To Remove Jeep Liberty Tail Lights?
You need a socket wrench set, typically 8mm or 10mm sockets, and a flathead screwdriver. These tools help loosen mounting bolts and pry off clips safely without damaging the tail light assembly or vehicle body.
How Long Does It Take To Remove Jeep Liberty Tail Lights?
Removing the tail lights usually takes 10 to 15 minutes. This includes opening the rear hatch, unscrewing bolts, disconnecting wiring, and carefully removing the assembly. Experience level may affect the total time required.
Can I Replace Jeep Liberty Tail Lights Myself?
Yes, replacing tail lights on a Jeep Liberty is straightforward. With basic tools and careful handling, most owners can do it without professional help. Always disconnect the battery before working on electrical components for safety.
Conclusion
Removing the tail light on a Jeep Liberty is simple with the right steps. You only need basic tools and a bit of care.
Follow each step slowly and check your work. This helps avoid mistakes and saves time.
Now, you can replace or fix your tail light easily.
Keep this guide handy for future repairs. Taking small actions makes car maintenance less hard.
Your Jeep will stay safe and look good on the road.