Removing the rear bumper from a Jeep Grand Cherokee is a task many owners face, whether for repairs, upgrades, or simply to access hidden parts. While the process might look tricky at first, you can do it safely and efficiently with some basic tools and the right approach.
This guide will walk you through each step, offer practical advice, and highlight mistakes to avoid, ensuring your bumper comes off cleanly without damage.
Understanding Your Jeep Grand Cherokee Bumper
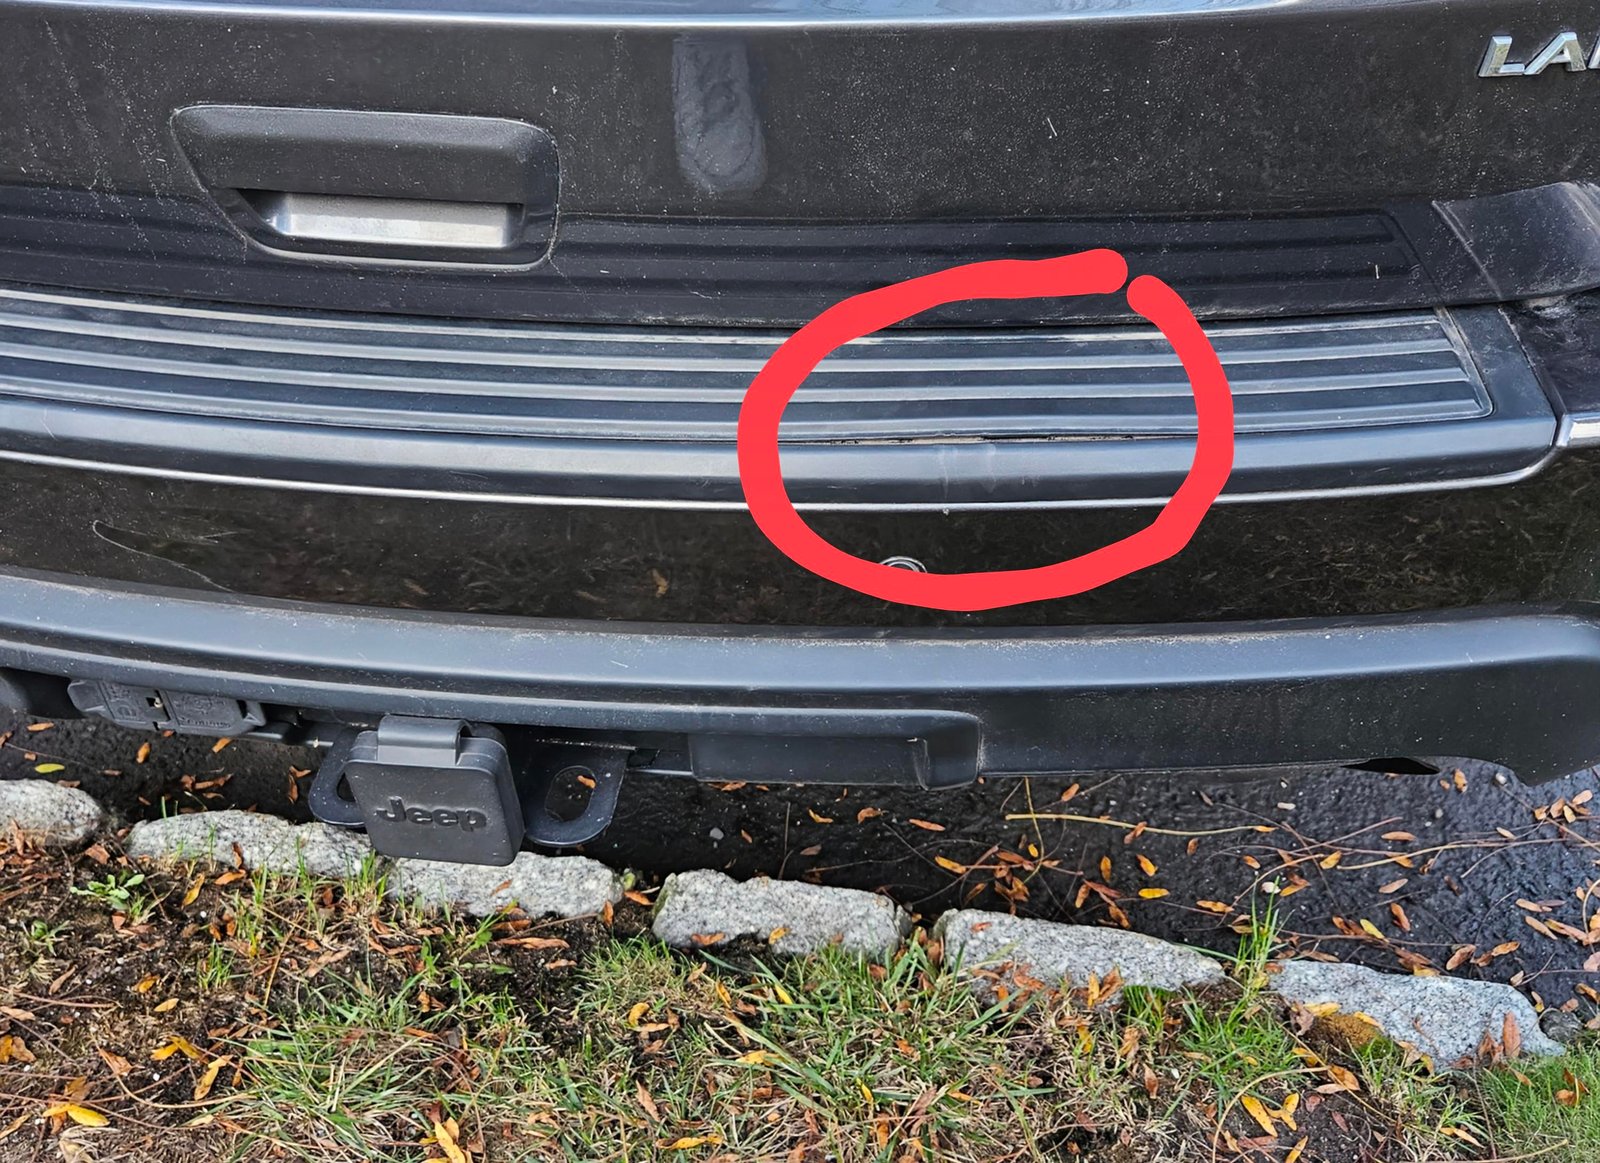
The rear bumper of the Jeep Grand Cherokee is built for both style and protection. It covers the rear frame, houses sensors, and sometimes includes tow hooks.
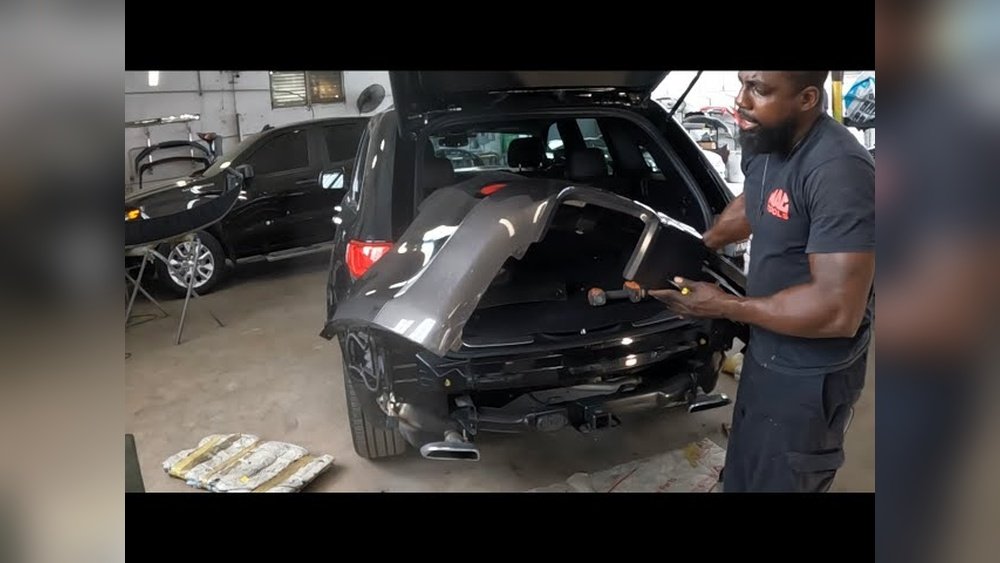
Models from 2011 to present often have similar bumper designs, but small differences exist in clips, bolts, and sensor placements.
Knowing your model year is important because the attachment points and wiring can vary.
Here’s a quick comparison of bumper attachment points for popular Jeep Grand Cherokee years:
| Model Year | Main Fasteners | Sensor Wires |
|---|---|---|
| 2011-2013 | 8 bolts, 6 clips | Usually 1 harness |
| 2014-2017 | 10 bolts, 8 clips | 2-3 harnesses |
| 2018-2023 | 12 bolts, 10 clips | Up to 4 harnesses |
Before starting, check your owner’s manual for diagrams or search your exact model online. This helps you locate fasteners and wiring, reducing mistakes and surprises.
Tools And Preparation
You’ll need some basic tools to remove the bumper safely:
- Socket set (10mm, 12mm)
- Trim removal tool or flathead screwdriver
- Ratchet
- Torx bit set (for some models)
- Gloves (to protect your hands)
- Flashlight (for better visibility)
- Plastic containers to hold screws and clips
Make sure your workspace is flat, well-lit, and has room to move the bumper once removed. If you have parking sensors or rear cameras, you’ll want to disconnect them carefully to avoid damage.
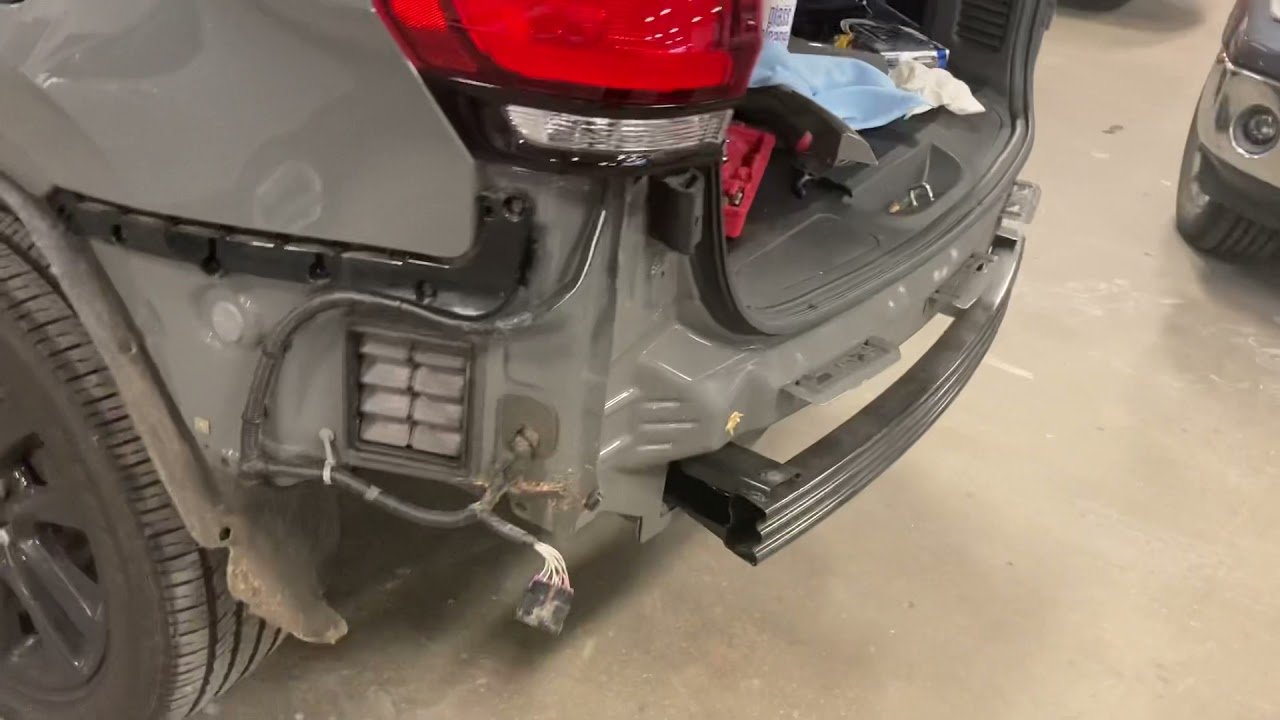
Step-by-step Guide To Removing The Rear Bumper
Follow these steps for a smooth removal:
1. Disconnect The Battery
Always start by disconnecting the car battery. This prevents electrical shorts, especially if your bumper has sensors or lights.
2. Remove Rear Wheels (optional)
For easier access, you can remove the rear wheels. This isn’t required, but it gives you more room to reach fasteners inside the wheel wells.
3. Locate And Remove Bolts
Most bolts are under the bumper, inside wheel wells, and sometimes behind the taillights. Use your socket set and ratchet to loosen and remove them. Keep bolts organized in a plastic container.
4. Take Off Clips And Screws
Use the trim tool or flathead screwdriver to remove plastic clips. Be gentle clips break easily and replacements can be hard to find.
5. Remove Taillights (if Needed)
On some models, the bumper overlaps with the taillights. Remove the taillights by unscrewing bolts from inside the trunk or rear panel.
6. Disconnect Sensor Wires
If your bumper has sensors or cameras, find the wire harnesses and gently unplug them. Never pull wires directly; always use the connector.
7. Pull Off The Bumper
With everything detached, grip the bumper from both sides and pull it away from the vehicle. If it feels stuck, check for missed bolts or clips.
Here’s a quick comparison of bumper removal steps for different trim levels:
| Trim Level | Sensor Complexity | Extra Steps |
|---|---|---|
| Laredo | Low | Taillight removal rarely needed |
| Limited | Medium | More sensor wires to disconnect |
| Overland/Summit | High | Camera and sensor harnesses, taillight removal often needed |
Key Tips And Non-obvious Insights
Many beginners overlook these points:
- Hidden clips: Not all clips are visible. Some are under the bumper lip or near the trunk opening. Missing these causes cracks or broken tabs.
- Sensor wire length: Sensor wires are often short. Don’t let the bumper hang from wires or you risk damaging connectors.
- Weather affects removal: Cold weather can make plastic brittle. Try removing the bumper in a warm garage to avoid snapping parts.
If you plan to reinstall the bumper, inspect all clips and bolts for damage. Replace any broken pieces before reassembly.
If you notice rust or corrosion, clean the area and consider applying a protective spray.

Common Mistakes To Avoid
Even experienced mechanics sometimes make errors. Here are common mistakes:
- Forgetting to disconnect the battery: This can cause electrical issues.
- Pulling too hard: Always check for missed bolts or wires before applying force.
- Losing small parts: Keep screws, clips, and bolts organized.
- Damaging paint: Use gloves and soft tools to prevent scratches.
- Ignoring sensor calibration: After removing and reinstalling the bumper, sensors may need calibration, especially for parking assist.
Reinstallation Advice
When reinstalling, align the bumper carefully before reattaching bolts and clips. Plug sensor wires back in securely.
Test all electrical functions reverse lights, sensors, and cameras before fully tightening bolts.
If you’re unsure about sensor calibration or wiring, check the official Jeep service manual or consult a professional. For detailed specs and diagrams, visit the Jeep Official Service Manual.
Frequently Asked Questions
How Long Does It Take To Remove The Rear Bumper?
Most people can remove the bumper in 60–90 minutes with basic tools and careful work. If you have sensors or need to remove taillights, expect closer to 2 hours.
Will Removing The Bumper Affect My Warranty?
If you follow instructions and avoid damaging sensors or wiring, simply removing the bumper should not affect your factory warranty. However, any modification or damage may void coverage on related parts.
Do I Need To Recalibrate Sensors After Reinstalling?
Yes, parking sensors and cameras often require recalibration after bumper removal and reinstallation. Consult your manual or a dealership for the correct procedure.
Can I Remove The Bumper Alone Or Do I Need Help?
You can remove the bumper alone, but having a helper makes it easier to handle the large, awkward piece. This reduces the risk of dropping or damaging it.
Where Can I Find Replacement Clips Or Bolts?
Replacement clips and bolts are available at auto parts stores or online retailers. Always match the part number to your Jeep model year for a correct fit.
Removing the rear bumper from your Jeep Grand Cherokee is a straightforward job if you prepare well and follow each step carefully. With the right tools, patience, and attention to detail, you can avoid mistakes and make the process smooth. Whether you’re upgrading, repairing, or just curious, taking time to understand your Jeep’s design makes all the difference.