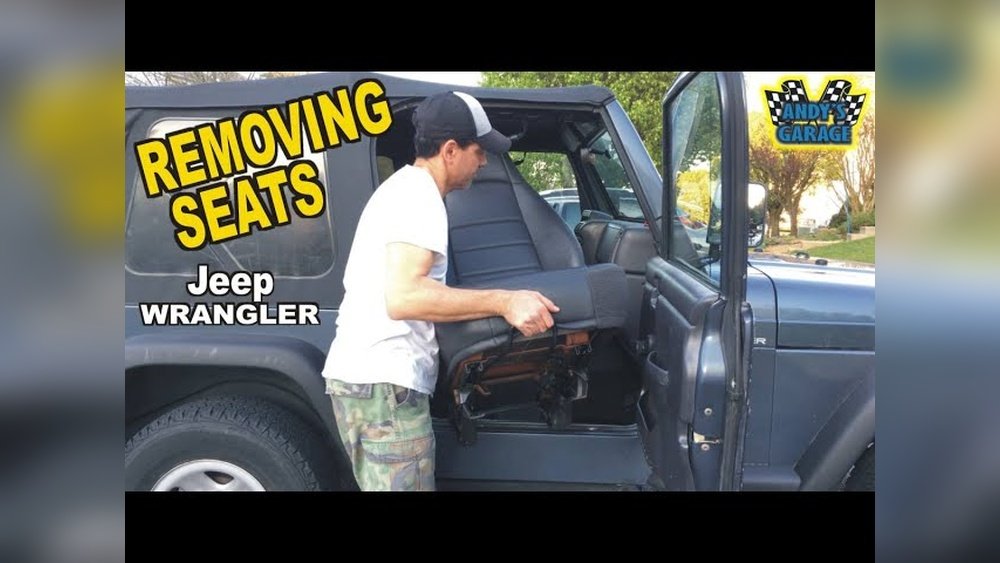
Removing the seats from your Jeep Wrangler can make cleaning easier, create more cargo space, or help with repairs. Many owners do it themselves, but the process can be confusing if you haven’t tried before.
This guide will walk you through every step, explain what tools you need, and share practical tips to avoid mistakes. Whether you drive a newer JL model or an older TJ, you’ll find clear advice here.
Why Remove Jeep Wrangler Seats?
Taking out the seats is more common than you might think. People remove seats to:
- Clean mud, sand, or spills under the seats.
- Install new upholstery or upgrade seat covers.
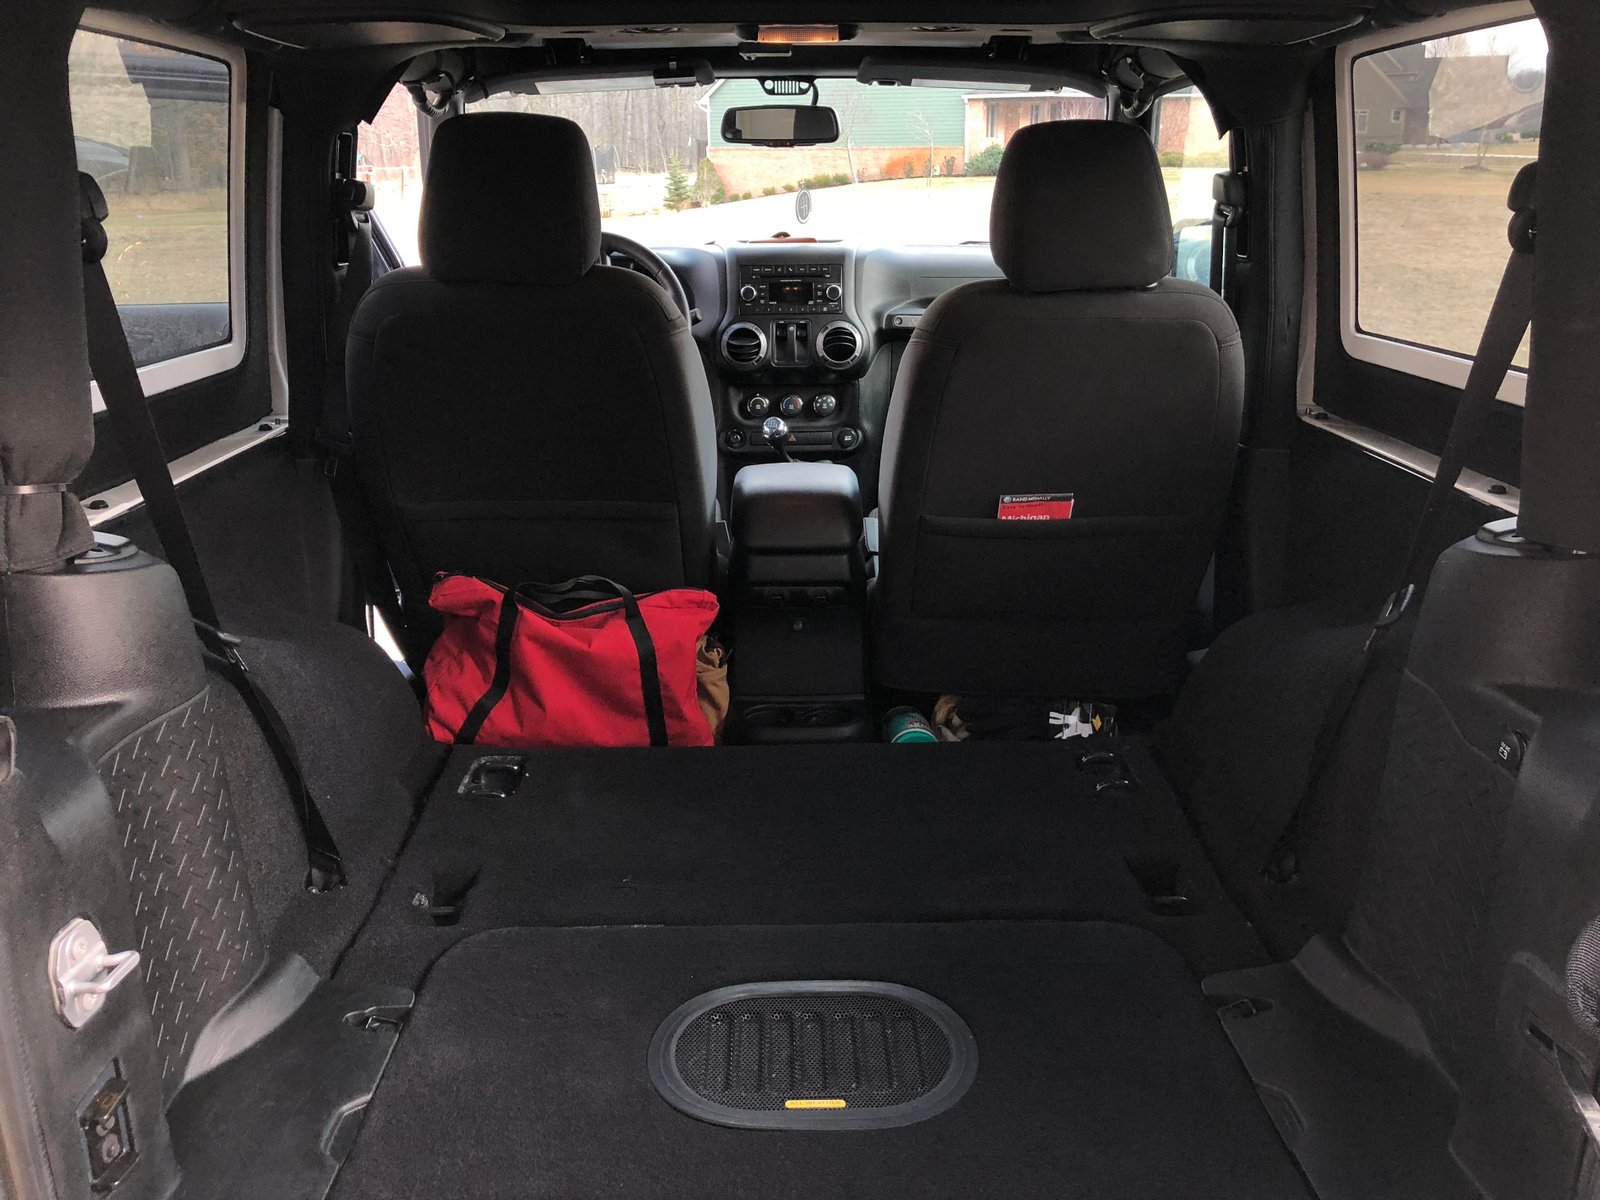
- Carry large items or camping gear.
- Access wiring for stereo or repairs.
Wrangler seats are designed for easy removal, especially in recent models. Some older versions need extra care, but the basics are similar.
Tools Needed For Seat Removal
You don’t need many tools, but having the right ones makes the job much easier:
- Socket wrench set (usually 13mm or 15mm sockets)
- Torx bit set (for some models, T50 is common)
- Flathead screwdriver (for clips or trim)
- Ratchet extension (helpful for tight spaces)
- Safety gloves (protect your hands)
Always check your owner’s manual to confirm bolt sizes. Jeep changed hardware in some years, so a quick check can save time.
| Model Year | Socket Size | Torx Bit |
|---|---|---|
| 1997-2006 (TJ) | 13mm | T50 |
| 2007-2018 (JK) | 15mm | T50 |
| 2018-present (JL) | 15mm | T50/T55 |
Step-by-step Guide To Removing Jeep Wrangler Seats
1. Prepare Your Jeep
Move your Wrangler to a flat area. Open all doors for easy access. Disconnect the battery, especially if your seats have airbags or electrical connectors. This prevents accidental deployment or short circuits.
2. Locate And Remove Bolts
Most seats are attached with four bolts:
- Two in the front, two in the back.
- Use your socket wrench or Torx bit to loosen each bolt.
- If bolts are rusty or stuck, spray a little penetrating oil and wait a few minutes.
For rear seats, some models also have floor brackets or latches. Check under the seat for extra hardware.
3. Disconnect Wiring
Newer Wranglers (JK, JL) have wires for seat heaters, airbags, or sensors. Gently pull the seat forward and look under.
Unplug connectors by pressing the release tab. Never yank the wires this can break connectors or cause errors.
| Seat Feature | Electrical Connector? | Extra Steps |
|---|---|---|
| Manual Seat | No | None |
| Heated Seat | Yes | Unplug connector |
| Airbag Sensor | Yes | Disconnect battery first |
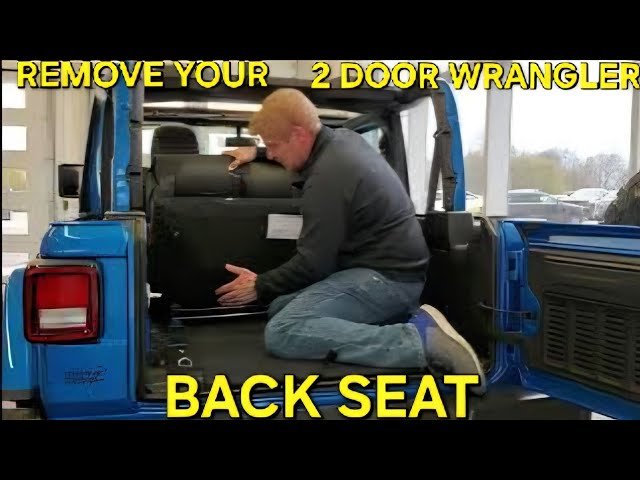
4. Remove The Seat
Lift the seat carefully. If you feel resistance, double-check for missed bolts or wires.
Front seats are heavier use both hands and ask for help if needed. Rear seats are lighter but may have extra brackets.
Place seats on a clean surface to avoid scratches or dirt.
5. Store Bolts And Parts
Keep all bolts, nuts, and clips together. Use a small bag or container.
Losing hardware is a common mistake many owners have to buy replacements because of this.
6. Reinstalling Seats
To put seats back, reverse the steps:
- Set the seat in place.
- Connect any wiring.
- Tighten bolts firmly, but don’t over-torque.
- Reconnect the battery.
Check that seats slide and lock properly. If you see a dashboard warning light, double-check electrical connections.
Common Mistakes And How To Avoid Them
Many beginners skip steps or rush. Here are mistakes to watch for:
- Forgetting to disconnect the battery: This can trigger airbag warnings.
- Losing bolts: Always keep hardware organized.
- Damaging electrical connectors: Pull gently and use the release tab.
- Over-tightening bolts: This can strip threads or crack mounts.
- Missing hidden brackets: Especially on rear seats.
If you plan to drive without seats, check your local laws. Some states require all original seats for safety.

Practical Tips For Easier Removal
- Use a small flashlight to see under seats.
- Wear gloves to avoid cuts from metal edges.
- Take photos before unplugging wires—this helps during reinstallation.
- Clean the floor area once seats are out; it’s easier without obstacles.
A non-obvious tip: Some Wranglers have hidden clips under the seat rails. These can block removal. Use a flathead screwdriver to push them aside.
Also, if your Jeep is older, bolts can seize due to rust. Try spraying WD-40 or tapping gently with a rubber mallet.
When Professional Help Is Needed
If your seats have complex wiring or you see warning lights after removal, it may be best to visit a mechanic. Some newer models have sensors that need recalibration after unplugging seats. The Jeep dealership can handle this quickly.
For more technical details, visit Jeep’s official site.
Frequently Asked Questions
How Long Does It Take To Remove Jeep Wrangler Seats?
For most models, it takes about 20-40 minutes per seat. If bolts are stuck or there’s complex wiring, it can take longer.
Can I Remove Seats Without Disconnecting The Battery?
You can, but it’s risky. If your seats have airbags or sensors, always disconnect the battery first to avoid accidents.
Will Removing Seats Void My Jeep Warranty?
Usually, just removing seats doesn’t void the warranty. However, damaging wiring or sensors might. Check your warranty details before starting.
Are There Differences Between Front And Rear Seat Removal?
Yes. Front seats are heavier and often have wiring. Rear seats are lighter but may have extra brackets or clips. Always check for hidden hardware.
Is It Legal To Drive A Jeep Without Seats?
Most states require at least the driver’s seat. Driving without passenger seats may be allowed but check your local laws before removing all seats.
Removing Jeep Wrangler seats is a practical project for owners who want more flexibility. With the right tools, careful steps, and attention to wiring, you can do it safely at home.
Remember to stay organized, take your time, and reach out for help if needed.