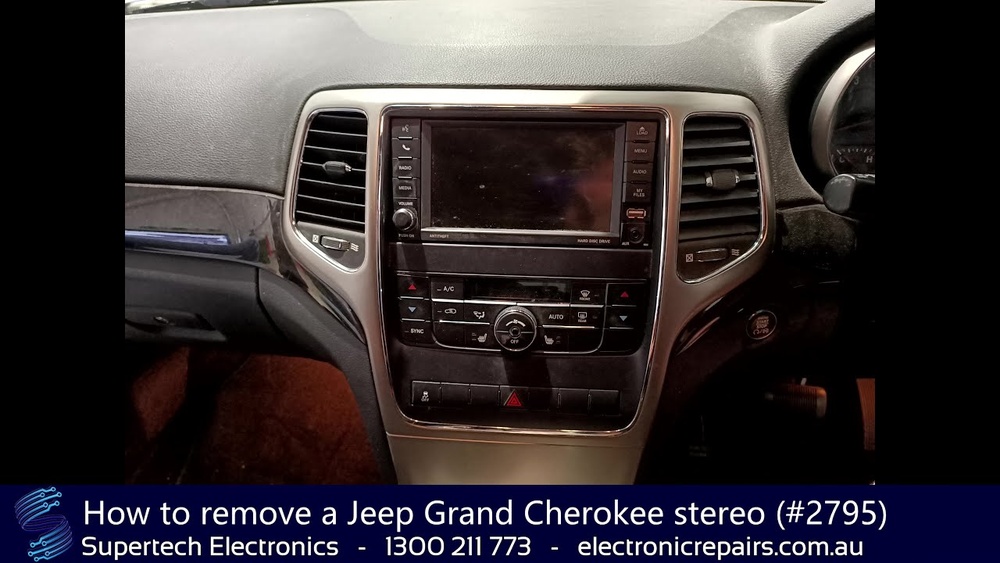
Removing the radio from your Jeep Grand Cherokee can seem complicated at first. Whether you want to upgrade to a modern stereo, fix a malfunction, or access wiring behind the dashboard, the process is doable with the right approach.
Many owners try to change their radio for better sound quality or Bluetooth features, but worry about damaging their vehicle. This guide will help you remove your Jeep Grand Cherokee radio safely and efficiently, even if you have little experience with car interiors.
Preparation And Tools
Before starting, gather all the necessary tools. Having these on hand will make the process smoother and help avoid mistakes.
- Plastic trim removal tools: Prevent scratches or cracks on dashboard panels.
- Phillips screwdriver: Needed for removing screws behind the trim.
- Socket wrench (usually 7mm or 10mm): For bolts securing the radio.
- Magnetic tray: Keeps screws and bolts organized.
- Soft cloth: Protects surfaces during removal.
Check your vehicle manual for exact specifications, as the radio removal steps can vary slightly between model years.
| Tool | Purpose | Recommended? |
|---|---|---|
| Plastic trim tools | Remove panels safely | Yes |
| Phillips screwdriver | Unscrew radio mounts | Yes |
| Socket wrench | Remove bolts | Yes |
| Flathead screwdriver | Not ideal (may damage) | No |
Step-by-step Radio Removal
Follow these steps to remove the radio from your Jeep Grand Cherokee. The process is similar for models from 2011 to 2021, but always check your specific year.
1. Disconnect The Battery
Safety is important. Before touching any electrical components, disconnect the negative battery terminal. This prevents accidental short circuits and protects the radio.
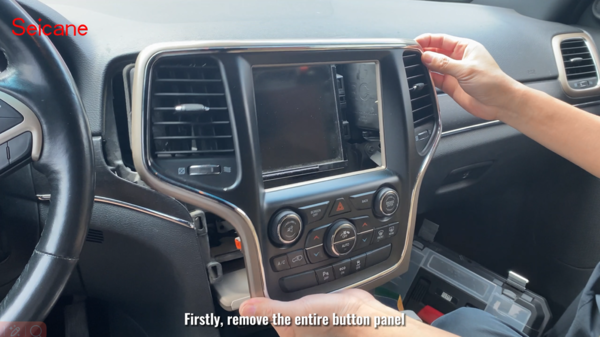
2. Remove Dashboard Trim
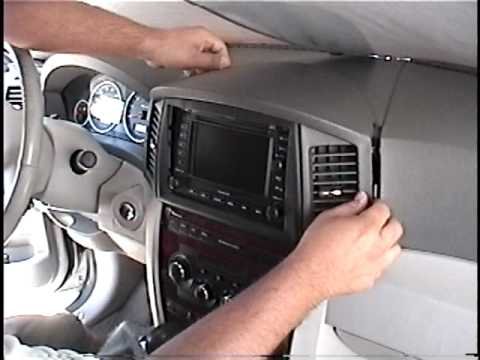
Use plastic trim tools to gently pry the trim panel surrounding the radio. Start at a corner and work your way around to avoid breaking clips. Be patient—rushing can cause damage. For some models, you may need to remove additional panels above or below the radio.
3. Unscrew Radio Mounts
Once the trim is off, locate the screws or bolts holding the radio. Most Grand Cherokees use Phillips screws or 7mm bolts. Remove these carefully and set them aside in your magnetic tray.
4. Pull Out The Radio
Slowly pull the radio towards you. There will be wiring connected at the back.
Do not force it out tugging can damage connectors.
5. Disconnect Wiring Harnesses
Identify the main wiring harness and any antenna cables at the back of the radio. Press the release tabs and gently unplug all connectors. If your radio has additional features like navigation, there may be extra wires.
6. Remove The Radio Completely
Once all cables are unplugged, lift the radio out of the dash. Place it on a soft cloth to prevent scratches.
| Step | Approximate Time | Difficulty |
|---|---|---|
| Disconnect battery | 2 minutes | Easy |
| Remove trim | 10 minutes | Moderate |
| Unscrew mounts | 5 minutes | Easy |
| Pull radio & disconnect | 7 minutes | Moderate |
Tips For A Smooth Removal
- Work in a well-lit space to see all clips and screws clearly.
- Keep all screws and clips in a magnetic tray for easy reinstallation.
- Take photos before unplugging wires. This helps during reassembly.
- If you feel resistance when removing trim or radio, check for hidden screws.
- Avoid using metal tools directly on the dashboard to prevent scratches.
Many beginners forget to disconnect the battery, which can cause electrical issues later. Another common mistake is losing screws or breaking clips, making it hard to reinstall the trim.
Common Challenges And How To Solve Them
Some owners face issues like stuck panels or difficult wiring connectors. Here are solutions for common problems:
- Stuck trim panel: Use a wider plastic tool and apply steady pressure. Don’t twist sharply.
- Hidden screws: Check under air vents or inside glove compartments.
- Tight wiring connectors: Wiggle gently while pressing the release tab. Never force.
For older Grand Cherokees, you may find corrosion or fragile clips. In these cases, extra care is needed.
If you break a clip, replacements are available at most auto parts stores.
| Problem | Solution | Extra Advice |
|---|---|---|
| Trim won’t budge | Check for hidden screws | Consult manual |
| Lost screws | Buy replacements | Use magnetic tray next time |
| Radio won’t power on after reinstall | Check wiring harness | Reconnect battery last |
What To Do After Removal
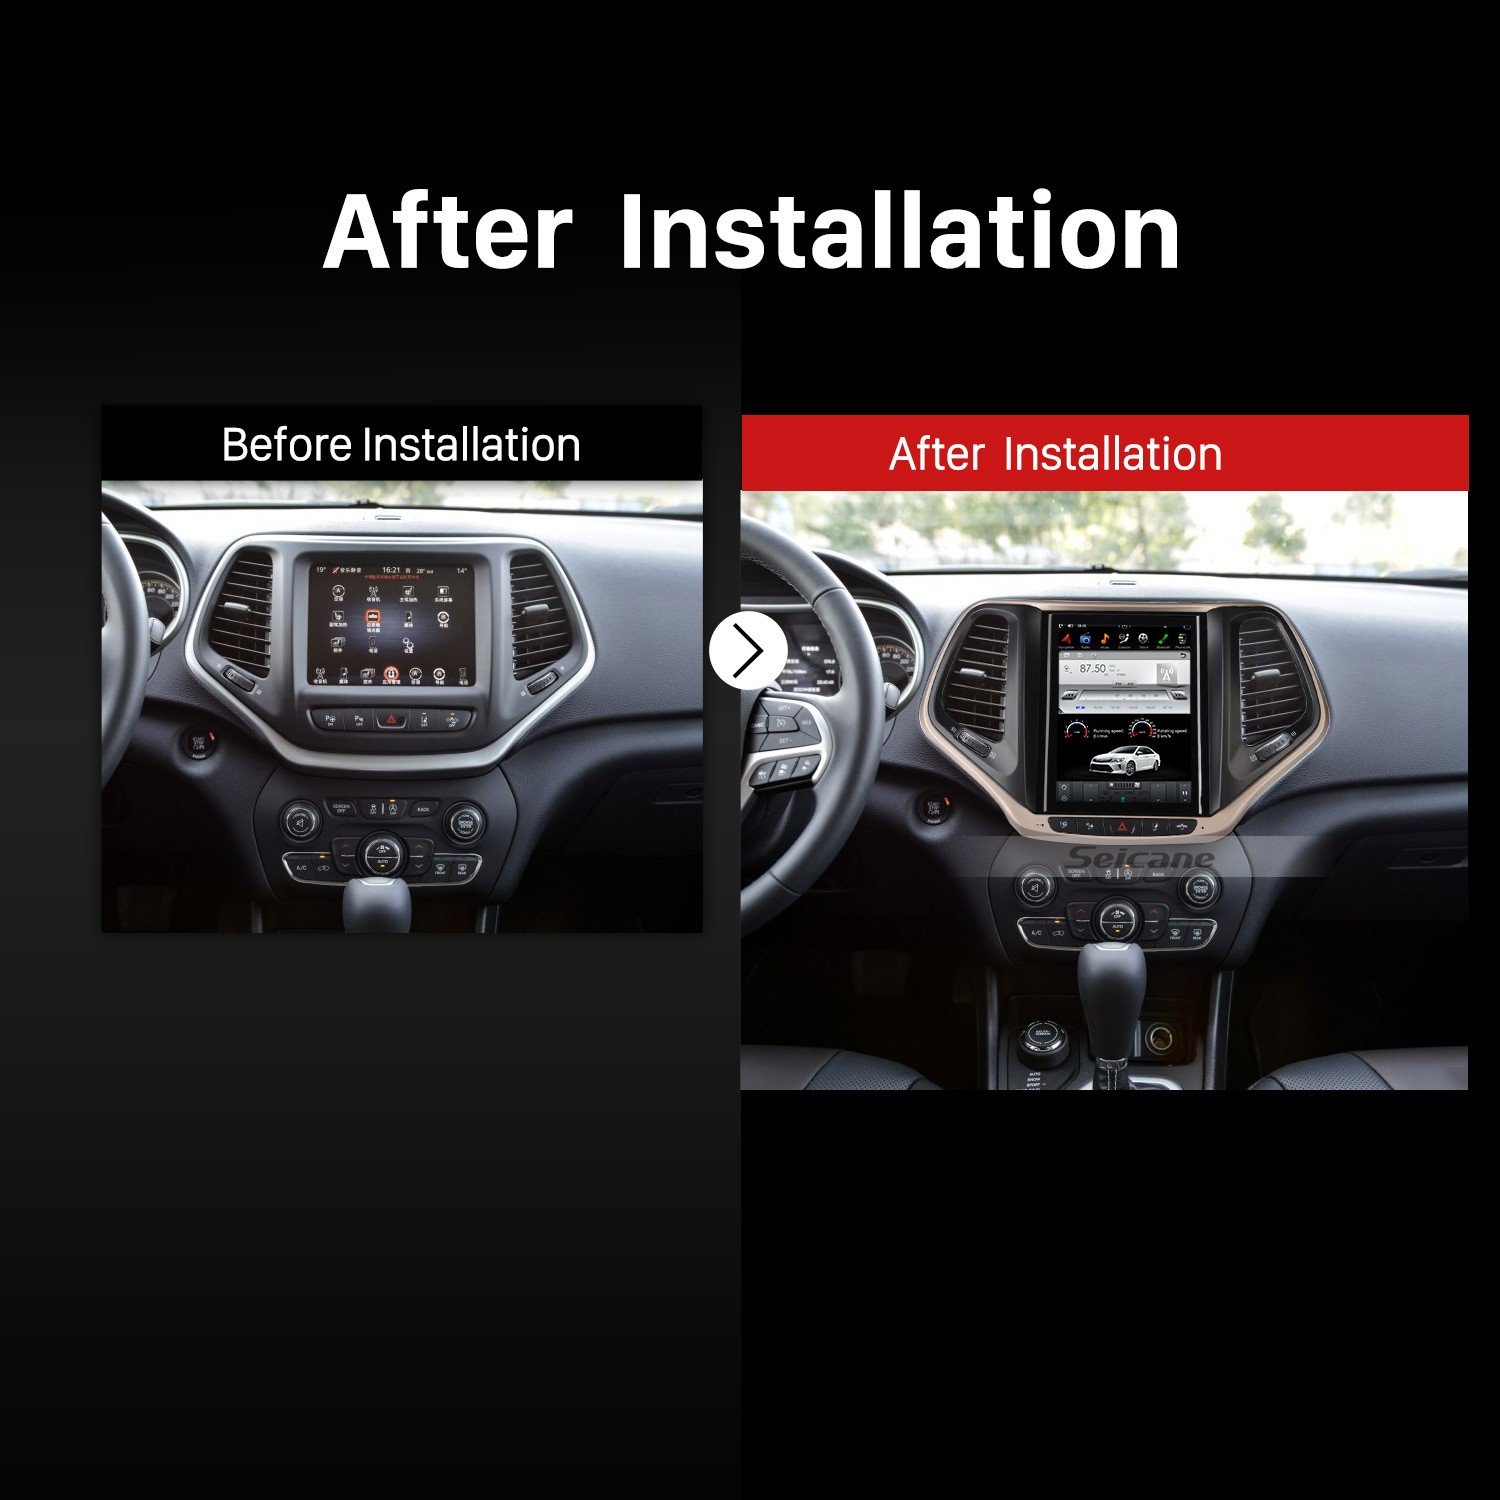
With the radio removed, you can upgrade to a new stereo, repair wiring, or install accessories. If you plan to reinstall, clean the area and check for damaged connectors.
Always test the new radio before securing it with screws and trim.
If you’re unsure about wiring, consult your Jeep Grand Cherokee service manual or visit a professional installer. Some advanced radios require adapter harnesses for compatibility.
Frequently Asked Questions
How Long Does It Take To Remove The Radio?
For most Jeep Grand Cherokees, it takes about 25–30 minutes if you have the right tools and follow the steps carefully.
Is It Necessary To Disconnect The Battery?
Yes, always disconnect the negative battery terminal to avoid electrical shorts and protect both yourself and the vehicle electronics.
Can I Reuse The Old Radio If I Reinstall It?
Yes, as long as the radio and connectors are undamaged. Test the radio after reinstalling to ensure all features work.
Will Removing The Radio Affect Other Car Systems?
Usually, no. However, if your radio is connected to the vehicle security system or has integrated controls, be careful with wiring. Consult your manual for specific details.
Where Can I Find Replacement Clips Or Screws?
Auto parts stores and Jeep dealerships sell replacement clips and screws. You can also order them online. For official parts, check Jeep’s official site.
Taking out your Jeep Grand Cherokee radio is a practical job that can save money and give you more control over your vehicle upgrades. With patience and the right tools, you can avoid common mistakes and finish the job smoothly.
Remember to keep track of all parts, check wiring, and take your time your dashboard will look just as good when you’re done.