Every Jeep Wrangler owner knows the thrill of off-roading, but that ride can get rough if your shocks are worn. Upgrading or replacing shocks not only improves comfort but also helps your Jeep handle better on trails and highways.
If you’re ready to install new shocks, you don’t need to be a professional mechanic. With a few tools and careful steps, you can transform your Wrangler’s ride quality in an afternoon.
Let’s break down the process so you can install shocks confidently and avoid common mistakes.
Why Shock Replacement Matters
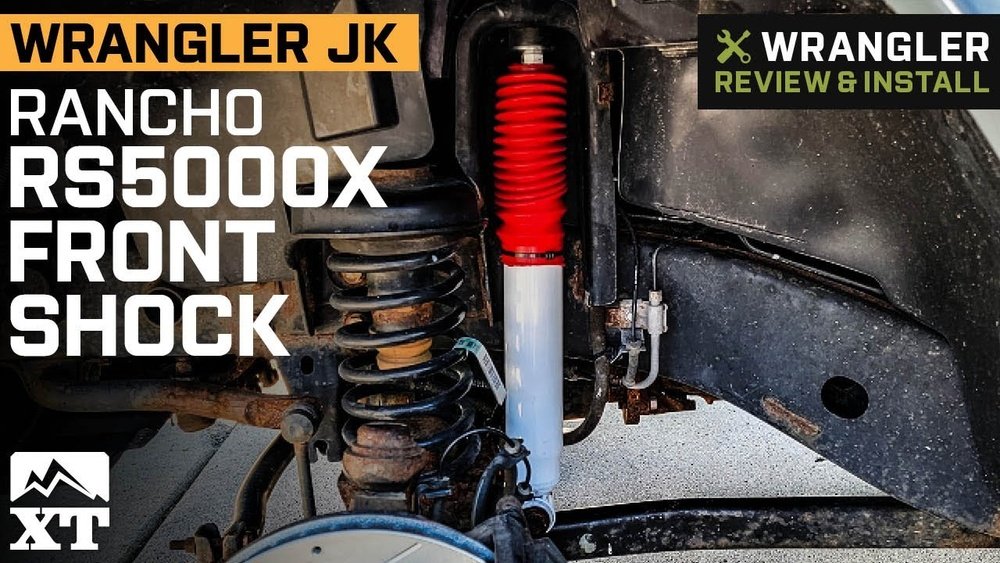
Shocks are vital for a smooth ride and control. They absorb bumps, keep tires on the ground, and reduce body roll. If your Wrangler feels bouncy, sways in turns, or you notice uneven tire wear, your shocks are likely due for replacement. Most shocks last around 50,000 miles, but off-roading can wear them faster.
Here’s a quick comparison of old vs. new shocks on a Jeep Wrangler:
| Aspect | Old Shocks | New Shocks |
|---|---|---|
| Ride Comfort | Bumpy, harsh | Smooth, stable |
| Handling | Loose, uneven | Controlled, predictable |
| Tire Wear | Uneven, rapid | Even, slower |
Tools And Parts You’ll Need
Before you start, gather these tools:
- Socket wrench set (usually 13mm–18mm)
- Jack and jack stands
- Penetrating oil (for rusty bolts)
- Torque wrench
- Safety glasses and gloves
For parts, make sure you have:
- 4 shocks (front and rear)
- New hardware if your shocks don’t come with it
It’s important to check shock compatibility with your Jeep’s model year and lift height. For example, shocks for a lifted Wrangler differ from stock ones.
Step-by-step Shock Installation
- Park and Prep: Park your Jeep on a flat surface. Engage the parking brake and wear safety gear.
- Lift the Vehicle: Use the jack to lift one corner at a time. Place jack stands under the frame for stability. Never rely on the jack alone.
- Remove Wheels: Take off the wheels for better access. This isn’t strictly required but makes the job easier.
- Spray Bolts: Spray penetrating oil on the shock bolts. Wait 10–15 minutes if bolts are rusty.
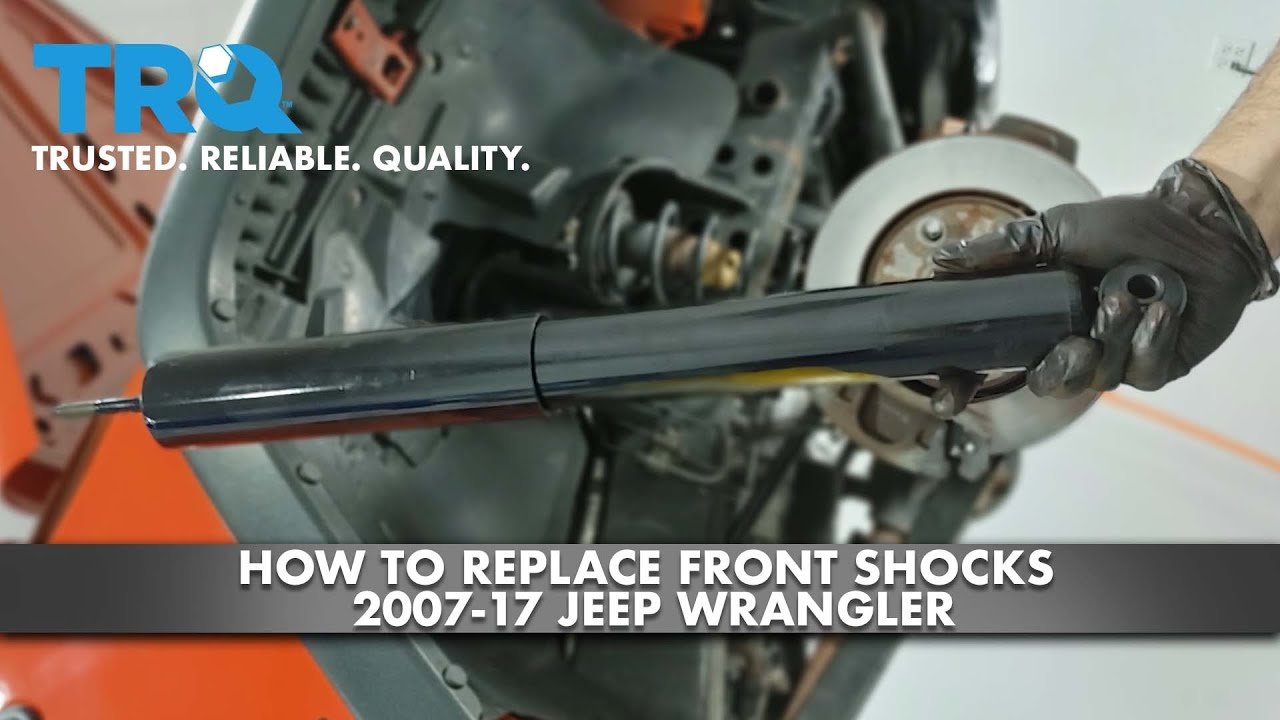
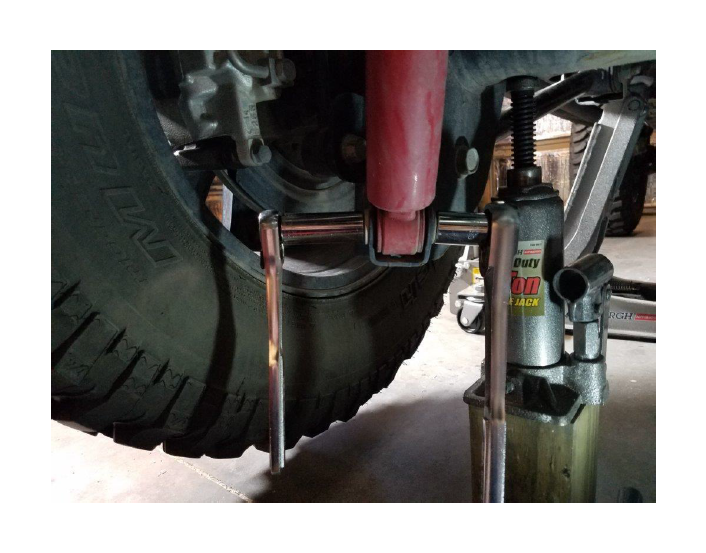
- Remove Old Shocks: Use your socket wrench to remove the bolts holding the shock in place. Most Wranglers have one bolt at the top and one at the bottom. Pull the old shock out.
- Install New Shocks: Line up the new shock. Insert the bolts and hand-tighten first. Then, use your torque wrench to tighten to the manufacturer’s specs (usually 55–65 ft-lbs for most Wranglers).
- Repeat for All Four: Move to the next wheel and repeat. The process is the same for front and rear shocks, but the rear may have tighter spaces.
- Reinstall Wheels and Lower: Put the wheels back on. Lower your Jeep and check for any loose bolts.
Here’s a simple table summarizing torque specs for common Jeep Wrangler models:
| Model Year | Front Shock Torque | Rear Shock Torque |
|---|---|---|
| 2012–2018 JK | 60 ft-lbs | 65 ft-lbs |
| 2019–2024 JL | 58 ft-lbs | 62 ft-lbs |
Practical Tips For A Smooth Install
- Double-check fitment: Don’t assume all shocks are the same. Measure old shocks and compare lengths with new ones.
- Start with the rear: Rear shocks are usually easier. If you’re new, begin there for practice.
- Use anti-seize compound: This prevents bolts from rusting and makes future removal easier.
- Inspect bushings: Replace worn bushings if needed. They impact shock performance.
- Do not over-tighten: Too much torque can damage mounting brackets.
Many beginners skip checking the torque settings, which leads to loose shocks or broken hardware. Always use a torque wrench for final tightening.
Common Mistakes And How To Avoid Them
- Mixing up shock lengths: Front and rear shocks are different. If installed incorrectly, your Jeep’s handling will suffer.
- Ignoring torque specs: Hand-tightening isn’t enough. Bolts can loosen and cause rattling.
- Forgetting wheel alignment: After shock replacement, your Jeep may need realignment, especially if you notice steering drift.
- Skipping test drive: Always test drive after installation. Listen for odd noises or vibrations.
Here’s a quick comparison between DIY and shop installation costs:
| Method | Average Cost | Time Required |
|---|---|---|
| DIY | $100–$300 (parts) | 2–3 hours |
| Shop | $400–$700 (parts & labor) | 1 day |
After The Install: What To Check
Once your Jeep is back on the ground, check:
- All bolts are tight
- Shocks are not rubbing against tires or suspension parts
- No leaks or damage on new shocks
Drive your Jeep for 5 10 miles. If you feel improved handling, reduced bounce, and smoother ride, you’ve done it right.
If you hear clunks, stop and check the bolts.
For further Jeep maintenance tips, visit the official Jeep site.
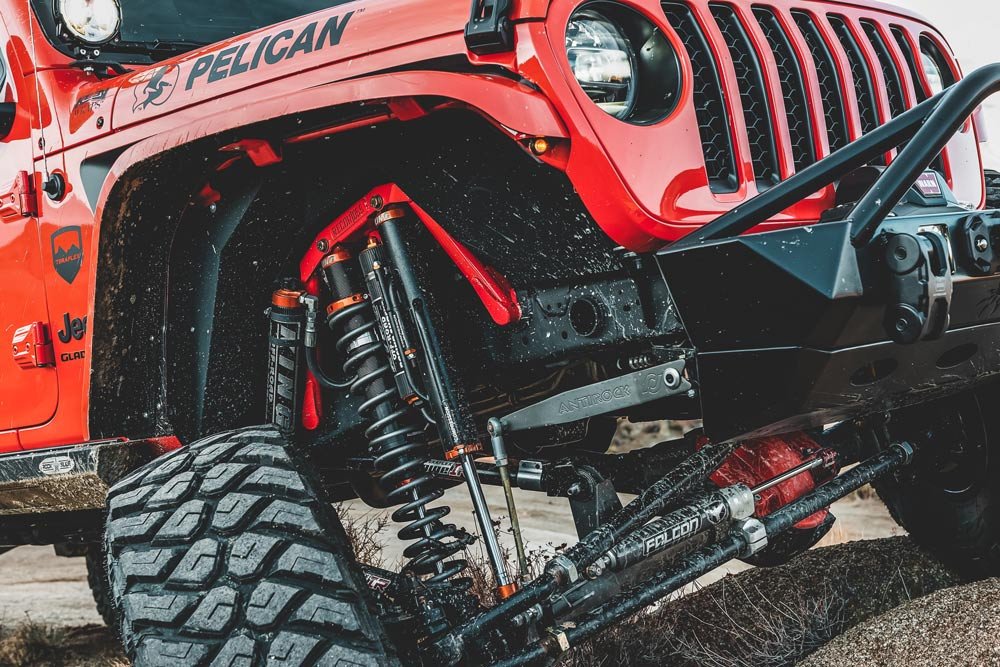
Frequently Asked Questions
What Signs Show My Jeep Wrangler Needs New Shocks?
Look for excessive bouncing, uneven tire wear, or leaking fluid from the shocks. Poor handling or noisy suspension also mean it’s time for replacement.
Can I Install Shocks Without Removing The Wheels?
It’s possible, but removing wheels gives you more space to work. For beginners, it’s safer and easier.
How Long Does Shock Installation Take?
Most DIY installs take 2–3 hours for all four shocks. If bolts are rusty, it may take longer.
Will New Shocks Lift My Jeep Wrangler?
Regular shocks don’t lift your Jeep. For added height, you need lift kits or special shocks designed for lifts.
Do I Need Alignment After Replacing Shocks?
Usually, shock replacement alone doesn’t affect alignment. But if you notice steering issues after the install, get a wheel alignment check.
With careful steps and the right tools, installing shocks on your Jeep Wrangler is a smart DIY project. You’ll enjoy a smoother, safer ride and gain valuable skills for future upgrades.