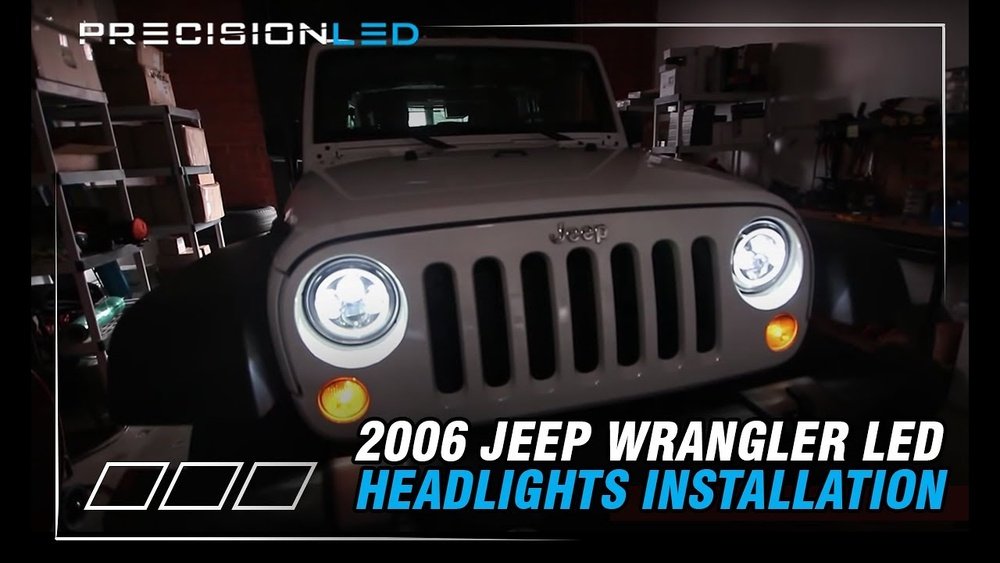
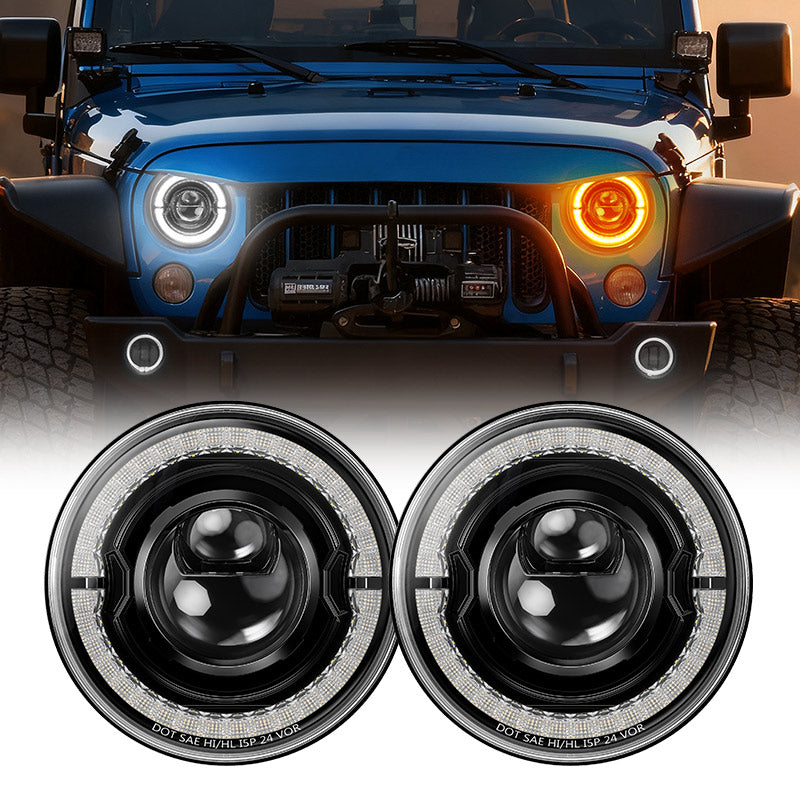
Replacing your Jeep Wrangler's headlights with modern LED units can transform your driving experience. LED headlights are brighter, last longer, and use less power than standard halogen bulbs.
Many Jeep owners switch to LEDs for better night vision and a rugged look. But how do you install LED headlights in a Jeep Wrangler?
This guide will walk you through the process step by step, sharing practical tips and common mistakes to avoid.
Why Upgrade To Led Headlights?
Switching to LED headlights brings several real-world benefits. LEDs shine up to three times brighter than halogen bulbs, making night driving safer. They also draw less power, which is important if you run extra accessories like winches or light bars. A quality set of LEDs lasts about 20,000 hours, compared to 1,000 hours for halogens.
Here’s a quick comparison:
| Feature | Halogen | LED |
|---|---|---|
| Brightness (Lumens) | 1,000 – 1,500 | 3,000 – 4,500 |
| Lifespan (Hours) | 1,000 | 20,000+ |
| Power Usage | High | Low |
| Color Temperature | 3,200K (yellowish) | 6,000K (white/blue) |
What You Need Before You Start
Before installing your new LED headlights, gather these tools and items:
- Flathead screwdriver
- Phillips head screwdriver
- Torx bit set (often T15 or T20)
- Electrical tape (optional)
- Gloves (to keep lenses clean)
- Your new LED headlight kit
Some LED kits come with a canbus adapter or anti-flicker harness. This is important for newer Jeeps (especially 2018+) to prevent flickering or dashboard errors.
Step-by-step Guide: Installing Led Headlights
1. Preparation
Park your Jeep on a flat surface. Turn off the engine and remove the keys.
For safety, disconnect the negative (-) battery terminal.
2. Remove The Front Grille
Most Jeep Wranglers (JK, JL, and newer) have a simple clip-on grille.
- Open the hood.
- Locate the plastic fasteners at the top of the grille.
- Use your screwdriver to gently pry up and remove these fasteners.
- Pull the grille forward from the top, then out from the bottom. It may feel tight; use steady pressure.
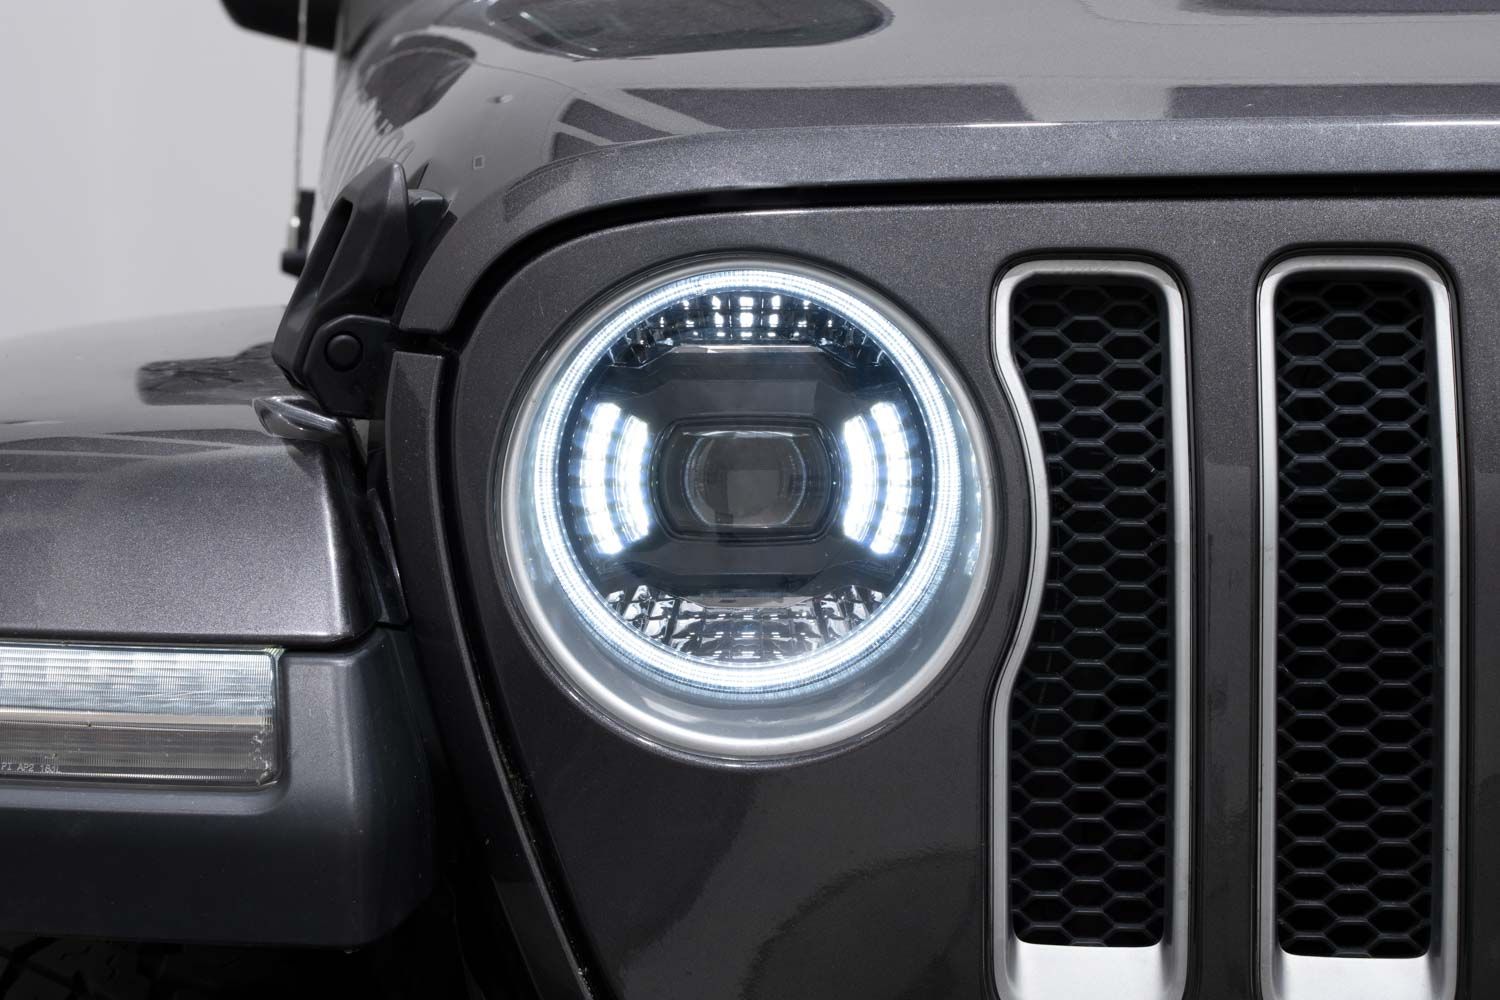
3. Remove Old Headlights
- Find the headlight retaining ring (a metal or plastic ring holding the headlight in place).
- Use the Torx bit or screwdriver to remove the screws.
- Gently pull out the headlight.
- Unplug the wiring harness from the back.
4. Install The New Led Headlights
- If your LED kit has an adapter or anti-flicker harness, connect it to the Jeep’s wiring first.
- Plug the harness into the new LED headlight.
- Place the headlight into the housing, aligning it as the old one was.
- Re-attach the retaining ring and tighten the screws (do not overtighten).
- Repeat for the other headlight.
5. Test The Headlights
Reconnect the battery. Turn on your headlights and check both low beam and high beam functions. If you see flickering or error messages, double-check the harness connections or install the canbus adapter.
6. Reinstall The Grille
Line up the grille with the mounting points. Press it back into place, starting at the bottom.
Insert and secure the plastic fasteners at the top.
7. Adjust The Headlight Aim
LEDs are brighter, so proper aiming is important to avoid blinding other drivers. Park 25 feet from a wall and turn on the headlights.
The brightest part of the beam should be at or just below the height of the headlight center.
Here’s a general aiming reference:
| Distance from Wall | Headlight Center Height | Beam Height on Wall |
|---|---|---|
| 25 ft | 40 in | 36 – 38 in |
If needed, use the adjustment screws on the headlight housing to aim the beams.
Real-world Tips And Common Mistakes
- Wear gloves when handling LED headlights. Fingerprints can cause hot spots and shorten lifespan.
- Check your local laws about headlight color and brightness. Some areas have limits.
- Don’t force connectors. If something doesn’t fit, double-check the kit compatibility.
- Save your old headlights as backups.
- For 2018+ Jeeps, a canbus adapter is almost always needed. Without it, you’ll likely see flickering or warning lights.

How To Choose The Right Led Headlights
Choosing the right LEDs is more than picking the brightest one. Here’s what matters:
- Fitment: Make sure the lights fit your Jeep’s year and model (JK, JL, TJ, etc. ).
- DOT Approval: Look for DOT or SAE certification for legal street use.
- Warranty: Good brands offer at least a one-year warranty.
- Waterproof Rating: A rating like IP67 means the headlight can handle rain and splashes.
- Anti-flicker Features: For newer Jeeps, built-in anti-flicker is a must.
Here’s a quick comparison of popular brands:
| Brand | Warranty | Waterproof | DOT Approved |
|---|---|---|---|
| JW Speaker | 5 years | IP67 | Yes |
| KC HiLiTES | 2 years | IP68 | Yes |
| Generic Brand | 1 year | IP65 | No |
Cost And Value
Expect to pay between $100 and $500 for a quality pair of LED headlights. Lower-priced sets may lack anti-flicker features or DOT approval. Remember, a good set will last years and improve safety.
According to the National Highway Traffic Safety Administration, proper headlights reduce nighttime accidents by up to 35%.
Frequently Asked Questions
Can I Install Led Headlights Myself Without Special Tools?
Yes, most LED headlight kits are designed for DIY installation using basic hand tools. No special skills are needed, but take your time and follow instructions.
Will Led Headlights Cause Flickering Or Dashboard Errors?
Some Jeeps, especially 2018 and newer, may show flicker or errors. Using a canbus adapter or anti-flicker harness usually solves this problem.
Are Led Headlights Legal For Road Use?
Only DOT-approved LED headlights are legal for public roads in most states. Check your local laws before installing.
Do I Need To Adjust The Headlights After Installation?
Yes, it’s important to aim your headlights after installation. Incorrect aim can blind other drivers or reduce your own visibility.
How Long Do Led Headlights Last Compared To Halogen Bulbs?
LED headlights can last 20,000 hours or more, while standard halogen bulbs usually last about 1,000 hours.
Upgrading your Jeep Wrangler to LED headlights is a smart move for safety, style, and efficiency. Take your time, follow each step, and you’ll be enjoying brighter, clearer roads in no time.