If you own a Jeep Wrangler, adding overhead lights can make a huge difference in your driving experience. Whether you want better visibility on night rides or a stylish upgrade, knowing how to connect those lights properly is key.
You might feel a bit unsure about handling the wiring, but don’t worry walk you through each step clearly and simply.
By the end, you’ll have your overhead lights up and running safely, giving your Jeep the perfect blend of function and style.
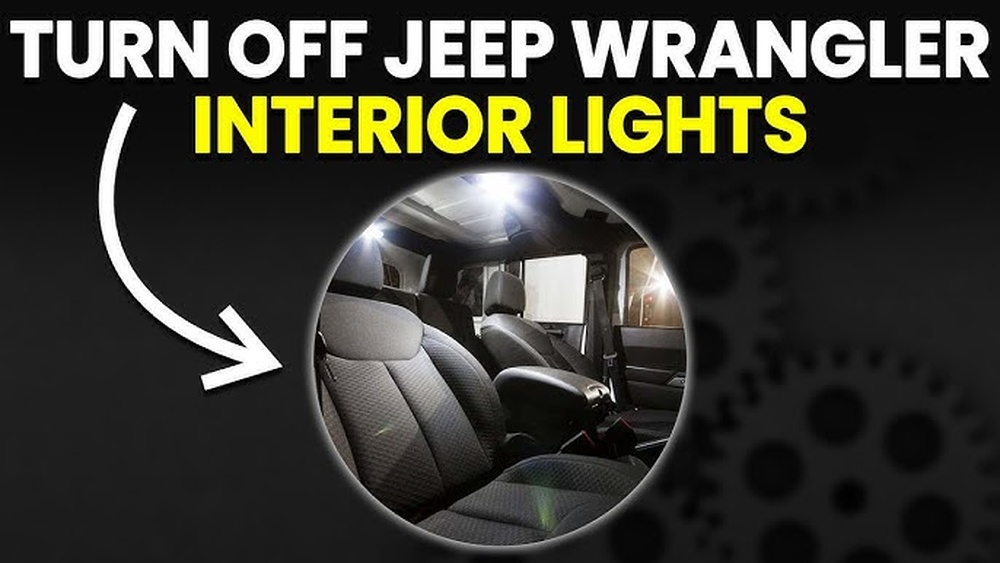
Ready to light up your ride? Let’s get started!
Tools And Materials Needed
Connecting overhead lights on a Jeep Wrangler needs the right tools and materials. Having these ready saves time and makes the job easier. Each tool helps with a specific task during the installation.
Choosing quality materials ensures the lights work well and last long. Using the correct tools also keeps the wiring safe and secure. Below is a list of what you need before starting.
Basic Hand Tools
Start with simple hand tools like screwdrivers and pliers. A Phillips screwdriver helps remove panels or covers. Needle-nose pliers assist in gripping small wires or connectors.
A wire stripper is essential to remove insulation cleanly. Use a crimping tool to secure wire connectors firmly. A small socket set may help with bolts or screws.
Electrical Components
Gather wires rated for automotive use, usually 16 or 18 gauge. Connectors like butt connectors or quick disconnects join wires safely. Use a fuse holder with the correct fuse rating.
Electrical tape or heat shrink tubing protects wire connections from moisture. A relay may be needed to control the lights without overloading circuits. Make sure all parts fit the Jeep Wrangler’s electrical system.
Overhead Lights And Mounting Hardware
Choose overhead lights designed for Jeep Wranglers or similar vehicles. Check if mounting brackets or screws come with the lights. If not, buy brackets that match your Jeep’s roof design.
Double-check the lights’ size and brightness to suit your needs. Secure mounting hardware keeps the lights stable during off-road driving.
Testing And Safety Gear
Use a multimeter to test wiring and ensure correct voltage. Safety gloves protect your hands from sharp edges and electrical shocks. Safety glasses shield your eyes from debris while working.
Have a flashlight or headlamp for better visibility inside the Jeep. Keep a fire extinguisher nearby for extra safety during electrical work.
Safety Precautions
Working with your Jeep Wrangler’s electrical system needs care. Safety is the top priority before connecting overhead lights. Simple mistakes can cause shocks or damage. Following the right steps protects you and your vehicle.
Wear gloves to avoid electric shocks. Make sure the Jeep’s battery is disconnected. Use tools with insulated handles only. Avoid working in wet or damp areas. These steps reduce risks while handling wires.
Turn Off The Battery
Always disconnect the negative battery cable first. This stops electricity flow and prevents short circuits. Never skip this step, even for quick jobs. It keeps you safe from electric shocks.
Use Proper Tools
Choose tools made for electrical work. Insulated pliers and wire strippers reduce shock risk. Avoid using damaged or worn tools. Safe tools make wiring easier and safer.
Check Wire Conditions
Inspect wires for cuts or wear. Damaged wires can cause shorts or fires. Replace any faulty wires before connecting lights. Use wires with the right gauge for your lights.
Work In A Dry Environment
Never work on electrical parts in wet places. Water increases the chance of shocks. Choose a dry, well-lit space for the job. Good light helps you see wires clearly.
Follow Manufacturer Instructions
Read the overhead light instructions carefully. Use the recommended wiring and connectors. Incorrect connections may damage lights or the Jeep. Stick to the guide for best results.
Locating The Wiring Harness
Locating the wiring harness is the first step to connect overhead lights on a Jeep Wrangler. The wiring harness carries electricity and signals to the lights. Finding it makes the installation process easier and safer.
Jeep Wranglers have a specific place for the wiring harness. It is often hidden but easy to reach. Knowing where to look saves time and avoids damage to other parts.
Understanding The Wiring Harness Location
The wiring harness is usually under the roof liner of the Jeep. It runs along the frame near the doors or windshield. This location protects the wires from weather and movement.
Check the edges of the ceiling near the door frame. The harness may be inside a plastic cover or taped to the metal frame.
Tools Needed To Access The Wiring Harness
Use a trim removal tool or flat screwdriver to remove panels. Be gentle to avoid breaking clips or scratching surfaces. A flashlight helps to see in dark areas.
Wear gloves to protect your hands from sharp edges. Have a small container ready to hold screws and clips.
Steps To Locate The Wiring Harness
Start by opening the doors and removing roof panels if needed. Look for a bundle of wires wrapped in black tape or plastic tubing. Follow the wires carefully to find connection points.
Note the connectors and clips holding the harness in place. This helps during reassembly after installation.
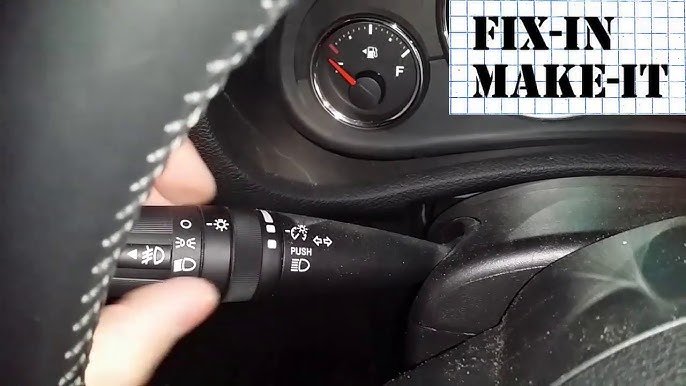
Credit: www.youtube.com
Removing The Old Overhead Lights
Removing the old overhead lights in your Jeep Wrangler is the first step to installing new ones. This task needs care to avoid damaging the vehicle’s interior. Follow a clear, simple process to make the job easier and safer.
Start by turning off the vehicle and disconnecting the battery. This prevents any electric shock or short circuit. Next, gather the right tools like a screwdriver and a plastic trim removal tool. These help remove the lights without harming the ceiling or wires.
Locate The Screws And Clips Holding The Light
Look closely at the light fixture for screws or clips. These usually hold the cover and the light in place. Use a flashlight if needed to see better. Unscrew or gently pry the clips to release the fixture.
Disconnect The Wiring Harness
Once the light fixture is loose, find the wiring harness behind it. Press the tab on the connector to unplug it carefully. Do not pull on the wires directly. Keep the wires safe for connecting new lights later.
Remove The Light Fixture Carefully
After disconnecting the wires, pull the old light out slowly. Check for any extra screws or clips holding it. Remove these before trying to take the light off completely. Set the old light aside in a safe place.
Preparing The New Lights For Installation
Preparing the new overhead lights for your Jeep Wrangler is the first important step. It helps ensure a smooth installation. Taking time now saves trouble later. Follow clear steps to get ready.
Start by checking the new lights. Make sure they match your Jeep model and are not damaged. Confirm all parts are included. Missing parts can stop the process.
Unboxing And Inspecting The Lights
Open the box carefully. Look for cracks or broken pieces. Check the wiring harness and connectors. Confirm the light lenses are clear and not scratched. Report any damage before starting.
Gathering Required Tools And Materials
Collect tools like screwdrivers, wire strippers, and electrical tape. You will also need connectors and zip ties. Having everything ready avoids interruptions. Keep tools within easy reach.
Reading The Manufacturer’s Instructions
Every light set has its own guide. Read the instructions fully. Understand the wiring diagram and mounting process. Follow the steps exactly to prevent mistakes. Keep the manual handy during installation.
Testing The Lights Before Installation
Connect the lights to a power source briefly. Check if they turn on and work properly. Test all functions like dimming or flashing. Fix any issues before mounting the lights on your Jeep.
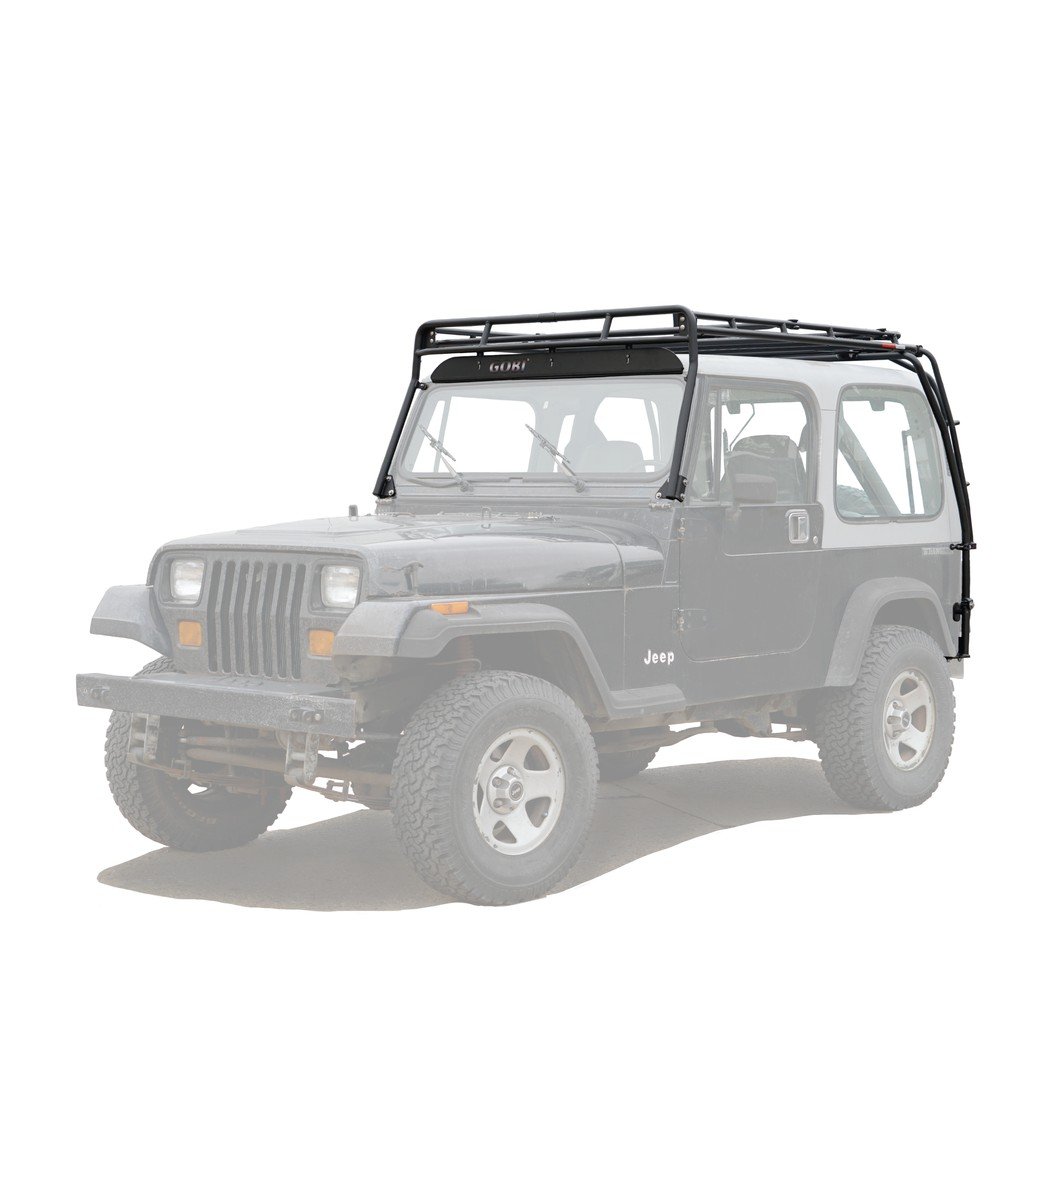
Credit: gobiracks.com
Connecting The Wiring
Connecting the wiring for overhead lights on your Jeep Wrangler is a key step. It ensures your lights work safely and correctly. Proper wiring keeps the electrical system stable. It also prevents shorts and other issues. This section guides you through matching wire colors and securing connections.
Matching Wire Colors
Start by identifying the wire colors on the Jeep and the new lights. Usually, black is ground, and red is power. Match the wires by color to avoid confusion. If colors differ, use a multimeter to check wires. Proper matching prevents electrical faults and ensures proper light function.
Using Connectors And Taping
Use quality connectors to join the wires. Crimp connectors or quick splice connectors work well. They create strong, reliable connections. After connecting, wrap the wires with electrical tape. This protects the wires from moisture and dirt. Taping also prevents wires from coming loose during driving.
Mounting The Overhead Lights
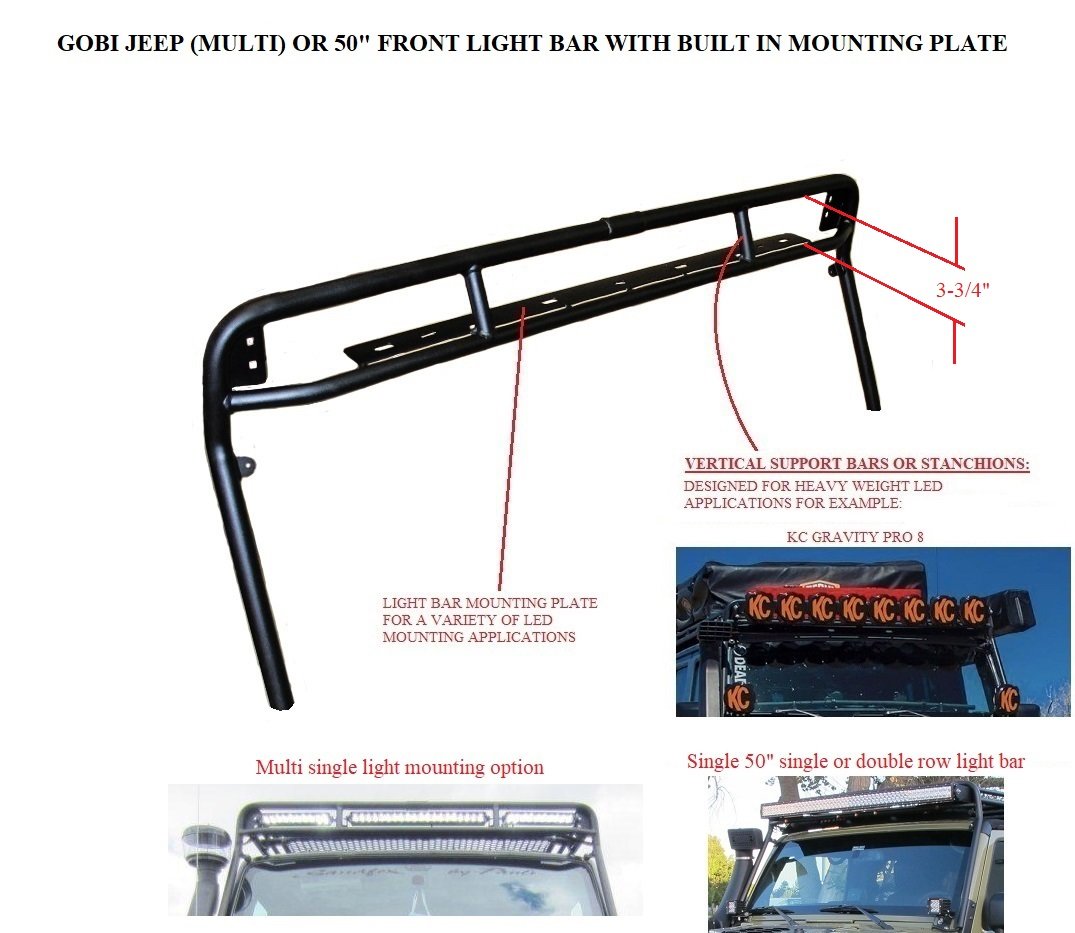
Start by mounting the light bar or lamps securely on the Jeep Wrangler's roof or front frame. Connect the wiring harness to the battery and switch, ensuring all connections are tight and insulated.
Test the lights before finalizing the installation for safety.
Choosing The Right Mounting Location
Select a flat surface on your Jeep Wrangler’s interior roof. This spot must support the light’s weight securely. Common areas include near the roll bar or center of the roof. Make sure wires can reach the power source easily. Avoid spots where the light blocks your view or head space.
Gathering Necessary Tools And Materials
Prepare the tools before starting. You will need a drill, screws, mounting brackets, and a screwdriver. Use a measuring tape to mark the exact spot. Have electrical tape and wire connectors ready for wiring. Use a step ladder for safety and better access.
Installing The Mounting Brackets
Hold the bracket in place and mark screw holes. Drill small pilot holes to avoid cracking the surface. Attach the bracket firmly using screws. Check for a tight fit to prevent movement. Repeat for all brackets if the light uses more than one.
Securing The Overhead Lights
Align the light with the mounted brackets carefully. Snap or screw the light into the brackets. Double-check the light is stable and does not wobble. Adjust the angle for the best lighting coverage. Tighten any loose screws to ensure safety.
Testing The Lights
Testing the lights after installation is a key step for safety and function. It ensures the overhead lights work properly on your Jeep Wrangler. This step helps catch wiring or connection problems early. Take time to do it carefully.
Turn On The Jeep’s Power
Start by turning on your Jeep’s ignition. This activates the electrical system. Check that the dashboard lights come on. This shows power is flowing to the circuits.
Switch On The Overhead Lights
Use the installed switch or button to turn on the overhead lights. Watch the lights closely. They should glow brightly and steadily. Flickering means a loose wire or poor connection.
Inspect Each Light Individually
Test each overhead light one by one. Make sure all bulbs light up. If a bulb is dim or not working, replace it. Confirm all connections at the bulb sockets are tight.
Check For Electrical Issues
Look for signs of short circuits or blown fuses. A blown fuse can stop lights from working. Use a multimeter to test voltage at the wires. Proper voltage means correct wiring.
Adjust Light Position And Brightness
After testing, adjust the light direction if needed. Make sure the light covers the desired area inside the Jeep. Confirm brightness suits your needs without glare.
Troubleshooting Common Issues
Troubleshooting common issues helps keep your Jeep Wrangler’s overhead lights working well. Simple problems can stop your lights from turning on or cause flickering. Fixing these issues saves time and avoids costly repairs.
Check each part carefully. Follow clear steps. Find the problem fast and fix it easily.
Lights Not Turning On
First, check the fuse. A blown fuse often stops the lights from working. Replace it with the same type and rating.
Next, test the wiring. Look for loose or broken wires. Tighten connections or replace damaged wires.
Also, check the light switch. Sometimes it wears out or gets dirty inside. Clean or replace the switch if needed.
Lastly, inspect the bulbs. Burned-out bulbs need replacement. Use the correct bulb for your Jeep model.
Flickering Or Dim Lights
Flickering lights usually mean a bad connection. Check all wiring and connectors for tightness and corrosion.
Dirty or loose ground wires cause dim lights. Clean the ground points and secure wires well.
Weak battery voltage can also dim lights. Test the battery and charging system for proper power.
Sometimes, a faulty switch or dimmer causes flickering. Replace worn switches to fix the issue.
Credit: gobiracks.com
<!– wp:rank-math/faq-block {"questions":[{"id":"faq-question-00e3cc05c14b","title":"How Do I Wire Overhead Lights On A Jeep Wrangler?","content":"To wire overhead lights, first disconnect the battery. Locate the vehicle’s fuse box and use a wiring harness. Connect the positive wire to a switched power source and the negative wire to a ground point. Secure all connections and test the lights before reassembling.
“,”visible”:true},{“id”:”faq-question-5e6031e9e60f”,”title”:”What Tools Are Needed To Install Jeep Wrangler Overhead Lights?”,”content”:”You need wire strippers, crimp connectors, a multimeter, electrical tape, and screwdrivers. A drill may be required to mount the lights. These tools ensure a safe, secure, and efficient installation process for overhead lights on your Jeep Wrangler.
“,”visible”:true},{“id”:”faq-question-6ea9abef2677″,”title”:”Can I Connect Overhead Lights Without Professional Help?”,”content”:”Yes, with basic electrical knowledge and proper tools, you can connect overhead lights yourself. Follow wiring diagrams carefully and ensure power is off during installation. If unsure, consult a professional to avoid damage or safety hazards.
“,”visible”:true},{“id”:”faq-question-cee70713f3e2″,”title”:”Where Is The Best Place To Mount Overhead Lights On A Jeep?”,”content”:”Mount overhead lights on the roll bar or roof rack for optimal visibility. Ensure the mounting area is sturdy and does not obstruct your view. Proper placement improves safety and lighting effectiveness during night driving or off-roading.
“,”visible”:true}]} –>How Do I Wire Overhead Lights On A Jeep Wrangler?
To wire overhead lights, first disconnect the battery. Locate the vehicle’s fuse box and use a wiring harness. Connect the positive wire to a switched power source and the negative wire to a ground point. Secure all connections and test the lights before reassembling.
What Tools Are Needed To Install Jeep Wrangler Overhead Lights?
You need wire strippers, crimp connectors, a multimeter, electrical tape, and screwdrivers. A drill may be required to mount the lights. These tools ensure a safe, secure, and efficient installation process for overhead lights on your Jeep Wrangler.
Can I Connect Overhead Lights Without Professional Help?
Yes, with basic electrical knowledge and proper tools, you can connect overhead lights yourself. Follow wiring diagrams carefully and ensure power is off during installation. If unsure, consult a professional to avoid damage or safety hazards.
Where Is The Best Place To Mount Overhead Lights On A Jeep?
Mount overhead lights on the roll bar or roof rack for optimal visibility. Ensure the mounting area is sturdy and does not obstruct your view. Proper placement improves safety and lighting effectiveness during night driving or off-roading.
Conclusion
Connecting overhead lights on your Jeep Wrangler is simple and rewarding. Follow the steps carefully to avoid mistakes.
Use the right tools and parts for safety. Double-check all wires before turning on the power.
Test the lights to make sure they work well.
This upgrade helps you see better on dark roads. Enjoy your Jeep with improved lighting and style.
Keep your wiring tidy to prevent future issues. Stay safe and confident on every ride.