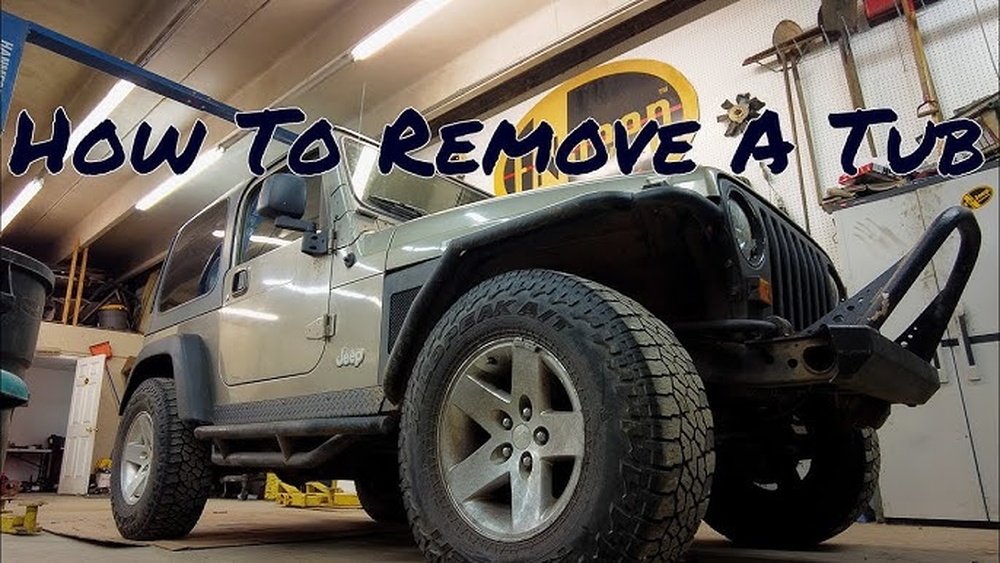
Removing the body from a Jeep TJ frame is a big job, but it’s a common task for restoration, rust repair, or frame upgrades. If you want to tackle this project yourself, the process demands careful planning, the right tools, and some mechanical skill.
Many Jeep TJ owners do this to fix hidden rust or swap frames, but it’s essential to know what’s involved before you begin. This article walks you through the steps, highlights practical tips, and points out mistakes to avoid.
If you approach the job with patience and safety, you can save money and learn more about your vehicle.
Preparing For The Body Removal
Before you start, gather the necessary tools and supplies. You’ll need:
- Socket and wrench set
- Screwdrivers
- Penetrating oil (for rusty bolts)
- Floor jack and jack stands
- Engine hoist or lifting straps
- Zip-lock bags and labels for bolts
- Safety gear (gloves, goggles)
It’s smart to clear your workspace. Make sure you have enough room to move around the Jeep, and a safe place to set the body once it’s removed.
Key Safety Steps
- Disconnect the battery to prevent electrical shorts.
- Remove or secure any flammable materials.
- Wear protective gear and keep a fire extinguisher nearby.
A common mistake is forgetting to label bolts or cables. This makes reassembly difficult.
Use bags and labels for everything you remove.
Disconnecting Components
You must disconnect all parts linking the body to the frame. This includes electrical, fuel, and mechanical connections.
Electrical Connections
- Remove wiring harnesses under the hood.
- Unplug tail light and fuel pump wires in the rear.
- Label each connector for easy reinstallation.
Fuel And Brake Lines
- Disconnect fuel filler neck and vent hoses.
- Remove brake lines from the body. Plug ends to prevent leaks.
Steering And Suspension
- Unbolt the steering shaft from the steering box.
- Remove shocks or body-mounted suspension brackets if needed.
Radiator And Ac
- Drain coolant and disconnect radiator hoses.
- If your Jeep has AC, disconnect lines carefully to avoid damage.
Data Table: Common Connections To Remove
| Component | Location | Removal Tip |
|---|---|---|
| Wiring harness | Firewall, rear tub | Label all plugs |
| Fuel filler neck | Rear quarter | Use pliers, avoid twisting |
| Brake lines | Frame rails | Plug ends after removal |

Removing Body Mount Bolts
The Jeep TJ body is secured with bolts at key points. Most models have 11 body mount bolts. These can be rusty, so use penetrating oil and allow time for it to work.
Body Mount Locations
- Six along the sides (three per side)
- Two at the front (near radiator support)
- Three at the rear (under trunk area)
Use a socket and breaker bar for stubborn bolts. If a bolt snaps, you may need to drill out the remains.
This is a common challenge in older Jeeps.
Data Table: Body Mount Bolt Sizes
| Mount Location | Bolt Size | Difficulty Level |
|---|---|---|
| Side mounts | 18mm | Medium |
| Front mounts | 15mm | Easy |
| Rear mounts | 18mm | Hard (often rusted) |
Lifting The Body Off The Frame
Once all connections and bolts are removed, you can lift the body. This step is where most people need help.
Lifting Options
- Engine hoist: Attach lifting straps to strong points (door openings or roll bar). Slowly lift, checking for missed connections.
- Manual lift: With 4–6 people, lift the body evenly and set it aside.
Always double-check for anything still attached. If the body doesn’t lift easily, stop and look for missed bolts or wires.
Data Table: Lifting Methods
| Method | People Needed | Safety Risk |
|---|---|---|
| Engine hoist | 1-2 | Low |
| Manual lift | 4-6 | Medium |

Practical Tips For Success
- Take photos before and during disassembly. This helps with reassembly.
- Keep all bolts and brackets organized by location.
- Don’t rush the process; patience prevents mistakes.
- Inspect the frame for rust or damage once the body is off.
One non-obvious insight: the Jeep TJ’s wiring is routed differently depending on year and trim. Always check a wiring diagram for your specific Jeep (see Jeep official site for resources).
Another tip: If you plan to work on the frame (painting, repair), clean it thoroughly now. It’s much easier with the body removed.
Reassembly Considerations
When you’re ready to put the body back, reverse the removal process. Check all mounts, connections, and lines.
Replace worn bushings or bolts for safety. Test all electrical systems before final tightening.
Many people forget to reconnect ground straps, leading to electrical issues. Double-check these before driving.

Frequently Asked Questions
How Long Does It Take To Remove A Jeep Tj Body?
Most DIYers need 8–16 hours spread over a weekend. Experience, rust, and tools can speed up or slow down the process.
What Are The Main Risks During Body Removal?
The biggest risks are injury from lifting and damaging wiring or lines. Always work with helpers, use proper lifting gear, and double-check all connections.
Can I Remove The Body Alone?
It’s possible with an engine hoist, but not recommended. The body is heavy and awkward. At least one helper makes it safer and easier.
Do I Need Special Tools?
Most steps use basic hand tools, but a hoist or lifting straps are essential. Penetrating oil and a breaker bar help with rusted bolts.
Will Removing The Body Affect My Jeep’s Value?
If done carefully, it can increase value by allowing for repairs. Sloppy work or damage will lower value. Always document your process and keep parts organized.
Removing the Jeep TJ body from its frame is a challenging job, but it’s manageable with good planning and patience. By following these steps and tips, you’ll protect your Jeep and make future repairs easier. Always prioritize safety, and don’t hesitate to ask for help. With the right approach, your project can be a success and give your Jeep a new lease on life.