Removing the Jeep door wiring harness is a task many owners face, especially when upgrading speakers, fixing electrical issues, or converting to half doors. This process can seem intimidating, but with the right guidance, even beginners can do it safely and efficiently.
Below, you’ll find a step-by-step approach, practical advice, and answers to common questions. Whether you own a Jeep Wrangler, Cherokee, or another model, the basics remain similar, though always check your vehicle’s manual for exact details.
Why Remove The Jeep Door Wiring Harness?
The door wiring harness connects your Jeep’s door electronics to the main body. This includes power windows, door locks, mirrors, and sometimes speakers or airbags. Removing it is often necessary when:
- Replacing damaged wires or connectors
- Installing aftermarket accessories
- Swapping doors (for off-road use or repairs)
- Troubleshooting electrical faults
Doing this correctly prevents accidental damage to wires, connectors, or even the vehicle’s electrical system.
Tools And Preparation
Before starting, gather these essential tools:
- Trim removal tool
- Phillips screwdriver
- Torx bits (usually T20 or T30)
- Needle-nose pliers
- Electrical tape
- Gloves (optional, but recommended)
Turn off the vehicle and disconnect the negative battery terminal for safety. This step protects you and the Jeep’s electronics.
Step-by-step Process
1. Remove The Door Panel
Most Jeep models require removing the interior door panel to access the harness.
- Use a trim removal tool to gently pry off the panel.
- Remove screws (usually hidden behind handles or covers).
- Carefully lift the panel away, watching for clips and connectors.
2. Locate The Wiring Harness Connector
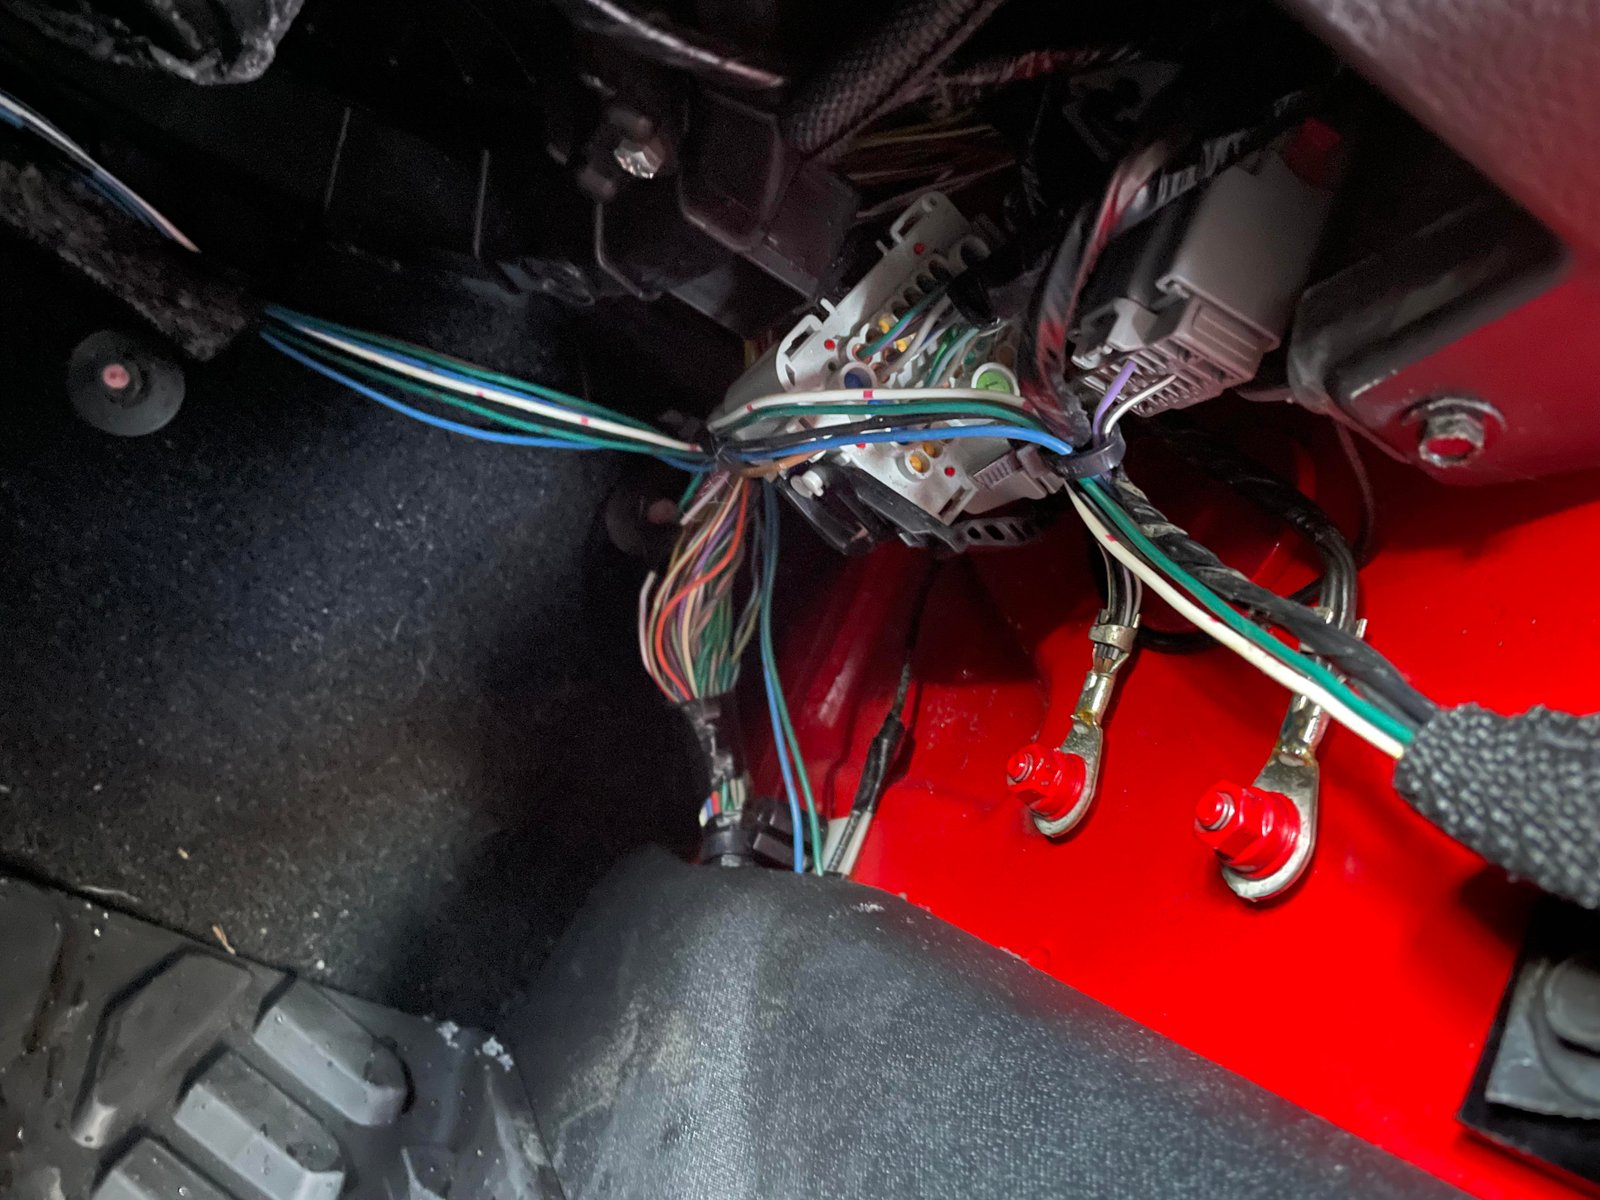
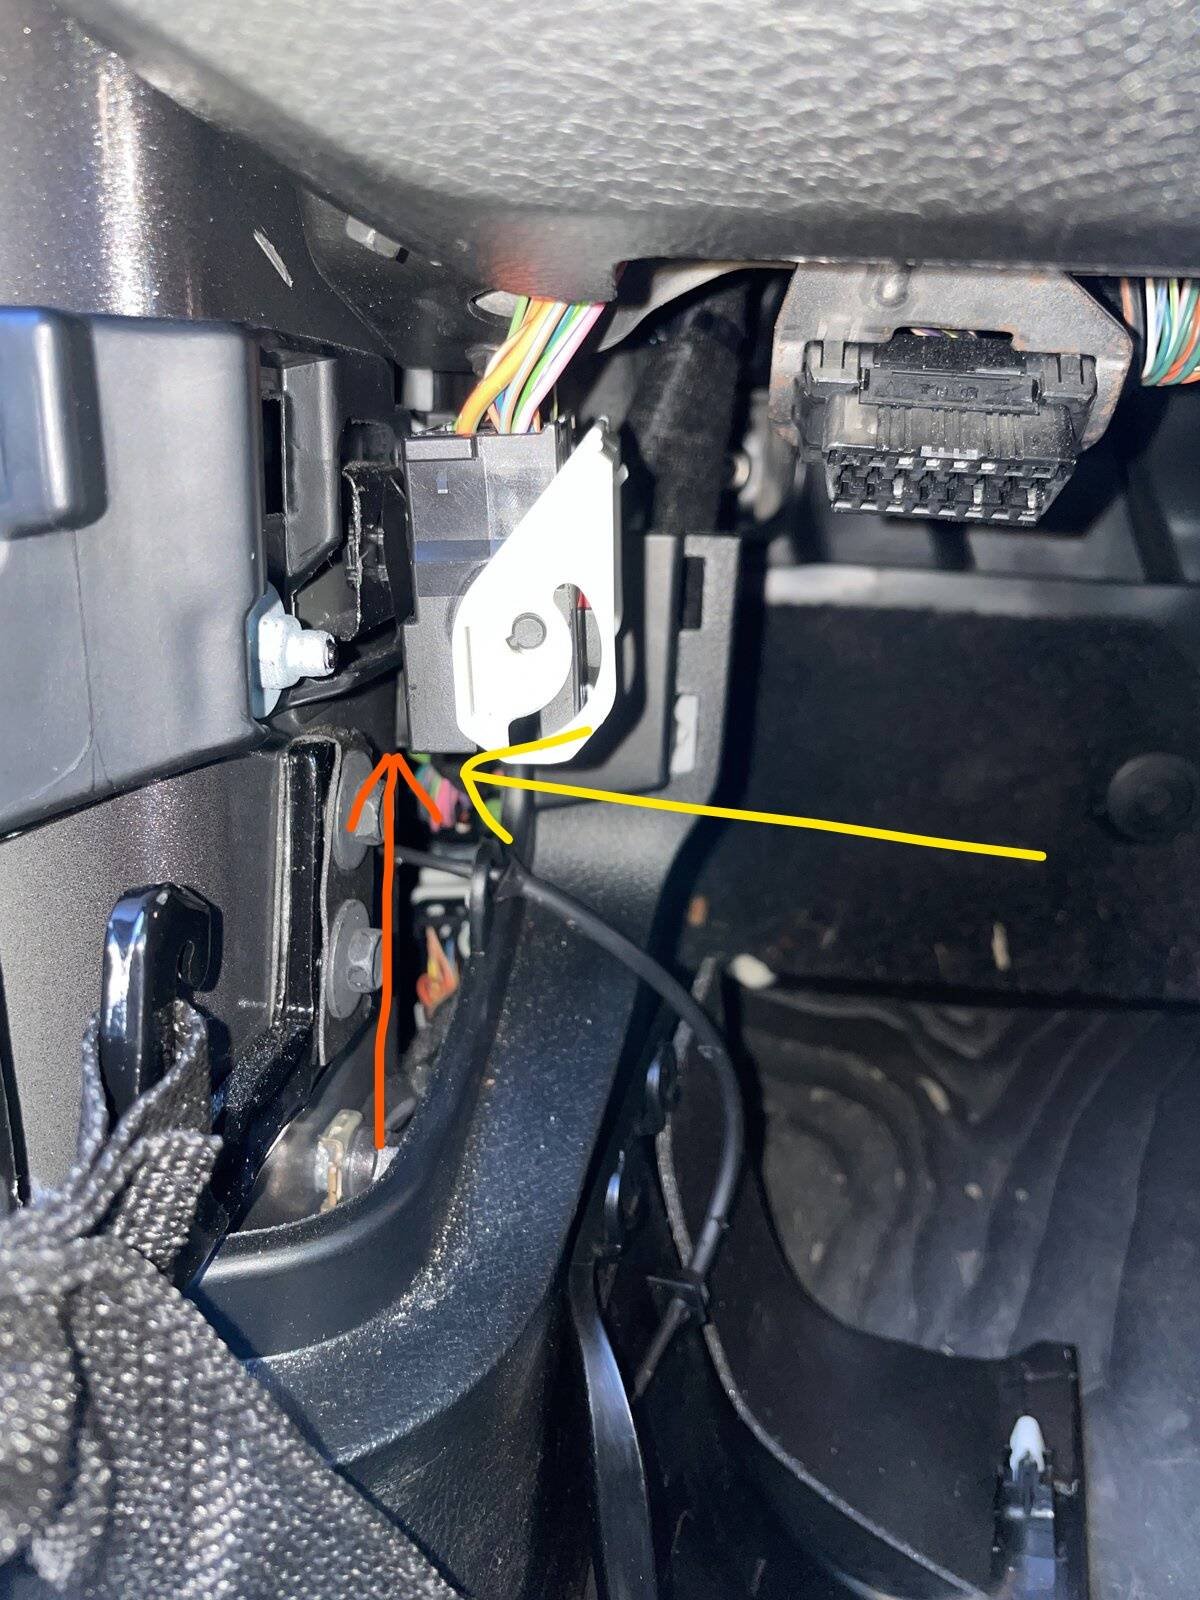
The main connector is typically near the door hinge. On Wranglers, it’s behind a rubber boot connecting the door and the body. Other models may use a plastic cover.
- Slide or pull back the boot to reveal the connector.
- Inspect for locking tabs or clips.
3. Disconnect The Harness
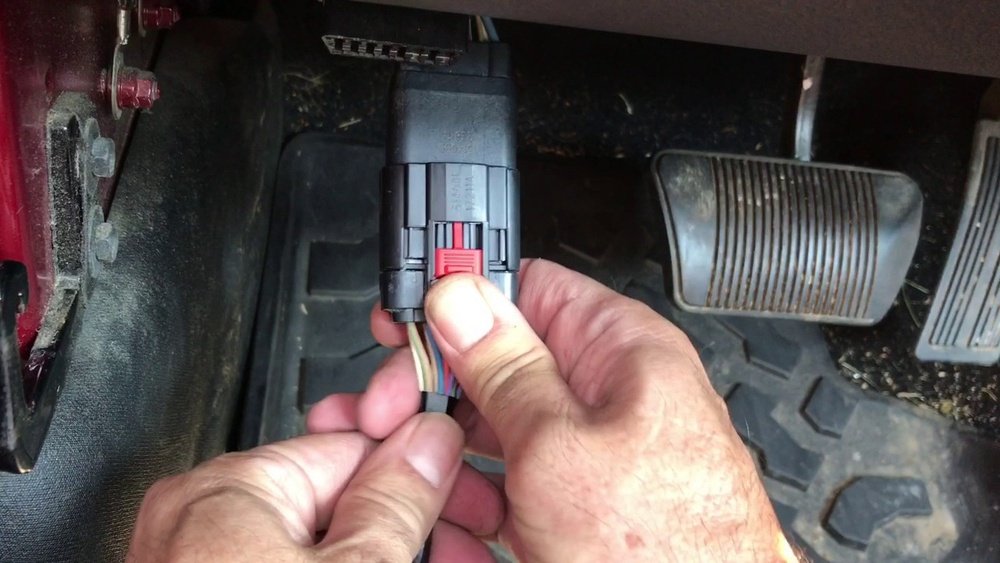
- Press the release tab on the connector.
- Pull the connector apart gently. Avoid yanking wires.
- Use needle-nose pliers if the tab is difficult to reach.
Some connectors may require sliding a red “lock” before releasing. Refer to your Jeep manual if unsure.
4. Remove The Harness From The Door
- Trace the harness inside the door. It may be clipped or zip-tied in place.
- Undo clips and ties. Keep them for reuse.
- Carefully pull the harness out. Don’t force—if stuck, check for hidden fasteners.
5. Inspect And Replace (if Needed)
If you’re swapping or repairing, compare the old harness with the new one.
Here’s a quick comparison table for factory vs aftermarket wiring harnesses:
| Feature | Factory Harness | Aftermarket Harness |
|---|---|---|
| Fit | Perfect, OEM spec | May require adjustments |
| Quality | High, meets standards | Varies by brand |
| Warranty | Usually included | Depends on seller |
| Cost | More expensive | Lower, but less consistent |
6. Reinstall Or Finish
If reinstalling the same harness, reverse the steps:
- Insert the harness, secure clips and ties.
- Connect the harness to the body connector. Ensure it clicks into place.
- Replace the door panel and screws.
- Reconnect the battery and test all door electronics.
Common Mistakes And How To Avoid Them
Many beginners overlook small details that can lead to problems. Here are two non-obvious mistakes to avoid:
- Skipping battery disconnection: Even if you think the job is simple, a live wire can cause shorts or shocks.
- Forgetting clip locations: Take photos before removing clips and ties. This helps you reinstall everything in the correct spot.
Another tip: If you struggle with a connector, never force it. Instead, use a flashlight to check for extra locking tabs.

Practical Tips For Success
- Label connectors if you’re working on multiple doors. This prevents confusion later.
- Keep all screws and clips in a tray or bag. Losing even one can affect panel fit.
- If you’re installing an aftermarket harness, check pin alignment. Jeep connectors have unique layouts—compare old and new side by side before plugging in.
Here’s a quick table showing estimated time for different Jeep models:
| Model | Time (minutes) | Difficulty |
|---|---|---|
| Wrangler JK | 30-45 | Moderate |
| Cherokee XJ | 20-35 | Easy |
| Grand Cherokee | 40-60 | Challenging |
When To Seek Professional Help
If you notice corroded wires, damaged connectors, or if your Jeep has airbags in the door, consider professional help. Airbag wires are sensitive and mistakes can be costly. Also, if your door electronics don’t work after reinstallation, a technician can diagnose deeper issues.
For official guidance, check out the Jeep Owners Site.
Frequently Asked Questions
How Do I Know If My Jeep Door Wiring Harness Needs Replacing?
Look for signs like malfunctioning windows, door locks, or visible damage to wires. If only one function fails, check the connector first.
Can I Drive Without The Door Wiring Harness Connected?
Yes, but you’ll lose power functions and possibly trigger dashboard warning lights. This is common for off-road use, but reconnect before street driving.
What’s The Cost To Replace A Jeep Door Wiring Harness?
On average, factory harnesses cost $80–$200 per door. Aftermarket versions may be cheaper but vary in quality.
Are All Jeep Door Wiring Harnesses The Same?
No. Different models and years have unique connectors and pin layouts. Always match the harness to your Jeep’s VIN or consult your manual.
How Do I Prevent Damage When Removing The Harness?
Disconnect the battery, use proper tools, and avoid pulling directly on wires. Take your time rushing leads to mistakes.
Removing a Jeep door wiring harness is a manageable task if you follow careful steps and stay organized. Many owners find this project boosts their confidence for other repairs. With the right tools and a bit of patience, you can save money and avoid electrical problems down the road. Always double-check your connections and test all features before finishing.