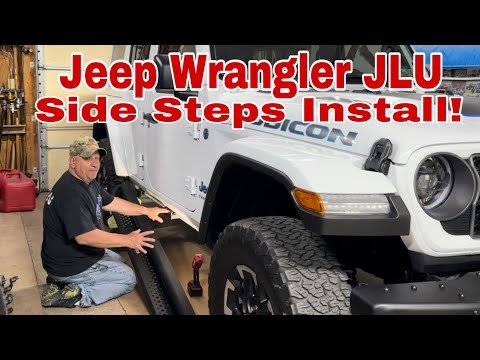
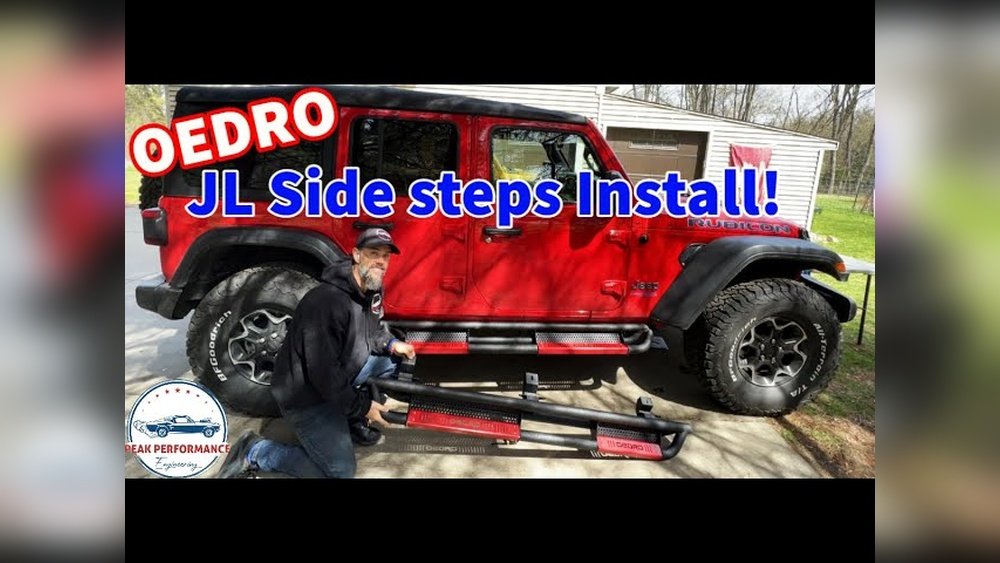
Installing side steps on your Jeep Wrangler is more than just a style upgrade. It’s a practical choice for easier entry, added protection, and improved off-road experience.
Many Wrangler owners install side steps themselves to save money and customize their vehicle. This guide explains every step clearly, so you can confidently install side steps—even if you’re new to car DIY.
Choosing The Right Side Steps
Before you begin, select the best side steps for your needs. There are several types, each offering different advantages.
| Type | Material | Main Benefits |
|---|---|---|
| Running Boards | Aluminum, Steel | Wide step, easy access |
| Nerf Bars | Stainless Steel | Sleek look, good for off-road |
| Rock Sliders | Heavy-duty Steel | Protection from rocks, heavy use |
Running boards are popular for families, especially if you have kids or older passengers. They offer a broad surface and often include a non-slip finish. Nerf bars are slimmer and are good for drivers who want a stylish look without sacrificing much clearance. Rock sliders are ideal for heavy off-roading; they protect your Jeep’s body from rocks and debris and can support the weight of the vehicle if you need to jack it up off-road.
It’s also smart to consider the finish of your side steps. Powder-coated steps resist rust and scratches, while polished metal looks shiny but may require more cleaning.
Most Wrangler side steps fit models from 2007 onward, but check compatibility before buying.
Look for kits that mention your exact model year and body style. This avoids the frustration of dealing with mismatched hardware or brackets.
Preparing For Installation
Proper preparation prevents common mistakes and saves time.
Tools you’ll need:
- Socket wrench set
- Screwdrivers
- Torque wrench
- Safety gloves
- Jack stands (optional, for higher clearance)
Check your side step kit: It should include brackets, bolts, and instructions. If parts are missing, contact your supplier before starting. Take a few minutes to lay out all the components and match them to the instructions. This makes the installation smoother and helps spot any missing pieces early.
Safety tip: Park your Jeep on a flat surface. Turn off the engine, engage the parking brake, and, if needed, use jack stands for easier access. If you’re working outdoors, place wheel chocks behind the tires as an extra safety measure. Wearing gloves can protect your hands from sharp edges, especially on steel brackets.
Another overlooked detail is lighting. Good lighting makes it easier to see under the vehicle and avoid mistakes.
If you don’t have bright daylight, use a portable LED work light.
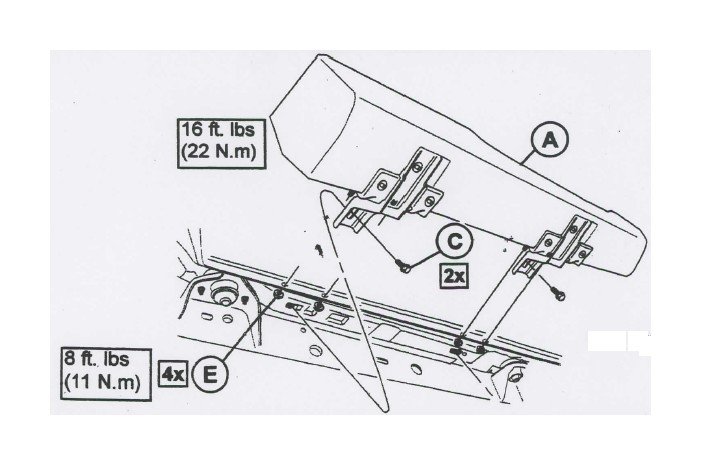
Step-by-step Installation Process
Follow these steps for a secure and professional result.
1. Locate Mounting Points
Most Jeep Wranglers have pre-drilled holes under the rocker panels for side step installation. If your model does not, you may need to drill new holes. Refer to your vehicle manual for exact locations. Clean the mounting area before you begin—dirt or rust can affect how well the brackets fit.
2. Attach Mounting Brackets
- Line up the brackets with the mounting points.
- Use the bolts from your kit to secure them loosely. Don’t tighten yet; this lets you adjust alignment later.
If your kit includes washers, place them between the bolt head and the bracket. This helps distribute force and keeps bolts from loosening.
3. Position The Side Steps
- Place the side steps onto the brackets.
- Make sure the steps are straight and evenly spaced from the body.
It helps to have another person hold the side step while you check the alignment. If you’re alone, use a level or measure the distance from the body to the step at both ends.
4. Secure Everything
- Tighten all bolts using a torque wrench to manufacturer specifications.
- Re-check alignment. Proper torque prevents loosening during driving.
Check the instructions for torque settings. Tightening bolts too much can strip threads; too little can cause the steps to wobble.
5. Final Checks
- Step on the installed side steps gently to check stability.
- Inspect for any gaps or misalignment.
- Clean up tools and packaging.
Look for any signs of pinched wiring or hoses under the vehicle. Sometimes, parts can shift during installation and block other components.
Here’s a quick comparison of installation difficulty for different Jeep Wrangler models:
| Model Year | Mounting Points | Average Install Time |
|---|---|---|
| 2007–2017 (JK) | Pre-drilled | 45 minutes |
| 2018–present (JL) | Pre-drilled | 40 minutes |
| Older models | May need drilling | 60–90 minutes |
If you have an older Jeep, be ready to spend extra time. Drilling new holes requires careful measurement and the right bit size.
Always check behind the panel before drilling to avoid damaging wires or brake lines.
Practical Tips For A Smooth Installation
- Double-check bolt sizes before starting. Jeep Wranglers often use metric bolts; mixing up sizes can cause damage.
- Don’t over-tighten bolts. Too much force can strip threads, making future removal difficult.
- If you live in a cold climate, apply anti-rust spray to mounting areas. This prevents corrosion over time.
- Test the steps with someone heavier than you to ensure they hold up under real-world use.
- Keep the instructions handy. Many kits have unique steps or brackets.
Another practical tip: Use a small dab of thread-locker on bolts if you drive off-road often. This prevents bolts from shaking loose. If your kit has plastic end caps, attach them last—they prevent water from getting inside hollow steps.
A common mistake is rushing the process. Even experienced DIYers sometimes miss small details, like aligning steps evenly.
Take your time for best results. If you notice a gap or the step isn’t flush with the body, loosen and readjust before final tightening.

Common Side Step Issues And Solutions
After installation, some owners notice rattling, uneven steps, or rust. Here’s how to solve them:
| Problem | Possible Cause | Solution |
|---|---|---|
| Rattling | Loose bolts | Re-torque bolts, check all connections |
| Uneven steps | Poor alignment | Loosen bolts, adjust position, retighten |
| Rust | No anti-rust treatment | Apply anti-rust spray, clean regularly |
If you face persistent issues, consult your side step manufacturer or a professional mechanic. Some Jeep forums offer helpful advice and installation videos, such as ExtremeTerrain.
For minor rust, use a wire brush to clean affected spots, then apply touch-up paint and anti-rust spray. If steps rattle even after tightening, check for missing washers or damaged brackets.
Sometimes, road debris can get stuck between the step and the body remove it to stop unwanted noise.
Frequently Asked Questions
How Long Does It Take To Install Side Steps On A Jeep Wrangler?
Most installations take 40–60 minutes for newer models with pre-drilled holes. Older Jeeps may require more time, especially if drilling is needed. If you’re new to DIY, add another 15–20 minutes for setup and cleanup.
Can I Install Side Steps Alone, Or Do I Need Help?
You can install side steps alone, but having a helper makes it easier to hold parts and align the steps. For heavy-duty rock sliders, two people are recommended.
If you don’t have help, use a sturdy box or jack to support the step while you bolt it in place.
Do Side Steps Affect Off-road Performance?
High-quality side steps, especially rock sliders, can protect your Jeep during off-road driving. Avoid wide running boards if you need maximum ground clearance. Choose steps that sit close to the body for best off-road clearance.
What Maintenance Do Side Steps Need?
Regular cleaning and checking bolts for tightness is important. In areas with snow or salt, apply anti-rust spray to prevent corrosion.
If you notice any chips or scratches, touch them up to keep rust away.
Are Side Steps Compatible With All Jeep Wrangler Models?
Most side steps fit JK and JL models. For older Jeeps, check product descriptions carefully or ask the manufacturer. Some brands offer custom brackets for rare models, so ask if you don’t see your year listed.
Installing side steps on your Jeep Wrangler is a smart way to boost both function and style. With careful preparation and the right tools, you can complete the job in under an hour.
Remember to check your work, maintain the steps, and enjoy easier access to your vehicle whether you're driving in the city or on the trail.
And with a bit of patience, you’ll avoid common mistakes and get a professional result that lasts for years.