If you own a Jeep TJ, you know the freedom of driving with the top down. But when the weather changes, installing the soft top frame becomes essential.
Many beginners feel unsure about this process. The good news: with the right guidance, you can install your Jeep TJ soft top frame quickly and safely.
This article will walk you through every step, highlight key tips, and share practical insights many guides miss. You’ll also see clear comparisons and answers to common questions.
Understanding The Soft Top Frame
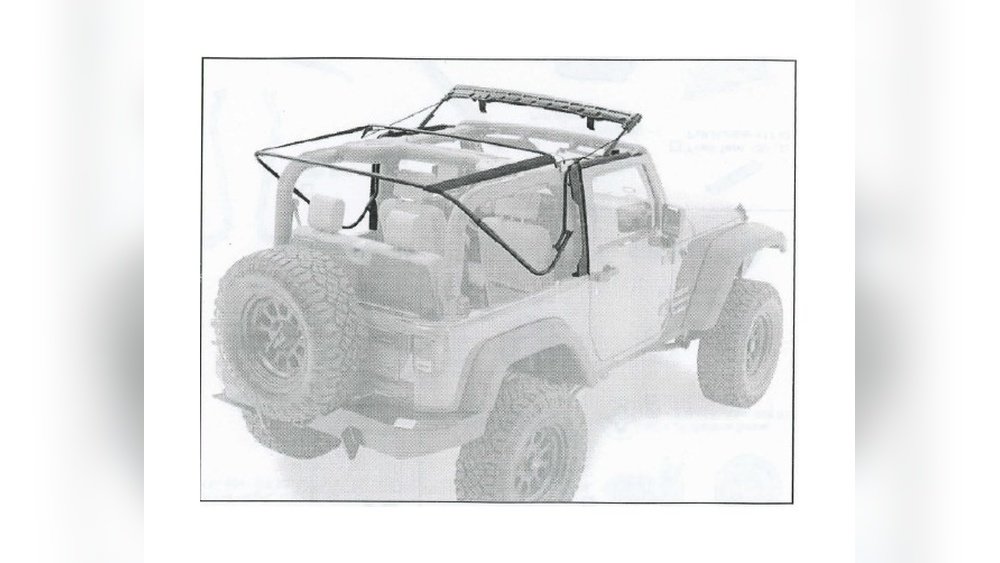
The soft top frame is the skeleton that supports your Jeep’s fabric roof. It keeps the top secure, protects you from rain and wind, and lets you switch between open-air and covered driving. Jeep TJ models (1997–2006) use a frame that folds and locks in place.
Let’s compare the main frame types:
| Frame Type | Material | Weight | Durability |
|---|---|---|---|
| Factory Original | Steel/Aluminum | Approx. 25 lbs | High |
| Aftermarket | Aluminum | Approx. 18 lbs | Moderate-High |
Most owners stick with the factory original. Aftermarket frames are lighter but may fit less tightly. Always check compatibility for your TJ year.
Tools And Preparation
Before starting, gather these tools:
- Socket wrench set (10mm and 13mm)
- Phillips screwdriver
- Torx driver (T30)
- Lubricant (like WD-40)
- Protective gloves
Choose a clean, flat space. Lay out all frame parts and hardware.
If you’re reusing an old frame, inspect for rust or bent pieces.
Here’s a quick checklist for preparation:
| Task | Estimated Time | Purpose |
|---|---|---|
| Inspect parts | 5 min | Check for damage |
| Organize hardware | 3 min | Avoid missing bolts |
| Clear workspace | 2 min | Ensure safety |
Step-by-step Installation Process
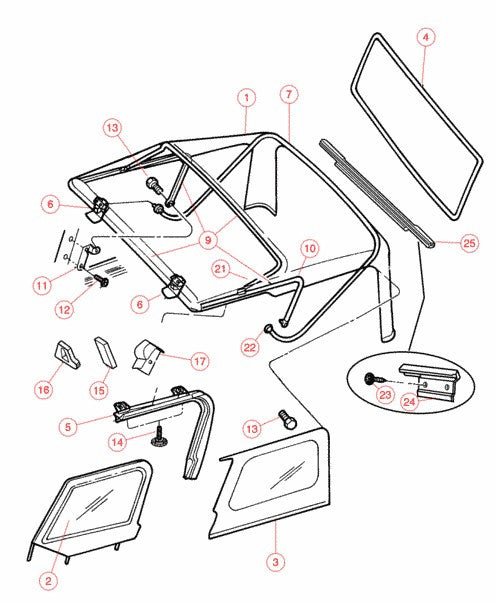
Installing the Jeep TJ soft top frame is easier if you follow each step carefully. Here’s a simple guide:
- Remove Old Top and Frame
- If your Jeep already has a top, unzip windows and detach the fabric.
- Use the socket wrench to remove bolts holding the old frame.
- Clean the mounting areas with a cloth.
- Attach Door Surrounds
- Position the door surrounds on each side.
- Secure with factory screws using a Phillips screwdriver.
- Make sure the surrounds sit flush for a tight seal.
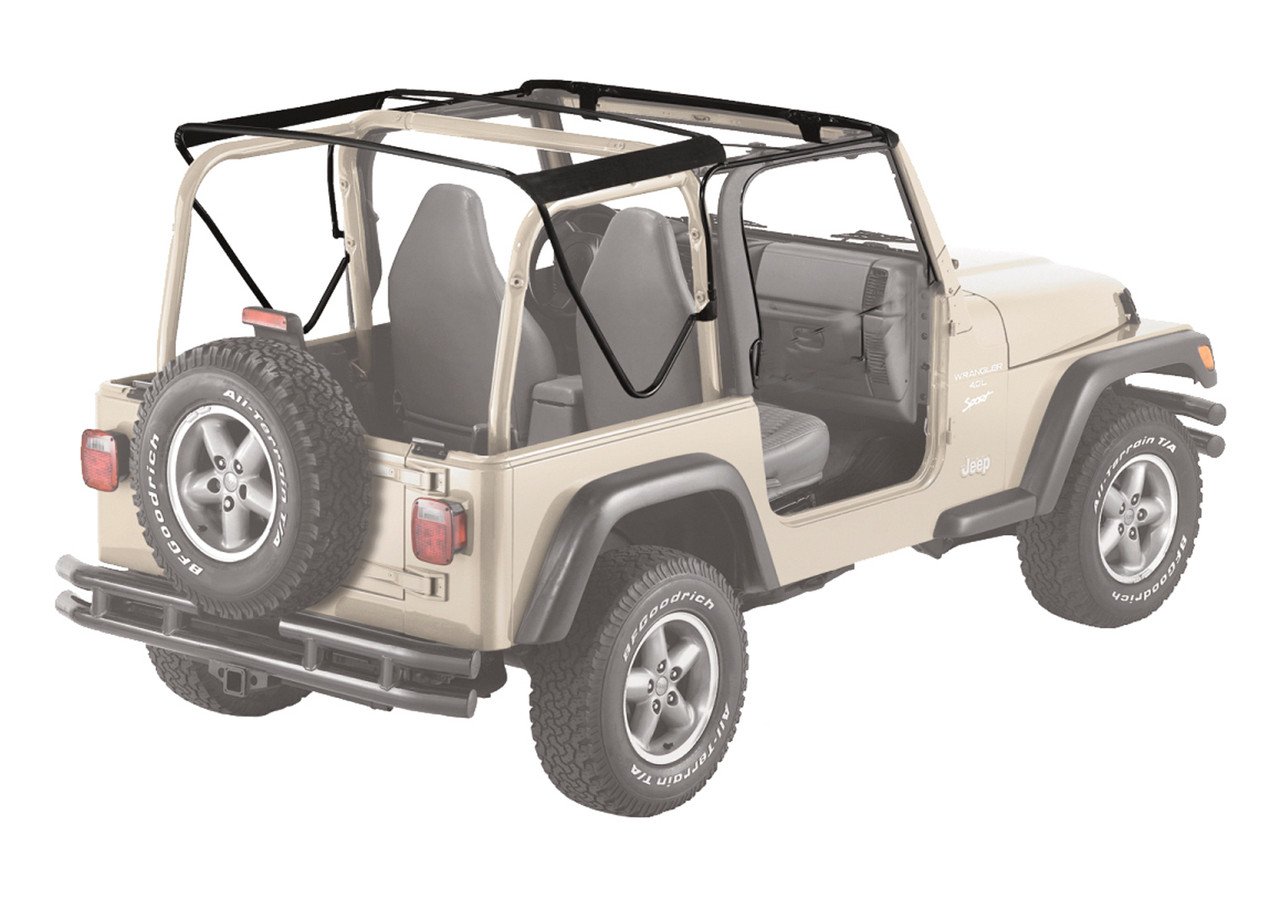
- Install Main Frame Assembly
- Place the main frame over the mounting points behind the seats.
- Align holes and insert bolts (usually 10mm).
- Tighten evenly. Avoid over-tightening—this can bend the frame.
- Connect Side Bows
- Attach the side bows to the main frame using Torx bolts.
- Lubricate pivot points for smooth folding.
- Test movement; the frame should fold easily.
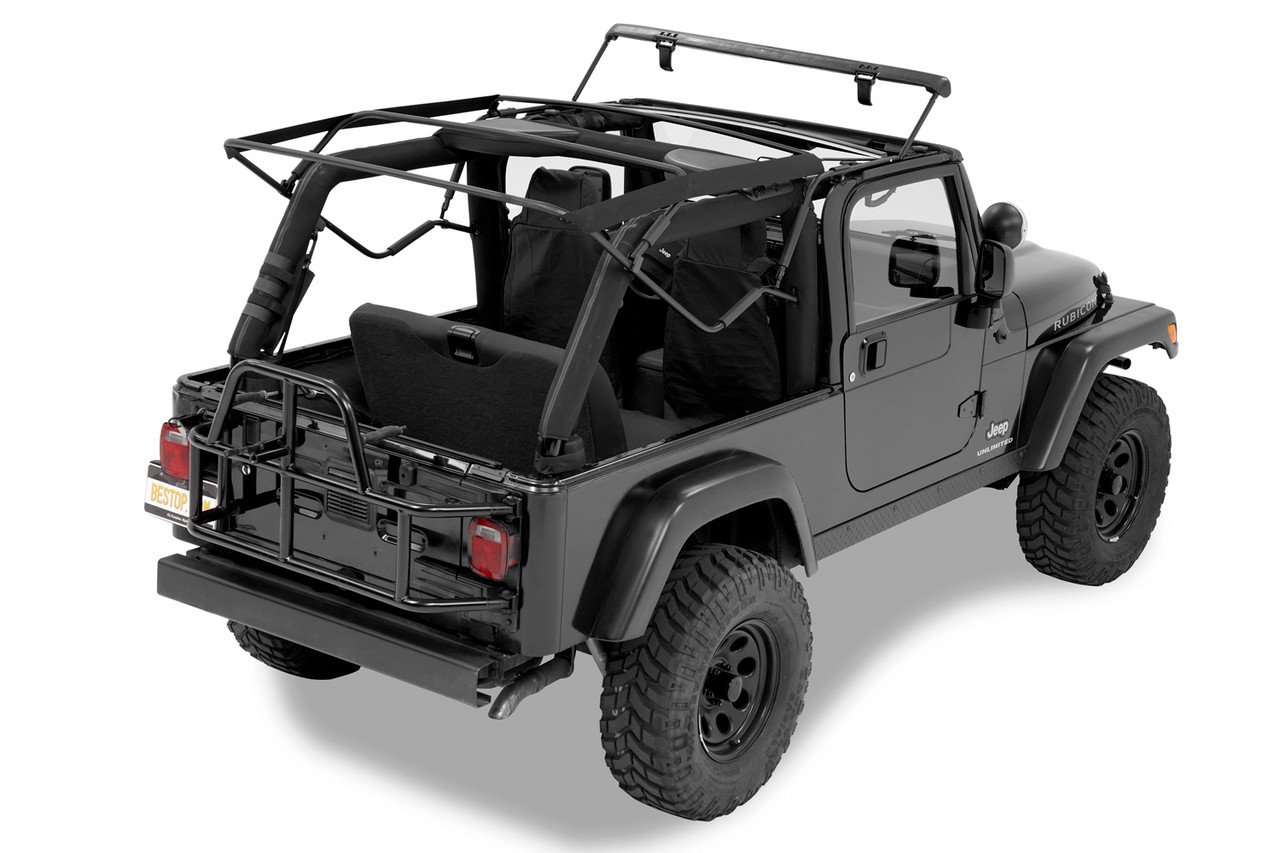
- Secure Rear Bow
- Position the rear bow at the back, aligning with the tailgate.
- Fasten with bolts and check for stability.
- The rear bow helps support the top’s tension.
- Check Alignment
- Open and close the frame several times.
- Look for any misalignment or rubbing.
- Adjust as needed before adding the fabric top.
Here’s a comparison of installation times for beginners vs. experienced users:
| User Type | Install Time (approx.) | Typical Issues |
|---|---|---|
| Beginner | 90 minutes | Misaligned bows, missing bolts |
| Experienced | 40 minutes | Minor adjustments |
Tips For A Smooth Installation
Some tips can save you time and trouble:
- Lubricate moving parts before assembly. This prevents squeaks and makes folding easier.
- Don’t force connections. If a part doesn’t fit, check alignment. Forcing can damage the frame.
- Keep hardware organized. Use small containers for bolts and screws.
- Work with a friend if possible. Lifting and holding the frame is easier with two people.
- Double-check instructions. If using an aftermarket frame, refer to the included guide.
Many beginners forget to check the door surrounds for proper seal. If not installed tightly, you’ll get water leaks. Also, always test the frame’s movement before adding the fabric top—adjustments are easier without the fabric.
Common Mistakes And How To Avoid Them
- Skipping Lubrication: Dry pivot points lead to hard folding and noisy operation.
- Misplacing Bolts: Mixing hardware can cause weak connections. Sort bolts by size before starting.
- Ignoring Alignment: Even a small misalignment can cause the top to flap or leak.
- Over-tightening: This can bend the frame or strip threads. Tighten bolts just enough.
- Not Testing Frame Alone: Always check movement before attaching the soft top fabric.
If you make a mistake, don’t panic. Most issues can be fixed by loosening bolts, realigning, and retightening.
Final Checks Before Installing Fabric Top
Before adding the fabric, do these checks:
- Frame folds and unfolds smoothly
- All bolts are tight but not overtightened
- Door surrounds fit snug
- Rear bow is stable
If everything checks out, you’re ready to install the fabric top. Follow the manufacturer’s guide for the fabric this step usually takes 15 20 minutes.
For more details on Jeep TJ parts and compatibility, see Jeep Official Site.
Frequently Asked Questions
What Is The Best Material For A Jeep Tj Soft Top Frame?
The factory original steel/aluminum is best for durability and fit. Aftermarket aluminum frames are lighter but may fit less tightly.
Can I Install The Frame Alone?
Yes, but it’s easier with two people. Some steps, like positioning the main frame, require holding parts steady.
How Often Should I Lubricate The Frame?
Lubricate all moving parts every 6 months or after exposure to water. This keeps the frame folding easily and prevents rust.
Will The Soft Top Frame Fit All Jeep Tj Models?
Most frames fit 1997–2006 TJ models, but check compatibility for your year and door type (full vs. half doors).
What’s The Biggest Mistake Beginners Make?
Many skip checking alignment before tightening bolts. This causes leaks and poor fit. Always test movement before installing the fabric top.
Installing your Jeep TJ soft top frame is a satisfying DIY project. With clear steps, good preparation, and attention to detail, you’ll enjoy a secure, weatherproof ride.
Remember, the key is patience and checking your work as you go.