Installing a new front bumper on your Jeep Wrangler is more than just a style upgrade. It can boost protection, improve off-road performance, and prepare your vehicle for added accessories like winches or lights.
Many Jeep owners choose aftermarket bumpers for better durability and a tougher look. But the process can seem daunting, especially if you’ve never worked with vehicle parts before.
This guide will walk you through every step, highlight common mistakes, and share practical tips to make the job smoother and safer.
Preparing For Installation
Before you start, make sure you have the right tools and parts. Most Jeep Wrangler bumper installations need only basic hand tools, but a few extra items help a lot.
Required tools:
- Socket wrench set (metric and standard sizes)
- Torx bit set (Jeep uses many Torx bolts)
- Screwdrivers
- Pry tool or panel remover
- Safety glasses and gloves
Parts needed:
- New front bumper (compatible with your Jeep Wrangler model/year)
- Mounting hardware (usually included with bumper)
- If needed: Fog light brackets, wiring harnesses, winch plate
Tip: Double-check that your bumper matches your Wrangler’s generation. For example, a JK bumper won’t fit a JL model.
Preparation steps:
- Park your Jeep on a flat surface and set the parking brake.
- Disconnect the battery if you’ll be working with wiring.
- Lay out all tools and parts.
Removing The Factory Bumper
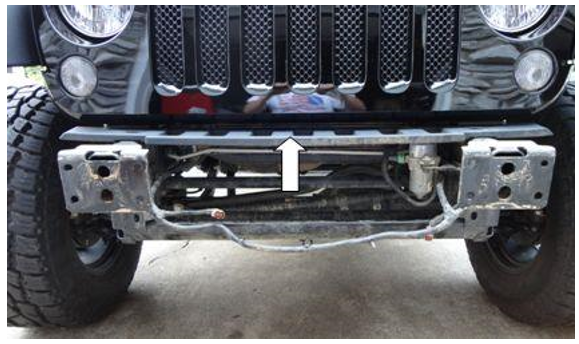
Taking off the original bumper is usually straightforward, but every Jeep generation has slight differences. Here’s a basic process for most Wranglers.
- Remove plastic covers: Use a pry tool to remove any plastic shields or trim pieces hiding the bolts.
- Unplug fog lights: If your Jeep has factory fog lights, disconnect the wiring harness before removing the bumper.
- Unbolt the bumper: Locate the main bolts securing the bumper to the frame. Most Wranglers have four to eight bolts.
- Lift off the bumper: With all bolts removed, gently pull the bumper away from the frame. It’s best to have a helper, as bumpers can be bulky.
Common mistake: Forgetting to disconnect fog light wiring can cause damage. Take your time and check twice.
| Jeep Model | Bolt Size | Fog Light Wiring |
|---|---|---|
| Wrangler JK (2007-2018) | 18mm, Torx T55 | Yes |
| Wrangler JL (2018+) | 21mm, Torx T50 | Yes |
| Wrangler TJ (1997-2006) | 15mm | No |

Installing The New Front Bumper
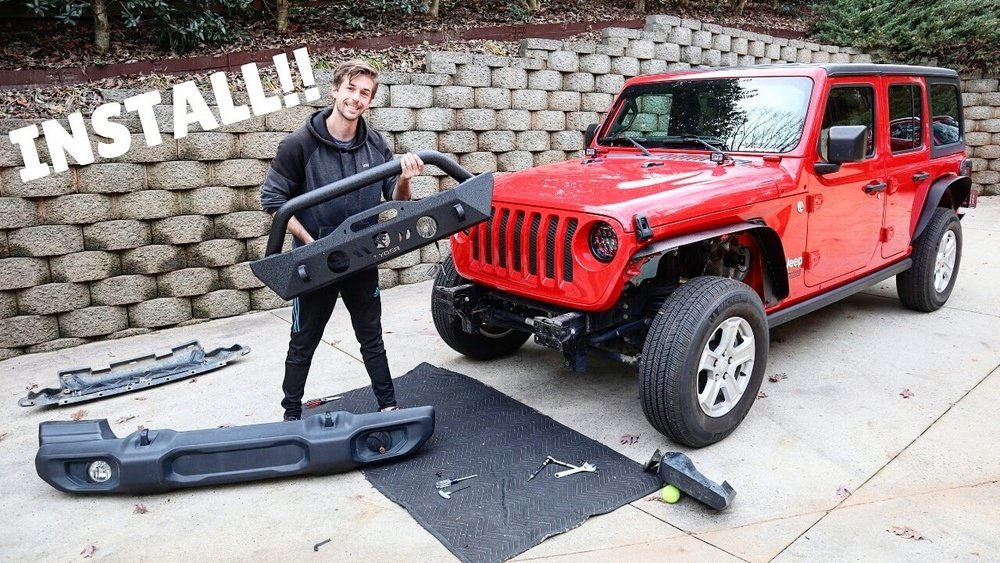
Once the factory bumper is off, installation is mostly about aligning the new bumper and securing it properly.
- Position the new bumper: Carefully align it with the frame mounts. Some bumpers may be heavier; ask for help if needed.
- Install mounting hardware: Use the bolts included with your bumper. Tighten them by hand first, then use a socket wrench.
- Reconnect fog lights: If your bumper supports factory fog lights, connect the wiring harness. Some aftermarket bumpers require custom brackets.
- Torque bolts properly: Check the manufacturer’s recommended torque settings. Overtightening can damage mounts, while loose bolts risk safety.
Example: Most bumpers recommend a torque of 60–70 ft-lbs for main mounting bolts.
Tip: If your bumper includes a winch plate, install it now before final tightening.
| Bumper Feature | Installation Step | Difficulty (1-5) |
|---|---|---|
| Fog Light Mounts | Reconnect wiring | 2 |
| Winch Plate | Install before tightening | 3 |
| D-Ring Shackles | Attach after mounting | 1 |
Final Checks And Adjustments
After installation, it’s important to check everything for safety and performance.
- Double-check bolts: Make sure all mounting hardware is tight and secure.
- Test fog lights: Turn on your Jeep and check if fog lights work correctly.
- Inspect alignment: Look at bumper from all angles. It should be centered and not touching the body.
- Clean up: Remove tools, old parts, and any debris.
Non-obvious insight: If you plan to add a winch or extra lights later, leave wiring slack for easier upgrades.
Example: Aftermarket bumpers often add 25–50 lbs to the front of your Jeep. This can affect ride height slightly. Some owners notice a drop of 0.5–1 inch in the front suspension after installation.
| Step | Estimated Time | Tools Needed |
|---|---|---|
| Remove factory bumper | 30 minutes | Socket set, pry tool |
| Install new bumper | 45 minutes | Socket set, torque wrench |
| Final checks | 15 minutes | None |
Practical Tips For A Smooth Installation
- Work with a friend: Bumpers are heavy and awkward to move alone.
- Read instructions: Every bumper is a little different. Manufacturer guides prevent mistakes.
- Take photos: If you’re unsure about wiring or bolt locations, snap photos as you remove parts.
- Keep old hardware: Sometimes, aftermarket bumpers reuse factory bolts or clips.
- Check local laws: Some states have rules about bumper height and accessories.
Non-obvious insight: After installing a steel bumper, it’s wise to check your Jeep’s front end alignment. Added weight can affect steering response.
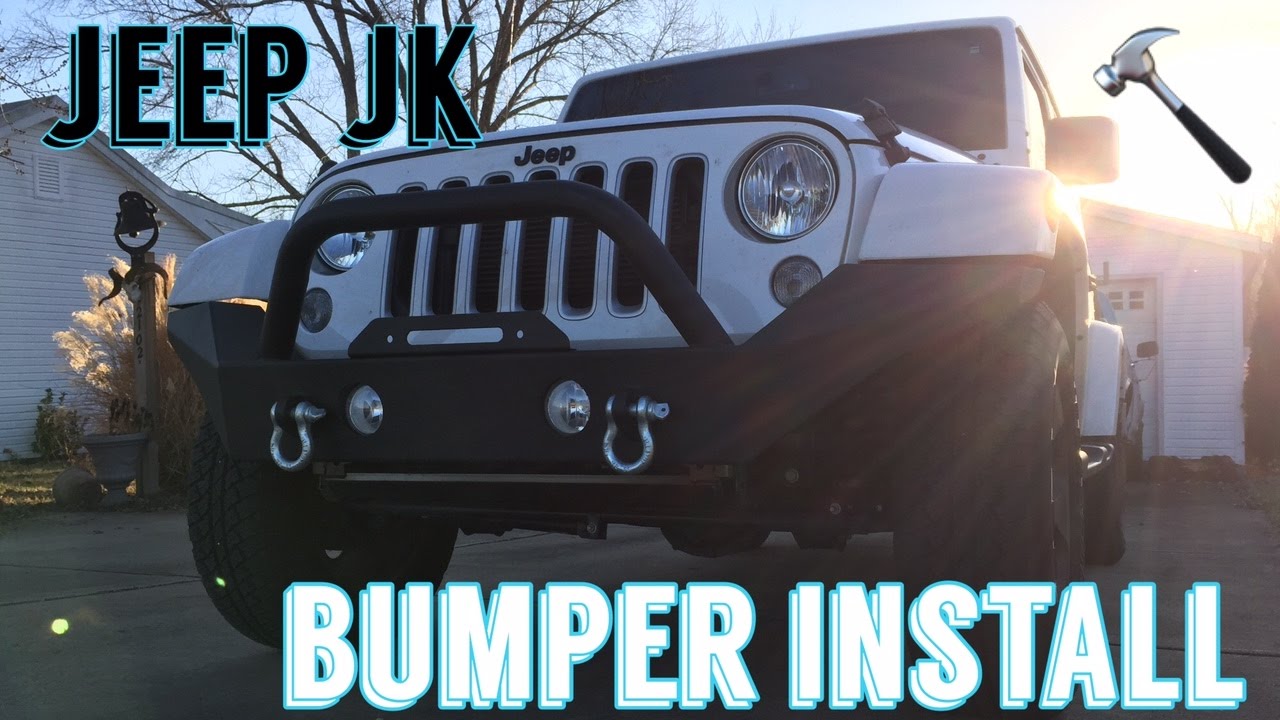
If you need more visual guidance, consider watching installation videos or reading forums. The Jeep Forum has discussions and images from real Jeep owners.
Frequently Asked Questions
How Long Does Bumper Installation Take?
Most installations take 1–2 hours if you have basic tools and some experience. Extra steps like wiring or winch installation may add time.
Can I Reuse Factory Fog Lights With An Aftermarket Bumper?
Usually, yes. Many bumpers include mounts for factory fog lights, but you may need extra brackets or a wiring harness.
Do I Need To Disconnect The Battery During Installation?
If you’re working with any electrical wiring (like fog lights), it’s safest to disconnect the battery to avoid shorts.
Will A New Bumper Affect My Jeep’s Suspension?
A heavy steel bumper can lower the front by 0.5–1 inch. If you plan to add a winch or drive off-road, consider upgrading your springs.
Are Aftermarket Bumpers Street Legal?
Most are legal, but check local regulations about bumper height, coverage, and accessories to avoid issues.
Installing a front bumper on your Jeep Wrangler is a rewarding project. It gives your vehicle a fresh look and added strength.
By preparing well, following steps carefully, and checking everything at the end, you can complete the job safely and confidently.
With the right tools and patience, even first-timers can achieve excellent results.