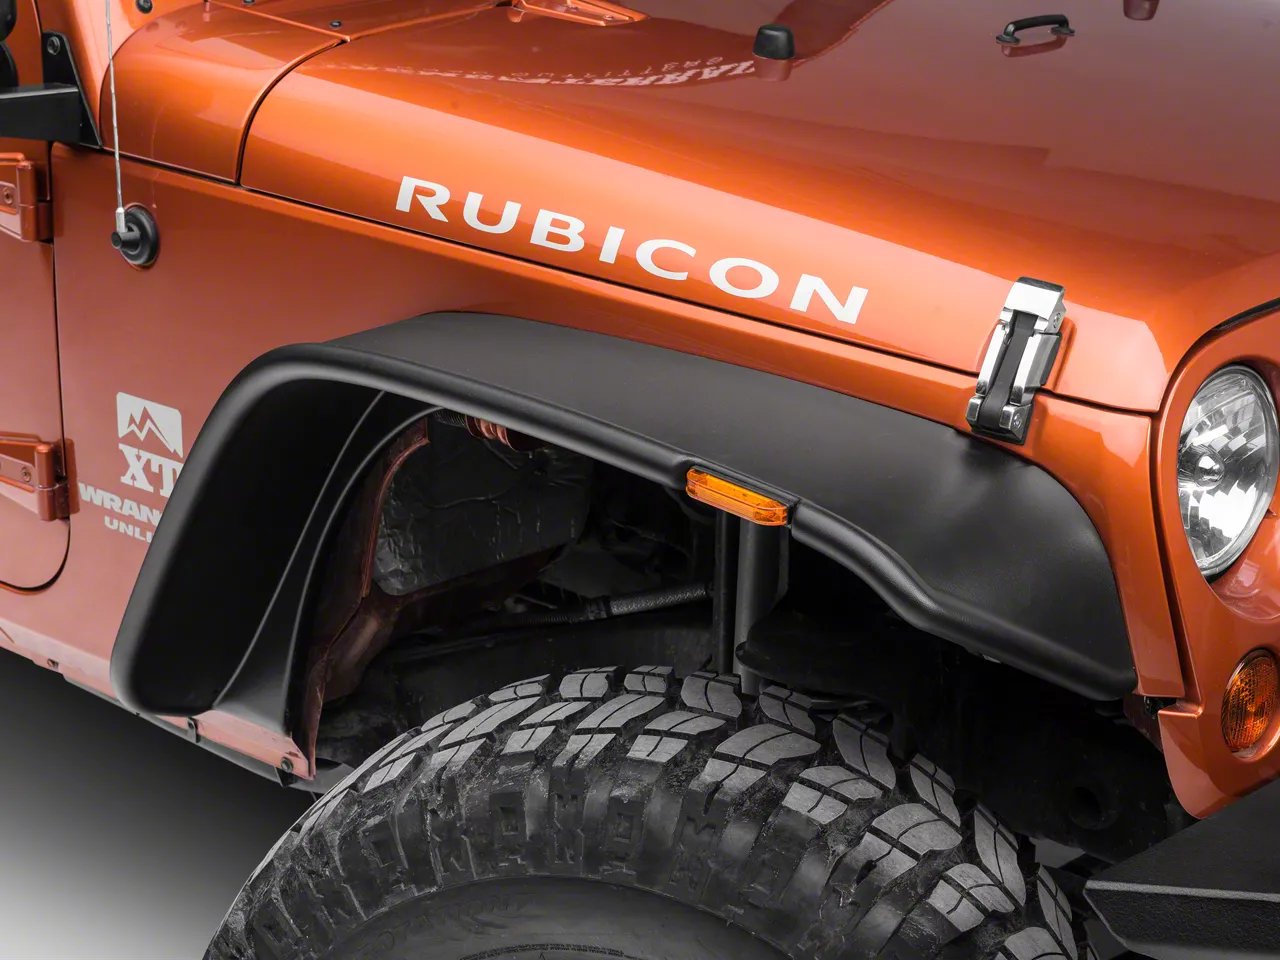
If you want to give your truck or SUV a tougher look and better protection from rocks and road debris, installing Bushwacker fender flares is a smart upgrade. Bushwacker is one of the leading brands for aftermarket fender flares, known for their durability and stylish designs.
Whether you use your vehicle for off-roading or just want to stand out, adding fender flares can make a noticeable difference. Installing them yourself can save money, but you need the right approach to avoid mistakes and get a professional finish.
Choosing The Right Bushwacker Fender Flares
Before you begin, make sure you select the correct flare model for your vehicle. Bushwacker offers several styles—Pocket Style, OE Style, and Extend-A-Fender—each with unique looks and coverage. Check your vehicle’s year, make, and model to ensure the flares fit your wheel wells exactly.
Here’s a quick comparison of Bushwacker flare styles:
| Style | Appearance | Coverage | Best For |
|---|---|---|---|
| Pocket Style | Bold, riveted look | Extra-wide | Off-road, aggressive look |
| OE Style | Factory look | Standard | Subtle, clean appearance |
| Extend-A-Fender | Smooth, extended | Maximum | Large tires, extra protection |
Tools And Materials You Need
Gather all tools and supplies before you start. Missing tools can slow you down or cause errors.
- Socket wrench set
- Phillips and flathead screwdrivers
- Plastic trim removal tool
- Drill with bits (if drilling is required)
- Isopropyl alcohol and clean rags
- Masking tape
- Measuring tape
- Safety glasses and gloves
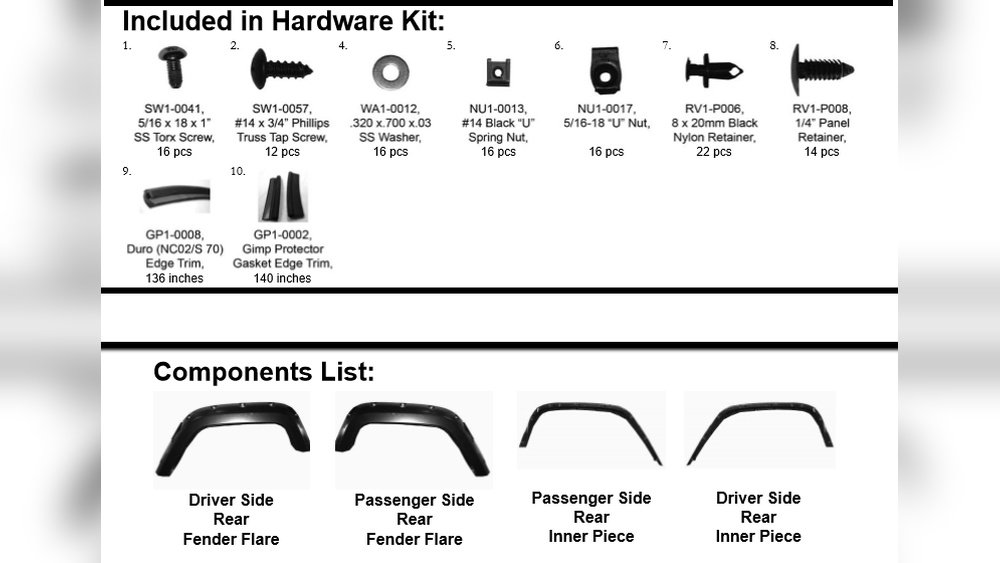
Bushwacker includes all mounting hardware and detailed instructions with their flares. Always double-check the package contents.
Preparing Your Vehicle
Preparation is key for a smooth installation and lasting results.
- Clean the wheel arches—Remove all dirt, mud, and grease. Flares stick better to clean surfaces.
- Inspect for rust or damage—Rust under flares can spread unseen. Repair any rust spots first.
- Test fit each flare—Hold the flare up to each wheel well to check alignment and coverage.
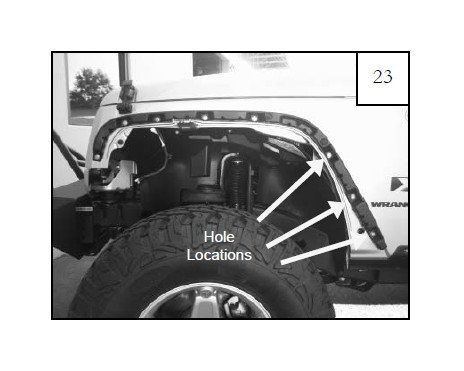
- Mark mounting holes—Some vehicles need drilling. Mark new holes with masking tape for accuracy.
Most Bushwacker kits use factory mounting points, but some require extra holes. Always follow your specific instructions closely.
Step-by-step Installation
1. Remove Existing Fender Trim
If your vehicle has factory fender trim, carefully remove it using a trim tool. Don’t rush broken clips are hard to replace.
2. Attach Rubber Edge Trim
Bushwacker flares include a rubber edge trim to protect your paint and create a tight seal. Peel off a few inches of backing, press the trim onto the flare edge, and work your way around. Make sure there are no gaps or wrinkles.
3. Position The Fender Flare
Hold the flare against the wheel well. Align it with factory holes or the marks you made earlier.
It’s helpful to have a second person hold the flare while you start the first fastener.
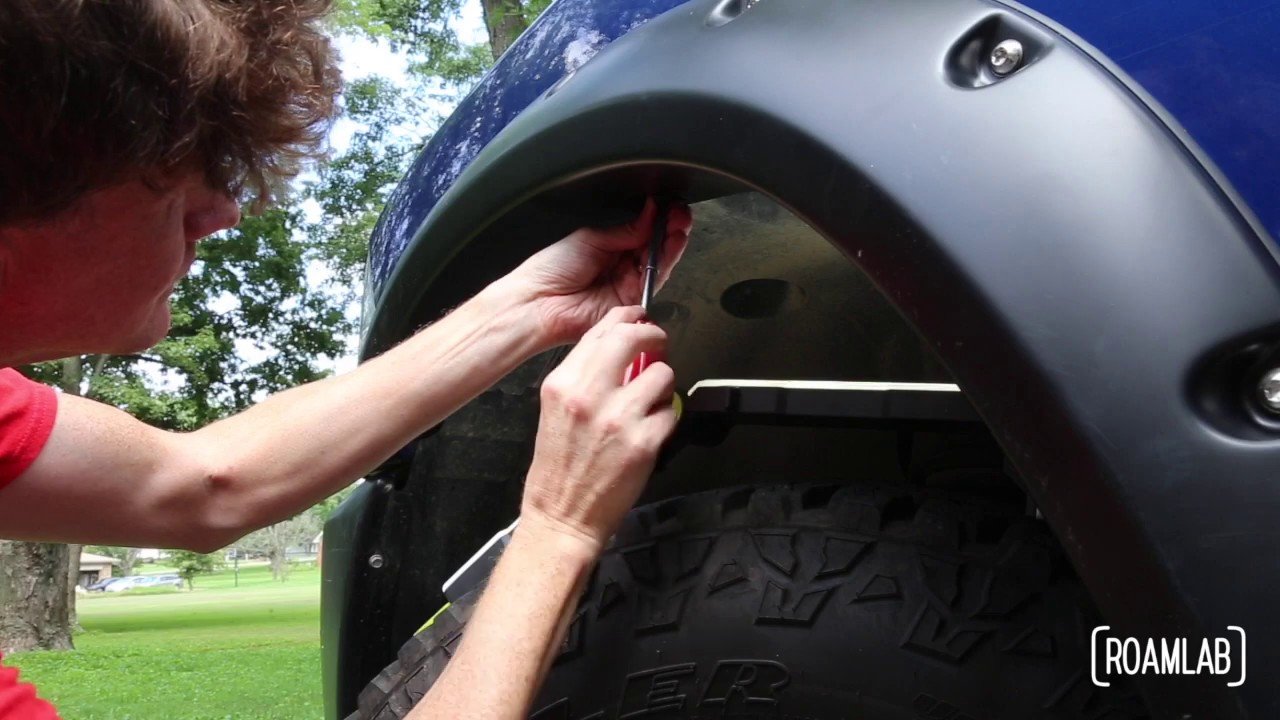
4. Secure The Flare
Depending on your vehicle, use the supplied screws, bolts, or push-in clips. Tighten all hardware evenly.
Do not overtighten this can crack the flare or strip the hole.
Here’s a quick guide to typical hardware types:
| Hardware | How to Use | Notes |
|---|---|---|
| Screws | Drive into pre-drilled or factory holes | Use hand tools to avoid over-tightening |
| Clips | Snap into place behind sheet metal | Check for full engagement |
| Bolts | Thread into provided brackets | May require a wrench for final tightening |
5. Check Alignment
Step back and check the flare’s position. Look for even gaps and a flush fit against the body.
If needed, loosen and adjust before final tightening.
6. Repeat For All Fenders
Work around the vehicle, completing one corner at a time. Take your time rushing often leads to uneven results.
Painting Fender Flares (optional)
Most Bushwacker flares come in a black, UV-resistant finish. If you want a custom color or a perfect match with your vehicle, you can paint them.
- Scuff the surface with fine-grit sandpaper
- Clean with alcohol to remove dust and oils
- Apply plastic primer
- Spray color coats in light, even passes
- Finish with clear coat for shine and protection
Let paint cure fully before installing to avoid fingerprints or scratches.
Common Mistakes To Avoid
- Skipping the test fit—Even small misalignments can become big problems later.
- Overtightening hardware—This can strip threads or crack the flare.
- Not sealing paint chips or rust—This can lead to hidden corrosion.
- Ignoring instructions—Each vehicle may have unique steps; don’t assume all installs are the same.
A useful tip: If your flare seems “off,” remove and restart rather than forcing it into place.
Maintenance Tips
Once installed, caring for your fender flares will keep them looking new and functioning properly:
- Wash flares with mild soap and water regularly.
- Inspect mounting hardware every few months for tightness.
- Wax painted flares to maintain color and UV protection.
- After off-roading, check for debris or damage between the flare and body.
Following these steps helps prevent issues like fading, rattling, or trapped dirt.
Estimated Installation Time
For most DIYers, installing a full set of Bushwacker fender flares takes about 2-3 hours. First-timers should allow extra time for careful alignment and reading instructions.
Here’s a quick breakdown:
| Step | Estimated Time (mins) |
|---|---|
| Preparation/Cleaning | 30 |
| Test Fitting/Marking | 20 |
| Installing Each Flare | 20 per flare |
| Final Checks | 10 |
Final Thoughts
Installing Bushwacker fender flares is a practical way to protect your vehicle and add a custom touch. With careful preparation and attention to detail, most vehicle owners can complete this upgrade at home. Remember: patience and following instructions closely are the keys to a professional result. If you ever feel unsure, don’t hesitate to ask for help or consult your local auto shop.
For more in-depth guidance, the official Bushwacker website has detailed resources and installation videos.
Frequently Asked Questions
What Tools Are Absolutely Required For Bushwacker Fender Flare Installation?
You’ll need a socket wrench, screwdrivers, trim tool, and alcohol for cleaning. Some vehicles may require a drill if new holes are needed.
Can Bushwacker Fender Flares Be Removed After Installation?
Yes, they can be removed. However, any new holes drilled will remain, and paint under the flare may be less faded than exposed areas.
Will Fender Flares Affect My Vehicle’s Warranty?
Generally, fender flares do not void the factory warranty if installed properly. Always check with your dealer for confirmation.
Do I Need To Paint Bushwacker Fender Flares?
No, they come in a durable black finish. Painting is only required for a custom color or exact match.
How Do I Clean My Fender Flares?
Use mild soap and water. Avoid abrasive cleaners that can scratch or dull the finish. Waxing painted flares is recommended for extra protection.