Foggy headlights after rain or a car wash can be annoying, but they are also easy to misunderstand. A light mist on the inside of the lens may disappear once the headlight warms up.
That matters because headlights are not just cosmetic. Moisture inside a headlight can scatter the beam, reduce nighttime visibility, corrode connectors, shorten bulb life, and eventually damage the whole assembly.
The good news is that many cases of headlight condensation can be fixed at home with basic tools, gentle heat, and a careful inspection of the seals.
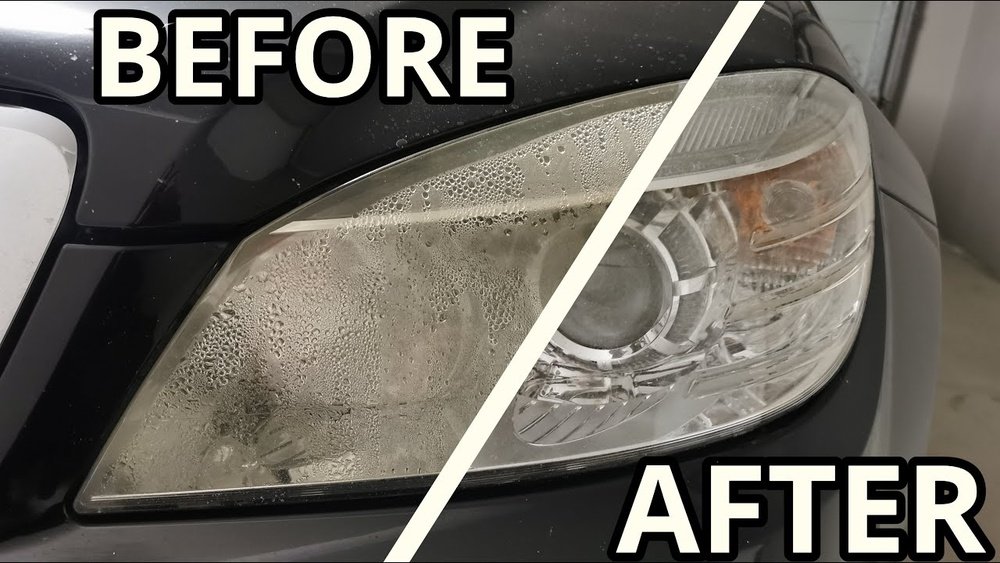
If you are wondering how to get condensation out of headlights without damaging the lens or wiring, this guide walks through the safe options: checking whether the mist is normal, drying the housing, finding the leak, resealing the problem area, and knowing when replacement or professional repair is the smarter choice.
Quick Answer: Why Is There Condensation in My Headlight?
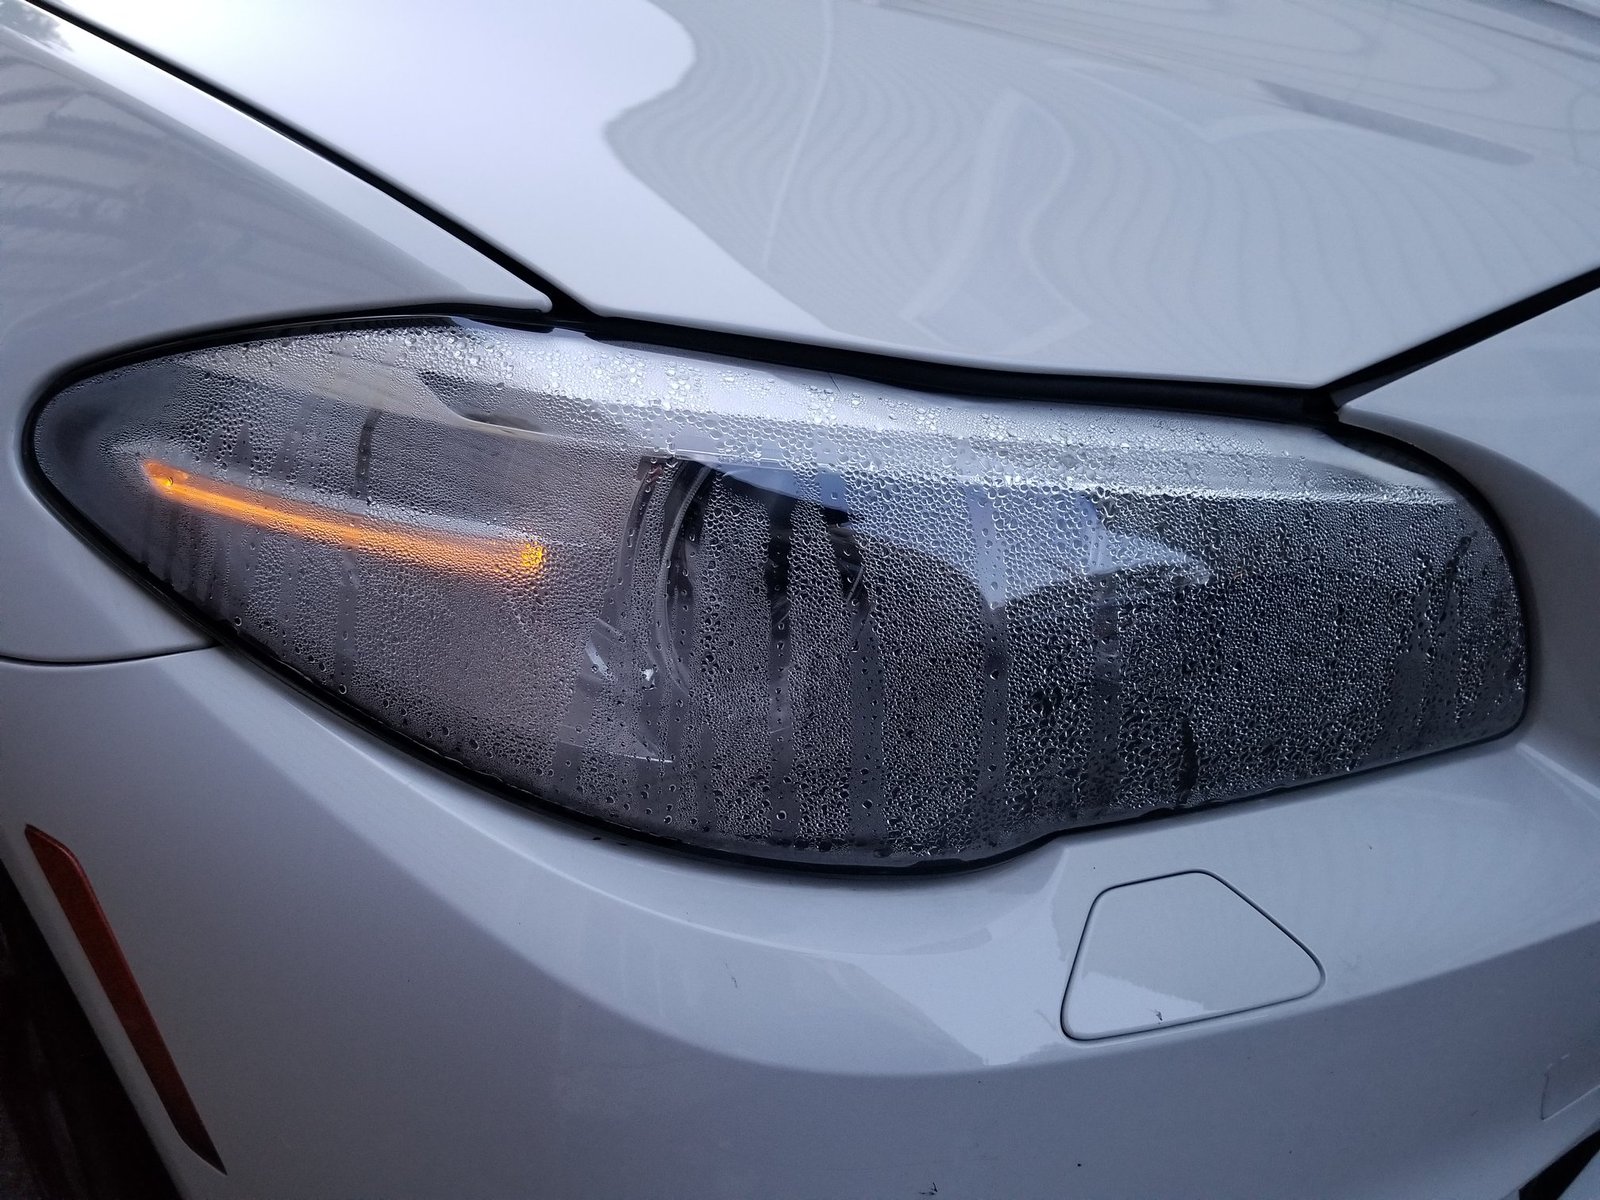
Headlight condensation forms when warm, moist air gets inside the headlight housing and then cools against the inside of the lens. The moisture turns into tiny water droplets, just like steam on a bathroom mirror.
Common causes include:
- A cracked lens or damaged housing
- A loose bulb cover or dust cap
- Worn rubber seals or gaskets
- A blocked headlight vent
- A recent bulb replacement that was not sealed properly
- Water forced into the housing during pressure washing
- Body damage around the front bumper or headlight mount
Mild fogging that clears quickly may not be a serious issue. Condensation that lasts for days, comes back after every wash, or turns into water droplets usually needs attention.
Is Headlight Condensation Normal?
Sometimes, yes. Many modern headlight assemblies are not fully airtight.
They often have small vents that let air move in and out as the headlight heats up and cools down. That ventilation helps balance pressure and reduce moisture buildup.
Because of that, a thin film of mist can appear during sudden temperature changes, humid weather, or after rain. If it clears after the headlights have been on for a short drive, it is usually not a major problem.

It becomes a repair issue when the moisture is heavy, persistent, or uneven from one side of the vehicle to the other. One foggy headlight and one clear headlight often point to a bad seal, loose cap, blocked vent, or crack in the affected assembly.
Condensation vs. a Water Leak
Use this table to judge how serious the problem is before you start taking anything apart.
| What you see | Likely cause | What to do |
|---|---|---|
| Light mist that clears after driving | Normal humidity and temperature change | Monitor it |
| Fog that stays for several days | Moisture trapped inside the housing | Dry and inspect seals |
| Water droplets on the inside of the lens | Seal, vent, cap, or lens problem | Find and repair the leak |
| Standing water at the bottom of the headlight | Crack or failed housing seal | Repair or replace the assembly |
| Flickering bulb or warning light | Moisture near wiring or connectors | Stop using the light and inspect it |
| Yellow or cloudy lens outside the headlight | UV oxidation, not condensation | Use a headlight restoration method |
Tools and Supplies You May Need
You may not need everything on this list, but it helps to have the basics nearby before you start.
- Owner’s manual or repair guide
- Screwdriver set or socket set
- Nitrile gloves
- Clean microfiber towels
- Hair dryer with a low or warm setting
- Silica gel packs or automotive desiccant bags
- Automotive silicone sealant or butyl headlight sealant
- Replacement rubber seals, O-rings, dust caps, or bulb covers if needed
- Flashlight
- Plastic trim tool, if the headlight is mounted behind trim pieces
Avoid aggressive heat, sharp tools, and household glues. Headlight lenses and housings are usually plastic, and they can warp or haze if overheated.
Safety First
Before working on the headlight, turn off the lights and let the assembly cool. Hot bulbs can burn your skin, and sudden temperature changes can damage parts.
If your vehicle uses HID, xenon, laser, or sealed LED headlights, be more cautious. Some systems involve high voltage or sealed modules that are not meant to be opened.
If you are unsure, check the owner's manual or ask a mechanic before removing parts.
Also, do not touch the glass part of halogen bulbs with bare fingers. Oil from your skin can create hot spots and shorten bulb life.
How to Remove Condensation from Headlights
Follow these steps in order. Drying the headlight helps, but fixing the reason moisture got in is what keeps the problem from returning.
1. Check Whether the Moisture Clears on Its Own
Start with the simplest test. Turn on the headlights for 15 to 20 minutes or take a short drive in dry weather. Then check the lens again.
If the mist fades and does not return often, the headlight may simply be reacting to humidity and temperature changes. If the condensation stays, gets worse, or appears as large droplets, continue with the inspection.
2. Inspect the Lens, Housing, and Seals
Look closely around the headlight from the front, top, side, and back. Use a flashlight if needed.
Check for:
- Hairline cracks in the lens
- Chips around the lens edge
- Loose or missing rear dust caps
- Damaged bulb seals
- Gaps where the lens meets the housing
- Blocked vent tubes or vent caps
- Signs of previous accident repair
- Water trails, mineral marks, or dirt inside the housing
Pay special attention to the back of the headlight. A bulb cover that is not seated correctly is one of the easiest ways for humid air and splash water to enter.
3. Remove the Headlight or Open the Rear Access Cap
Some vehicles let you reach the rear headlight cap from under the hood. Others require removing the headlight assembly or part of the bumper trim.
Use the owner’s manual or a model-specific repair guide. If you remove the assembly, disconnect the wiring harness carefully and place the headlight on a soft towel so the lens does not get scratched.
If you only need to dry mild condensation, you may not need to remove the whole headlight. Opening the rear cap in a clean, dry place is often enough to improve airflow.
4. Dry the Headlight Gently
Choose the safest drying method for the amount of moisture inside.
| Method | Best for | Typical time | Risk |
|---|---|---|---|
| Hair dryer on low or warm | Moderate condensation | 10 to 20 minutes | Low if kept moving |
| Silica gel packs | Light to moderate moisture | Overnight | Very low |
| Sunlight and airflow | Light fogging | Several hours | Very low |
| Professional drying and leak test | Severe or recurring moisture | Varies | Lowest for complex lights |
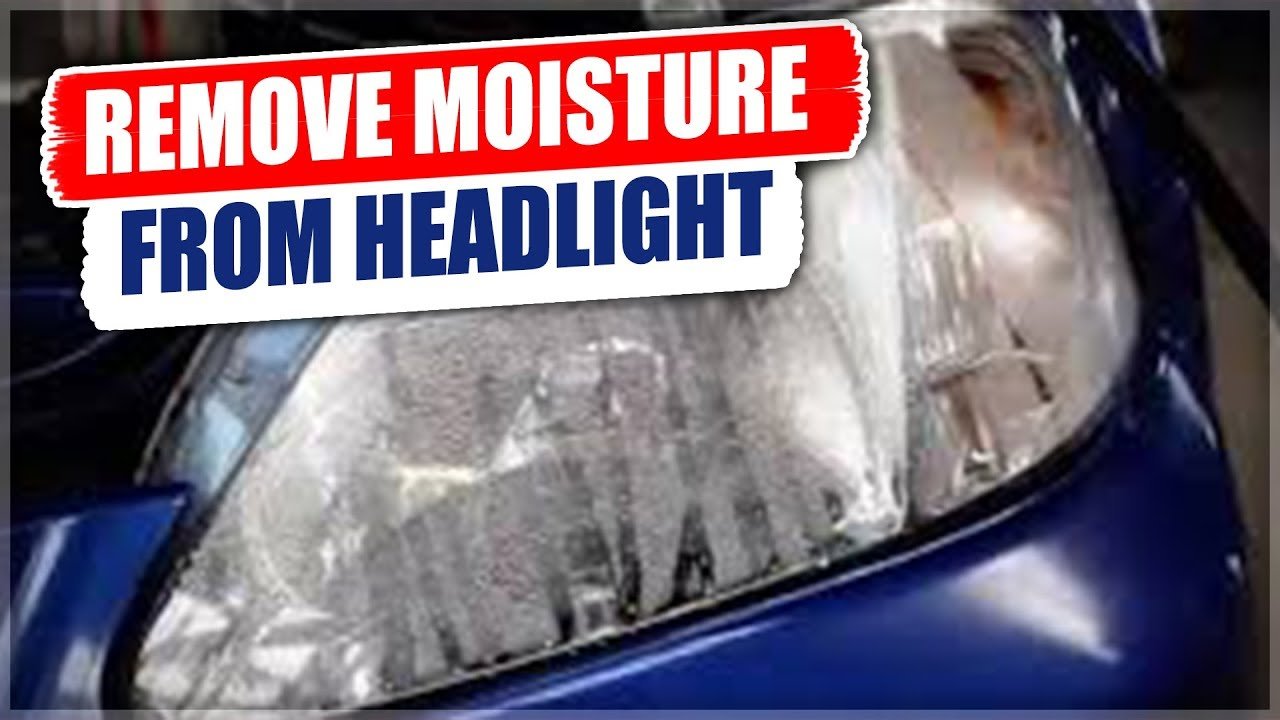
Hair Dryer Method
Use a hair dryer on low or warm heat. Aim it near the rear opening or around the outside of the lens, and keep it moving.
Do not hold heat in one spot. The goal is to warm the housing gently and help moisture evaporate, not to soften the plastic.
Avoid using a heat gun unless you have experience with automotive plastics. Heat guns can get hot enough to warp the lens, damage wiring, or weaken seals.
Silica Gel Method
Place silica gel packs inside the rear opening or near the access area, away from the bulb, reflector, and wiring. If the headlight design allows it, leave them in place overnight.
Do not let loose beads spill into the housing. Use sealed desiccant packets or a small breathable pouch.
Sunlight and Airflow Method
On a warm, dry day, remove the rear cap and leave the headlight in a safe place with good airflow. This is gentle and works well for light fogging, but it may not be enough for heavy moisture.
5. Clean Only What You Can Reach Safely
If the inside edge of the lens or housing is easy to reach, wipe it gently with a clean microfiber cloth. Do not scrub the reflector surface.
The reflective coating inside many headlights is delicate and can be damaged easily.
If the inside is dirty, stained, or water-marked beyond easy reach, professional cleaning or replacement may be better than trying to force a cloth or tool inside.
6. Repair the Leak Before Reinstalling
This is the step many people skip. Drying the headlight removes the symptom. Sealing the entry point fixes the problem.
Common fixes include:
- Reinstalling a loose dust cap correctly
- Replacing a cracked bulb cover
- Replacing a worn rubber gasket or O-ring
- Clearing a blocked vent
- Applying a thin, even bead of automotive sealant around a leaking seam
- Replacing the headlight if the lens or housing is cracked
Do not seal the factory vent shut. Headlights need ventilation to handle pressure and temperature changes.
Blocking the vent can trap moisture and create new problems.
If the headlight seam has separated, butyl headlight sealant is often a better match than general household silicone. Use products intended for automotive lighting, and follow the curing instructions before exposing the car to rain or a wash.
7. Reinstall and Test the Headlight
Reconnect the wiring harness, reinstall the headlight or rear cap, and tighten fasteners evenly. Then turn on the low beams, high beams, turn signals, and daytime running lights if they are part of the same assembly.
Check that the beam pattern looks normal. If the headlight was removed or the car was bumped during the repair, have the aim checked.
A clear headlight still needs to point correctly to help you see without causing glare for other drivers.
How to Prevent Headlight Condensation
Once the headlight is dry and sealed, a few habits can reduce the chance of moisture returning.
Check Seals After Bulb Replacement
After replacing a bulb, make sure the rubber seal, rear cap, and locking tabs are fully seated. A small gap is enough to let humid air in.
Keep Vents Clear
Headlight vents can clog with dust, road grime, leaves, or insects. A blocked vent can trap moisture inside the housing.
Clean around the vent gently, but do not enlarge it or drill new holes.
Avoid Direct Pressure-Washer Spray
High-pressure water can force its way past weak seals. When washing the car, avoid spraying directly at headlight seams, rear caps, and the gap between the headlight and bumper.
Fix Cracks Early
A small chip or crack can become a constant water path. If the damage is minor, an automotive lens repair product may help temporarily.
If the lens is split or the housing is damaged, replacement is usually the more reliable fix.
Use Desiccant Packs Carefully
Some drivers place small desiccant packs inside the rear access area to control humidity. This can help, but it should not be treated as a cure for a leak.
Keep packs away from bulbs, reflectors, wiring, and moving parts.
Do Not Confuse Condensation with Oxidation
Foggy headlights can mean two different things:
- Moisture inside the lens is condensation.
- Yellow, cloudy, or chalky plastic on the outside of the lens is oxidation.
Oxidation happens when UV exposure and road wear break down the outer lens coating. A headlight restoration kit can improve external haze, but it will not fix water inside the housing.
If your lens is cloudy outside and wet inside, you may need both restoration and leak repair.
When to Call a Mechanic
A DIY fix is fine for many older halogen headlights and mild condensation problems. Professional help is smarter when:
- Water is pooling inside the headlight
- Condensation returns within a few days
- The bulb flickers or fails repeatedly
- You see corrosion on connectors
- The headlight is a sealed LED, HID, xenon, or adaptive unit
- The lens or housing is cracked badly
- The car is still under warranty
- Removing the headlight requires bumper removal and recalibration
Modern headlight assemblies can be expensive, and some include sensors, leveling motors, or control modules. If moisture has reached electronics, drying the lens may not be enough.
What Not to Do
Avoid these common mistakes:
- Do not drill a hole in the headlight. It may let more water, dust, and insects inside.
- Do not use high heat directly on the lens.
- Do not block the factory vent.
- Do not pour water, alcohol, or cleaning liquid into the assembly.
- Do not ignore flickering, dimming, or warning messages.
- Do not touch halogen bulb glass with bare fingers.
Quick fixes can turn into expensive repairs if they damage the lens, reflector, wiring, or bulb socket.
Will headlight condensation go away on its own?
Light mist may clear after the headlights warm up or after the weather dries out. If the moisture lasts for days, forms droplets, or keeps coming back, there is probably a leak, blocked vent, or loose cap.
Is it safe to drive with condensation in headlights?
Small amounts of mist are usually not an emergency, but heavy condensation can reduce light output and scatter the beam. If the headlight looks dim, flickers, or has standing water inside, fix it before driving at night.
Can I drill a hole to drain water from my headlight?
No. Drilling can let in dust, road spray, and more moisture.
It can also weaken the housing and make the headlight harder to seal properly. Find the leak and repair the seal instead.
Can I use a heat gun instead of a hair dryer?
A hair dryer is safer for most DIY repairs. A heat gun can work in skilled hands, but it can also melt plastic, damage seals, or haze the lens very quickly.
Why do my headlights fog up after a car wash?
Car washes combine water pressure, temperature changes, and humidity. If a seal, rear cap, or vent is weak, moisture can enter during the wash and condense on the lens afterward.
Do silica gel packs really work in headlights?
Yes, silica gel can absorb trapped moisture, especially in mild cases. It works best after you fix the entry point.
If water keeps getting in, the packs will become saturated, and the condensation will return.
Does toothpaste remove headlight condensation?
No. Toothpaste is sometimes used as a temporary polish for external lens haze, but it does not remove moisture inside the headlight or fix a leak.
How much does it cost to fix headlight condensation?
Simple DIY fixes may only require desiccant packs, a replacement cap, or sealant. Professional repairs or full headlight replacement can cost much more, especially for LED, HID, adaptive, or luxury vehicle headlights.
The exact cost depends on the vehicle and the cause of the leak.
Final Thoughts
Headlight condensation is worth fixing before it becomes a bigger problem. Start by checking whether the mist clears naturally.
If it does not, dry the housing gently, inspect the caps, vents, seals, and lens, then repair the point where moisture is getting in.
Clear headlights help you see better at night, reduce glare from scattered light, and protect the bulbs and wiring inside the assembly.
A little attention now can save you from a failed bulb, damaged connector, or costly headlight replacement later.