Wiring windshield lights on a Jeep JK can totally change your driving at night or off-road. With the right steps, you can add bright visibility for trails, bad weather, or even emergencies. But many Jeep owners feel unsure about the wiring part. This guide walks you through the process in clear, simple steps—so you can install your windshield lights safely and confidently.
Tools And Materials You’ll Need
Good preparation is the key to a smooth install. Here’s what you’ll need:
- Windshield light kit (with mounts and hardware)
- Wiring harness (with relay and switch)
- Wire crimper and stripper
- Screwdrivers and wrenches
- Zip ties and electrical tape
- Socket set
- Multimeter (for testing)
- Safety gloves
Most windshield light kits for Jeep JK include the basic wiring harness, but always double-check. Using a harness with a relay and fuse protects your Jeep’s wiring and keeps everything safe.
Choosing The Right Power Source
Where you connect your lights makes a big difference. For the Jeep JK, you have three common options:
- Direct to battery: Easiest for most people. Gives steady, strong power.
- Accessory power: Lights only work when the Jeep is on. Prevents battery drain.
- Fuse box tap: Advanced users sometimes tap into a spare fuse for power.
Direct-to-battery is the most popular for beginners. But always add an inline fuse to prevent electrical fires.
Power Source Comparison
Here’s a quick look at the pros and cons:
| Power Source | Pros | Cons |
|---|---|---|
| Battery | Simple, reliable, supports high power | Can drain battery if switch is left on |
| Accessory | Prevents battery drain, safe | Extra wiring, more complex |
| Fuse Tap | Clean install, uses factory fuse | Requires fuse knowledge, not always possible |
If you’re new to wiring, direct-to-battery is safest.
Step-by-step Wiring Process
Wiring can feel intimidating, but breaking it down into steps makes it manageable.
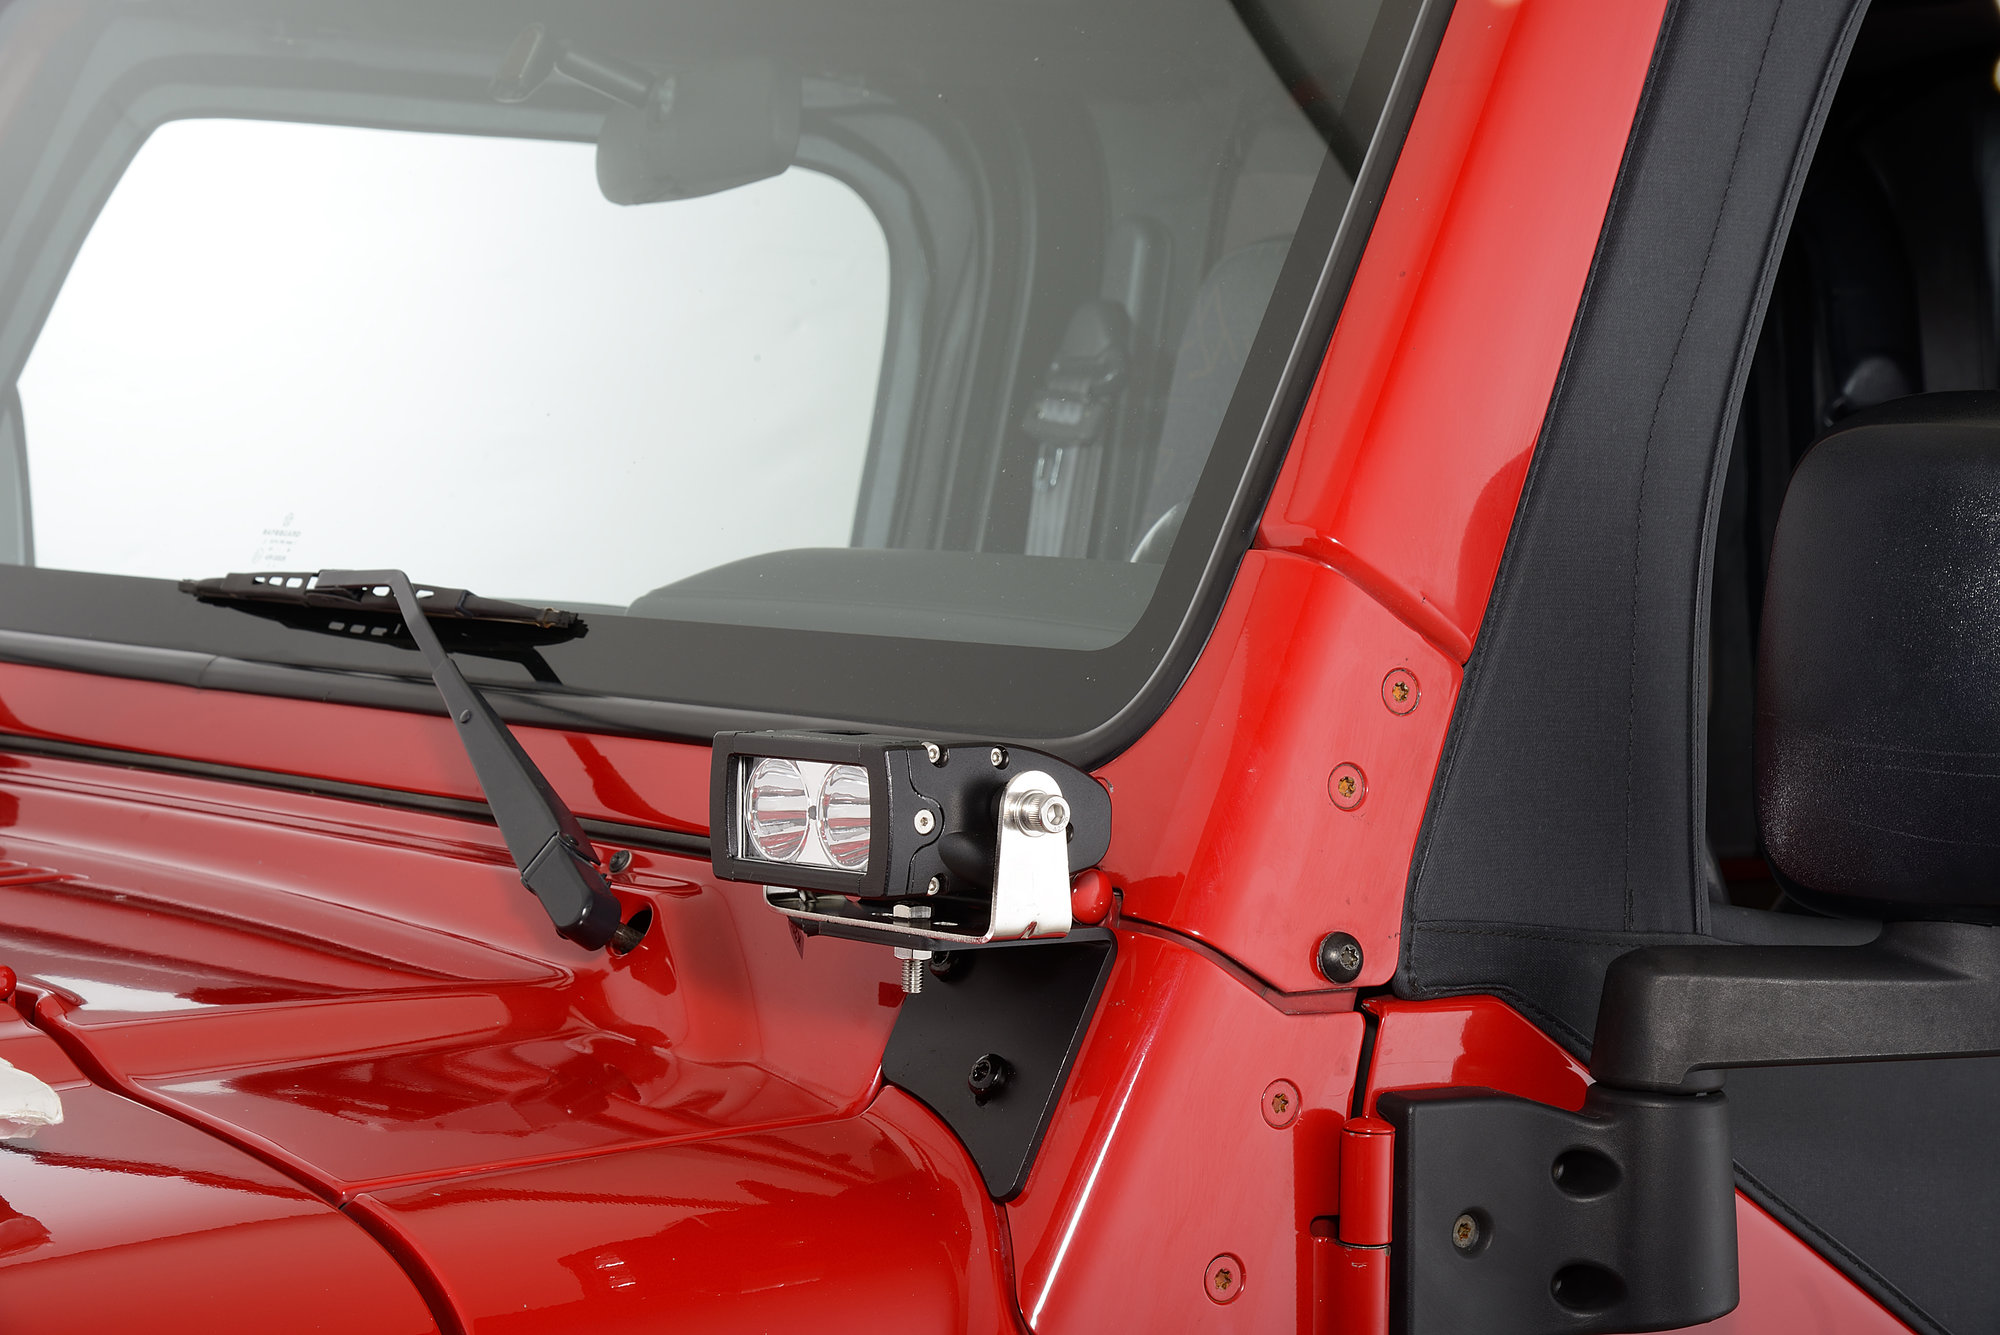
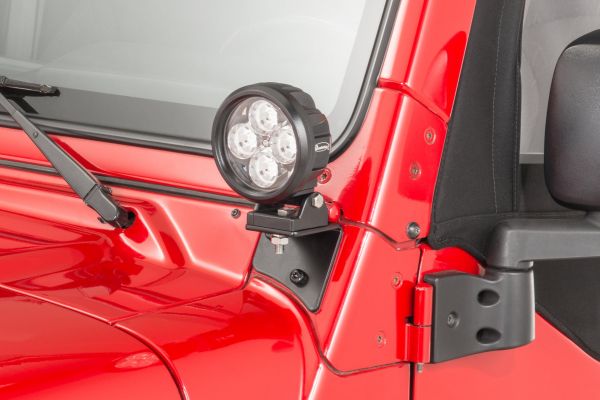
1. Mount The Lights
- Bolt the windshield brackets to the Jeep’s A-pillars.
- Secure the lights to the brackets. Aim them where you want—slightly downward for best road coverage.
- Tighten all bolts but don’t overtighten (to avoid cracking mounts).
2. Route The Wires
- Run the light wires along the windshield pillar.
- Use the Jeep’s rubber grommet near the firewall to pass wires into the engine bay.
- Secure everything with zip ties. Loose wires can get caught or melt.
3. Connect To The Relay
- Most harnesses have a relay. Plug the light wires into the relay output.
- The relay input wire will go to the battery positive terminal.
- Ground the relay to a clean, unpainted metal spot on the Jeep’s body.
4. Wire The Switch
- Run the switch wire through the firewall to your Jeep’s cabin.
- Mount the switch in an easy-to-reach spot.
- Plug the switch connector into the harness.
5. Connect To Power
- Attach the main power wire (with fuse) to the battery positive.
- Connect the ground wire to the battery negative or a chassis ground.
- Double-check all connections are tight and covered with electrical tape.
6. Test The Lights
- Turn on your Jeep and flip the switch.
- If lights don’t work, check the fuse, relay, and all connections.
- Use a multimeter to check for 12V at each step.
Common Mistakes To Avoid
Many Jeep owners make the same errors:
- Skipping the relay: Direct wiring without a relay risks overheating.
- Bad grounding: Weak ground points cause flickering or total failure.
- Poor wire routing: Loose wires can wear through or melt on hot parts.
- No fuse: Always use the fuse included in your harness.
Here’s a table showing wiring mistakes versus their risks:
| Mistake | Possible Consequence |
|---|---|
| No relay | Overheating, wire melting |
| Weak ground | Flickering, lights not working |
| No fuse | Fire risk |
| Loose wires | Short circuits, damage |
Two Insider Tips Most Beginners Miss
- Use dielectric grease on all connections. This keeps water and corrosion out—especially if you drive through mud, rain, or snow.
- Label your wires before tucking them away. Months later, you’ll know exactly which wire goes where if you need to troubleshoot or add more lights.
Practical Example: Wiring A 50″ Led Light Bar
Let’s say you’re adding a popular 50” LED light bar above the windshield. The wiring steps and safety rules are the same, but you may need a heavier gauge wire if the light bar draws a lot of power (20 amps or more). Always check your light’s amp rating and use at least a 14-gauge wire for anything over 10 amps. Using too-thin wire is a common mistake that can cause overheating or fire.

Final Checks Before You Hit The Road
- Make sure all wires are zip-tied out of the way of moving parts.
- Double-check the fuse is installed and the relay clicks when you switch the lights on.
- Test the lights at night to aim them correctly. Too high and you’ll blind other drivers; too low and you lose coverage.
If you want more details on relay wiring or Jeep accessories, this guide from 4 Wheel Parts offers further visuals and tips.
Frequently Asked Questions
How Long Does Wiring Windshield Lights On A Jeep Jk Take?
Most installs take 1–2 hours for beginners. If you plan your wiring and have all tools ready, you can finish faster.
Do I Need A Relay For Windshield Lights?
Yes. A relay protects your Jeep’s wiring and switch from high current. Skipping the relay can damage your electrical system.
Can I Wire Multiple Lights To The Same Switch?
You can, but check the total amp draw. If you wire too many lights to one switch or harness, you risk overheating. Use a heavy-duty relay and fuse for multiple lights.
Will Windshield Lights Drain My Battery?
If wired directly to the battery, leaving the switch ON can drain your battery. That’s why many people use accessory power or remember to turn off the switch every time.
Are Windshield Lights Legal On The Road?
Rules vary. In many states, windshield lights must be covered on public roads. Always check your local laws before driving with them on.
Adding windshield lights to your Jeep JK isn’t just about looks. With the right wiring, you’ll get powerful light exactly where you need it—and peace of mind on any trail. Take your time, follow safety tips, and your Jeep will be ready for anything.


