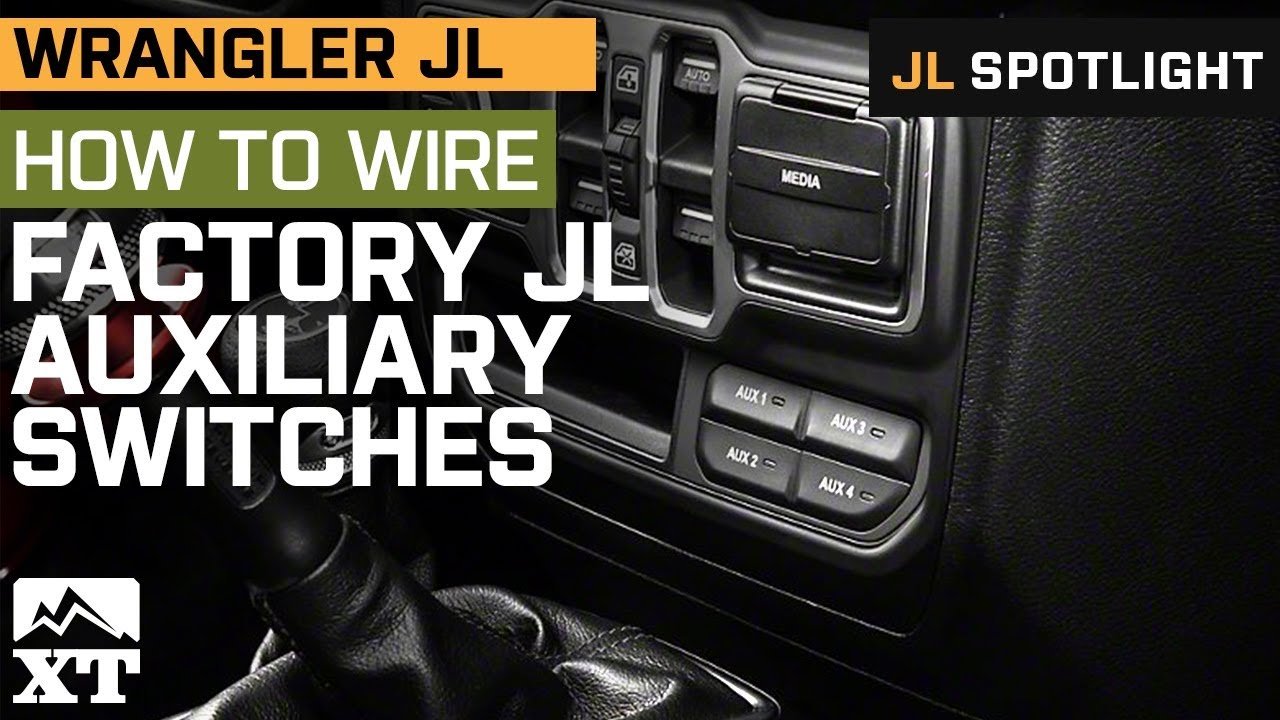
Wiring the Jeep JL Aux switches is a popular upgrade for owners who want more control over their accessories. These switches let you easily manage extra lights, air compressors, or other electrical add-ons. But for many, the wiring process can seem confusing or intimidating. With the right steps and knowledge, you can wire your switches safely and efficiently, avoiding the mistakes that often lead to electrical issues.
Understanding Jeep Jl Aux Switches
The Jeep JL offers an optional Aux switch bank, usually installed in the lower dashboard. This system includes four programmable switches, each designed to control 12V accessories. The switches connect to a pre-wired harness under the hood, which makes installation easier compared to older Jeep models.
A key feature is the built-in circuit protection. Each switch is fused at the factory, reducing the risk of short circuits or overload. The switches are also programmable via the Jeep’s Uconnect system, letting you choose between momentary or latch operation for each accessory.

Tools And Materials Needed
Gather these items before starting:
- Wire cutters/strippers
- Crimping tool
- Electrical tape
- Heat shrink tubing
- Ring terminals
- Zip ties
- Multimeter
- Accessory wiring kit (with relays if needed)
- Sockets and wrenches
You’ll also need your accessory (e.g., LED lights) and the Jeep’s Aux switch wiring diagram from the manual.
Locating The Aux Switch Wires
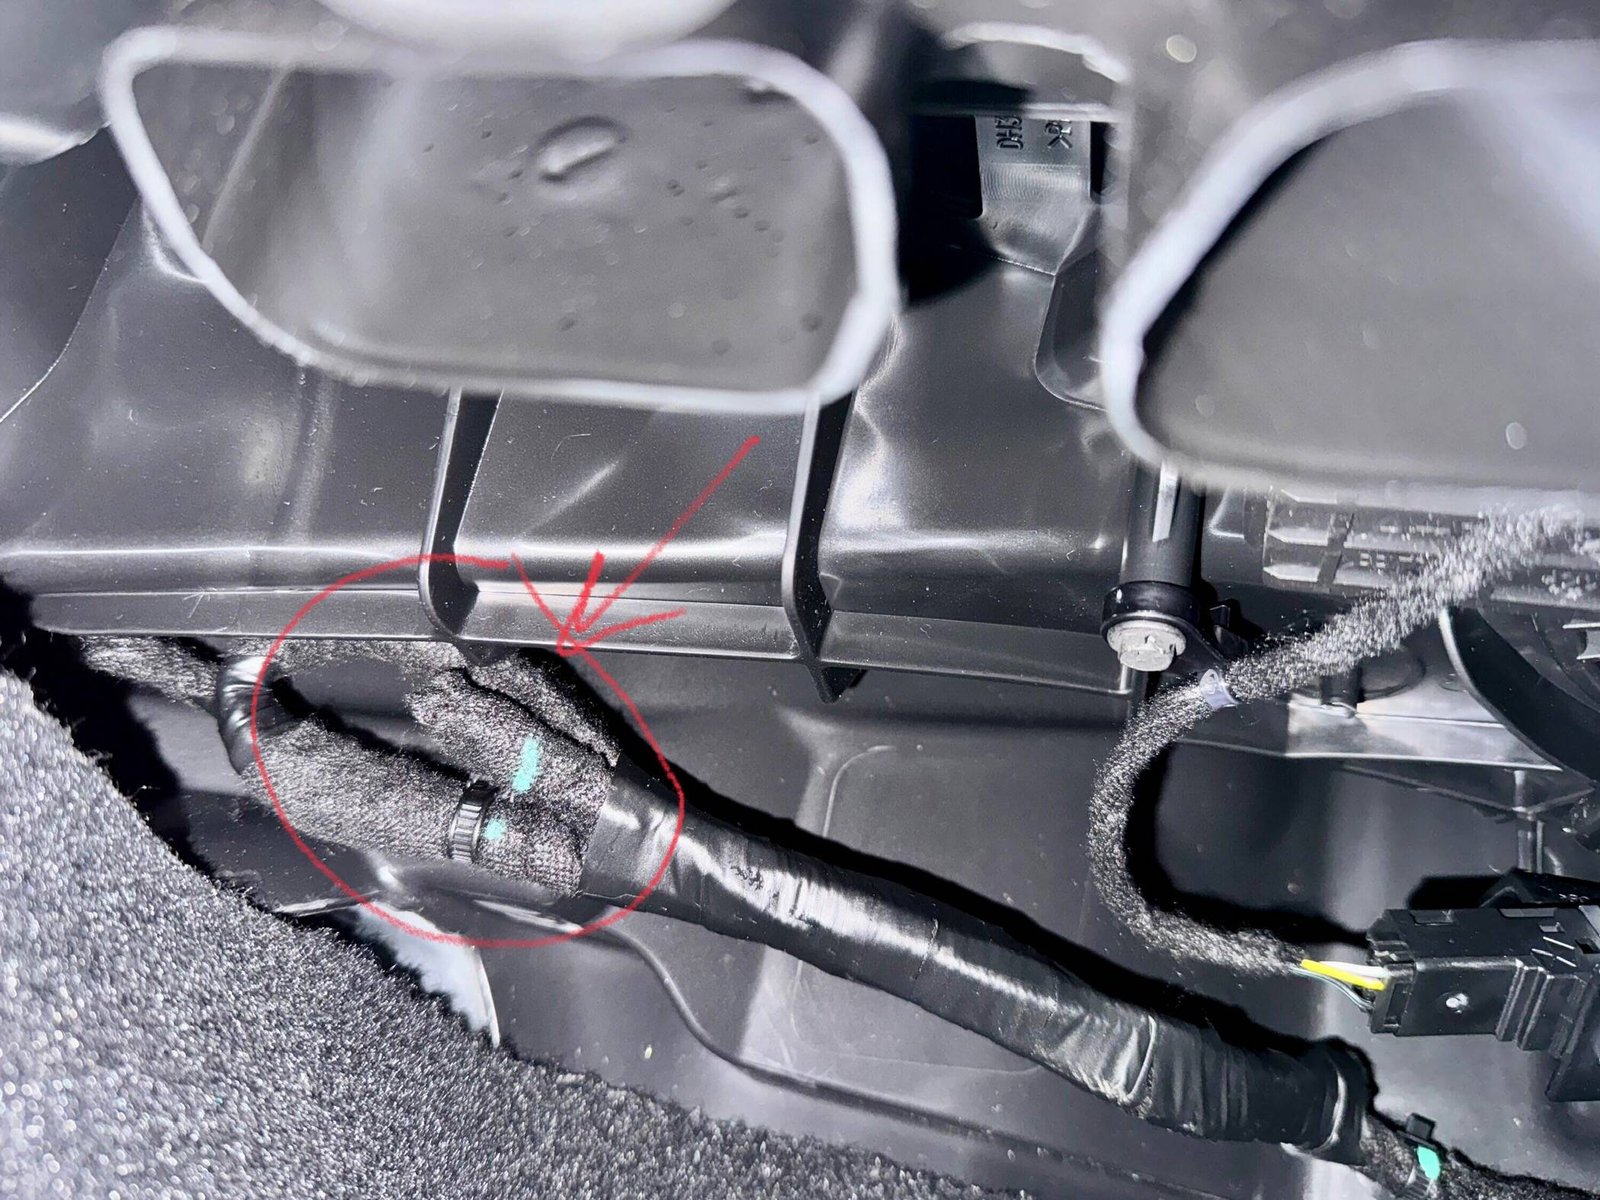
Under the hood, look for a bundle of wires near the battery or the main fuse box. This group usually has color-coded wires, each matching a specific Aux switch.
Here’s a typical wire color mapping:
| Switch | Wire Color | Fuse Rating |
|---|---|---|
| Aux 1 | Pink/Red | 40A |
| Aux 2 | Pink/Green | 40A |
| Aux 3 | Pink/Blue | 15A |
| Aux 4 | Pink/Yellow | 15A |
Not all Jeeps have the same wiring, so check your owner’s manual for the exact diagram.
Step-by-step Wiring Guide
1. Plan Your Accessory Placement
Decide where you’ll mount the accessory (for example, a light bar on the roof). Measure the distance from the mounting point to the Aux switch wires.
This helps you cut the correct length of wire and avoid slack or tightness.
2. Connect The Accessory Ground
Your accessory needs a solid ground to function properly. Use a factory ground bolt or the negative battery terminal.
Clean the connection point to ensure no paint or dirt interferes with conductivity.
3. Wire The Positive Lead
Attach the positive wire from your accessory to the correct Aux switch wire. Use a crimp connector or solder joint, then seal with heat shrink tubing for durability. Make sure you match the wire color to the correct switch.
4. Secure The Wiring
Route your wires away from hot engine parts or moving components. Use zip ties to keep them tidy and prevent rubbing that could cause a short circuit.
5. Test The System
Before finalizing, turn on your Jeep and activate the Aux switch. Use a multimeter to check for voltage at the accessory, or simply see if the device powers on.
If it doesn’t work, check your connections, fuses, and ground points. Many issues trace back to poor grounding or loose connectors.
Common Mistakes And How To Avoid Them
Many first-time installers make these errors:
- Ignoring wire gauge: Using wires that are too thin can cause overheating. Always match the wire gauge to the accessory’s amp draw.
- Skipping relays on high-power devices: For devices over 15A, use a relay to prevent switch overload.
- Improper grounding: Dirty, painted, or corroded grounds lead to poor performance or failure.
- Loose or exposed connections: Always use heat shrink or electrical tape over connections.
Here’s a quick comparison of safe wire gauges for different accessory loads:
| Accessory Load (Amps) | Recommended Wire Gauge (AWG) |
|---|---|
| Up to 10A | 16 AWG |
| 10A–20A | 14 AWG |
| 20A–40A | 12 AWG |
| Over 40A | 10 AWG |
Choosing the right wire size prevents heat build-up and possible fire risk.
Programming The Aux Switches
The Uconnect system lets you set each switch to “latching” (stays on) or “momentary” (on only when held). Access the menu through “Settings” → “Safety & Driving Assistance” → “Auxiliary Switches.” This feature is especially useful for air lockers or winches that require momentary activation.

Practical Tips For A Cleaner Install
- Label each wire as you connect it. This helps with troubleshooting later.
- Use split loom tubing to bundle wires and protect them from abrasion.
- Route wires along factory harnesses when possible for a stock look.
Here’s a quick look at the pros and cons of using the Jeep JL factory Aux switches versus aftermarket options:
| Factory Aux Switches | Aftermarket Switch Panels |
|---|---|
| Pre-wired, integrated safety, programmable | More switches, sometimes easier access |
| OEM fit and finish | May require cutting or drilling |
| Covered by warranty | Warranty may be affected |
Final Checks Before Hitting The Trail
Before you use your new switches off-road, double-check:
- All connections are tight and insulated.
- The accessory works as intended.
- No warning lights or electrical issues show up on your dash.
Testing in your driveway helps avoid surprises when you’re far from help.
Frequently Asked Questions
How Many Accessories Can I Connect To Jeep Jl Aux Switches?
You can connect up to four accessories—one per switch. Each switch has its own fuse rating, so check your accessory’s amp draw before wiring.
Do I Need A Relay For Every Accessory?
Use a relay for any accessory that draws more current than the switch’s fuse rating (usually over 15A for Aux 3/4 or 40A for Aux 1/2). Simple LED lights often don’t need relays, but compressors or winches do.
Where Do I Find The Wiring Diagram?
The wiring diagram is in your Jeep JL’s owner’s manual. You can also find it online on the official Mopar website.
Can I Reprogram The Switches Later?
Yes, you can change the switch behavior (latching or momentary) anytime through the Uconnect system settings.
Will Adding Aux Switches Void My Warranty?
Using the factory Aux switch kit will not void your warranty, as it’s a Mopar-approved accessory. Aftermarket wiring or poor installation may affect coverage, so always follow best practices.
Wiring your Jeep JL Aux switches is easier than it looks. With the right tools, careful planning, and attention to detail, you can add functionality and safety to your Jeep without headaches.
Remember to take your time, double-check your work, and enjoy the new capabilities your switches provide on every adventure.


















