Taking apart the tail light on a 2006 Jeep Grand Cherokee is a task many car owners face. Maybe your bulb burned out, the tail light cover cracked, or you want to replace the entire assembly. Doing it yourself saves money and time—but only if you know how. The process is simple, but a few steps require care to avoid damaging parts or missing small details. This guide walks you through each step, shares practical advice, and helps you avoid common mistakes.
Tools And Preparation
Before starting, gather the right tools:
- Phillips screwdriver
- Flathead screwdriver (optional)
- Socket wrench (usually 8mm)
- Gloves
- Clean cloth
Make sure the car is off and parked on a flat surface. If possible, work during daylight or use a bright lamp.
Accessing The Tail Light Assembly
Start by opening the rear hatch. The tail light is located on each side of the back of your Jeep. For most repairs, you only need to remove one side.
- Locate the two screws holding the tail light in place. These are inside the hatch area, close to the tail light itself.
- Use a Phillips screwdriver to remove both screws. Keep them safe; losing them can complicate reinstallation.
Many beginners forget to check for hidden screws or clips. On the 2006 Grand Cherokee, there are no hidden screws—but gently pull the tail light to check for resistance. If it won’t budge, double-check you removed both screws.
Removing The Tail Light
With screws out, the tail light is still attached by plastic clips. To remove:
- Grasp the tail light firmly with both hands.
- Pull straight back—don’t twist or yank. The clips will release with steady pressure.
If the light feels stuck, use a flathead screwdriver to gently pry between the car body and the tail light. Be careful not to scratch the paint.
Disconnecting The Wiring
Once the tail light is free, you’ll see the wiring harness.
- Locate the electrical connector at the back of the assembly.
- Press the tab and pull the connector out.
Never pull on the wires—this can damage the harness. If it’s tight, wiggle gently to release.
Replacing Bulbs Or Assembly
With the tail light removed, you can replace the bulbs or the entire assembly. For bulb replacement:
- Turn the bulb socket counterclockwise to remove.
- Take out the old bulb and insert the new one.
- Reinsert the socket and turn clockwise to lock.
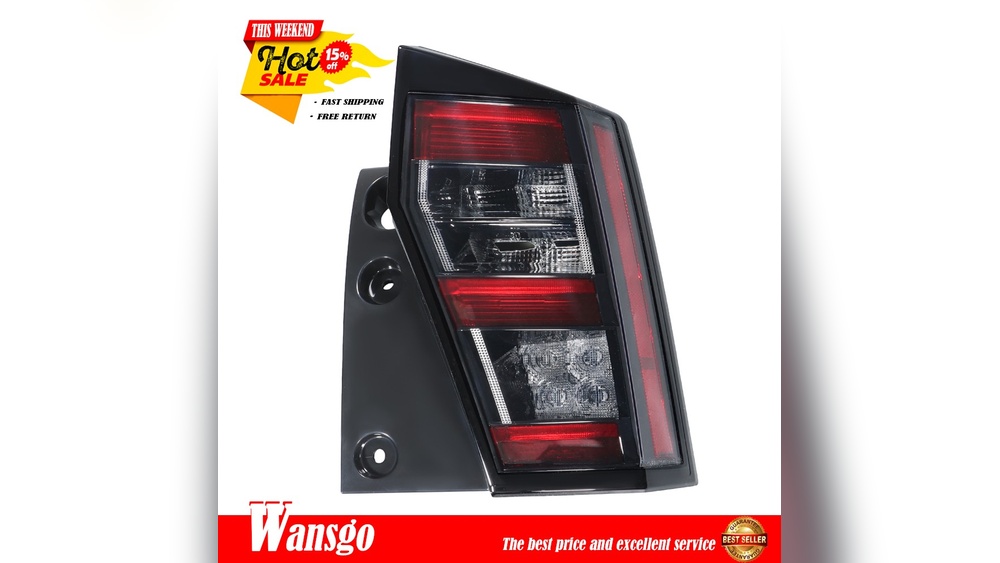
For full assembly replacement, compare the new tail light with the old one. Check for matching screw holes and connector placement.
Reinstalling The Tail Light
To put the tail light back:
- Connect the wiring harness to the new or repaired assembly.
- Align the tail light with the mounting holes.
- Press firmly so the clips snap into place.
- Insert and tighten the screws.
Test the lights before closing everything up. Turn on your Jeep’s lights and check brake, signal, and reverse functions.
Comparison: Oem Vs Aftermarket Tail Lights
Many owners wonder if they should buy OEM (original equipment manufacturer) or aftermarket tail lights. Here’s a quick comparison:
| Feature | OEM | Aftermarket |
|---|---|---|
| Fit | Perfect | Varies |
| Price | Higher | Lower |
| Warranty | Usually included | Sometimes |
| Look | Original | Can be custom |
If you want reliability, OEM is best. If you want to save money or change style, aftermarket may be fine—but check reviews and fitment before buying.
Common Mistakes And How To Avoid Them
Many beginners make errors that can cost time and money. Here are the top mistakes:
- Forgetting to test the light before finishing. Always check all functions first.
- Breaking clips by yanking. Use steady force and avoid twisting.
- Losing screws. Keep screws in a container.
- Buying the wrong part. Compare part numbers, not just appearance.
A non-obvious tip: If your tail light is foggy or cracked, moisture can enter and cause bulb failure. Clean the area and dry thoroughly before installing new parts.
Practical Example: Changing A Burned-out Bulb
Let’s say your right tail light bulb is out. You remove the screws, pull off the tail light, disconnect wiring, and replace the bulb. But after reinstalling, the light still doesn’t work. This is often due to a loose connector or a wrong bulb type. Double-check the bulb size (for 2006 Grand Cherokee, it’s usually 3157 for brake/turn and 194 for reverse). A tight fit is essential.
Data: Jeep Grand Cherokee Tail Light Replacement Frequency
How often do people change tail lights? Statistics show:
| Vehicle Age | Tail Light Replacement (per year) |
|---|---|
| 1-5 years | 0.2 |
| 6-10 years | 0.5 |
| 11+ years | 0.8 |
Older Jeeps need replacements more often due to wear and exposure.

Quick Reference: Bulb Types For 2006 Jeep Grand Cherokee
Here’s a handy overview:
| Function | Bulb Type |
|---|---|
| Brake/Turn | 3157 |
| Reverse | 194 |
| Tail | 3157 |
Always check your manual for exact bulb types.
Safety Tips
- Wear gloves to protect hands and avoid fingerprints on bulbs.
- Don’t work in the rain—moisture can damage electrical parts.
- Make sure to dispose of old bulbs safely.
If you need more details or want official guidance, check the Jeep Owner’s Manual.

Frequently Asked Questions
How Long Does It Take To Remove The Tail Light?
Usually, it takes about 15–20 minutes for someone with basic tools and experience.
Do I Need To Disconnect The Battery?
It’s not required for bulb replacement, but for full assembly changes, disconnecting the battery adds safety.
Can I Use Led Bulbs Instead Of Standard Ones?
Yes, as long as the LED bulbs match the socket size and are compatible with your Jeep’s wiring.
Are Aftermarket Tail Lights Legal?
Most are legal if they meet DOT standards. Check local regulations before installing.
What If My Tail Light Still Doesn’t Work After Replacement?
Double-check the bulb type, connector fit, and check for blown fuses in the fuse box.
Taking apart the tail light on your 2006 Jeep Grand Cherokee is a skill every owner should have. With careful steps, the right tools, and attention to detail, you’ll save money and keep your Jeep safe on the road. Remember to check all functions before finishing and always use quality parts.