If you’ve just bought a light bar for your Jeep Wrangler, you’re probably excited to see those powerful LEDs in action. But before you hit the trails at night, there’s one important step: safely running the wires for your light bar. If you do it right, your installation will look clean, work reliably, and avoid electrical issues down the road. If you make common mistakes, though, you can cause shorts, battery drain, or even a fire hazard. Let’s break down exactly how to run wire for a light bar on a Jeep Wrangler—step by step, for both beginners and DIYers with some experience.
Understanding Your Light Bar Wiring Needs
Before you grab tools, it’s smart to know what you’re dealing with. Light bars come in many sizes and wattages, which can affect wire gauge, relay needs, and where you’ll pull power from.
Most light bars for Jeep Wranglers are LED and draw less power than old halogen lights. A typical 20-inch LED light bar uses 120–180 watts, pulling about 10–15 amps at 12 volts. Larger bars or multiple lights can double that. Always check the manufacturer’s current draw rating.
You’ll need to decide:
- Are you wiring just one light bar, or several?
- Do you want the bar to turn on with a switch, with your high beams, or both?
- Is your Jeep a JK, JL, or older YJ/TJ? Wire routing and fuse box access differ a bit.
Tools And Materials Required
Having the right tools on hand saves a lot of frustration. Here’s what you’ll need for a professional job:
- Light bar wiring harness (often included with your light bar)
- Appropriate wire gauge (usually 14-12 AWG for most bars)
- Automotive relay (40A recommended)
- Inline fuse holder (with fuse sized for your bar, e.g., 20A)
- On/off switch (waterproof, dash-mount, or A-pillar style)
- Wire connectors (heat-shrink preferred)
- Electrical tape and heat shrink tubing
- Wire loom or split tubing (protects wires from heat/rubbing)
- Zip ties
- Drill and bits (if mounting switch or running through firewall)
- Socket set and screwdrivers
- Multimeter (for testing connections)
- Fish tape or stiff wire** (for pulling wires)
Pro tip: Don’t skip the relay. It protects your Jeep’s wiring and switch from high current. Relays also allow you to use smaller switches and make wiring safer.
Planning Your Wiring Route
A clean wiring route is more than just tidy—it’s safer and helps your light bar last longer. On a Jeep Wrangler, you want to avoid heat sources, moving parts, and sharp edges.
Here’s a smart route to follow:
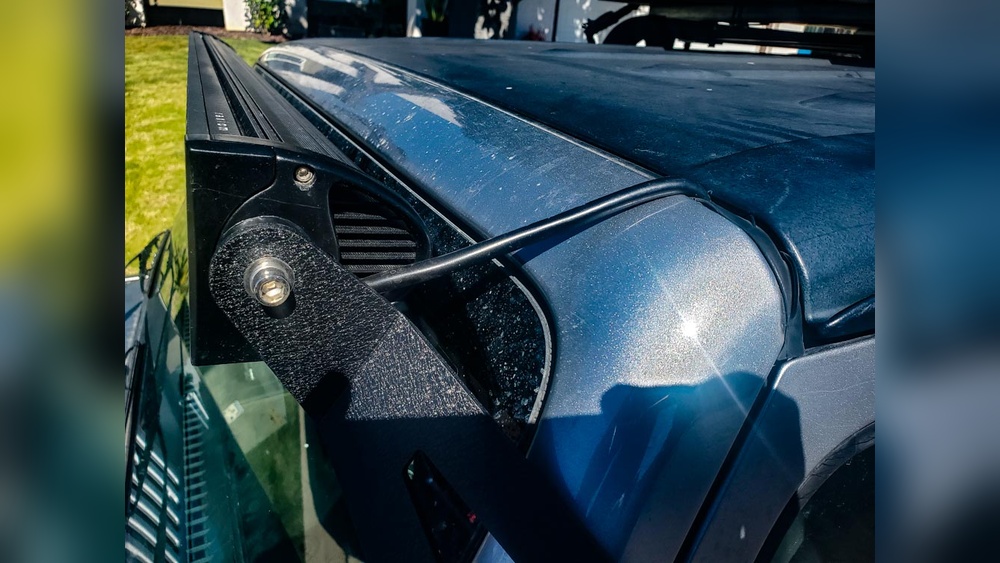
- From the light bar: Run the wires along the windshield frame, tucking under factory trim if possible.
- Down the A-pillar: Use the existing clips or run inside the weatherstripping.
- Through the firewall: Find a rubber grommet (often behind the battery or brake booster) and use it to pass wires into the cabin.
- To the relay/fuse: Mount the relay near the battery, and keep the fuse as close to the battery terminal as possible.
- Switch wiring: Route the switch wires into the dash or A-pillar, depending on your preferred location.
Non-obvious insight: Avoid routing wires under carpet or near the floor, where water can collect. Jeep Wranglers are famous for leaks, especially after off-roading.
Running The Wire: Step-by-step
Let’s dive into the process. This guide fits most Jeep Wrangler models (JK, JL, and even older YJ/TJ with slight adjustments).
1. Disconnect The Battery
Always start by disconnecting the negative battery terminal. This prevents shorts and protects you from accidental shocks while working.
2. Mount Your Light Bar
Install the light bar first, using included brackets. Route the attached power wires toward the A-pillar (driver’s side is common).
3. Route Wires Along The Windshield
- Use zip ties or adhesive clips to secure the wire.
- Tuck under weather seals or trim for a clean look.
- Leave a little slack near hinges for door movement.
4. Enter The Engine Bay
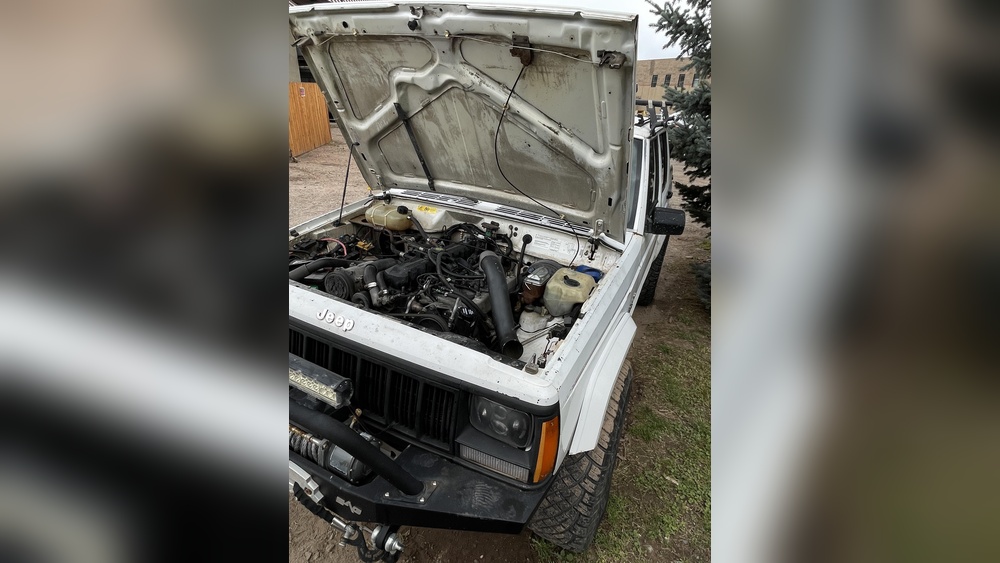
Bring the wires into the engine compartment, staying away from hot engine parts and the exhaust manifold.
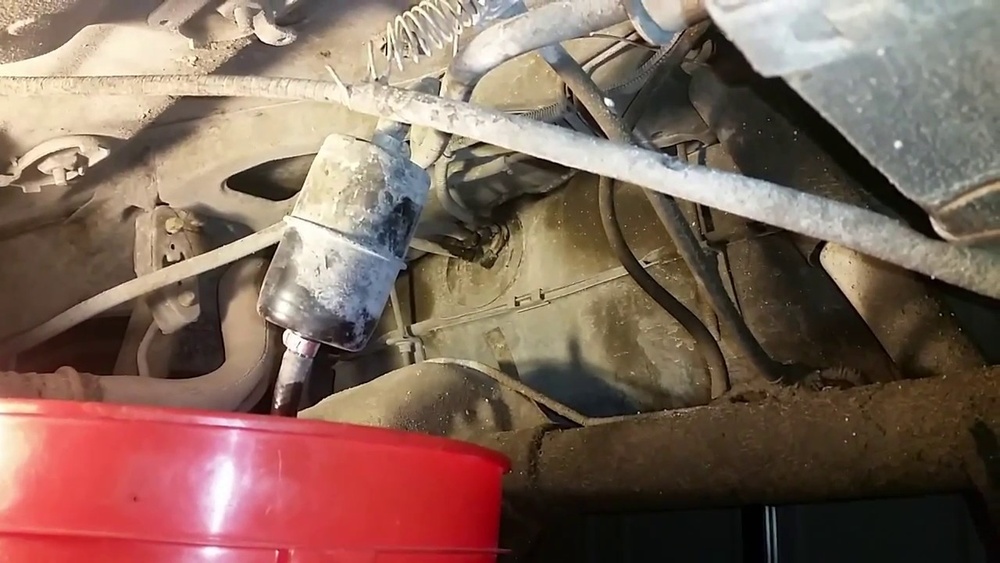
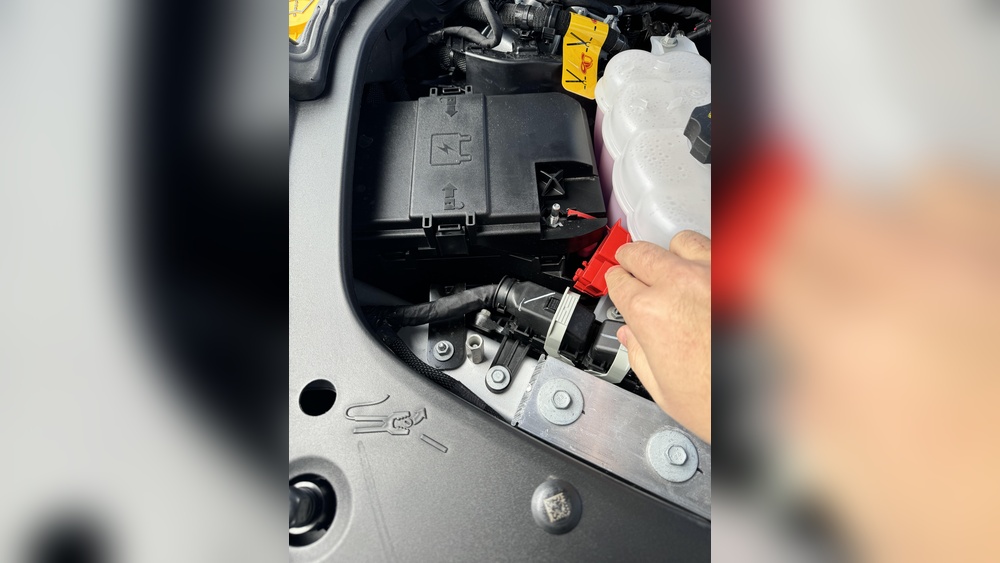
5. Use A Firewall Grommet
Find an unused or lightly used rubber grommet in the firewall. Poke a small hole (not too big, to keep it watertight) and push the switch wires through using fish tape or a stiff wire.
6. Mount The Relay And Fuse
- Mount the relay close to the battery, on a fender or firewall.
- Connect the relay’s power wire to the battery (+) using an inline fuse.
- Connect the ground wire to a solid chassis or battery (-).
7. Connect The Switch
- Decide where you want your switch: Dash, center console, or A-pillar.
- Drill a small hole and secure the switch.
- Pull the switch wires through the grommet into the cabin.
- Connect the switch to the relay’s control wires as shown in your harness diagram.
8. Make The Light Bar Connections
- Connect the light bar’s positive (red) and negative (black) wires to the harness. Use solder or heat-shrink connectors for reliability.
- Test the polarity—LEDs only work one way.
9. Protect And Secure All Wires
- Cover exposed wires with wire loom for extra protection.
- Use zip ties to keep wires away from moving parts.
- Double-check that nothing is dangling or stretched.
10. Reconnect Battery And Test
Reconnect the battery and test your light bar. If it doesn’t work, check fuse, relay, and ground connections.
Common mistake: Forgetting to check the ground connection. A poor ground is the #1 reason lights don’t work after installation.

Wire Gauge And Fuse Selection
Choosing the right wire size and fuse is critical for safety. Here’s a quick reference:
| Light Bar Wattage | Current Draw (Amps) | Recommended Wire Gauge | Fuse Size |
|---|---|---|---|
| Up to 120W | 10A | 14 AWG | 15A |
| 121–180W | 15A | 12 AWG | 20A |
| 181–240W | 20A | 10 AWG | 25A |
If you’re unsure, go one size thicker. Thicker wire means less voltage drop and lower heat.
Mounting And Switch Options
Where and how you mount your switch can make a big difference in daily use. Here’s a look at some popular options:
| Switch Type | Location | Pros | Cons |
|---|---|---|---|
| Rocker switch | Dash or center console | Factory look, easy to use | May require dash modification |
| Pillar switch | A-pillar trim | Easy access, no dash holes | Can look aftermarket |
| Remote switch | Wireless/fob | No interior wiring, fast install | Battery required, may lose fob |
Non-obvious insight: If you install multiple lights, use a switch panel (like sPOD or Auxbeam). It makes future wiring easier and keeps your dash tidy.
Weatherproofing Your Wiring
Jeep Wranglers see tough conditions—rain, mud, dust, and car washes. Weatherproofing your wiring is not optional.
- Use heat shrink tubing on all connections.
- Seal grommets with silicone if you poke new holes.
- Use dielectric grease on connectors to prevent corrosion.
- Run wires inside wire loom, especially near the engine or under the vehicle.
Troubleshooting Common Issues
If your light bar doesn’t work, don’t panic. Here are the most common causes:
- Blown fuse: Check the inline fuse near the battery.
- Bad ground: Try moving your ground to a different spot.
- Relay not clicking: Check switch wiring and relay connections.
- Wrong polarity: Flip the wires at the light bar—LEDs need correct polarity.
- Loose connectors: Tug each connection gently to make sure it’s solid.
A multimeter is your best friend here. Test for 12V power at different points until you find the break.

Example: Wiring A 20-inch Light Bar On A 2018 Jeep Wrangler Jl
Let’s put all this together with a real-world example.
- Light bar: 20-inch, 150W, 12.5A draw
- Wire: 12 AWG
- Fuse: 20A inline
- Relay: 40A, mounted on passenger fender
- Switch: Waterproof rocker, dash-mounted
The wiring harness power wire runs along the windshield frame, through the firewall grommet behind the battery, and to the dash switch. The relay is powered directly from the battery, with the fuse only 6 inches from the positive terminal.
All connections are heat-shrunk and wrapped in split loom. The install took about 2 hours.
After testing, the light bar fired up bright and strong—no flicker, no error codes. This method works for almost any Wrangler light bar setup.
Safety Tips And Best Practices
- Never run wires across sharp metal edges. Use grommets to prevent cuts.
- Do not use household wire nuts—use automotive connectors.
- If you drill new holes, paint the bare metal to prevent rust.
- Label your wires for future troubleshooting.
- Secure wires every 12 inches with zip ties to prevent rubbing and vibration.
- Always double-check your fuse rating before final connection.

Professional Installation Vs Diy
Should you do it yourself or pay a shop? For most Wrangler owners, a light bar install is a great DIY project. But if you’re unsure about any step, or if you’re adding several high-power lights, a professional installer can ensure perfect results.
Tip: Shops charge about $100–$250 for a single light bar install, depending on complexity.
Wrapping Up
Running wire for a light bar on a Jeep Wrangler is a rewarding project that adds utility and style to your vehicle. The key is careful planning, choosing the right materials, and protecting every connection from the elements. Take your time, follow each step, and you’ll get bright, reliable lighting for years to come.
If you need detailed wiring diagrams or want to learn more about relay wiring, check out the guide at 12 Volt Planet.
Frequently Asked Questions
How Do I Choose The Right Wire Gauge For My Light Bar?
Use the amp rating of your light bar to pick wire size. For most 20-inch bars (10–15A), 12 AWG is safe. For higher wattage or longer runs, use 10 AWG. Thicker wire means less voltage loss.
Can I Wire My Light Bar Without A Relay?
It’s not recommended. A relay keeps high current out of your dash switch and factory wiring. Without it, you risk overheating wires and switch failure.
Where Is The Best Place To Mount The Relay In A Jeep Wrangler?
Mount the relay close to the battery (driver or passenger fender), away from engine heat and water spray. Secure with a bolt or factory hole, and keep the fuse within 6–12 inches of the battery terminal.
How Do I Run Wires Through The Firewall Safely?
Look for an existing rubber grommet in the firewall. If none is available, drill a small hole and use a new grommet. Seal with silicone after pulling the wires to keep out water and dust.
What Should I Do If My Light Bar Flickers Or Won’t Turn On?
Check the fuse and ground connection first. Make sure all connectors are tight and protected from moisture. If the relay isn’t clicking, test with a multimeter to trace the issue. Most problems are from poor connections or wrong polarity.