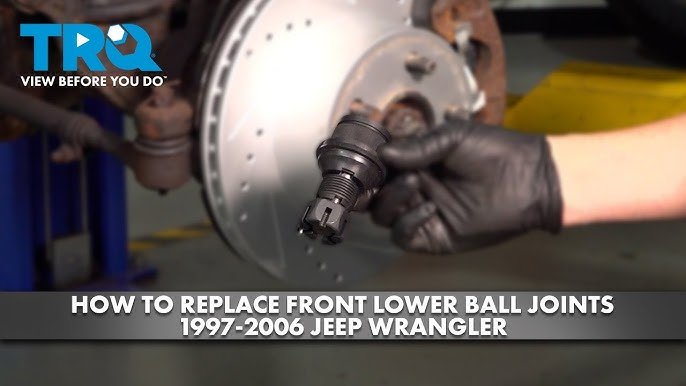
Replacing ball joints on your Jeep is an essential job for keeping your vehicle safe and handling well. Bad ball joints can cause steering problems, uneven tire wear, and even dangerous driving situations. Many Jeep owners choose to handle this repair themselves to save money and understand their vehicle better. If you’re thinking about replacing Jeep ball joints, you’ll need clear steps, proper tools, and a bit of patience. This guide will walk you through the process, highlight common mistakes, and help you avoid surprises that beginners often face.
What Are Ball Joints And Why Do They Matter?
Ball joints are a key part of your Jeep’s front suspension. They connect the control arms to the steering knuckles, allowing the wheels to move up and down while also steering left and right. Good ball joints keep your ride smooth and your steering tight.
If ball joints fail, you might notice:

- Clunking noises from the front end
- Loose steering or wandering
- Uneven tire wear
- Vibration when driving
Most Jeeps need ball joint replacement after 80,000 100,000 miles, but off-road driving or heavy loads can wear them out faster.
Tools And Parts You’ll Need
Before you start, gather the right tools. Missing one can stop the job.
- Ball joint press kit (rentable from auto parts stores)
- Socket set (including impact sockets)
- Breaker bar
- Hammer
- Needle nose pliers
- Jack and jack stands
- Torque wrench
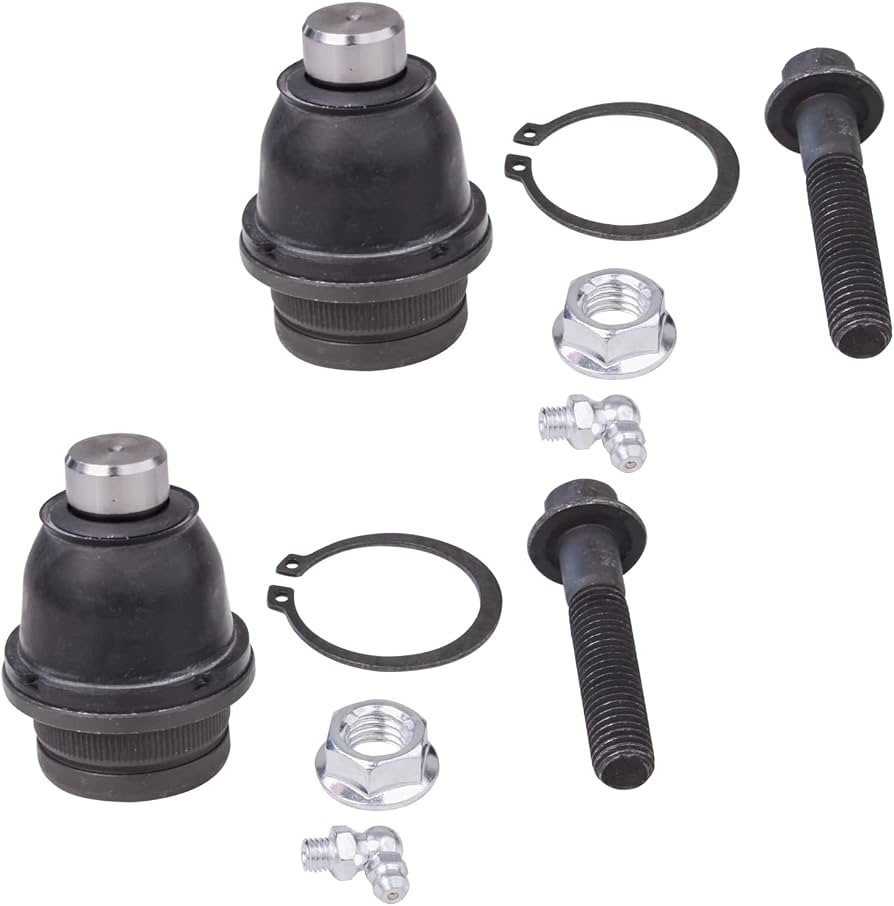
- New ball joints (upper and lower, check your Jeep’s model)
- Grease (for new joints)
- Safety glasses and gloves
Check your Jeep’s manual or a trusted resource like Jeep’s official service guide for exact part numbers.
Step-by-step Ball Joint Replacement
Follow these steps carefully. Rushing or skipping steps can lead to mistakes.
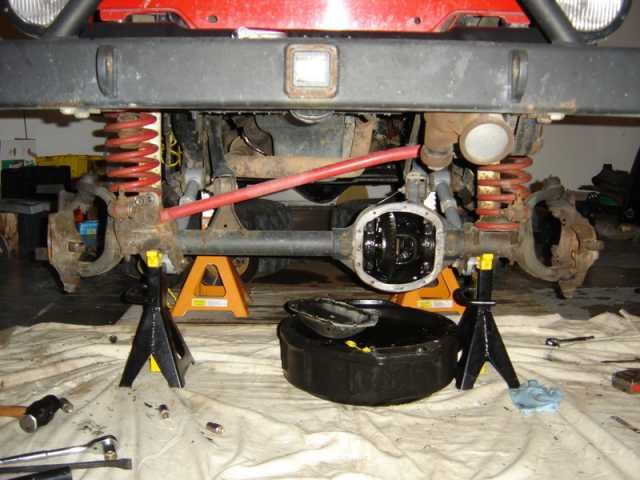
- Lift the Jeep and remove the wheel
- Place the Jeep on level ground.
- Loosen lug nuts, jack up the vehicle, then use jack stands for safety.
- Remove the brake caliper and rotor
- Use sockets to unbolt the caliper; hang it aside to avoid stress on the brake line.
- Slide off the rotor.
- Disconnect the axle shaft
- Remove the axle nut with a breaker bar.
- Slide the axle out of the hub.
- Remove the steering knuckle
- Loosen and remove the nuts securing the ball joints.
- Use a hammer or ball joint separator to free the knuckle.
- Press out the old ball joints
- Set up your ball joint press. Carefully press out the upper and lower joints.
- Take your time; improper setup can damage the knuckle.
- Install new ball joints
- Press in the new joints, making sure they go in straight.
- Apply grease if required.
- Reassemble everything
- Reverse the steps: Attach the knuckle, axle, rotor, and caliper.
- Torque all bolts to specs.
- Double-check your work
- Inspect for loose bolts, grease leaks, or missing clips.
Common Mistakes To Avoid
- Skipping torque specs: Always use a torque wrench. Under- or over-tightening can cause failure.
- Damaging the knuckle: Take care when pressing out old joints; the knuckle is expensive to replace.
- Forgetting to grease: Some ball joints need grease after installation. Check instructions.
Ball Joint Types: Oem Vs Aftermarket
Choosing the right ball joint matters. Some Jeep owners go for OEM (Original Equipment Manufacturer), while others pick aftermarket for better strength or price.
Here’s a quick comparison:
| Ball Joint Type | Durability | Price Range | Warranty |
|---|---|---|---|
| OEM | Good | $50–$100 each | 12–24 months |
| Aftermarket (Heavy-Duty) | Excellent | $80–$150 each | Lifetime |
| Budget Aftermarket | Fair | $30–$60 each | 6–12 months |
Heavy-duty ball joints are popular for off-road Jeeps. They cost more but last longer under tough conditions.
Ball Joint Press Kits Compared
Not all ball joint press kits are equal. Some make the job much easier.
| Kit Name | Included Adapters | Ease of Use | Rental Availability |
|---|---|---|---|
| OEMTools 25104 | 4 | Easy | Yes |
| Powerbuilt 648617 | 7 | Moderate | Yes |
| Cheap Universal | 2 | Difficult | No |
OEMTools kits are easier for beginners, while universal kits may require extra adapters.
Signs Your Ball Joints Need Replacement
Sometimes, Jeep owners miss early warning signs. Here’s what to watch for:
- Popping sounds when turning
- Wheel wobble at highway speeds
- Grease leaks around the joint
- Visible play when you lift the wheel and move it by hand
A simple test: Lift the Jeep and try to move the wheel top-to-bottom. If it moves, your ball joints may be loose.
After Replacement: What To Check
After installing new ball joints, you should:
- Get a wheel alignment: New ball joints can change wheel angles. Alignment prevents tire wear.
- Check for noises: Drive slowly and listen for clunks or pops.
- Re-torque bolts after 100 miles: Some bolts can loosen as parts settle.
These steps help your repair last longer and keep your Jeep running smoothly.
Frequently Asked Questions
How Long Does It Take To Replace Jeep Ball Joints?
For most DIYers, expect 3–5 hours for both sides. Experience and proper tools can speed up the job.
Do I Need An Alignment After Replacing Ball Joints?
Yes, a wheel alignment is recommended. New ball joints affect steering and tire wear.
Can I Drive With Bad Ball Joints?
It’s risky. Bad ball joints can cause loss of control or wheel separation. Replace them as soon as possible.
What Is The Average Cost For Professional Replacement?
A shop charges $400–$700 for parts and labor. Doing it yourself can save up to half the cost.
What Are Signs Of Failing Ball Joints?
Look for clunking noises, loose steering, uneven tire wear, and visible movement when you move the wheel by hand.
Replacing ball joints on your Jeep is a job that pays off in safety and performance. With the right tools and careful steps, you can handle this repair at home.
Remember to check torque specs, grease new joints, and get an alignment after the job.
Taking your time will help you avoid mistakes and keep your Jeep ready for the road or trail.