Replacing the rear tail light assembly on your 2003 Jeep Grand Cherokee is a job many owners can do at home with simple tools. Whether your tail light is cracked, has burned-out bulbs, or simply looks worn out, knowing how to replace it yourself can save you time and money.
This guide will show you how to do the job safely and correctly, along with tips to avoid common mistakes and keep your Jeep looking great.
Why Replace Your Rear Tail Light Assembly?
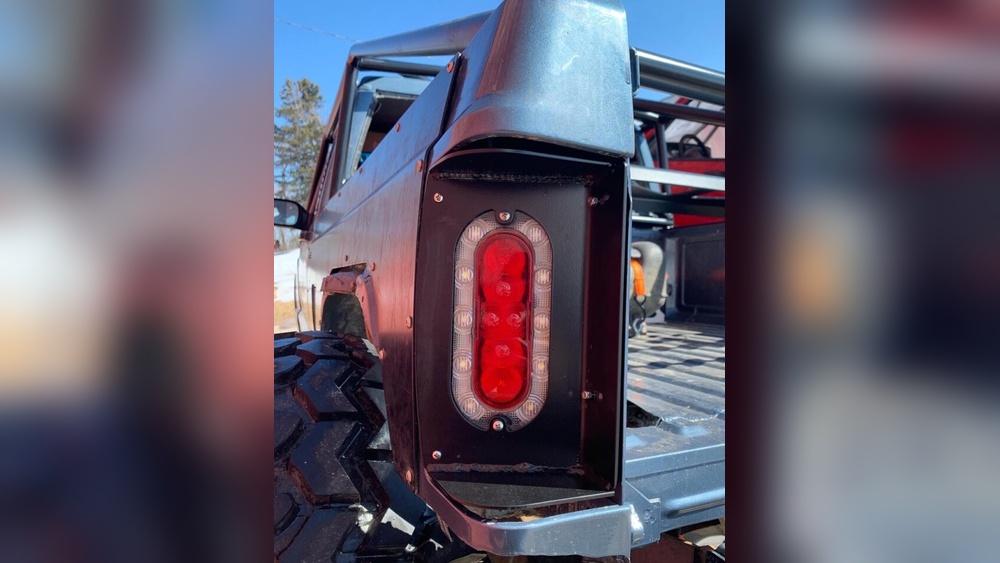
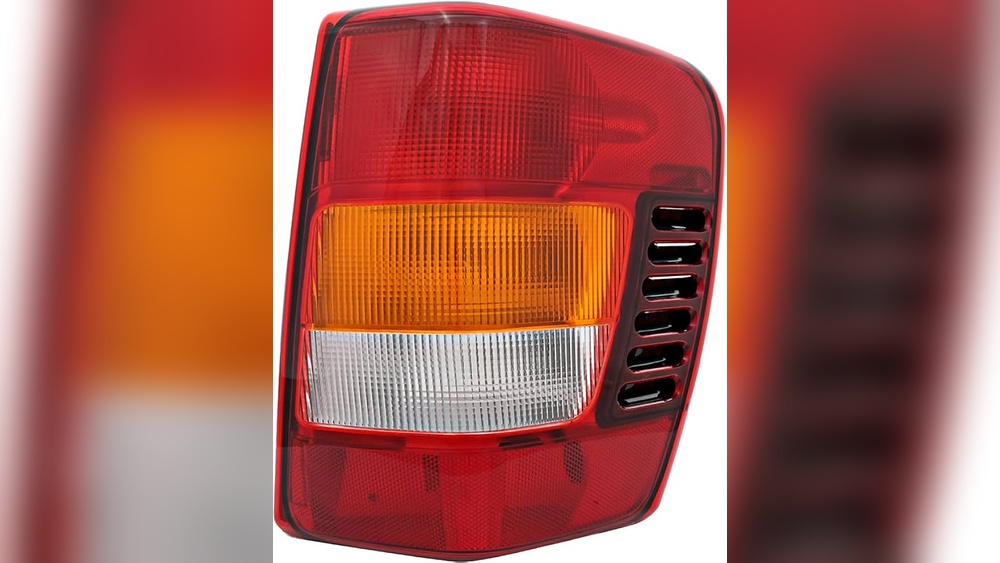
The rear tail light assembly is more than just a light; it keeps you safe on the road. Broken or dim tail lights can lead to accidents or tickets. On the 2003 Jeep Grand Cherokee, tail light assemblies are known to fade or crack over time. Replacing them not only helps you avoid legal trouble but also improves visibility and the appearance of your vehicle.
Tools And Materials Needed
Before you start, gather these items:
- New rear tail light assembly (for 2003 Jeep Grand Cherokee)
- Phillips screwdriver
- Flat-head screwdriver (optional)
- Socket wrench (usually 8mm or 10mm)
- Clean cloth or gloves
Having everything ready makes the process smoother and prevents mistakes.

Step-by-step Guide To Replacing The Tail Light
1. Open The Rear Hatch
Start by opening the rear hatch to access the tail light assembly. This gives you enough room to work safely.
2. Locate And Remove Fasteners
On the side of the tail light inside the hatch, you’ll see two screws holding the assembly in place. Use the Phillips screwdriver to remove these screws. Set them aside in a safe place.
Some models may have an extra plastic clip. If so, gently pry it out using a flat-head screwdriver.
3. Pull Out The Tail Light Assembly
After removing the fasteners, hold the assembly and gently pull it straight back. There may be plastic tabs holding it in, so use steady pressure. Do not force it, as the tabs can break.
4. Disconnect The Wiring Harness
Look for the wiring harness connected to the back of the tail light. Press the tab on the connector and pull it out. Some connectors may be tight, so wiggle gently if needed.
5. Transfer Bulbs (if Needed)
Some replacement assemblies come without bulbs. If yours is empty, twist and remove each bulb socket from the old assembly and insert them into the new one. Make sure each bulb is seated properly.
6. Install The New Tail Light Assembly
Plug the wiring harness into the new tail light. Align the new assembly with the holes and tabs, then push it into place. Reinstall the screws, tightening them until snug but not over-tight.
7. Test The New Tail Light
Before closing the hatch, test all functions: brake, reverse, and turn signals. This ensures everything is working and the wiring is correct.
8. Final Touches
Wipe down the new assembly to remove fingerprints. Double-check that the assembly is secure and flush with the body.
Comparison: Oem Vs. Aftermarket Tail Light Assemblies
Choosing the right replacement matters. Here’s a quick look at OEM (Original Equipment Manufacturer) and aftermarket options:
| Feature | OEM | Aftermarket |
|---|---|---|
| Fit | Perfect, factory match | Varies (may need adjustment) |
| Price | Higher | Lower |
| Warranty | Usually included | Sometimes included |
| Appearance | Matches original | May differ in design |
If you want a guaranteed fit and factory look, choose OEM. If you want to save money or try a new style, aftermarket can be a good option.

Common Mistakes To Avoid
Many beginners make these errors:
- Forcing the assembly out: Always pull straight and gently.
- Dropping screws inside the hatch: Use a magnetic tool or work over a towel.
- Mixing up bulbs: If moving bulbs, label each socket.
- Skipping the test: Always check lights before finishing.
Practical Tips For A Smooth Replacement
- Wear gloves to keep bulbs and lenses clean.
- Replace both tail lights if one is faded or yellowed for a balanced look.
- If a screw feels stuck, spray a little lubricant and wait a few minutes.
Cost And Time Estimates
Replacing a 2003 Jeep Grand Cherokee tail light assembly usually takes 20–30 minutes for beginners. The cost for a new assembly ranges from $45 to $120, depending on whether you choose OEM or aftermarket.
Here’s a breakdown of typical costs:
| Item | Cost Range (USD) |
|---|---|
| OEM Tail Light Assembly | $80–$120 |
| Aftermarket Assembly | $45–$80 |
| Tools (if needed) | $10–$20 |
You can find parts at auto stores or online. For more details, check out this official Jeep resource.
When To Seek Professional Help
If you notice electrical problems, water leaks, or trouble removing the old assembly, it’s wise to visit a mechanic. Some tail light issues are signs of bigger electrical faults.

Frequently Asked Questions
How Do I Know If My Tail Light Assembly Needs Replacing?
If you see cracks, fading, or moisture inside the lens, or if lights do not work after changing bulbs, it’s time to replace the assembly.
Can I Reuse My Old Bulbs?
Yes, if they are still working and fit the new assembly. However, consider replacing old bulbs to avoid doing the job again soon.
Is It Safe To Drive With A Broken Tail Light?
No. A broken tail light reduces visibility and can lead to tickets or accidents. Replace it as soon as possible.
Do I Need To Disconnect The Battery?
It’s not required, but for extra safety, you can disconnect the negative battery terminal before starting. This helps prevent short circuits.
Will Aftermarket Tail Lights Affect My Vehicle’s Warranty?
Usually, aftermarket parts do not void your warranty if they meet safety standards. Always check your warranty terms or ask your dealer.
Replacing your 2003 Jeep Grand Cherokee rear tail light assembly is a straightforward job with the right tools and a careful approach. Taking the time to do it yourself saves money and gives you control over the quality of the parts used.
With these clear steps and tips, you can keep your Jeep safe, legal, and looking sharp on the road.