Adding a light bar to your Jeep Wrangler is one of the best upgrades for off-road adventures and nighttime driving. A good light bar improves visibility, boosts safety, and even gives your Wrangler a rugged look. While the idea might sound technical, installing a light bar is a project many Jeep owners handle themselves. With the right tools, a step-by-step plan, and a bit of patience, you can get professional results without a visit to the shop.
Choosing The Right Light Bar
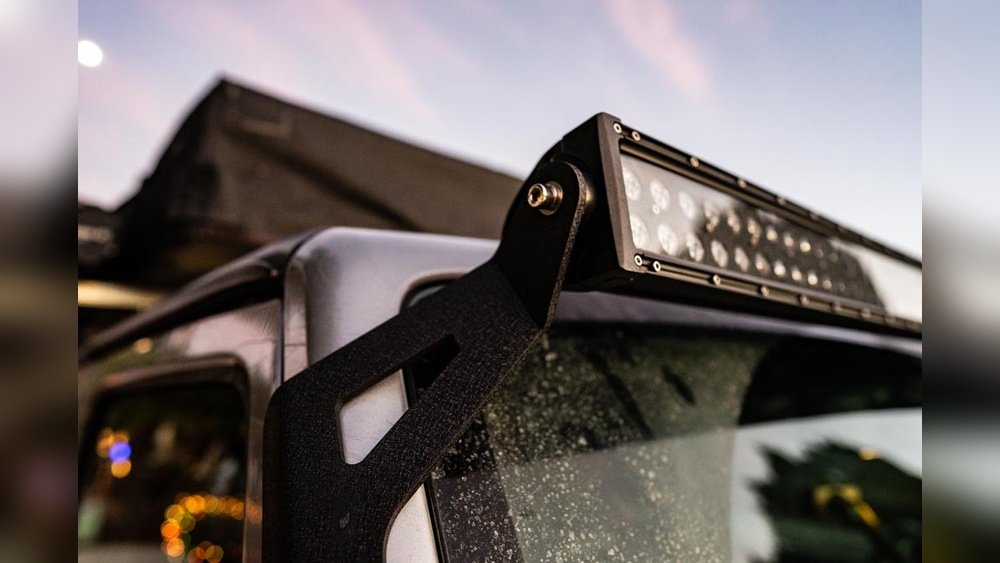
Before you start, pick a light bar that fits your needs and your Jeep model. Most Jeep Wranglers use a 50-inch light bar above the windshield, but sizes and shapes vary. Consider these factors:
- Brightness (Lumens): More lumens mean brighter light. Off-roaders often choose 20,000–40,000 lumens.
- Beam Pattern: Spot beams reach far, flood beams spread wide. Combo bars offer both.
- Waterproof Rating: Look for an IP67 or IP68 rating for dust and water resistance.
- Mounting Style: Some bars need custom brackets; others fit stock mounts.
Here’s a quick comparison:
| Light Bar Type | Brightness (Lumens) | Beam Pattern | Waterproof Rating |
|---|---|---|---|
| Single Row | 15,000–25,000 | Spot/Flood | IP67 |
| Double Row | 20,000–40,000 | Combo | IP68 |
| Cree LED | 25,000–35,000 | Spot/Flood | IP68 |
Pro Tip: Some cheap light bars can flicker or fail in heavy rain. Investing in a quality bar saves headaches later.
Tools And Materials Needed
Get these tools and supplies before you start:
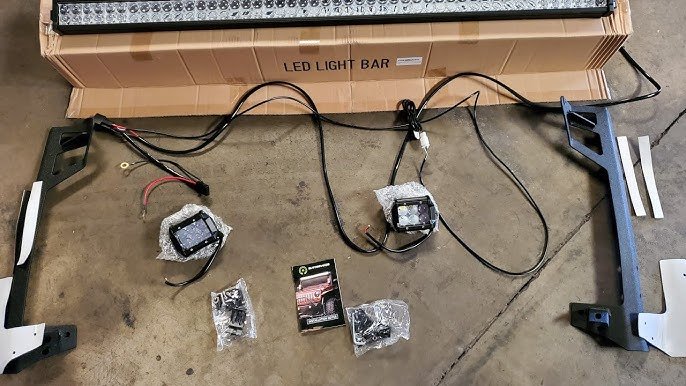
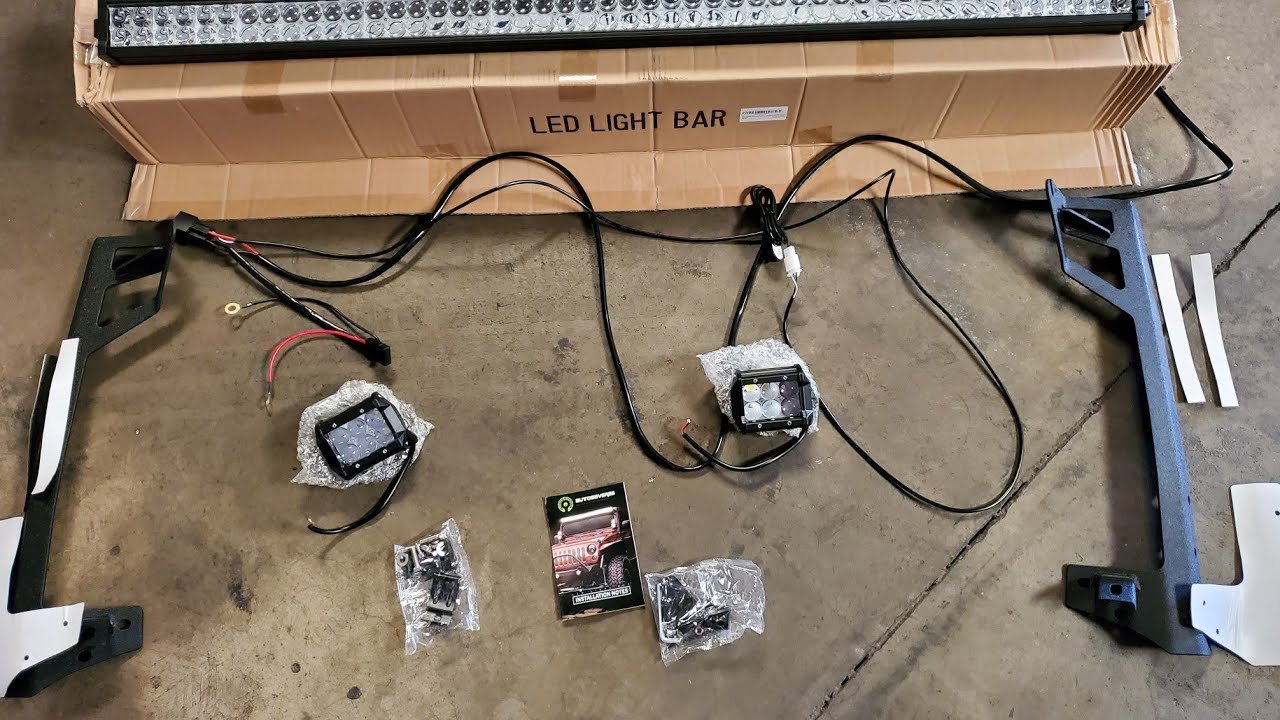
- Light bar with wiring harness
- Mounting brackets (specific to your Wrangler)
- Socket set and ratchet
- Screwdrivers (Phillips and flathead)
- Wire stripper/crimper
- Electrical tape
- Zip ties
- Drill (sometimes needed for custom mounts)
- Safety glasses and gloves
Step-by-step Installation Guide
1. Prepare Your Jeep
Park your Wrangler on a flat surface. Disconnect the battery’s negative terminal to prevent electrical shorts. Clean the mounting area to remove dirt and debris.
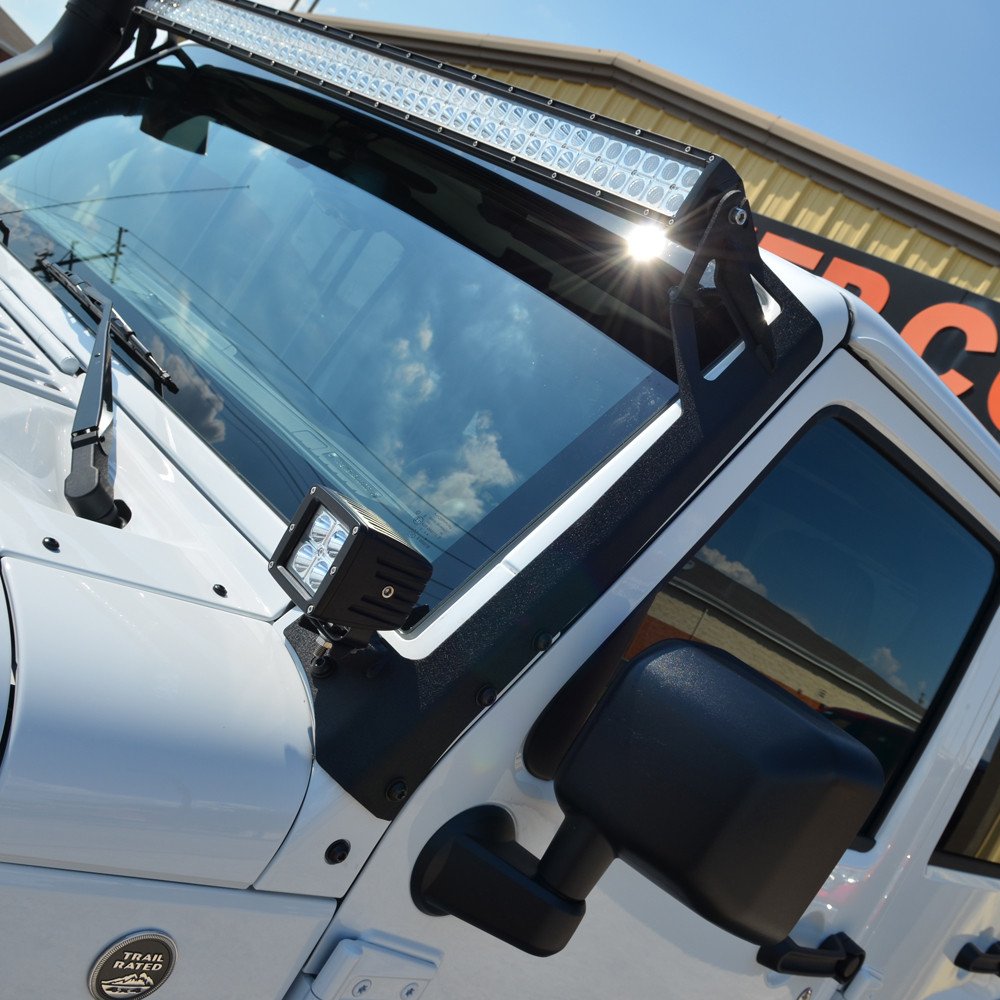
2. Attach The Mounting Brackets
Most light bars use brackets that bolt onto the existing windshield frame. Hold each bracket in place and align it with the factory holes.
Use the supplied bolts and tighten them with a socket wrench. If your kit requires drilling, mark the spots carefully and drill pilot holes.
3. Mount The Light Bar
With the brackets installed, lift the light bar into place. Attach it to the brackets using the provided hardware.
Do not fully tighten the bolts yet leave a little room to adjust the angle later.
4. Route The Wiring
Lay out the wiring harness that comes with your light bar. Most kits include a relay, inline fuse, and switch. Route the wires along the windshield frame and through the engine bay, keeping them away from hot or moving parts. Use zip ties to secure the harness.
A common mistake: Running wires where they can pinch or rub. This can cause shorts or damage over time.
5. Connect To Power
Find a spot inside the cabin for the switch usually near the dashboard. Feed the switch wire through a grommet in the firewall.
Connect the relay and fuse to the battery’s positive terminal, and ground the negative wire to a bare metal spot on the chassis.
Here’s a summary of the wiring connections:
| Wire Color | Connects To | Purpose |
|---|---|---|
| Red | Battery Positive (+) | Main Power |
| Black | Chassis Ground | Completes Circuit |
| Blue/Green | Switch | Controls Light |
6. Test The Light Bar
Reconnect the battery. Turn on the switch to check if the light bar works.
If it doesn’t, double-check all connections and the fuse. Once it lights up, adjust the bar’s angle to aim the beam where you want it.
Tighten all bolts fully.
7. Secure And Finish
Make sure all wires are neatly tucked and secured with zip ties. Use electrical tape on exposed connections.
Replace any trim or panels removed during the process.
Pro Tip: Avoid over-tightening bolts on the windshield frame, as it can crack the paint or glass.
Common Mistakes And How To Avoid Them
- Skipping the relay: Direct wiring can overload your system. Always use the supplied relay.
- Improper grounding: Poor ground causes flickering or weak light. Scrape away paint for a clean ground.
- Wire routing errors: Keep wires away from sharp edges and hot parts like the exhaust or engine block.
- Using the wrong fuse: Match the fuse size to your light bar’s amp rating to prevent electrical fires.
Real-world Example
A Jeep owner installed a 50-inch double-row light bar with 36,000 lumens on a 2018 Wrangler JL. They used factory mounting points, ran the wires along the A-pillar, and used a pre-made wiring harness.
The entire process took about 2 hours.
After the upgrade, they reported much better visibility on forest trails and no issues with water or wiring after heavy rain.
Cost And Time Estimate
Most DIY installations cost $100 $400, depending on the light bar and mounting kit. Expect to spend 1 3 hours on the job, even if you’re new to wiring projects.
Here’s a quick comparison of different installation options:
| Installation Method | Estimated Cost | Time Required | Skill Level |
|---|---|---|---|
| DIY with Kit | $150–$400 | 1–3 hours | Beginner–Intermediate |
| Professional Shop | $300–$600 | 2–4 hours | None |
Final Tips For A Successful Install
- Double-check your Jeep’s compatibility before buying.
- Protect your paint with masking tape during the install.
- Choose a light bar with a warranty for peace of mind.
If you want more technical details, the LED lamp page covers how these lights work and why they’re efficient.
Adding a light bar to your Jeep Wrangler can transform your driving experience, especially after dark or on rough trails. With the right prep and a careful approach, you’ll get reliable performance and a bold new look.
Frequently Asked Questions
How Long Does It Take To Install A Light Bar On A Jeep Wrangler?
Most DIY installations take 1 3 hours. If you’re new to wiring, allow extra time for reading instructions and troubleshooting.
Do I Need To Drill Holes To Mount The Light Bar?
Many light bars use factory holes, so drilling is often not needed. Some brackets, especially for custom setups, may require drilling.
Can I Use The Light Bar On Public Roads?
Most light bars are for off-road use only. Check your local laws before using them on public roads, as they may be too bright and illegal for street use.
What Size Light Bar Fits A Jeep Wrangler?
A 50-inch bar is popular for above the windshield, but sizes from 10 to 52 inches are available. Check your Wrangler’s model and year for the best fit.
Will Installing A Light Bar Void My Jeep’s Warranty?
Installing a light bar usually does not void the entire warranty, but wiring errors or damage caused by the install might affect coverage. Always follow safe installation practices.