Changing the wheel speed sensor on a Jeep Liberty may sound intimidating, but it’s a task many owners can handle with patience and basic tools. Wheel speed sensors are crucial to your vehicle’s anti-lock braking system (ABS) and traction control. When a sensor fails, you might notice warning lights or odd braking behavior. Fixing it yourself can save money and restore safe driving. This guide will walk you through everything you need to know, from diagnosis to installation, with clear steps and helpful tips.
Understanding Wheel Speed Sensors
Wheel speed sensors monitor how fast each wheel turns. The Jeep Liberty uses this data to control ABS and, in newer models, electronic stability systems. When a sensor fails, your Jeep can’t manage these systems correctly. Common symptoms include the ABS warning light, loss of traction control, or pulsating brakes. Replacing the sensor quickly is important for your safety.
Common Causes Of Failure
Wheel speed sensors can wear out for several reasons:
- Exposure to road debris: Dirt, rocks, and salt can damage the sensor over time.
- Worn wiring: Flexible wires near the wheels can break or corrode.
- Moisture intrusion: Water can seep into sensor connections, causing electrical faults.
Understanding these causes can help you prevent future issues.
Tools And Parts You’ll Need
Before starting, gather all necessary tools and parts. Not being prepared is a common mistake and can lead to frustration.
Basic tools:
- Jack and jack stands
- Lug wrench
- Socket set (commonly 10mm and 13mm)
- Flat-head screwdriver
- Torque wrench
- Needle nose pliers
Parts required:
- Replacement wheel speed sensor (ensure it matches your Jeep Liberty’s year and wheel location)
- Dielectric grease (optional, for electrical contacts)
- Zip ties (for securing wiring)
Pro tip: Buying a sensor from a reputable brand often means better durability. Cheaper sensors might fail sooner, leading to repeated repairs.
Preparation And Safety Steps
Changing a wheel speed sensor requires working around the wheels and brakes. Safety is essential.
- Park on a level surface: Engage the parking brake and ensure your vehicle won’t roll.
- Disconnect the battery: Remove the negative terminal to prevent accidental short circuits.
- Lift the vehicle: Use a jack and secure jack stands under a strong frame point. Never rely solely on the jack.
Non-obvious insight: Take a photo of the sensor and wiring before removal. This helps you remember the correct routing and connector orientation.
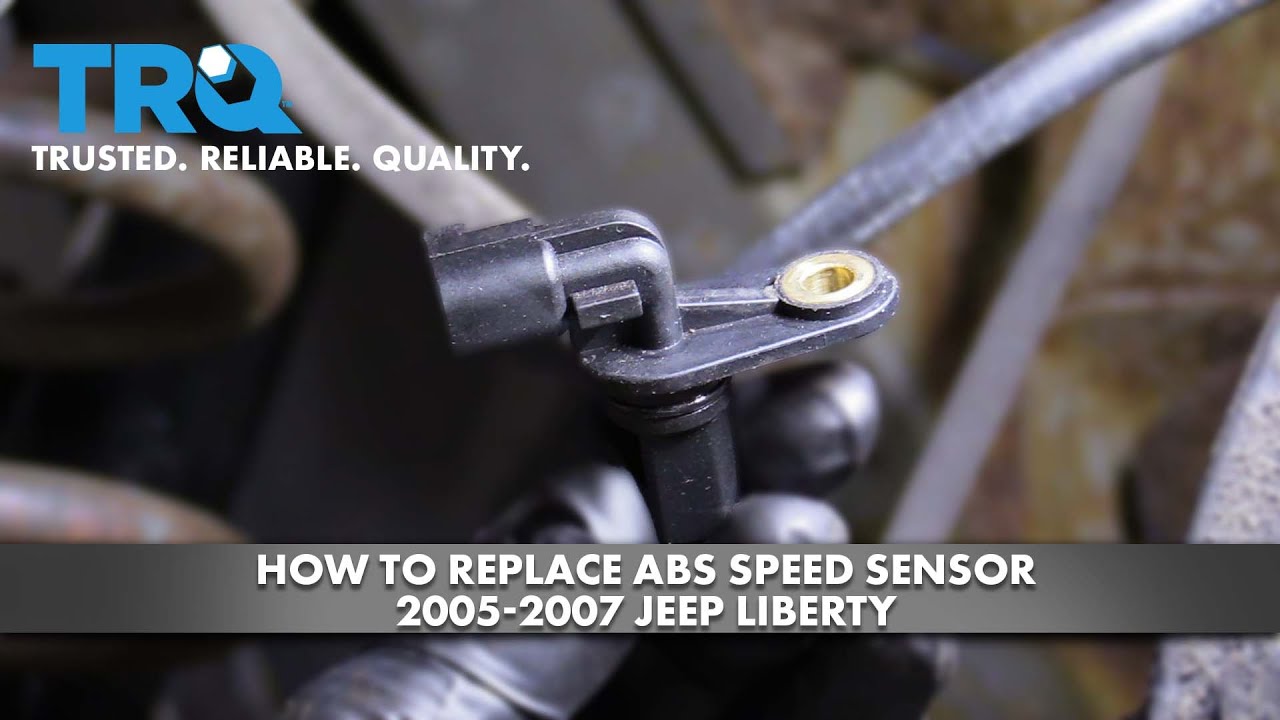
Locating The Faulty Sensor
Jeep Libertys have sensors on each wheel. Diagnostic codes (using an OBD-II scanner) can pinpoint which sensor is bad. If you don’t have a scanner, you might need to check each sensor for visible damage or test with a multimeter.
Typical Sensor Locations
- Front sensors: Mounted near the wheel hub, often behind the brake rotor.
- Rear sensors: May be in the axle housing or close to the wheel backing plate.
Consult your owner’s manual or a repair manual for diagrams specific to your model year.
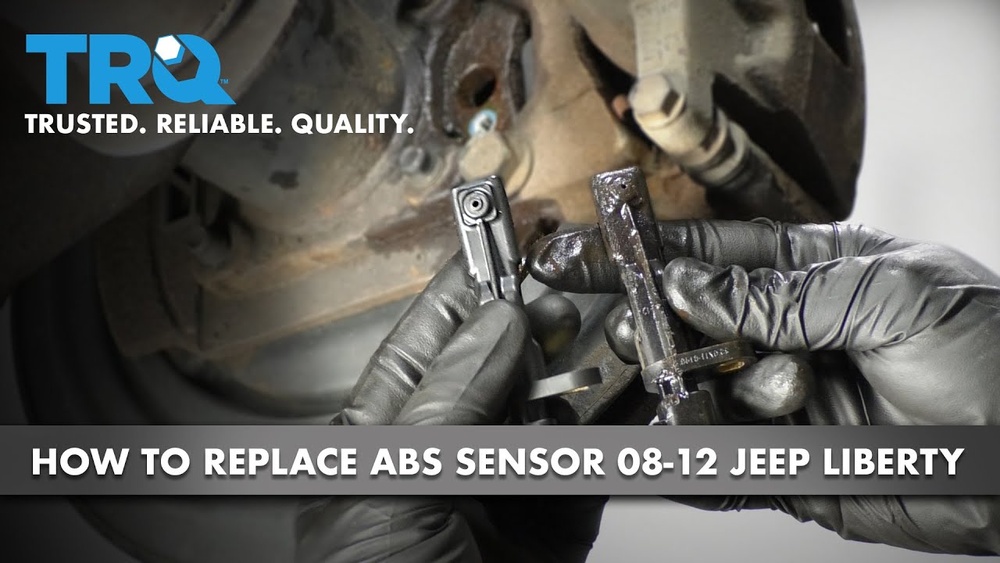
Step-by-step: Removing The Old Sensor
- Remove the wheel: Use a lug wrench to loosen the lugs, then lift the wheel off.
- Locate the sensor: Find the sensor wire leading from the back of the wheel hub to a connector.
- Disconnect the sensor: Press the locking tab and gently pull apart the connector. If it’s stuck, use a flat-head screwdriver but avoid damaging the clip.
- Remove sensor bolts: Use the correct socket (usually 10mm or 13mm) to remove the mounting bolt.
- Extract the sensor: Wiggle the sensor out of its mounting hole. If it’s stuck, spray with penetrating oil and wait a few minutes. Do not force it, as you could break it inside the hub.
Non-obvious insight: If the sensor is corroded in place, some owners use a small plastic pry tool instead of metal to avoid damaging the hub.
Installing The New Wheel Speed Sensor
- Clean the mounting area: Dirt or rust can cause poor sensor alignment. Wipe the area with a clean rag.
- Apply dielectric grease: A small dab on the connector pins helps prevent corrosion.
- Insert the new sensor: Slide the sensor into the mounting hole, making sure it sits flush.
- Tighten the bolt: Use a torque wrench to tighten to the manufacturer’s spec (typically around 7–10 ft-lbs for small bolts).
- Reconnect the wiring: Route the new wire as the old one was, using the photo you took earlier. Snap the connector in place until you hear a click.
- Secure wiring: Use zip ties to keep the wire away from moving parts.
Comparison: Sensor Placement And Difficulty
Here’s a quick look at how front and rear sensor replacements compare:
| Location | Access Difficulty | Typical Tools Needed | Removal Time |
|---|---|---|---|
| Front | Easy | Socket set, screwdriver | 30-45 mins |
| Rear | Moderate | Socket set, pliers | 45-60 mins |
Most Jeep Liberty owners find the front sensors more accessible, while rear sensors may require extra time due to more complex mounting.
Reassembly And Testing
- Reinstall the wheel: Hand-tighten the lug nuts, lower the vehicle, then torque the lugs to the correct specification (usually 95-100 ft-lbs).
- Reconnect the battery: Attach the negative terminal securely.
- Start the engine: Check if the ABS and traction lights are off. Sometimes, the warning light may stay on for a few miles until the system resets.
- Test drive: Drive slowly in a safe area. Confirm that warning lights stay off and braking feels normal.
Tip: If the warning light remains after a few miles, double-check your installation and connections. Sometimes, a second sensor may be faulty, or there’s a wiring issue.
Troubleshooting Common Issues
After replacing the sensor, you might still face problems. Here’s how to address typical issues:
Abs Light Still On
- Check that all connectors are fully seated.
- Inspect wiring for pinches or breaks.
- Scan for codes—sometimes, a second sensor is bad.
Odd Braking Or No Abs Function
- Make sure the sensor is installed flush.
- Confirm that the right sensor model was used for your Jeep’s year and axle.
No Change In Symptoms
- Test the sensor with a multimeter (should show resistance, usually between 900–1300 ohms).
- Inspect the tone ring (the slotted disc near the sensor) for damage or debris.
Cost And Time Comparison
How much will this repair cost versus paying a shop? Here’s a comparison:
| Repair Option | Parts Cost | Labor Cost | Total Cost |
|---|---|---|---|
| DIY | $25–$75 (per sensor) | $0 | $25–$75 |
| Mechanic | $25–$75 | $80–$120 | $105–$195 |
Doing it yourself can save $80–$120 per wheel, and you’ll know the job was done carefully.
Preventing Future Sensor Problems
While some sensor failures are unavoidable, there are ways to reduce risk:
- Clean wheel wells regularly: This prevents dirt and salt buildup.
- Check wiring during brake jobs: Look for worn or loose wires.
- Avoid deep water or mud: Moisture can enter connectors and cause faults.
Most owners ignore sensor wiring until something fails. A quick inspection during other maintenance can prevent future breakdowns.

When To Seek Professional Help
If you face any of these situations, consider asking a mechanic:
- The sensor is seized and won’t come out, even with penetrating oil.
- Multiple warning lights stay on after replacement.
- You’re unsure about ABS system resets, especially in newer models.
Some repairs require specialized tools or experience. Don’t risk damaging your Jeep for a minor savings if the repair feels beyond your comfort level.
Advanced Tips For Experienced Diyers
- Use a scan tool to clear ABS codes after replacing the sensor. Some systems need a manual reset.
- Replace sensors on both sides of an axle for even performance, especially if one failed due to age.
- Upgrade to high-quality sensors if you drive in harsh conditions.

Recommended Resources
For additional details, diagrams, and troubleshooting, visit the official ABS System Wikipedia page. This resource covers system principles and sensor operation in more depth.
Frequently Asked Questions
How Do I Know Which Wheel Speed Sensor Is Bad?
You can use an OBD-II scanner to read the error codes from your Jeep’s computer. The code will indicate the faulty sensor (e.g., “front right”). Without a scanner, you may need to check each sensor for visible damage or test with a multimeter.
Can I Drive My Jeep Liberty With A Bad Wheel Speed Sensor?
You can drive, but it’s not recommended. A bad sensor will disable ABS and traction control, increasing the risk of skids or poor braking, especially in wet or icy conditions. Fix the problem as soon as possible.
Do I Need To Replace All Sensors At Once?
No, you only need to replace the bad sensor. However, if one failed due to age or corrosion, the others might also be close to failing. Some owners choose to replace both sensors on the same axle for peace of mind.
Will The Abs Light Turn Off After I Replace The Sensor?
Usually, the ABS light will turn off after a short drive if the repair was done correctly. Sometimes, you may need to clear the code with a scan tool or drive several miles before the system resets.
What If The Sensor Is Stuck And Won’t Come Out?
Apply penetrating oil and let it soak. Gently wiggle the sensor free. If it’s still stuck, try a plastic pry tool. Avoid using too much force—breaking the sensor inside the hub can make removal much more difficult.
Changing a wheel speed sensor on a Jeep Liberty is a straightforward job for most DIYers. With the right tools, a careful approach, and attention to detail, you can restore your vehicle’s ABS and traction control for safe driving. Taking time to inspect, clean, and use quality parts will help your repair last.