Changing the rear tail lights on a 2008 Jeep Liberty is a practical task many owners can handle at home. Whether your tail light is out or you just want a fresh look, replacing it yourself saves time and money. You only need basic tools and a bit of patience. This guide explains the process step by step, points out common mistakes, and shares tips to make the job easier.
Tools And Materials Needed
Before starting, gather these items:
- Phillips screwdriver
- Replacement tail light bulbs (check your owner’s manual for the correct type)
- New tail light assembly (if replacing the whole unit)
- Clean rag (for wiping surfaces)
- Gloves (optional, to avoid touching bulb glass)
Having the right tools prevents delays and possible damage to the car.
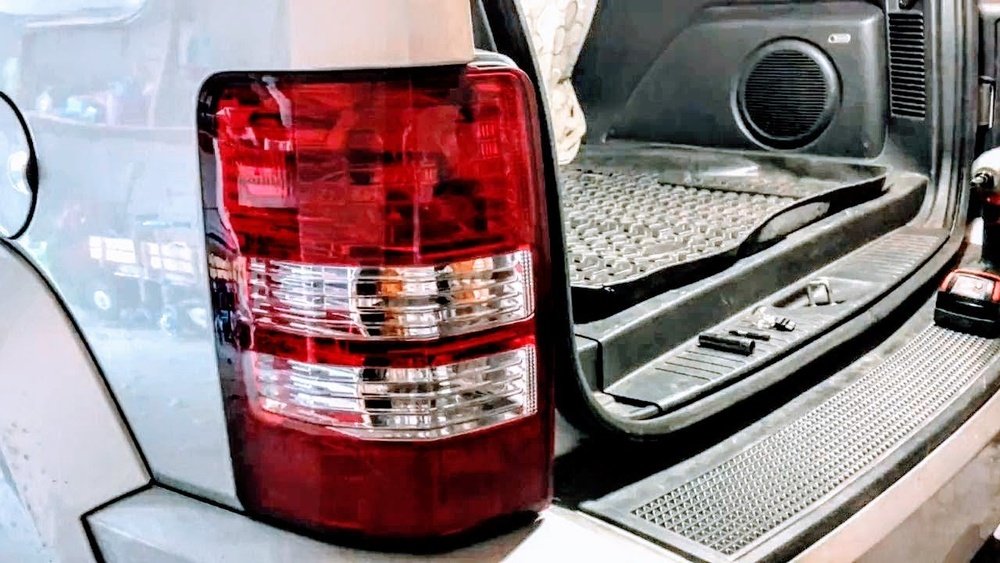
Preparing Your Jeep Liberty
- Turn off the vehicle. Remove the keys from the ignition and make sure all lights are off. This keeps you safe from electrical shock.
- Open the rear hatch. You need clear access to the tail light assembly, so make sure the hatch is fully open.
- Locate the tail light assembly. On the 2008 Jeep Liberty, the tail light is on the outer edge of the rear, held by two screws on the inside edge.
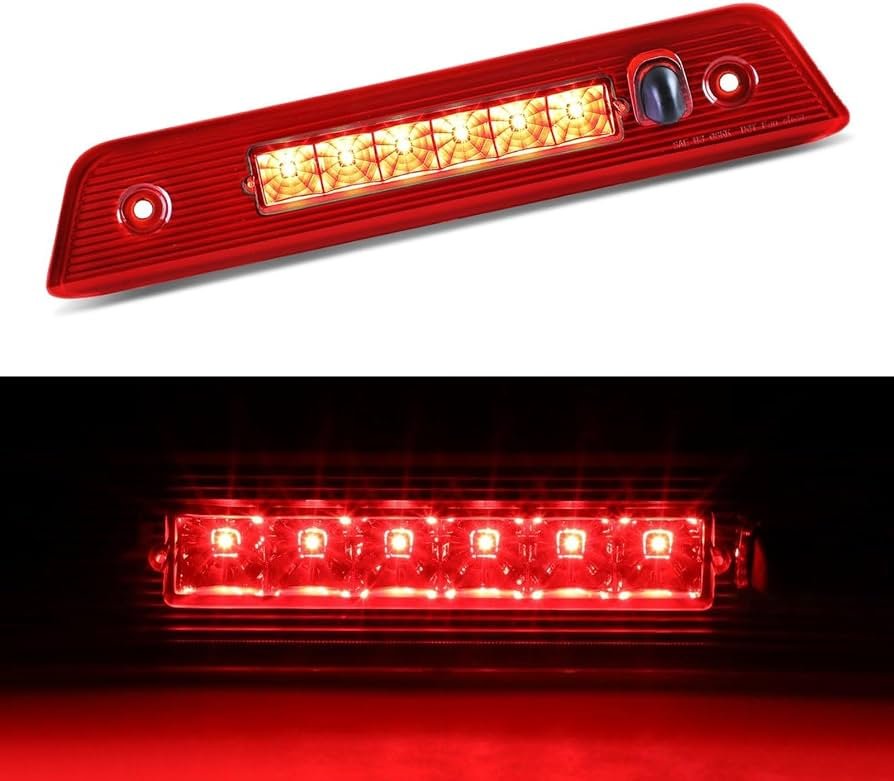
Removing The Old Tail Light
- Unscrew the mounting screws. Use the Phillips screwdriver to remove the two screws holding the tail light in place. Keep these screws safe; you’ll reuse them.
- Gently pull out the tail light. The assembly may feel snug. Wiggle it gently from side to side, pulling straight back. Don’t force it—there are clips that can break.
- Disconnect the wiring harness. Press the release tab and pull the connector out. Now you can fully remove the tail light assembly.
Practical Tip
Avoid touching the glass part of the bulbs with your fingers. Oil from skin can reduce bulb life and cause hotspots.
Replacing The Bulbs
If you’re only changing bulbs, not the entire assembly, follow these steps:
- Remove the bulb socket. Twist the socket counterclockwise to remove it from the tail light.
- Pull out the old bulb. It should come out with a firm tug.
- Insert the new bulb. Push it in until secure. Make sure the type matches the original.
- Reinstall the socket. Twist it clockwise back into the tail light.
Common Mistake
Many people forget to test the new bulb before reassembling everything. Before you screw the tail light back, briefly connect the harness and check the light.
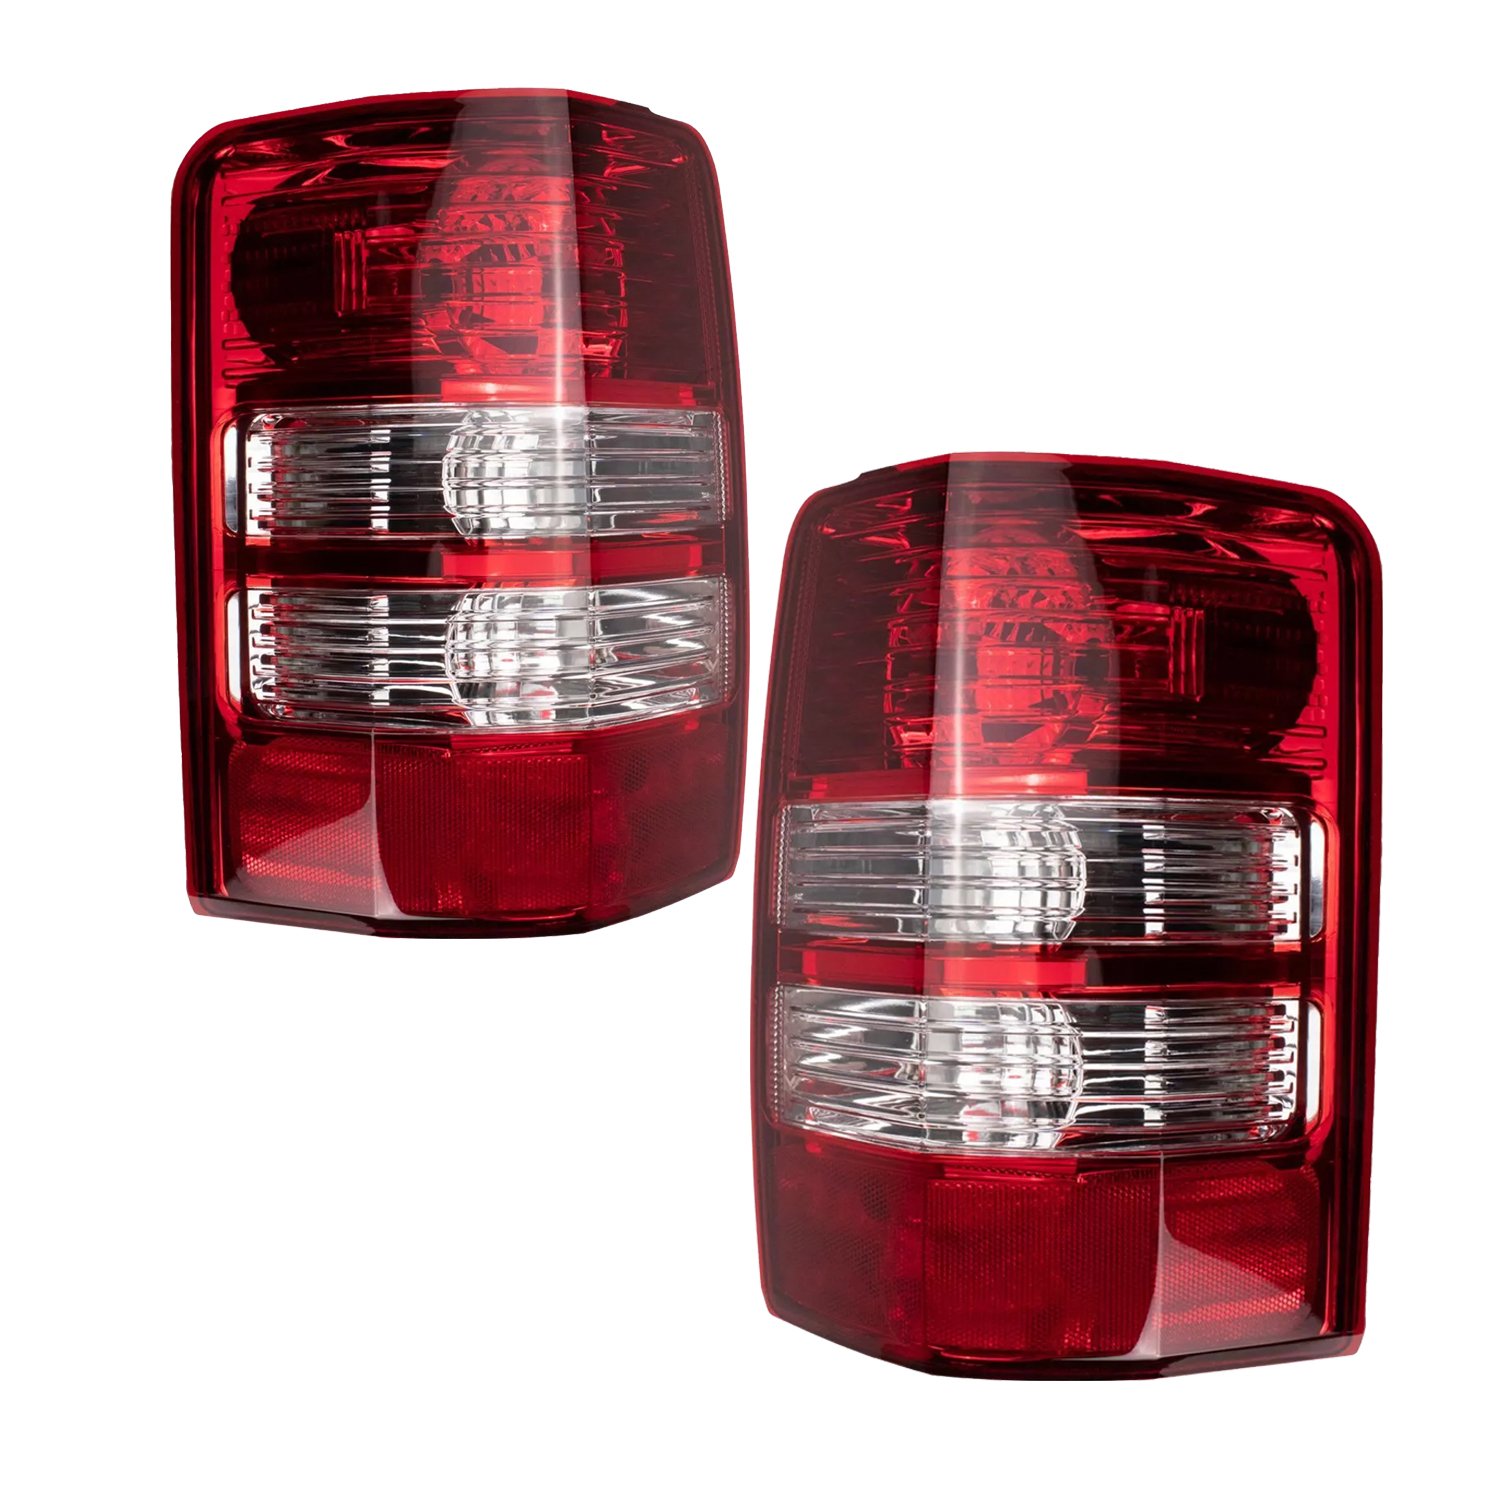
Installing The New Tail Light Assembly
- Reconnect the wiring harness. Push the connector in until it clicks.
- Align the assembly. Line up the tabs and pins with the holes.
- Push the assembly into place. It should fit snugly without gaps.
- Reinstall the screws. Tighten them just enough to hold the assembly—don’t overtighten, or you may crack the plastic.
Testing The New Tail Light
Once installed, check that all functions work:
- Tail light
- Brake light
- Turn signal
- Reverse light
Have someone help you press the brake and operate the signals while you watch the lights.
Data And Comparison: Oem Vs. Aftermarket Tail Lights
Switching the tail light assembly? Here’s a quick comparison of OEM (original) and aftermarket options:
| Feature | OEM | Aftermarket |
|---|---|---|
| Fit and finish | Perfect match | May vary |
| Warranty | Usually included | Sometimes included |
| Price | Higher | Lower |
| Style options | Standard only | Many styles |
Troubleshooting
If the new tail light doesn’t work:
- Check the bulb type. Make sure it matches what’s recommended.
- Inspect the wiring. Look for corrosion or loose connections.
- Check the fuse. A blown fuse can cause the tail light to stay off.
Here’s a quick guide to possible causes and solutions:
| Problem | Possible Cause | Solution |
|---|---|---|
| Light won’t turn on | Bad bulb, fuse, or wiring | Replace bulb, check fuse, inspect wires |
| Light flickers | Loose connector | Reconnect harness securely |
| Moisture inside lens | Seal leak | Replace or reseal assembly |
Non-obvious Insights
Many Jeep Liberty owners miss these points:
- Check both sides. Even if only one tail light is out, the other may be close to failing. Consider replacing both at once.
- Keep the old assembly. Even if cracked, some parts (like sockets or wiring) can be reused in emergencies.
Safety And Legal Considerations
Driving with a faulty tail light is unsafe and may lead to a traffic ticket. In the US, a broken tail light can result in a fine of $25 to $150, depending on the state. Always fix lights promptly.
When To Seek Professional Help
If you notice melted sockets, burnt wiring, or electrical issues, visit a mechanic. For more complicated repairs, check your Jeep’s service manual or consult the official Jeep website.
Frequently Asked Questions
How Do I Know Which Bulb To Buy For My 2008 Jeep Liberty Tail Light?
Check your owner’s manual or look at the old bulb for a part number. Most 2008 Jeep Liberty tail lights use a 3157 or 7443 bulb.
Can I Replace Just The Bulb Or Do I Need The Whole Assembly?
If the lens and housing are in good shape, you can replace just the bulb. Replace the assembly only if it’s cracked or damaged.
Do I Need Special Tools?
A Phillips screwdriver is usually enough. Some aftermarket assemblies may require a different tool, but that’s rare.
How Long Does It Take To Change A Rear Tail Light?
Most people finish in 15–30 minutes per side, depending on experience.
What Should I Do If My New Tail Light Still Doesn’t Work?
Double-check the bulb, wiring, and fuse. If all are good, consult a mechanic to check for deeper electrical issues.
Changing the rear tail lights on your 2008 Jeep Liberty is a simple repair that can be done in your own driveway. With basic tools, some care, and the steps above, you can keep your Jeep safe and road-legal.
Taking the time to do it right not only saves money but also builds your confidence for future car repairs.


















