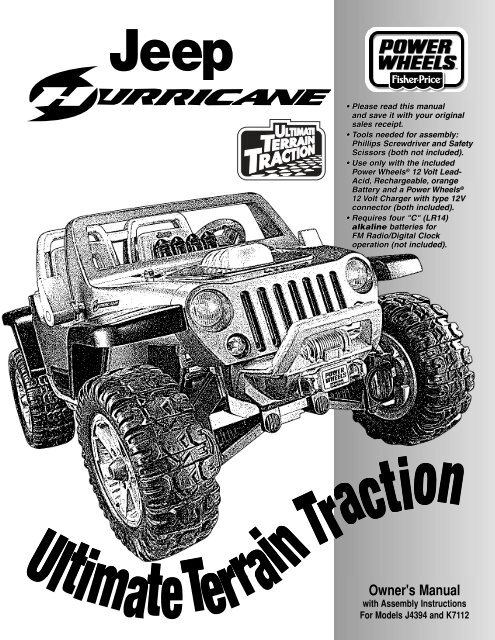
Bringing a Power Wheels Jeep to life is a satisfying task for any parent or caregiver. Kids love driving their own rugged mini-vehicle, but first, you need to assemble it. While the process can look intimidating at first, a clear step-by-step approach makes it manageable—even for those with little DIY experience.
This guide explains how to assemble a Power Wheels Jeep with confidence, highlighting tips and common mistakes to avoid.
What You’ll Need Before Starting
Preparation is half the battle. Open the box and check all parts against the manual. Most Power Wheels Jeeps include:
- Body shell
- Wheels and tires
- Steering wheel
- Seat
- Windshield
- Battery and charger
- Bag of screws, caps, and small parts
You’ll also need a few basic tools:
- Phillips screwdriver
- Hammer or mallet (for pushing wheels onto axles)
- Pliers (sometimes needed for small clips)
- Scissors or box cutter (for packaging)
Inspect all pieces for damage. If something is missing, contact the manufacturer before starting.
Step-by-step Assembly Instructions
Follow these main steps to assemble your Power Wheels Jeep efficiently.
1. Prepare The Work Area
Choose a flat, clean space with enough room to lay out all parts. Good lighting helps you see small details.
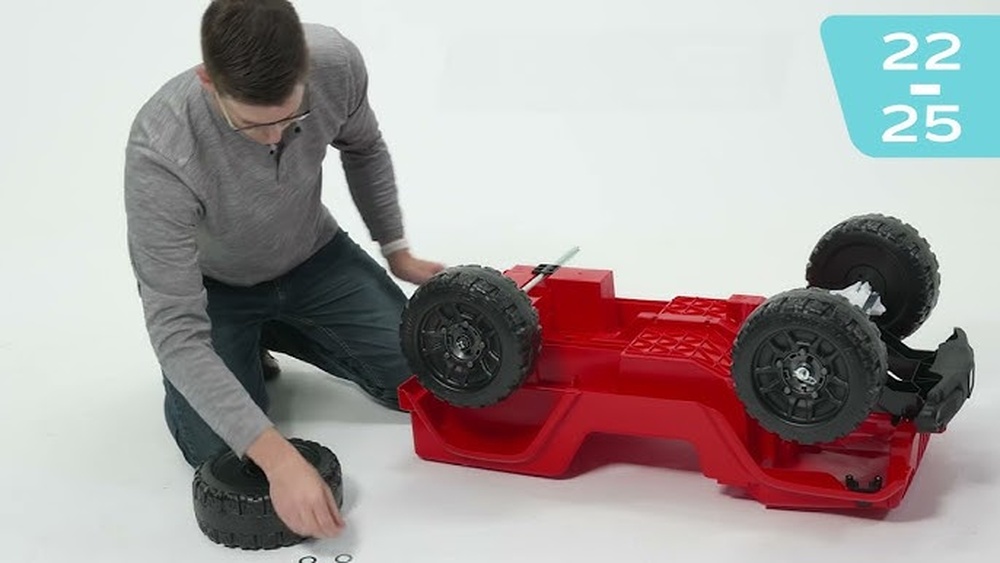
2. Attach The Wheels And Axles
Most models require you to install the rear axle first.
- Slide the rear axle through the holes in the body.
- Attach the rear wheels by pushing them onto the axle until they snap or lock into place.
- Secure with caps or nuts, as described in your manual.
- Repeat for the front axle and wheels.
Tip: If wheels are hard to push in, gently tap with a mallet. Avoid hitting too hard.
3. Install The Steering System
This usually involves the steering column, steering wheel, and linkage.
- Insert the steering column up through the body.
- Connect the linkage to the wheels.
- Fix the steering wheel on top, usually with a screw.
Test that the wheels turn smoothly.
4. Secure The Seat And Windshield
Align the seat with the holes in the body. Attach with screws or clips as needed. Some models let you adjust the seat position.
Snap or screw the windshield into place. Be gentle—plastic parts can crack under too much force.
5. Connect The Battery And Wiring
Place the battery in its compartment. Connect the wires—most are color-coded for easy matching. Secure the battery using the strap or holder provided.
Important: Do not connect the battery until assembly is complete to avoid accidental movement.
6. Add Finishing Touches
Install accessories like mirrors, decals, or roll bars. These details make the Jeep look realistic and fun.
7. Final Safety Check
Go over all screws, caps, and wiring. Make sure everything is tight and secure. Check that the wheels spin freely and the steering works.

Common Mistakes To Avoid
Even careful assemblers can make errors. Here are mistakes to watch for:
- Skipping steps in the manual—read each step carefully.
- Tightening screws too early—wait until all parts align before tightening fully.
- Forgetting washers or clips on wheels—these prevent wobble and keep wheels safe.
- Connecting the battery before finishing assembly—this can lead to accidental activation.
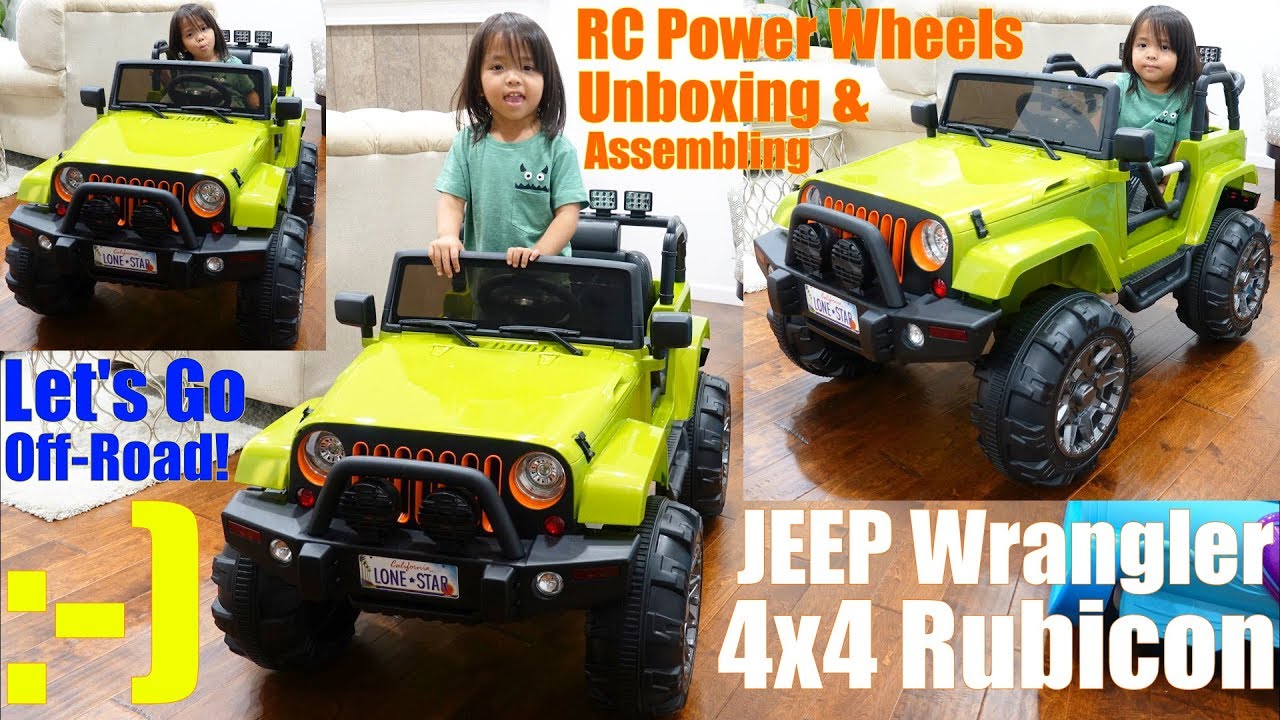
Power Wheels Jeep Models Compared
Different Power Wheels Jeeps have slight assembly differences. Here’s a comparison of three popular models.
| Model | Assembly Time (Average) | Main Differences |
|---|---|---|
| Wrangler | 60 minutes | Simple wiring, basic accessories |
| Hurricane | 90 minutes | Extra roll bars, more decals |
| Rubicon | 75 minutes | Advanced sound system, special seat covers |
Insight: Models with more accessories (like extra lights or roll bars) usually take longer to assemble.
Tools And Parts: What’s Essential?
Not all tools in your house will help. Here’s a quick look at the most useful ones for this job.
| Tool | Purpose | Included in Box? |
|---|---|---|
| Phillips screwdriver | Securing screws | No |
| Mallet | Attaching wheels | No |
| Pliers | Adding clips | No |
| Battery charger | Charging Jeep | Yes |
Most kits do not include hand tools, so gather them before you begin.
Charging And First Use
Before your child drives, fully charge the battery. Most Power Wheels batteries need 18 hours for the first charge, but check your manual for the exact time. Never use a fast charger not made for Power Wheels.
After assembly and charging:
- Test the Jeep without your child first.
- Try forward and reverse.
- Make sure the brake works.
- Adjust the seat for your child’s comfort.
Non-obvious tip: Store the charger in the Jeep’s compartment if possible. It’s easy to lose, and having it close prevents future frustration.
Troubleshooting And Maintenance
If the Jeep does not run after assembly:
- Double-check battery connections.
- Make sure the battery is charged.
- Inspect wiring for loose plugs.
- Confirm all switches are in the correct position.
Routine maintenance keeps the Jeep running smoothly. Clean the wheels, check for loose screws, and recharge the battery after each use.
Safety Reminders
Never allow children to ride the Jeep unsupervised, especially near streets or water. Helmets are not required by law for Power Wheels, but they add extra safety.
Decals And Customization
Applying decals is the finishing touch. Clean surfaces before applying to prevent peeling. If you want to customize, use stickers made for plastic so they last longer.
Some parents add lights or sounds, but only use manufacturer-approved accessories. Homemade wiring can cause shorts or fire.
Frequently Asked Questions
How Long Does Assembly Take?
Most Power Wheels Jeeps take 60–90 minutes to assemble, depending on your experience and the model’s complexity.
Can I Assemble A Power Wheels Jeep Without Special Tools?
Yes, basic tools like a Phillips screwdriver and a mallet are usually enough. Advanced tools are not required.
What If I Lose A Screw Or Part During Assembly?
Contact the manufacturer or check their website for spare parts. Do not substitute with regular hardware, as it may not fit or could be unsafe.
How Do I Know If The Battery Is Connected Correctly?
Match the wire colors and ensure plugs are firmly joined. The Jeep should not move until you turn it on. If in doubt, check the manual or visit the official Fisher-Price Power Wheels page.
Can I Wash The Jeep After Assembly?
Wipe with a damp cloth. Do not use a hose or submerge in water—electronics inside the Jeep can get damaged.
With the right tools and a clear process, assembling a Power Wheels Jeep is a rewarding project. Careful assembly and proper maintenance will keep your child’s Jeep running for years of adventure.