Adding a light bar to your Jeep Wrangler is one of the most popular upgrades for off-road enthusiasts. It not only boosts your vehicle’s appearance but also gives you much better visibility during night drives or in poor weather. However, many Jeep owners feel nervous about the wiring process. The good news is: wiring a light bar on a Jeep Wrangler is a task most people can handle with the right guidance, tools, and precautions. This guide will walk you through everything you need to know, from planning and safety to wiring and troubleshooting, so you can install your light bar confidently and safely.
Why Add A Light Bar To Your Jeep Wrangler?
A light bar does much more than just make your Jeep look tough. It provides a wide, bright beam that covers more ground than regular headlights, making off-road driving at night safer. Many drivers also use light bars in fog, heavy rain, or when camping. Light bars come in different sizes and styles, so you can choose one that matches your driving needs and the look you want for your Jeep.
Tools And Materials Needed
Before starting, gather these tools and materials:

- Light bar kit (includes mounting brackets and wiring harness)
- Wiring harness with relay and fuse
- Switch (often comes with the harness)
- Wire strippers and crimpers
- Screwdrivers (Phillips and flathead)
- Socket wrench set
- Electrical tape or heat shrink tubing
- Zip ties
- Drill (may be needed for mounting)
- Multimeter (for checking connections)
- Protective gloves and eye protection
Most light bar kits for Jeep Wranglers include a wiring harness and all basic hardware. If not, you can buy universal wiring harnesses easily online or at auto parts stores.

Planning The Installation
Before you start, spend a few minutes planning. Decide where to mount the light bar—common spots are the front bumper, above the windshield, or on the grille. Each location has pros and cons.
| Mounting Location | Pros | Cons |
|---|---|---|
| Front Bumper | Easy access, less wind noise | Lower light position, may get blocked by obstacles |
| Above Windshield | Widest visibility, classic look | Wind noise, possible roof leaks |
| Grille | Stealthy appearance, minimal wind drag | Limited light spread, harder to mount |
Measure your chosen area to ensure the light bar fits. Think about how you’ll route the wiring. Avoid sharp edges, moving parts, and hot surfaces like the engine or exhaust. Planning your wire path now saves headaches later.
Wiring Basics: Understanding The Circuit
A standard light bar circuit uses a relay and fuse for safety. Here’s how it works:
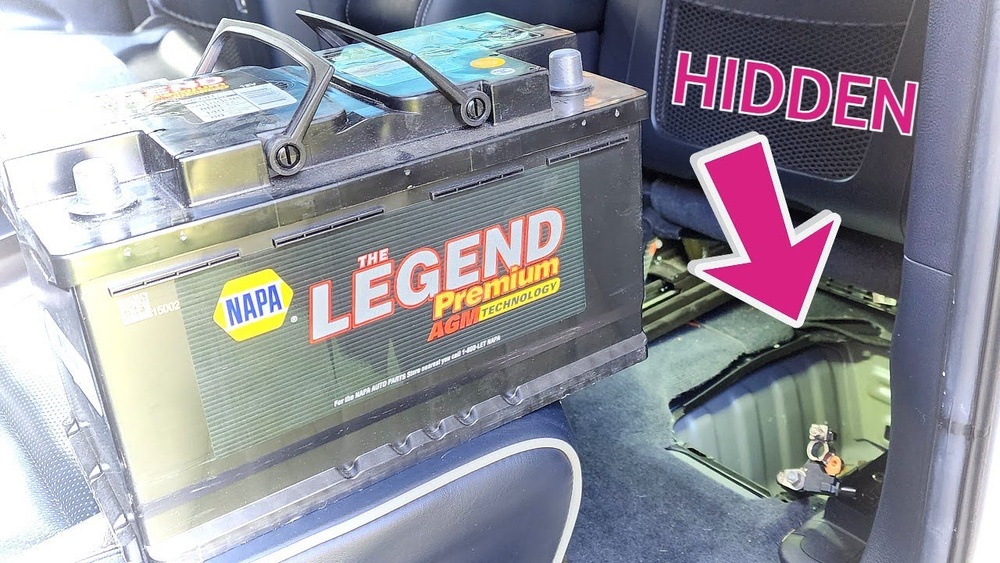
- Power Source: The positive wire connects to your Jeep’s battery.
- Relay: Acts as a switch, letting a low-power circuit control a high-power device.
- Fuse: Protects the wiring and light bar from electrical surges.
- Switch: Lets you turn the light bar on/off from inside the Jeep.
- Ground: The negative wire connects to a clean, metal surface on the Jeep’s body or battery.
A simple wiring harness usually has four main wires:
- Red: Power from battery (with fuse)
- Black: Ground
- Blue or Yellow: From relay to light bar
- Green (or another color): From relay to switch
If your kit looks different, check the manufacturer’s diagram.
Step-by-step Guide: How To Wire A Light Bar On A Jeep Wrangler
Let’s break down the process into manageable steps.
1. Disconnect The Battery
Always start by disconnecting the negative terminal of your battery. This prevents short circuits and keeps you safe.
2. Mount The Light Bar
Install the light bar using the provided brackets. Make sure it’s secure and straight. If drilling is needed, mark your spots carefully and check for wires or hoses behind the panel. Use rubber gaskets if included, to prevent leaks.
3. Route The Wiring Harness
Lay out the wiring harness from the light bar toward the battery and cab. Use zip ties to keep wires tidy and away from moving parts. Pass wires through the firewall (the barrier between engine and cab) using an existing grommet if possible. If you drill a new hole, use a rubber grommet to protect the wires.
4. Connect The Relay And Fuse
Mount the relay in a dry, safe area close to the battery. The fuse should be as close to the battery as possible. This placement protects the circuit if something goes wrong.
5. Wire The Switch
Decide where you want the switch inside your Jeep. Popular spots are on the dashboard or near the gear shift.
Drill a hole if needed and run the switch wire through the firewall. Connect the switch according to your harness instructions, usually by plugging it into a connector on the relay.
6. Connect Power And Ground
Connect the red power wire to the battery’s positive terminal. Attach the black ground wire to the battery’s negative terminal or a bare metal bolt on the Jeep’s frame.
Clean the contact area for the ground paint or rust can cause poor grounding and weak light output.
7. Attach Wires To The Light Bar
Connect the harness wires to your light bar, matching the positive and negative leads. Use waterproof connectors or seal connections with heat shrink tubing or electrical tape.
8. Test The System
Reconnect your battery. Turn on the switch to check if the light bar works. If the light doesn’t turn on, double-check all connections, fuse, and ground points. Use a multimeter to check for voltage if needed.
9. Finalize And Secure Everything
Once it’s working, tidy up the wires with zip ties. Make sure nothing is loose or in danger of getting caught or melted by engine heat.
Key Safety Tips
- Never wire directly to the battery without a fuse—this is a fire risk.
- Use a relay for any light bar over 10 amps. Direct switching can overheat the wires.
- Seal all connections against water and dirt. Off-roading exposes your Jeep to mud, rain, and dust.
- Check local laws. Some states limit where and when you can use off-road lights.
Common Mistakes To Avoid
Even careful DIYers make mistakes. Here are a few to watch for:
- Skipping the relay or fuse. This can cause electrical fires or damage your Jeep’s wiring.
- Poor grounding. Weak or rusty ground points are a top cause of dim lights or flickering.
- Routing wires near hot or moving parts. Wires can melt or wear through, causing shorts.
- Not weatherproofing connections. Water in your wires leads to corrosion and failure.
- Using undersized wires. Always use wires rated for your light bar’s amperage.
A common beginner error is thinking all light bars wire the same way. In reality, wiring colors and layouts can vary by brand. Always double-check your harness diagram before connecting.
How To Choose The Right Light Bar And Wiring Kit
There are many types of light bars—spot, flood, combo, and different lengths. Your choice depends on how and where you’ll drive.
| Type | Best For | Beam Pattern |
|---|---|---|
| Spot | Long-distance visibility | Narrow, focused |
| Flood | Wide area lighting | Broad, short-range |
| Combo | Mixed driving | Both spot and flood |
When picking a wiring kit, make sure it matches your light bar’s wattage and has these features:
- Relay and fuse included
- Waterproof connectors
- Enough length for your Jeep model
Some kits come with Bluetooth or wireless switches for easy installation. While convenient, these can sometimes have connection issues in extreme weather.

Example: Wiring A 52-inch Led Light Bar
Let’s look at a practical example for a 52-inch combo LED light bar mounted above the windshield.
- Wattage: 300W (about 25A at 12V)
- Wiring harness: 12-gauge wire, 40A relay, 30A fuse
- Mounting: Roof brackets, drilling required
- Switch: Illuminated rocker switch on dash
For this setup, always use a thick wire (12-gauge or better) to handle the current. Thinner wires can overheat and fail. Secure the relay near the battery and keep the fuse close to the positive terminal.
A common mistake here is routing wires along the windshield pillar without protection. Always use split loom tubing or similar to prevent wire damage from vibration or rubbing.
Troubleshooting: If The Light Bar Doesn’t Work
If your light bar won’t turn on after wiring, try these steps:
- Check the fuse. Replace if blown.
- Test the switch. Use a multimeter to check for power at the switch terminals.
- Inspect grounds. Remove, clean, and reattach if needed.
- Check connectors. Make sure they are tight and free from corrosion.
- Test the relay. If you hear a click when switching on, the relay is working.
If the light is dim, double-check the ground and power wires for corrosion or loose connections.
Practical Tips For A Cleaner Install
- Use wire loom or split tubing to protect wires from heat and abrasion.
- Label wires before routing to make future troubleshooting easier.
- Plan for future upgrades. Leave extra wire slack if you might add more lights later.
- Test the light bar before final installation to save time if there’s a problem.
A non-obvious insight: Some Jeep Wranglers have auxiliary power terminals in the fuse box. These can provide a neat, factory-style install without running wires directly to the battery.
Maintaining Your Light Bar And Wiring
Regularly inspect your light bar and wiring, especially after off-road trips. Clean mud and debris from connectors and check for loose or frayed wires.
Replace damaged parts quickly to avoid bigger problems. Even waterproof connectors can corrode over time, so a yearly check is smart.
Legal Considerations
In the US, laws about light bars vary by state. Some places require you to cover or disconnect off-road lights when driving on public roads. Always check your local regulations to avoid fines or failed inspections. For more details, the Specialty Equipment Market Association (SEMA) provides updated info on vehicle lighting laws.
Adding a light bar to your Jeep Wrangler can make night driving and off-roading safer and more enjoyable. With careful planning, the right tools, and a little patience, most owners can do this upgrade themselves.
You’ll not only save money but also learn more about your vehicle.
Frequently Asked Questions
How Long Does It Take To Wire A Light Bar On A Jeep Wrangler?
For most people, the wiring process takes about 2 to 3 hours. This includes mounting, routing wires, connecting everything, and testing. Taking your time is better than rushing—mistakes can cause electrical problems later.
Can I Wire My Light Bar To The High Beams?
Yes, you can wire your light bar to activate with your high beams. This usually involves tapping into the high beam circuit. Make sure this setup is legal in your state, as some places ban this connection for street driving.
What Gauge Wire Should I Use For My Light Bar?
For most light bars up to 300W, use 12-gauge wire. For larger bars, go with 10-gauge. Thicker wire handles more current and prevents overheating.
Do I Need A Relay For A Small (under 100w) Light Bar?
It’s always safer to use a relay, even for small light bars. A relay protects your switch and wiring, and gives more reliable performance.
How Do I Protect My Wiring From Water And Dirt?
Use heat shrink tubing or waterproof connectors at all joins. Cover wires with split loom tubing and route them away from areas that collect water or mud. Regularly check for cracks or corrosion, especially after off-roading.
With the right approach, wiring a light bar on your Jeep Wrangler is an achievable and rewarding upgrade. Enjoy your brighter, safer adventures!