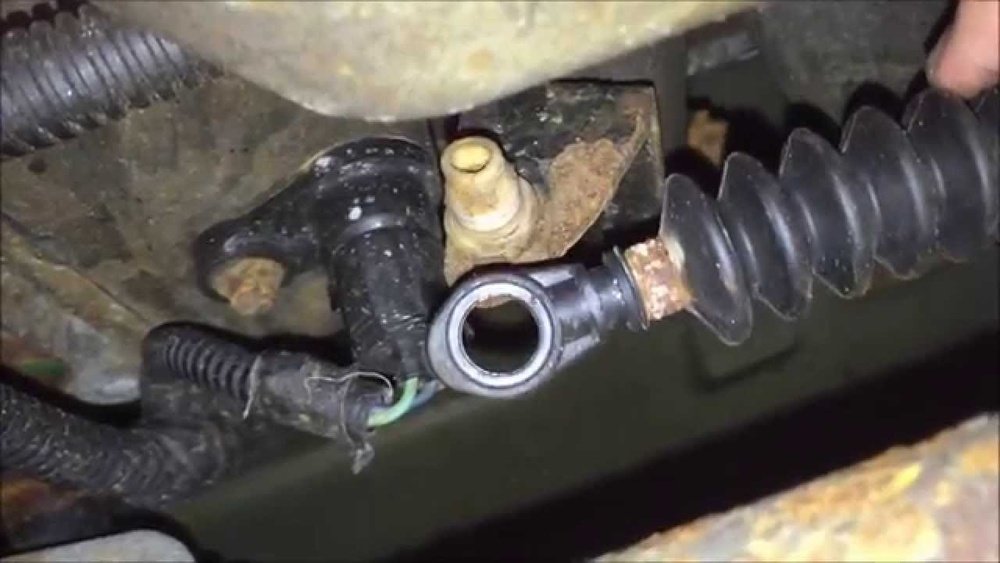
If you own or maintain a Jeep XJ Cherokee (built from 1984 to 2001), you know how important the vacuum system is for reliable engine and HVAC operation. Yet, the vacuum lines under the hood can feel like a maze. A clear Jeep XJ vacuum line diagram is essential for anyone who wants to fix common issues like rough idle, poor heat or AC, or even failed emissions tests. This guide will walk you through the basics, show you where the main lines go, and help you avoid mistakes that can cost time and money.
Why The Jeep Xj Vacuum System Matters
The vacuum system on the Jeep XJ controls several things:
- Engine controls (like the EGR valve and MAP sensor)
- HVAC doors for heat and AC
- Cruise control (if equipped)
- Emissions equipment (like the charcoal canister)
A leak or missing connection can cause engine problems, poor gas mileage, or even stop your AC from switching vents. Many owners overlook vacuum lines, but they’re critical for smooth operation.
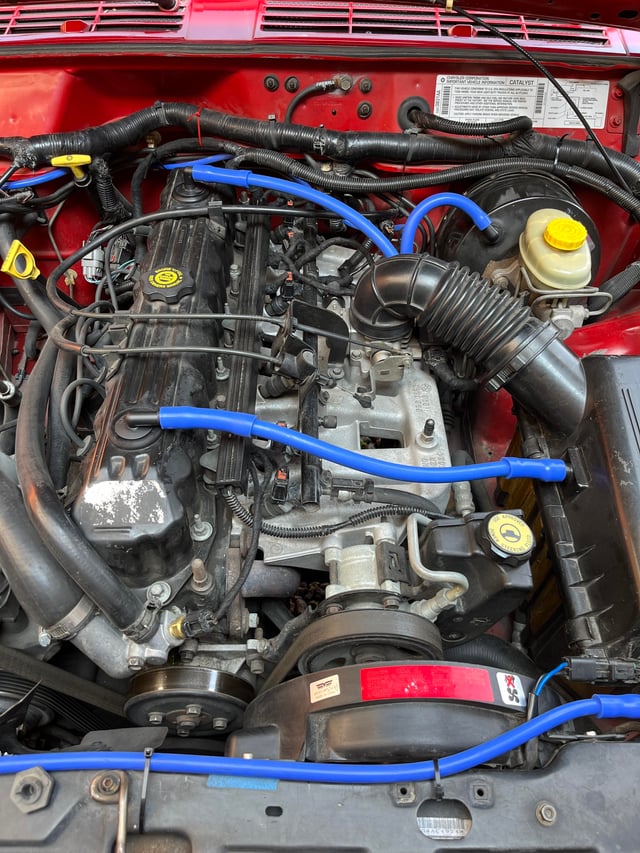
Key Components And Their Connections
Let’s break down the main parts you’ll see on a typical Jeep XJ vacuum diagram:
| Component | Main Function | Connected By Vacuum To |
|---|---|---|
| Intake manifold | Vacuum source | HVAC, MAP sensor, Brake booster |
| MAP sensor | Engine air/fuel control | Intake manifold |
| HVAC vacuum reservoir | Maintains vacuum for vent controls | Intake manifold, HVAC controls |
| Charcoal canister | Emissions (fuel vapor storage) | Intake manifold, fuel tank |
Non-obvious tip: The vacuum reservoir is often a black plastic ball or can behind the front bumper or on the fender. If your vents stop working when accelerating, this tank or its lines might be leaking.

Typical Jeep Xj Vacuum Line Routing
The 4.0L engine is the most common XJ, but the basic routing is similar for other engines. Here’s how the main lines connect:
- From the intake manifold, a large vacuum hose goes to the brake booster (power brakes).
- A smaller line branches off to the MAP sensor (usually at the rear of the intake).
- Another line goes to a T-fitting. One side runs to the HVAC vacuum reservoir; the other to the HVAC control switch inside the dashboard.
- From the HVAC control, colored small lines go to the various blend doors for air direction (defrost, floor, dash).
- A line runs from the manifold to the charcoal canister for emissions.
- If cruise control is installed, a separate vacuum line runs from the manifold to the cruise servo.
You might see color-coded lines in some years, but often they are simple black rubber hoses. On high-mileage XJs, these lines can become brittle and crack—leading to leaks.
Common Vacuum Line Problems And How To Fix Them
Most vacuum issues on the Jeep XJ fall into a few categories:
| Problem | Symptoms | Quick Fix |
|---|---|---|
| Cracked hoses | Rough idle, poor HVAC function | Replace with new vacuum hose |
| Disconnected lines | Idle surges, vents stuck | Reconnect using diagram |
| Broken T-fittings | Only one vent position works | Replace T with plastic or brass fitting |
| Vacuum reservoir leak | Vents change only at idle | Patch or replace reservoir |
Beginner mistake: Many new owners mix up the MAP sensor line with the HVAC line. These must be routed correctly for the engine to run well and for HVAC to work.
How To Read A Jeep Xj Vacuum Line Diagram
A typical vacuum diagram is a simple drawing showing lines from the intake manifold to each component. Here’s how to use it:
- Identify the intake manifold—the main vacuum source.
- Follow each line from the manifold outward. Each will go to a different part (MAP sensor, reservoir, etc. ).
- Match colors or labels if present. If not, trace the physical hose to confirm.
- Check for T-fittings, which split vacuum to more than one part.
If you need a trustworthy diagram, the inside of the hood often has a sticker with the routing. If it’s missing, the factory service manual provides accurate diagrams. Several online forums also post scanned diagrams and photos. For a clear digital version, check resources like the JeepForum community.
Replacing Jeep Xj Vacuum Lines: Step-by-step
If your vacuum system is failing, here’s how to replace the lines:
- Buy new vacuum hose: Most lines use 5/32″ or 7/32″ rubber hose. Buy extra for mistakes.
- Label each connection before removing old lines. Take photos as you go.
- Remove old, brittle lines carefully. Some may crumble or snap.
- Install new hose one section at a time, matching the diagram and your labels.
- Replace T-fittings if they are cracked.
- Test the system: Start the engine, check for smooth idle, and test all HVAC controls.
Pro tip: Replace all lines at once if your XJ is over 15 years old. This prevents future breakdowns and saves time.

Jeep Xj Vacuum Line Diagram Example
Here’s a simplified text version of the routing for a 4.0L engine:
- Intake manifold → Brake booster (large hose)
- Intake manifold → T-fitting
- T-fitting → HVAC vacuum reservoir
- T-fitting → HVAC control switch
- Control switch → Blend doors (color-coded small lines)
- Intake manifold → MAP sensor
- Intake manifold → Charcoal canister
- (If equipped) Intake manifold → Cruise control servo
A full diagram visually shows each line and connection. Always compare the diagram to your actual engine bay, as routing can change with year and options.