Jeep Wrangler Tj Steering Stabilizer: Your Step-by-step Guide To Smoother Driving
Driving a Jeep Wrangler TJ is an adventure. These vehicles are built tough, ready for trails and off-road fun.
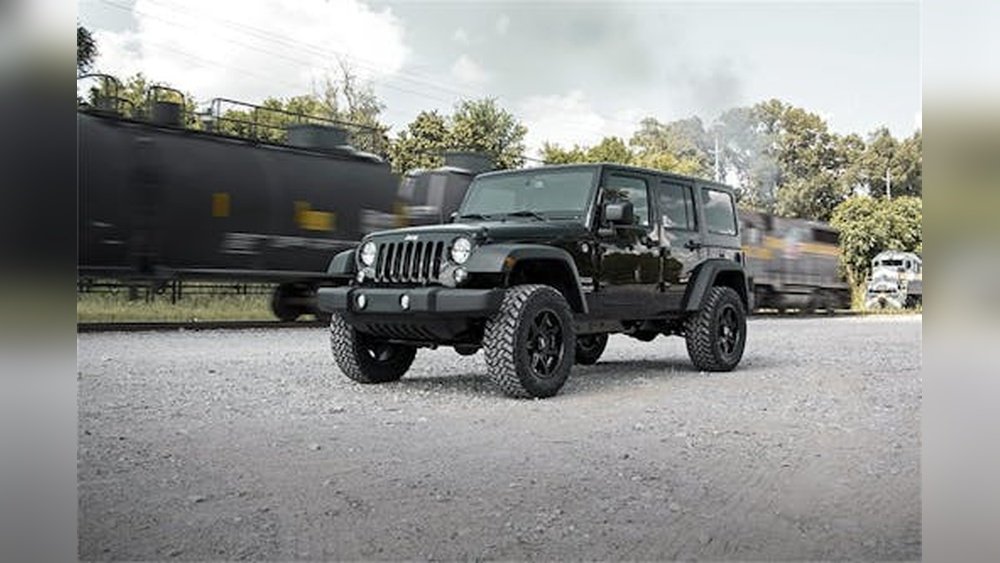
But sometimes, the steering can feel a bit wobbly, especially after lifting the suspension or fitting larger tires. This is where a steering stabilizer comes in.
It's a simple upgrade that can make a big difference in how your TJ handles on the road, reducing steering wheel shake and improving overall control. Installing one yourself is a rewarding DIY project that doesn't require a lot of special tools.
This guide will walk you through the process, step by step, so you can enjoy a smoother, more confident ride.
Why Does Your Tj Need A Steering Stabilizer?
A steering stabilizer, often called a steering damper, is essentially a shock absorber for your steering system. Its main job is to dampen or absorb sudden jolts and vibrations that travel up the steering column. These jolts can happen for many reasons: hitting a pothole, driving over rough terrain, or even just encountering uneven road surfaces. Without a stabilizer, these impacts can cause the steering wheel to shake violently, a phenomenon commonly known as “death wobble.”
Larger tires, a common modification for TJ owners, increase the leverage on the steering components. This means that any bump or imperfection in the road has a greater effect on the steering wheel. A stock steering stabilizer might not be sufficient to handle the added stress, leading to a less stable and more tiring driving experience. A heavy-duty steering stabilizer is designed to counteract these forces, absorbing the shock before it reaches your hands on the steering wheel. This results in a more comfortable and controlled drive, reducing driver fatigue and improving safety. It also helps to reduce wear and tear on other steering components like tie rods and ball joints by absorbing some of the impact forces.
Understanding The Components
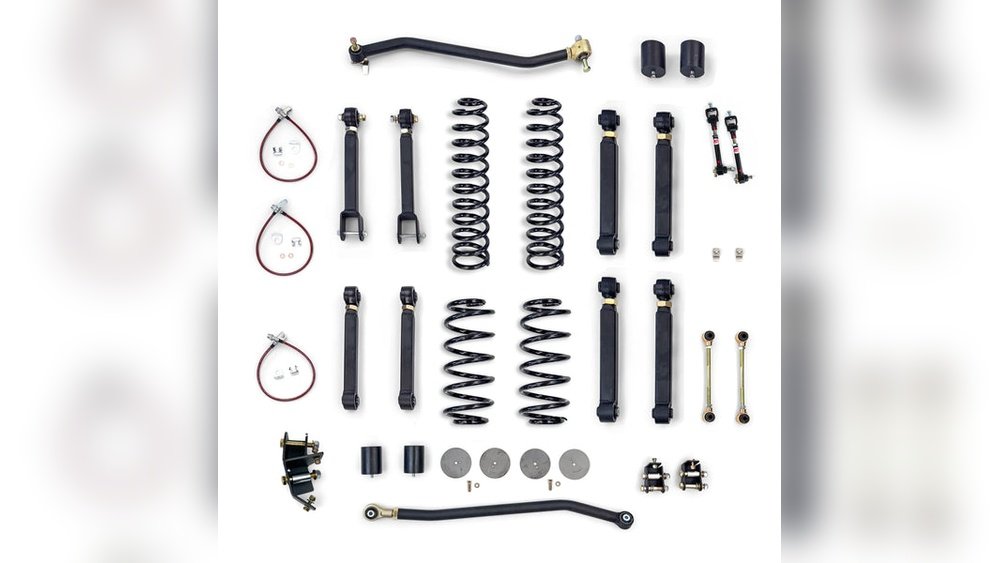
Before you start, it’s helpful to know what you’re working with. The steering stabilizer kit typically includes:
- The Stabilizer Unit: This is the shock absorber itself. It has a rod that extends and retracts.
- Mounting Brackets: These attach the stabilizer to your Jeep’s axle and steering linkage.
- Hardware: Bolts, nuts, and washers to secure everything.
Most aftermarket kits are designed to bolt directly onto the factory mounting points, making installation relatively straightforward. However, some kits might require minor modifications or additional parts, especially if you have a significantly modified suspension.
Always check the specific instructions that come with your chosen steering stabilizer kit.
Tools You’ll Need
Gathering the right tools before you begin will make the job much smoother. For a typical TJ steering stabilizer installation, you’ll likely need:
- Socket Set: SAE sizes are common, usually 1/2 inch, 9/16 inch, and 5/8 inch.
- Wrench Set: Similar sizes to your sockets.
- Jack and Jack Stands: Essential for safely lifting and supporting your Jeep.
- Wheel Chocks: To prevent the vehicle from rolling.
- Torque Wrench: To ensure all hardware is tightened to the manufacturer’s specifications.
- Pliers: For holding small parts or removing clips.
- Wire Brush: To clean threads and mounting surfaces.
- Penetrating Oil (like WD-40): To help loosen stubborn bolts.
- Safety Glasses and Gloves: Always protect yourself.
Step-by-step Installation Guide
Let’s get your Jeep Wrangler TJ equipped with a new steering stabilizer. Remember to always work safely.
Step 1: Prepare Your Jeep
- Park on a Level Surface: Ensure your Jeep is parked on a flat, stable surface.
- Engage Parking Brake: Firmly set the parking brake.
- Chock the Wheels: Place wheel chocks behind the rear wheels to prevent any movement.
- Loosen Lug Nuts: Slightly loosen the lug nuts on the front wheels. You’ll do this while the tires are still on the ground. Just a quarter to half a turn is enough.
- Jack Up the Front: Using your jack, lift the front of the Jeep high enough to comfortably work underneath.
- Secure with Jack Stands: Place jack stands under the frame rails or axle tubes for support. Never work under a vehicle supported only by a jack.
- Remove Front Wheels: Now, fully remove the lug nuts and take off the front wheels. This gives you clear access to the steering components.
Step 2: Locate The Old Steering Stabilizer (if Applicable)
If your TJ already has a steering stabilizer, you’ll need to remove it first.
- Identify the Stabilizer: It’s usually mounted between the tie rod (the sturdy bar connecting your steering knuckles) and the frame or axle. You’ll see a shock-like cylinder with a rod extending from it.
- Clean the Area: Use a wire brush to clean any dirt and rust from the mounting bolts and nuts. This will make them easier to remove.
- Apply Penetrating Oil: Spray penetrating oil onto the nuts and bolts holding the old stabilizer in place. Let it sit for a few minutes to work its way in.
- Remove the Old Stabilizer: Use your socket set and wrenches to loosen and remove the nuts and bolts. You might need to hold the bolt head with one tool while turning the nut with another. Once the hardware is removed, the old stabilizer should come off easily.
Step 3: Install The New Steering Stabilizer
This is where the new stabilizer gets mounted. The exact location and method can vary slightly depending on your specific kit and whether you’re replacing an old one or installing for the first time.
For Kits Replacing a Factory Stabilizer:
- Position the New Stabilizer: If your kit uses the factory mounting points, align the new stabilizer with those locations. One end typically attaches to a bracket on the tie rod, and the other attaches to a bracket on the frame or axle housing.
- Attach One End: Start by loosely attaching one end of the stabilizer to its bracket using the provided hardware. Don’t tighten it completely yet.
- Attach the Other End: Connect the other end of the stabilizer to its mounting point. You might need to extend or compress the stabilizer rod slightly to align the mounting holes.
- Install Hardware: Insert the bolts and nuts. Hand-tighten them for now.
For Kits Installing a New Stabilizer (No Factory Mounts):
Some kits come with new brackets that clamp onto the tie rod and frame.
- Install Tie Rod Bracket: Clamp the bracket onto the tie rod at the location specified in your kit’s instructions. Ensure it’s oriented correctly.
- Install Frame/Axle Bracket: Attach the bracket to the frame or axle at its designated spot. This might involve bolting it to existing holes or using a clamp-on design.
- Mount the Stabilizer: Attach one end of the stabilizer to one of the newly installed brackets.
- Align and Attach Second End: Position the stabilizer so its other end can reach the second bracket. You might need to adjust the position of the brackets slightly to get perfect alignment. Once aligned, attach the stabilizer to the second bracket.
Step 4: Tighten All Hardware
- Ensure Proper Alignment: Double-check that the stabilizer is not binding and that the rod can move freely as the steering wheel is turned from lock to lock.
- Tighten Stabilizer Bolts: Securely tighten the bolts and nuts that attach the stabilizer to its brackets.
- Tighten Brackets: If you installed new brackets, ensure they are firmly clamped or bolted in place.
- Use a Torque Wrench: For critical fasteners, refer to your kit’s instructions or a reliable TJ service manual for the correct torque specifications. Overtightening can damage components, while undertightening can lead to failure. For example, tie rod clamp bolts are often torqued to around 30-50 ft-lbs, but always verify.
Step 5: Reassemble And Lower The Jeep
- Reinstall Wheels: Place the front wheels back onto the hubs.
- Hand-Tighten Lug Nuts: Thread the lug nuts back on by hand until they are snug.
- Lower the Jeep: Carefully remove the jack stands and lower the Jeep back to the ground.
- Torque Lug Nuts: With the wheels on the ground, use your torque wrench to tighten the lug nuts in a star pattern. For a TJ, the typical torque spec is around 100-120 ft-lbs. Check your owner’s manual for the exact specification. Tightening in a star pattern ensures the wheel is seated evenly.
Step 6: Final Checks And Test Drive
- Check for Clearance: Turn the steering wheel slowly from lock to lock. Ensure the stabilizer and its linkage do not hit any other suspension components, frame parts, or brake lines.
- Inspect Hardware: Give all the bolts and nuts you touched a final visual inspection to make sure they are secure.
- Test Drive: Take your Jeep for a slow, cautious test drive in a safe area. Pay attention to how the steering feels. You should notice a significant reduction in steering wheel play and a smoother response to road imperfections. Listen for any unusual noises.
- Gradual Increase in Speed: As you gain confidence, gradually increase your speed on roads you are familiar with.
Common Pitfalls And How To Avoid Them
Even with a step-by-step guide, DIY installations can sometimes hit snags. Here are a few common issues and how to prevent them:
- Incorrect Bracket Placement: If your new kit uses clamp-on brackets, ensure they are positioned exactly as the instructions dictate. Improper placement can lead to binding or insufficient support. Pro Tip: Mark the intended location with a grease pencil before tightening clamps.
- Stabilizer Rod Binding: The stabilizer rod must be able to extend and retract freely without hitting anything. If it binds, it won’t function correctly and could damage itself or other parts. This often happens if the brackets are misaligned or if the wrong length stabilizer is used for a highly modified suspension.
- Over- or Under-Tightening: Using a torque wrench is crucial. Overtightening can strip threads or crack brackets, while undertightening can lead to parts loosening over time, which is dangerous.
- Forgetting to Re-Torque: After a short driving period (50-100 miles), it’s a good idea to re-check the torque on all the hardware you installed. Vibrations can sometimes cause fasteners to settle.
- Ignoring Existing Steering Issues: A steering stabilizer is not a magic fix for worn-out steering components. If you have significant play in your steering, loose tie rods, or worn ball joints, the stabilizer will help, but it won’t solve the underlying problem. It’s best to address those issues first.
Steering Stabilizer Options For Your Tj
When choosing a steering stabilizer, you’ll find various options. They generally fall into a few categories:
Stock Replacement Stabilizers
These are designed to mimic the function and performance of the original equipment. They are a good option if your TJ is mostly stock and you're experiencing mild steering wheel wobble, likely due to a worn-out original stabilizer.
They offer basic dampening but may not be sufficient for heavier modifications.
Heavy-duty Aftermarket Stabilizers
These are the most common choice for modified TJs. They are typically larger in diameter and offer more robust dampening capabilities.
Brands like Rancho, Bilstein, and Skyjacker offer popular heavy-duty options. These are designed to handle the increased stress from larger tires and lifted suspensions.
Dual Steering Stabilizer Kits
For extremely large tires (37 inches or more) or heavily modified steering systems, a dual stabilizer kit might be considered. This involves installing two steering stabilizers, providing double the dampening force.
While offering maximum control, they can sometimes make steering feel a bit heavy for daily driving and are usually overkill for most TJ builds.
Adjustable Steering Stabilizers
Some high-end stabilizers offer adjustable damping settings. This allows you to fine-tune the steering feel, making it firmer for off-road conditions or softer for highway cruising.
These can be a great option if you frequently switch between different driving environments.
Here’s a quick comparison of common types:
| Stabilizer Type | Best For | Pros | Cons |
|---|---|---|---|
| Stock Replacement | Stock or lightly modified TJs | Simple, affordable, direct fit | Limited dampening, not ideal for larger tires |
| Heavy-Duty Single | Most modified TJs (2-4 inch lift, 31-35 inch tires) | Improved steering feel, reduces wobble, good balance of comfort/control | Requires proper installation, can be overkill for stock Jeeps |
| Heavy-Duty Dual | Very large tires (37+ inches), extreme off-roading | Maximum control, excellent wobble reduction | Can make steering heavy, more complex installation, often unnecessary |
| Adjustable (Single/Dual) | Drivers wanting customizable steering feel | Tunable for different conditions, versatile | More expensive, requires understanding of adjustment settings |
When To Consider Upgrading
Several signs indicate it might be time to upgrade or install a steering stabilizer on your Jeep Wrangler TJ:
- Steering Wheel Shake: If you feel vibrations or shaking in the steering wheel, especially after hitting bumps or uneven pavement, a stabilizer can help.
- Wandering Steering: If the Jeep tends to wander or drift across the lane, requiring constant small corrections, the steering system might be less responsive than it should be.
- Larger Tires: As mentioned, fitting tires larger than 31 inches often necessitates a steering stabilizer upgrade to maintain control and prevent excessive wear.
- Suspension Lift: Lifting your TJ, especially more than 2-3 inches, changes the geometry of the steering and suspension. This can put more stress on the steering components, making a stabilizer beneficial.
- Worn Components: If your current stabilizer is old, leaking fluid, or damaged, replacing it is essential for proper steering function.
Maintaining Your Steering Stabilizer
Once installed, a steering stabilizer requires minimal maintenance. However, a few things can help ensure its longevity:
- Regular Inspections: Periodically check the stabilizer for leaks, dents, or damage. Also, inspect the mounting hardware to ensure it remains tight.
- Keep it Clean: While the stabilizer itself is usually protected, dirt and debris can accumulate around the mounting points. Keeping these areas clean can prevent rust and make future maintenance easier.
- Listen for No