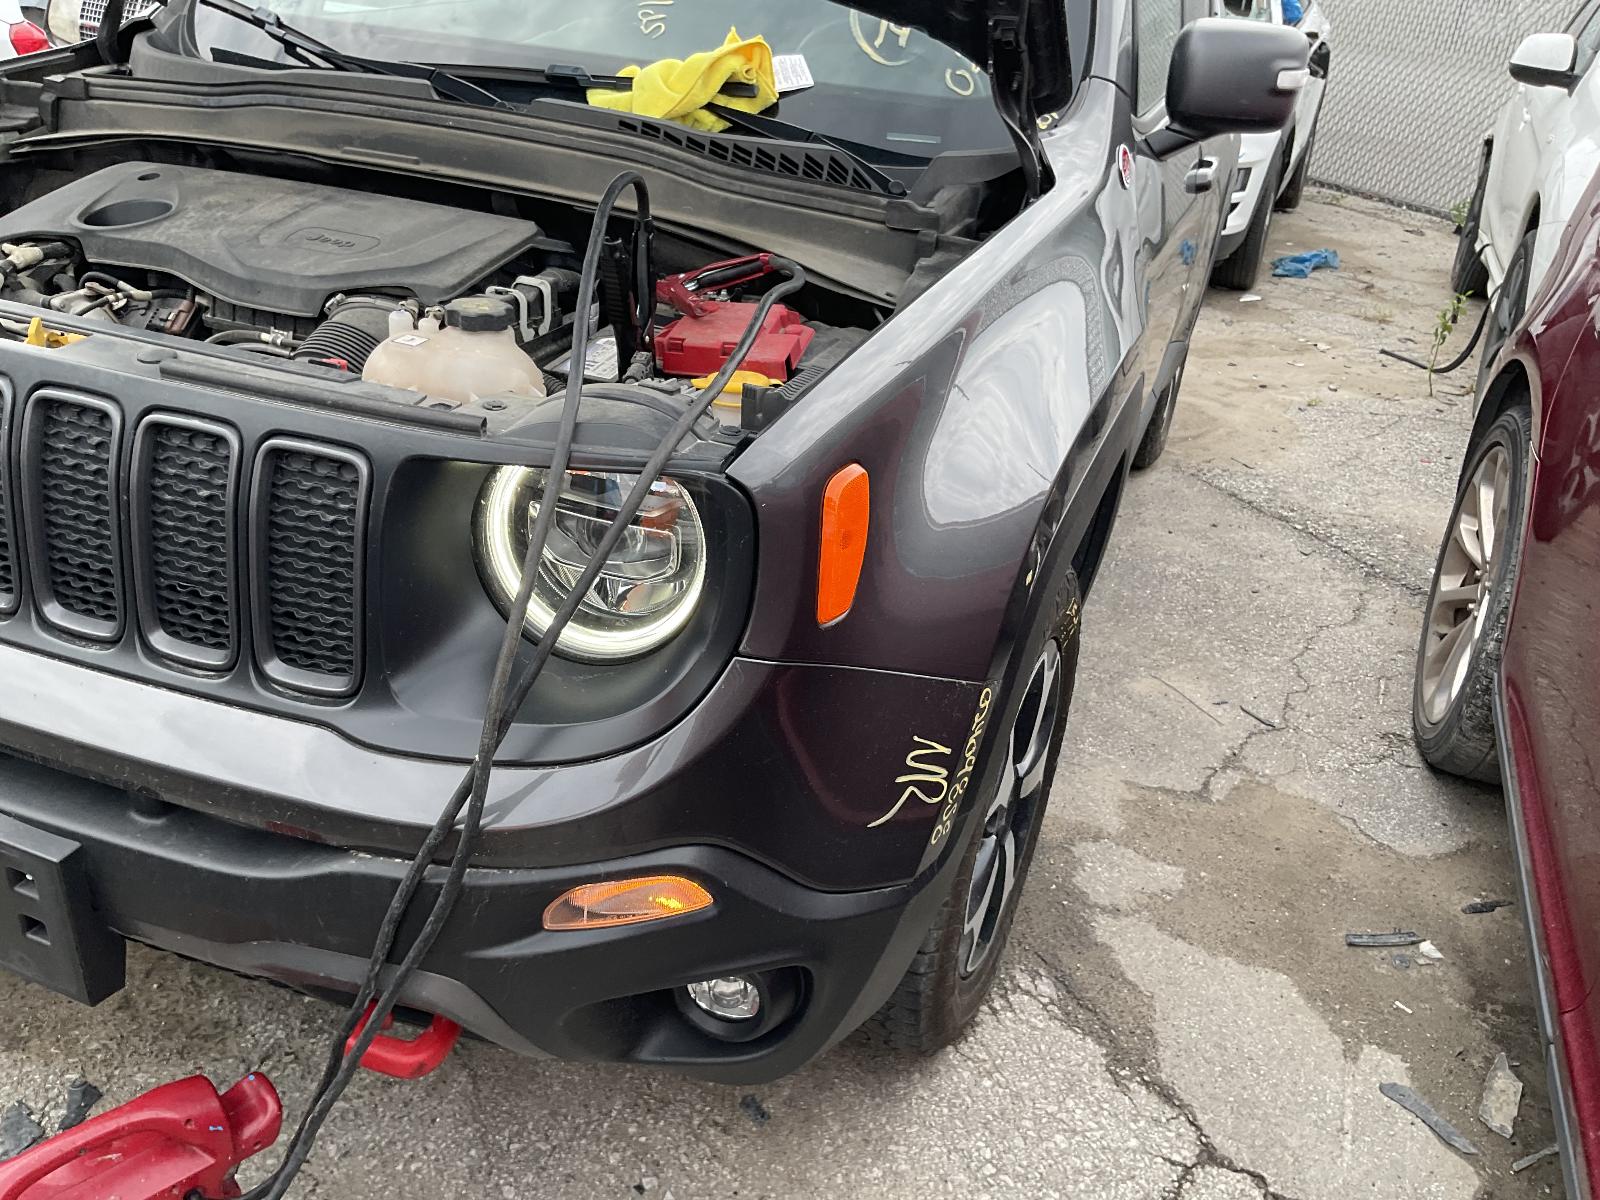
If your Jeep Renegade is having electrical issues, dim lights, or trouble starting, a faulty alternator may be the reason. The alternator is a key part of your vehicle’s charging system, supplying power to the battery and all electronics while the engine is running.
If it fails, your Jeep can quickly become unreliable or even stop running. Replacing the alternator might sound intimidating, but with the right approach, it’s a manageable repair for many owners.
This guide will walk you through the essentials of Jeep Renegade alternator replacement, including signs of failure, replacement steps, costs, and some practical tips you won’t find in most manuals.
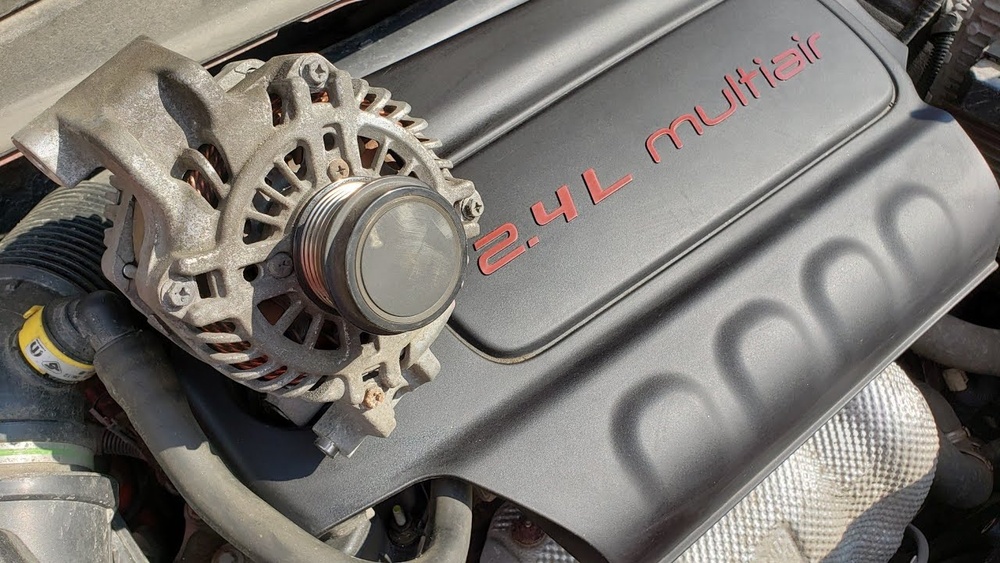
Signs Your Jeep Renegade Alternator Needs Replacement
Understanding the warning signs can save you from getting stranded. Common symptoms include:
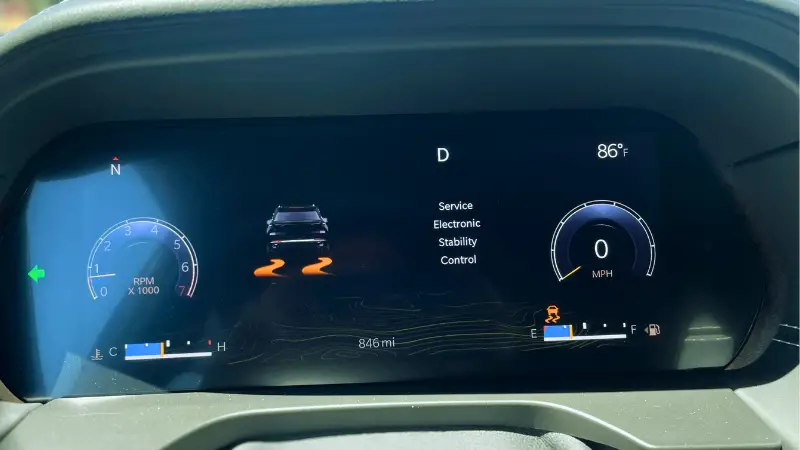
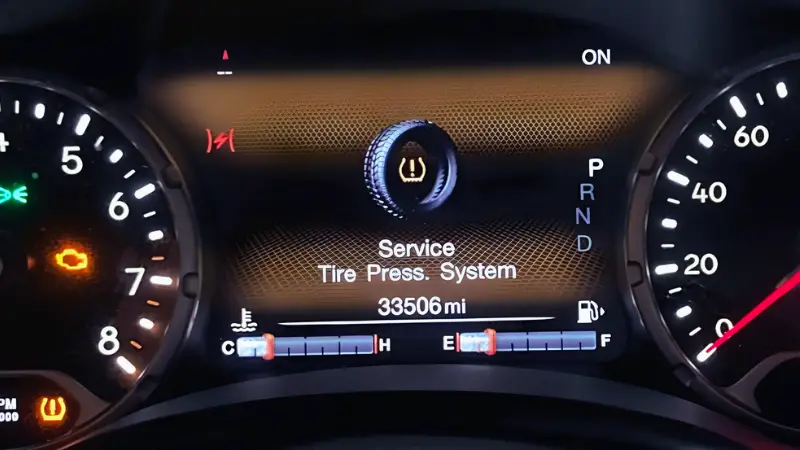
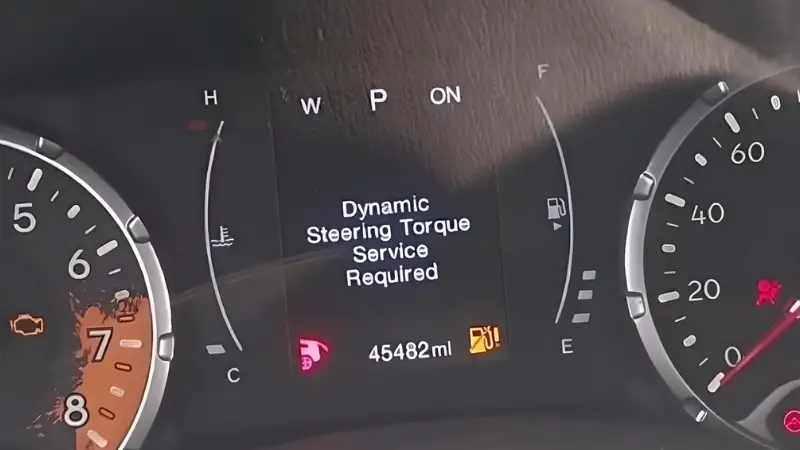
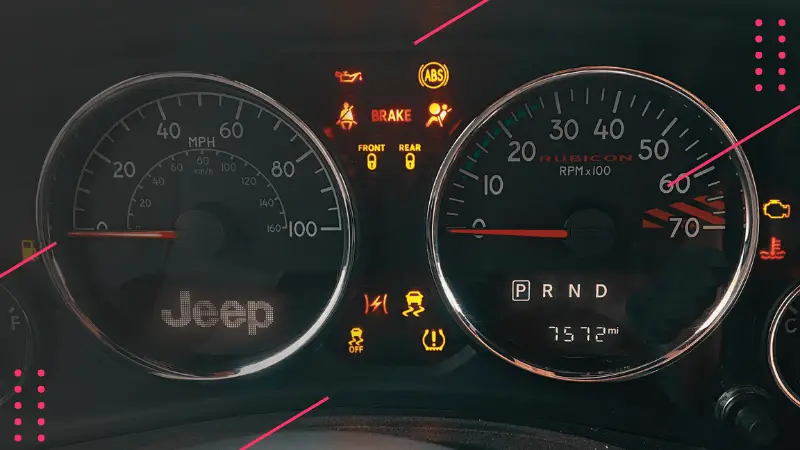
- Battery warning light on the dashboard
- Dimming headlights or interior lights, especially at idle
- Electrical accessories (radio, power windows) behaving erratically
- Dead battery even after a recent replacement
- Strange noises like whining or grinding from the engine area
If you notice these signs, it’s wise to test the alternator before replacing it. An auto parts store can usually check it for free.
Tools And Parts Needed
Before starting, gather these items:
- Replacement alternator (ensure compatibility with your Jeep’s model year and engine)
- Socket set (metric sizes, 10mm and 13mm common)
- Wrenches
- Screwdrivers
- Serpentine belt tool or breaker bar
- Protective gloves and safety glasses
In some cases, you may also need a new serpentine belt if the old one is worn.
Step-by-step Jeep Renegade Alternator Replacement
Let’s break down the process. Always work on a cool engine and disconnect the battery first.
1. Disconnect The Battery
Remove the negative battery cable to prevent electrical shorts.
2. Locate The Alternator
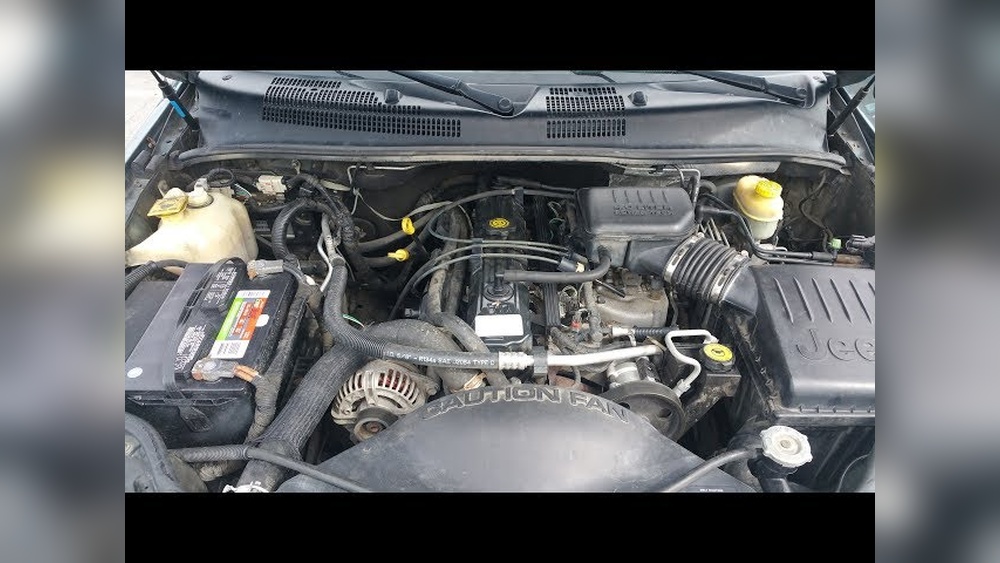
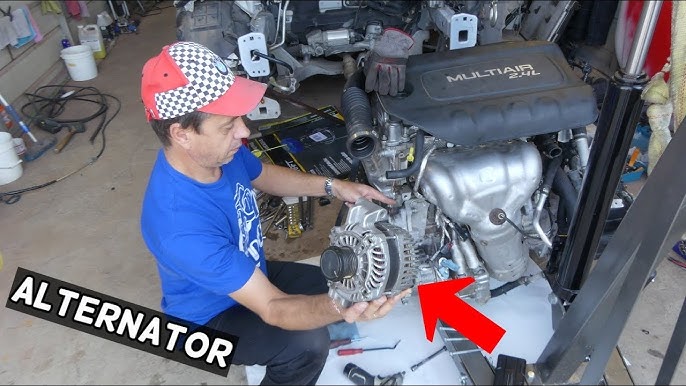
The alternator is usually on the front of the engine, accessible from above. On some Renegades, you may need to remove the engine cover or air intake components.
3. Release The Serpentine Belt
Use the serpentine belt tool or breaker bar to rotate the tensioner. Slide the belt off the alternator pulley.
4. Remove Electrical Connections
Disconnect the wiring harness and the main power cable from the back of the alternator.
5. Unbolt The Alternator
There are usually two or three bolts holding the alternator. Remove them and carefully lift the alternator out.
6. Install The New Alternator
Position the new alternator, align the bolt holes, and tighten the mounting bolts to factory specs.
7. Reconnect Electrical Connections
Attach the wiring harness and power cable.
8. Reinstall The Serpentine Belt
Ensure the belt is correctly routed and seated on all pulleys.
9. Reconnect The Battery And Test
Start the engine and check that the battery light is off. Use a multimeter to confirm the alternator is charging (typically 13. 5–14. 5 volts at the battery).
Common Mistakes To Avoid
- Forgetting to disconnect the battery, which risks electrical shocks
- Not checking the serpentine belt for wear
- Over-tightening bolts, which can damage the alternator housing
Replacement Cost: Diy Vs. Professional
Costs can vary based on your location and whether you do the work yourself. Here’s a quick comparison:
| Option | Parts Cost | Labor Cost | Total Estimate |
|---|---|---|---|
| DIY Replacement | $180–$320 | $0 | $180–$320 |
| Professional Shop | $180–$350 | $150–$350 | $330–$700 |
Pro tip: If you’re comfortable with basic tools, DIY can save you several hundred dollars. However, if you lack experience or tools, professional installation is safer.
Choosing The Right Alternator
Not all alternators are the same. Always check these factors:
- Amperage rating: Match your Jeep’s requirements (often 140–160 amps)
- Mounting style: Confirm bolt pattern and electrical connectors fit
- Warranty: Prefer at least a 1-year warranty
Here’s a quick comparison for popular replacement brands:
| Brand | Amperage | Warranty | Price Range |
|---|---|---|---|
| OEM (Mopar) | 160A | 2 years | $300–$350 |
| Denso | 150A | 1 year | $220–$270 |
| Remanufactured | 140A | 6 months | $180–$220 |
Buying the cheapest alternator can lead to reliability problems. A quality new or remanufactured unit is usually worth the extra cost.
Extra Tips Most Owners Miss
- Check all related fuses before replacing the alternator. Sometimes, a blown fuse or fusible link is the real problem.
- Inspect battery cables and grounds for corrosion. Bad connections can mimic alternator failure.
- Test the battery after alternator replacement. A weak battery can stress a new alternator and shorten its life.
- Save your old alternator for a core refund if buying remanufactured—many parts stores require it.

Preventing Future Alternator Problems
A few easy habits can make your new alternator last longer:
- Don’t overload with aftermarket electronics beyond factory specs.
- Replace old, cracked belts promptly.
- Keep electrical connections clean and tight.
A surprising number of alternator failures come from worn belts or loose connections, not from the alternator itself.
Frequently Asked Questions