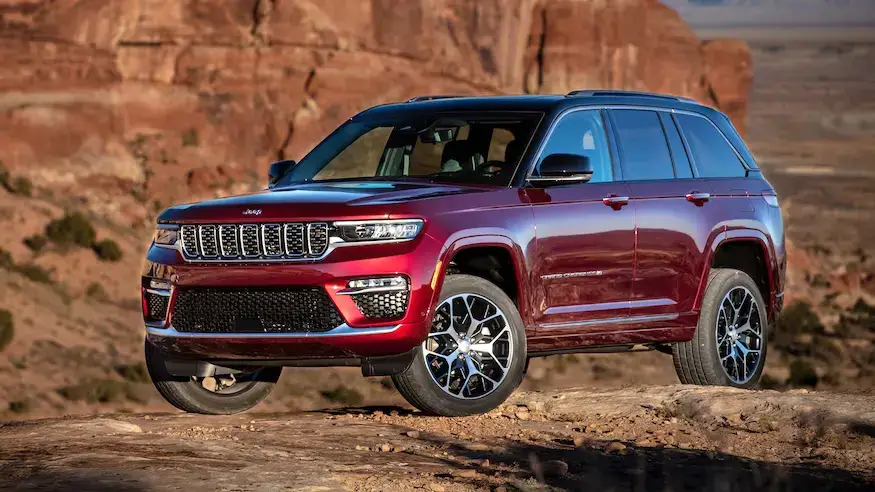
Owning a Jeep Grand Cherokee means combining adventure with reliability, but like all vehicles, regular maintenance is crucial. One important service task, often overlooked, is the oil filter housing replacement.
This part isn’t just about keeping your oil clean—it’s essential for preventing leaks and keeping your engine running smoothly. Whether you’ve noticed oil spots under your Jeep or your mechanic flagged it during a service, understanding this repair can save you time, money, and future headaches.
What Is The Oil Filter Housing?
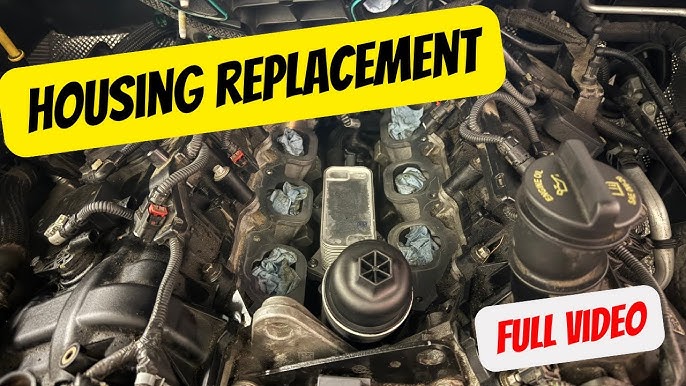
The oil filter housing is a metal or plastic component that holds the oil filter in place. It connects the filter to the engine and channels oil through it, trapping dirt and particles before the oil moves back into the engine. In modern vehicles like the Grand Cherokee, the housing often includes sensors, gaskets, and even a cooler.
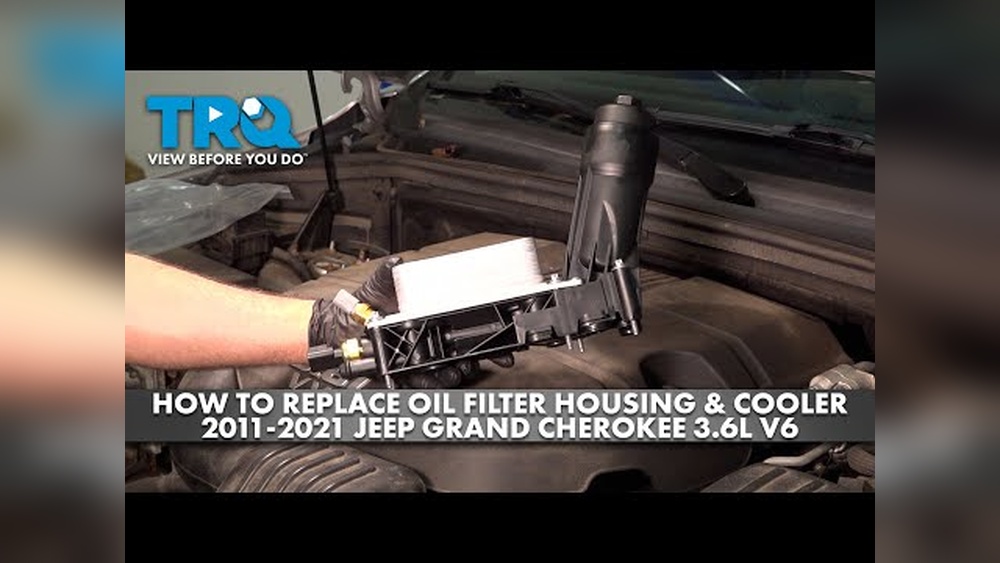
A faulty oil filter housing can lead to oil leaks, engine overheating, and even low oil pressure—issues you do not want to ignore. Jeep Grand Cherokees, especially those built between 2011 and 2020, are known for developing leaks at this housing, sometimes due to poor gasket quality or extreme temperature changes.
Symptoms Of A Failing Oil Filter Housing
Spotting the warning signs early can prevent engine damage. Here are the most common symptoms:
- Visible oil leaks beneath the engine
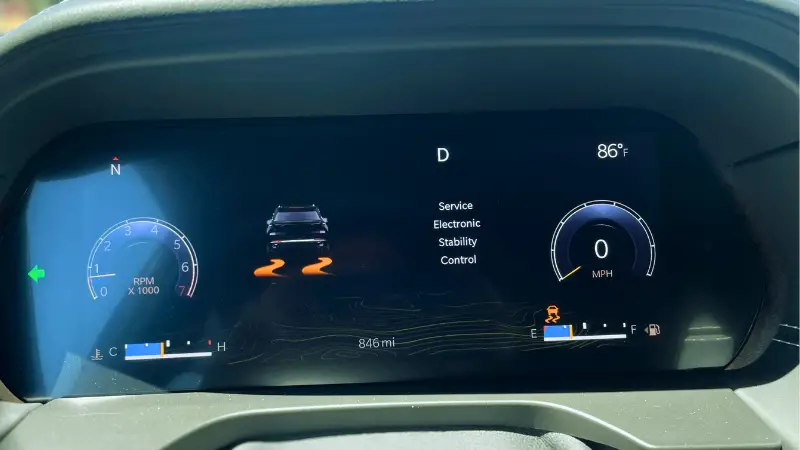
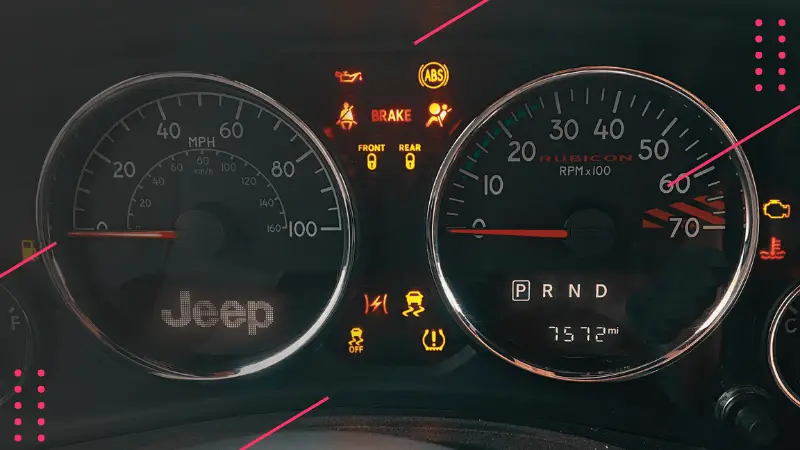
- Low oil pressure warning on the dashboard
- Burning oil smell inside the cabin
- Oil pooling around the filter housing area
- Engine overheating due to oil loss
One insight many owners miss: a small leak can quickly get worse, so acting at the first sign is smart. Also, leaks near the housing can damage other engine parts, increasing repair costs.
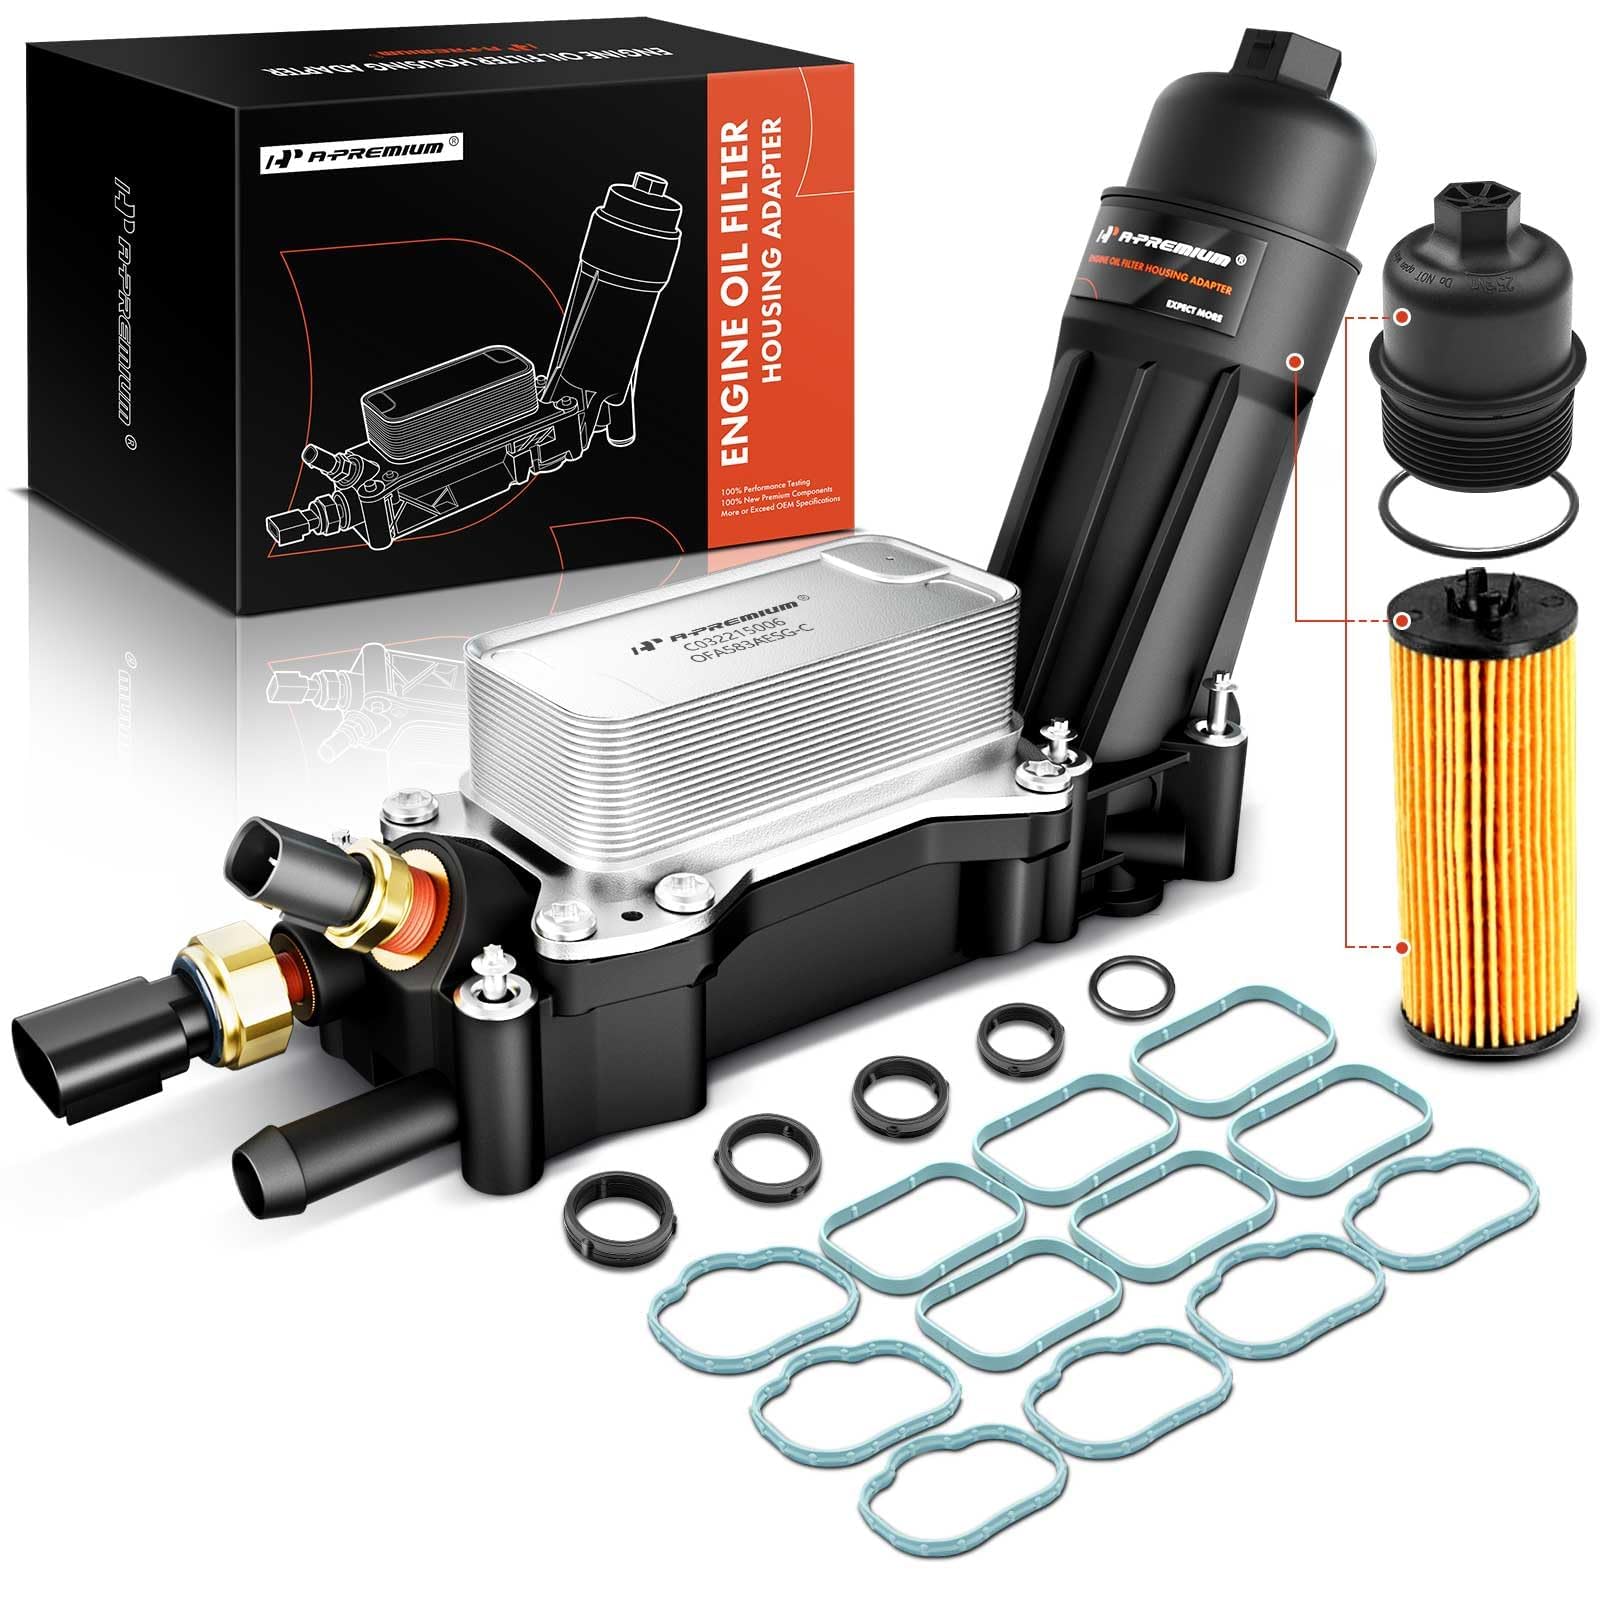
Tools And Parts Needed
Before starting, gather these essentials:
- Replacement oil filter housing (OEM or quality aftermarket)
- Oil filter and engine oil (check your manual for the correct type)
- Gasket set (most kits include these)
- Ratchet and socket set
- Torque wrench
- Drain pan
- Shop rags
Some Grand Cherokee models have unique housings depending on the engine (3.6L V6, 5.7L V8, etc.), so double-check your part numbers.
Step-by-step Replacement Guide
Replacing the oil filter housing can be done at home if you have some experience. Expect to spend 2–4 hours on the job.
1. Prepare The Vehicle
- Park on a level surface and let the engine cool.
- Disconnect the battery to avoid electrical issues.
- Raise the front of the Jeep using jack stands for better access.
2. Drain The Engine Oil
- Place a drain pan under the oil pan.
- Remove the drain plug and let the oil drain completely.
3. Remove Intake Components
- Take out the engine cover and disconnect the air intake hose.
- Remove any sensors or hoses blocking access to the filter housing.
4. Remove The Oil Filter And Housing
- Unscrew and remove the oil filter.
- Use your socket set to remove the bolts holding the housing.
- Carefully lift the housing—watch for oil spillage.
5. Clean And Inspect
- Wipe down the engine mounting surface with a shop rag.
- Check for old gasket material and remove it completely.
6. Install The New Housing
- Fit the new gasket(s) onto the housing.
- Place the new housing and tighten the bolts to the manufacturer’s torque spec.
- Install the new oil filter.
7. Reassemble And Add Oil
- Reconnect all hoses and sensors.
- Reinstall the intake components and engine cover.
- Add new engine oil.
8. Check For Leaks
- Start the engine and let it run for a few minutes.
- Inspect for leaks around the housing.
- Check oil levels and top off if needed.

Cost Comparison: Diy Vs. Professional Repair
For many Grand Cherokee owners, cost is a big factor in deciding between a do-it-yourself job and hiring a mechanic.
| Method | Parts Cost | Labor Cost | Total Estimated Cost |
|---|---|---|---|
| DIY Replacement | $60–$120 | $0 | $60–$120 |
| Professional Repair | $60–$120 | $250–$400 | $310–$520 |
Labor costs can vary depending on your location and the shop’s hourly rate.
Common Mistakes To Avoid
Even experienced DIYers can make errors. Watch out for these pitfalls:
- Using the wrong gasket – Always use the gasket that comes with your housing kit.
- Over-tightening bolts – This can crack the housing or strip threads. Follow torque specs.
- Not cleaning the surface – Any dirt or old gasket can cause leaks.
- Skipping the oil change – Always replace the oil and filter to keep contaminants out.
- Ignoring torque sequence – Tighten bolts in the correct order to prevent leaks.
A surprising fact: aftermarket oil filter housings sometimes have improved designs compared to OEM parts, potentially solving leak problems for good.
How To Choose A Quality Replacement Part
Not all oil filter housings are created equal. Here’s what to consider:
- Material quality – Aluminum lasts longer than plastic.
- Warranty – Look for at least a 1-year warranty.
- Customer reviews – Check for feedback on fit and durability.
- Compatibility – Confirm with your VIN or engine code.
Below is a quick comparison of common options:
| Brand | Material | Warranty | Price Range |
|---|---|---|---|
| OEM Mopar | Plastic | 1 year | $90–$120 |
| Dorman | Aluminum | Limited Lifetime | $80–$110 |
| Aftermarket Generic | Plastic | 6 months | $60–$90 |
Maintenance Tips To Extend Oil Filter Housing Life
You can help your new housing last longer by:
- Using high-quality engine oil and filters
- Changing oil at the recommended intervals (usually every 5,000–7,500 miles)
- Checking for leaks after every oil change
- Avoiding harsh engine cleaners that could damage gaskets
Many owners don’t realize that extreme heat and cold can speed up gasket failure, so regular checks are more important in tough climates.