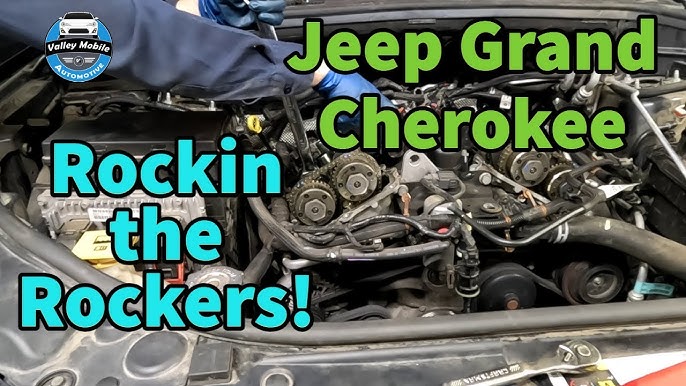
Replacing the camshaft on a Jeep Cherokee 3. 2 is a complex but important repair that can extend the life of your engine.
If your Jeep has been making unusual noises, running rough, or showing a check engine light for camshaft issues, you may need to replace this part. Many owners wonder what’s involved, what tools they’ll need, and what steps to follow.
This article breaks down the camshaft replacement for the Jeep Cherokee 3. 2, covering all three main camshafts, key steps, important tips, and common mistakes to avoid.
Understanding The Jeep Cherokee 3.2 Camshafts
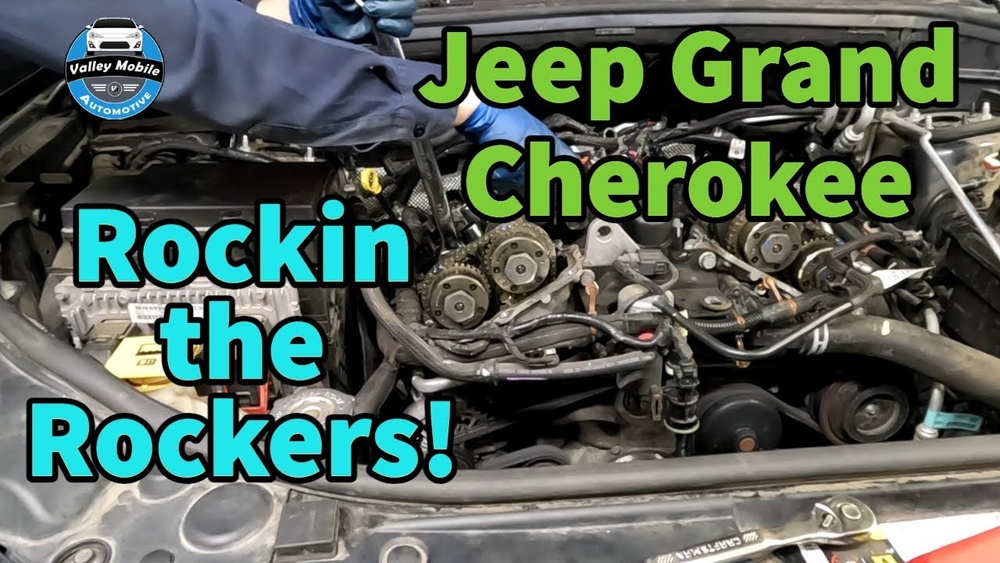
The Jeep Cherokee 3.2L Pentastar V6 engine uses three camshafts: one intake camshaft and two exhaust camshafts (one for each bank of cylinders). Each plays a unique role in the timing and function of your engine. If any camshaft fails, you risk poor performance or even catastrophic engine damage.
Why Camshaft Replacement Is Needed
- Excessive wear: Over time, cam lobes can wear down, affecting valve timing.
- Broken camshaft: Rare, but possible due to oil starvation or manufacturing defect.
- Check engine codes: Codes like P0016 or P0017 often point to camshaft correlation errors.
Tools And Parts You’ll Need
Having the right tools ready is crucial for a successful replacement. Here’s a quick overview:
| Tool/Part | Purpose |
|---|---|
| Socket set (metric) | Removing engine covers and bolts |
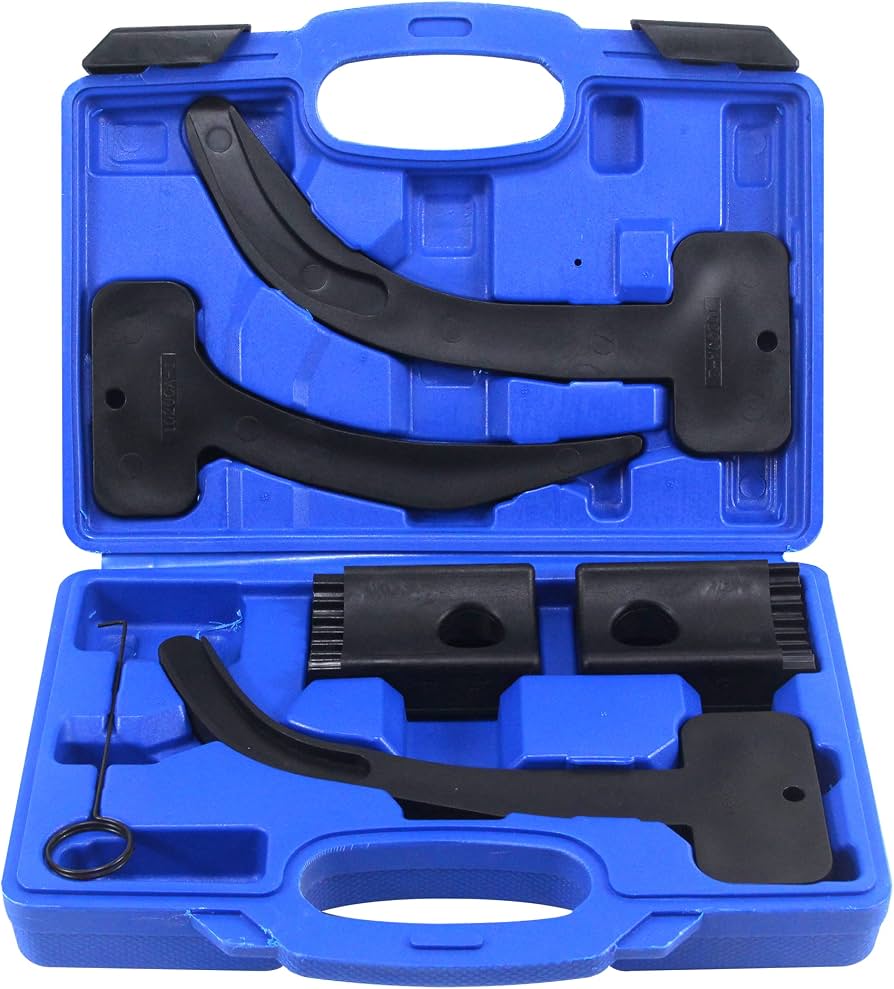
| Camshaft alignment tool | Ensuring proper timing |
| Torque wrench | Correct bolt tightening |
| Replacement camshaft(s) | New intake/exhaust camshaft(s) |
| Gaskets/seals | Preventing leaks |
| Engine oil & filter | Fresh oil after repair |
Don’t forget safety equipment: gloves, eye protection, and a clean work area.
Preparation Steps
Before starting, park your Jeep Cherokee on a level surface and disconnect the battery. Allow the engine to cool fully. Drain the engine oil and remove the engine cover, air intake, and any components blocking access to the valve covers.
Replacing The Intake Camshaft
The intake camshaft controls the intake valves. Its failure leads to poor acceleration and rough idling.
- Remove the valve cover from the correct bank to access the intake camshaft.
- Align the engine using the camshaft alignment tool. This step is critical to avoid damaging valves or pistons.
- Loosen camshaft bearing caps in sequence. Remove the intake camshaft gently.
- Inspect journals and bearings for scoring or wear. Replace if needed.
- Install the new camshaft, lubricating with assembly lube.
- Torque bearing caps to spec, following manufacturer sequence.
- Reinstall valve cover with a new gasket.
Non-obvious insight: Many DIYers forget to pre-lube the new camshaft, which can cause premature wear during the first start.

Replacing The Left Exhaust Camshaft
The left exhaust camshaft opens the exhaust valves on one bank. If it’s worn or damaged, you’ll notice increased emissions and possible misfires.
- Remove components blocking the left valve cover (may include fuel rail or coil packs).
- Take off the valve cover and repeat alignment as before.
- Mark timing chain and gear positions before removing anything. This ensures you don’t lose engine timing.
- Remove the camshaft sprocket/gear and bearing caps in order.
- Replace the camshaft, again using plenty of assembly lube.
- Reinstall sprocket, chain, and bearing caps. Double-check timing marks.
- Replace the gasket and reassemble the cover.
Non-obvious insight: Don’t rotate the crankshaft with the camshaft out, or you may cause piston-to-valve contact.
Replacing The Right Exhaust Camshaft
The right exhaust camshaft operates the exhaust valves on the opposite bank. Symptoms of failure are similar to the left, but diagnosis may show different cylinder codes.
- Gain access by removing any hoses, brackets, or electronics near the right valve cover.
- Remove the valve cover and repeat engine alignment.
- Document the timing mark positions with a photo before disassembly.
- Remove the camshaft carefully, along with associated hardware.
- Install the new camshaft, lubricating all contact points.
- Reassemble with new seals/gasket, and ensure all bolts are torqued correctly.
Practical tip: Take photos throughout the process to help remember bolt locations and wiring routes.
Important Comparison: Symptoms And Risks
Understanding the risks of ignoring a bad camshaft can help you act quickly. Here’s a simple comparison:
| Symptom | Possible Cause | Risk if Ignored |
|---|---|---|
| Tapping noise | Worn cam lobe | Valve damage |
| Misfire | Out-of-sync camshaft | Catalytic converter damage |
| Loss of power | Failed camshaft | Engine failure |
Common Mistakes To Avoid
- Skipping alignment tools: This can destroy your engine.
- Reusing old gaskets: Almost always leads to leaks.
- Failing to change oil: Metal shavings from old parts can remain in the oil.
Cost And Time Estimates
Replacing a camshaft is labor-intensive. On a Jeep Cherokee 3.2, expect 6–10 hours for an experienced DIYer. Parts cost varies:
| Part | Estimated Cost |
|---|---|
| Each camshaft | $200–$350 |
| Gasket set | $50–$100 |
| Shop labor (if pro) | $800–$1,200 |
Final Steps And Testing
When all camshafts are replaced, refill the engine with oil, reconnect the battery, and start the engine. Listen for abnormal sounds and check for warning lights.
If available, use an OBD-II scanner to clear any fault codes and verify proper function.
If you’re unsure about any step, consult the official Jeep service manual or visit a professional mechanic. This is not a beginner-level repair.