Wiring spot lights in a Jeep TJ can transform your off-road experience. Good spot lights help you see better at night, spot obstacles, and even make your Jeep look tougher.
Many Jeep owners want to add spot lights, but worry about the wiring.
The truth is, you don’t need to be an expert. With basic tools, clear steps, and some practical advice, you can wire spot lights safely and neatly.
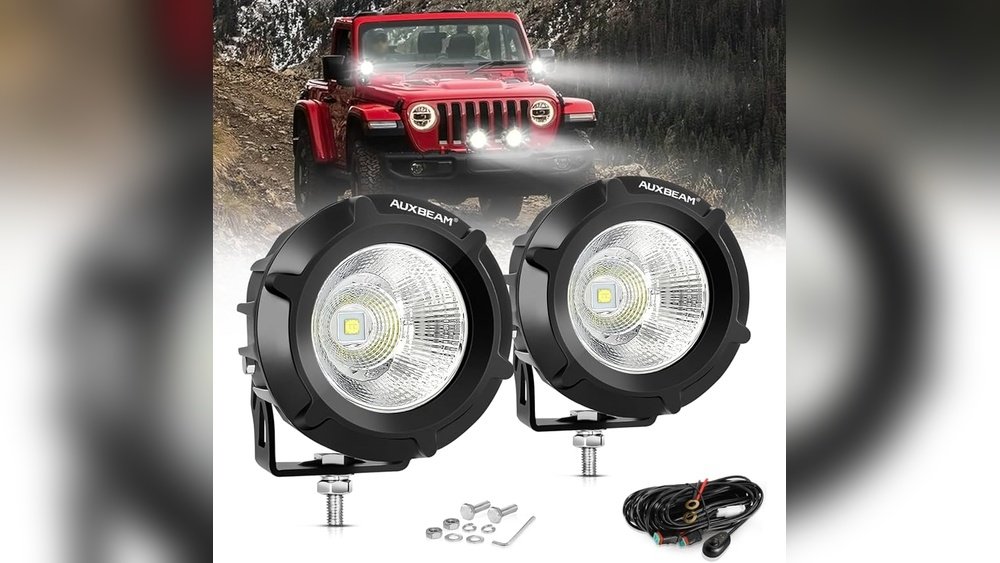
This guide will show you exactly how to do it, avoid common mistakes, and end up with reliable lights that won’t let you down.
Understanding Spot Lights And Wiring Basics
Spot lights are powerful beams that focus on a small area, giving you extra visibility. They’re different from flood lights, which spread light wider. Most spot lights for the Jeep TJ are LED or halogen. LEDs are more energy efficient and last longer.
Wiring spot lights means connecting them to your Jeep TJ’s electrical system. You need to use a relay, fuse, and switch for safety and control. The relay helps prevent electrical overload. The fuse protects your Jeep from shorts. The switch lets you turn the lights on and off.
Many beginners miss one simple fact: using the right gauge wire is key. Too thin, and it can melt or cause problems. For most spot lights, 14 AWG wire is enough, but if your lights are very powerful, use 12 AWG.
What You’ll Need
Before starting, gather these tools and parts:
- Spot lights (choose LED for better performance)
- Wiring harness (with relay, fuse, and switch)
- 14 AWG or 12 AWG wire
- Connectors (ring terminals, spade connectors)
- Electrical tape
- Wire cutters and strippers
- Drill (for mounting switch or lights)
- Screwdrivers
- Zip ties
- Multimeter (for checking voltage)
If you don’t have a wiring harness, you’ll need to buy a relay (40A recommended) and a fuse (15A 30A, depending on your spot light’s power). Many kits include everything, but double-check before you start.
Planning Your Spot Light Placement
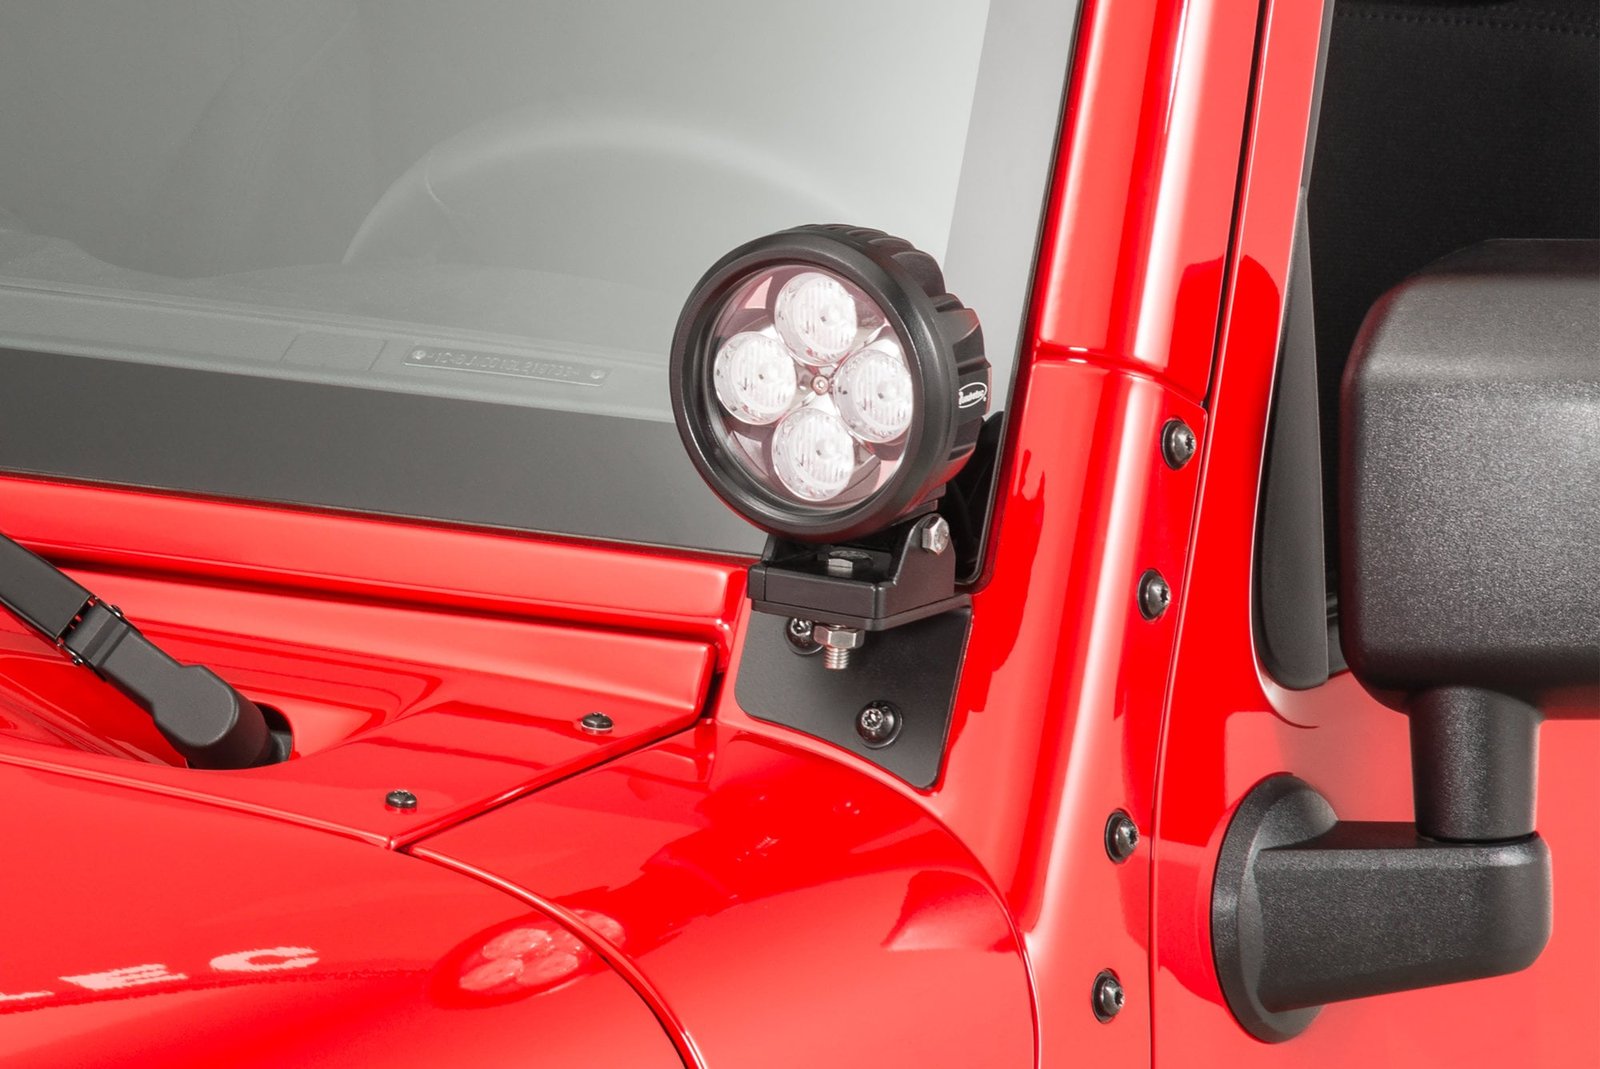
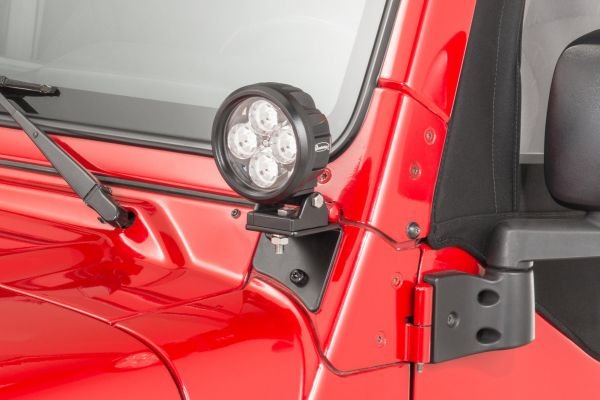
Think carefully about where to mount your spot lights. Most Jeep TJ owners put them on the front bumper or windshield frame. Placement affects the wiring route and how much light you get.
Here’s a quick comparison of mounting spots:
| Location | Visibility | Ease of Wiring | Protection |
|---|---|---|---|
| Front bumper | High | Easy | Good |
| Windshield frame | Medium | Moderate | Fair |
| Roof rack | Maximum | Hard | Low |
For most beginners, the bumper or windshield is best. Make sure nothing blocks your spot lights, and check local rules about light placement.
Step-by-step Wiring Guide
1. Mount The Spot Lights
Use the brackets that come with your spot lights. Secure them tightly to prevent shaking.
Test their angle before tightening all bolts. It’s easier to adjust now than after wiring.
2. Plan Your Wiring Route
Look for the shortest, safest path from your lights to the battery. Avoid sharp edges, moving parts, and hot spots. Run wires along existing cable paths if possible. Use zip ties to keep wires neat.
Many beginners forget to leave slack for movement. If you mount lights on the windshield, leave extra wire so you can open the hood without stretching the cable.
3. Connect The Relay And Fuse
The relay is a safety device. It uses a small switch to control a big power source.
Connect the relay close to the battery, but not directly on it.
A standard relay has four pins:
- 30: Power input from battery (use fuse here)
- 87: Output to spot lights
- 86: Trigger from switch
- 85: Ground
The fuse goes between the battery and pin 30. This protects your Jeep if something goes wrong.
4. Wire The Spot Lights
Connect the positive wire from each light to pin 87 on the relay. Connect the negative wire to a solid ground point (bare metal, not painted). Use ring terminals for strong connections.
If your lights have two wires (red and black), red is positive, black is negative.
5. Install The Switch
The switch lets you control the lights from inside the Jeep. Mount it where you can reach it easily, like on the dash or near the steering wheel.
Run a wire from pin 86 on the relay to the switch. Then, connect the other side of the switch to a 12V source (ignition or battery).
For safety, use a small fuse here (5A 10A).
6. Test Everything
Reconnect your battery. Turn on the switch. The relay should click, and your spot lights should shine bright. Use a multimeter to check voltage at the lights. If they’re dim, check all connections and grounds.
If nothing happens, double-check relay wiring and switch connections. Most failures come from loose wires or wrong pin numbers.
7. Secure All Wires
Use zip ties and electrical tape to protect your wiring. Keep wires away from heat, sharp edges, and moving parts. Seal all connections to prevent water damage.
Many people skip this step, but neat wiring prevents problems later. Water and dirt can ruin your setup fast if you leave wires exposed.
Common Wiring Mistakes And How To Avoid Them
Even confident DIYers make mistakes. Here are the most common ones:
- Skipping the relay: Direct wiring can overload your switch and melt wires.
- Wrong wire gauge: Thin wires heat up and fail. Always check your light’s amp rating.
- Bad ground connection: Rusty or painted metal won’t work. Scrape until shiny.
- Loose connectors: Wires must be tight. Use crimp connectors, not just twisted wires.
- No fuse: Without a fuse, any short can damage your Jeep’s electronics.
- Poor waterproofing: Use electrical tape or heat shrink tubing for outdoor connections.
Here’s a quick comparison of good vs bad wiring practices:
| Good Practice | Result | Bad Practice | Result |
|---|---|---|---|
| Using relay & fuse | Safe, reliable lights | Direct battery wiring | Risk of fire/electrical failure |
| Neat wire routing | Easy maintenance | Messy wires | Hard to fix, possible damage |
| Proper ground | Full brightness | Weak ground | Dim or flickering lights |
Tips For A Professional-looking Installation
If you want your wiring to look factory-quality, follow these tips:
- Use wire loom to cover cables.
- Mount the relay and fuse box with screws, not zip ties.
- Label wires, especially if you plan to add more lights later.
- Use heat shrink tubing for all exposed connectors.
- Route wires through factory grommets if possible.
A neat setup not only looks good but also makes troubleshooting easier. Many shops charge extra for tidy wiring, but you can do it yourself with patience.
Troubleshooting Spot Light Problems
After wiring, you may face issues like dim lights, flickering, or no power. Here’s what to check:
- Dim lights: Check ground connection. Replace if rusty or painted.
- Flickering: Loose connector or wire. Re-crimp and secure.
- No power: Check the fuse first, then relay. Use a multimeter to test continuity.
- Only one light works: Swap lights to test. If one stays off, replace it or fix wiring.
If you’re stuck, re-read the wiring diagram. Most problems come from simple mistakes, not broken parts.
Always check the basics before buying new components.
Choosing The Best Spot Lights For Jeep Tj
The right spot lights make a big difference. Consider these factors:
- Power (Watts): Most LED spot lights range from 18W to 120W.
- Beam pattern: Narrow spot beams are best for distance.
- Durability: Look for waterproof and shockproof ratings.
- Mounting options: Adjustable brackets are easier to fit.
- Brand reputation: Quality brands last longer and are safer.
Here’s a sample comparison of three popular spot lights:
| Model | Power | Beam Pattern | Durability |
|---|---|---|---|
| Rigid Industries D-Series | 30W | Spot | IP68 waterproof |
| Baja Designs Squadron Sport | 24W | Spot | IP69K waterproof |
| Auxbeam 4″ LED Pods | 18W | Spot | IP67 waterproof |
Don’t forget: Quality lights save you money in the long run. Cheap lights often fail early and can even cause electrical issues.
Real-world Example: Jeep Tj Spot Light Wiring
Let’s look at a real example. Mike, a Jeep TJ owner, mounted two 30W LED spot lights on his bumper.
He used a relay kit with a 20A fuse, 14 AWG wire, and a dash-mounted switch. He ran wires through a factory grommet, used wire loom, and sealed all connectors.
After testing, his lights worked perfectly. He later added a second set on his windshield by tapping into the same relay, but upgraded to 12 AWG wire for safety. Mike’s main tip: Always check wire gauge and use waterproof connectors. This kept his lights running strong in mud, rain, and snow.
Safety Warnings And Legal Tips
Always disconnect your battery before wiring. Wear gloves and eye protection.
Never wire spot lights to your high beams unless your local law allows it. Some states limit the number or brightness of extra lights.
Check your local rules before installing. Spot lights must not blind other drivers.
Mount them below your headlights or use covers when driving on public roads.
For more legal info, visit the Automotive Lighting Wikipedia page.
Frequently Asked Questions
How Many Spot Lights Can I Wire To My Jeep Tj?
Most relays can handle up to four standard LED spot lights (about 30W each) safely. If you want more, use a second relay and fuse.
Always check your alternator capacity too many lights can drain your battery.
Do I Need A Relay For Spot Lights?
Yes. A relay protects your switch and wiring.
Without a relay, high current can burn out your switch or cause a fire. Relays are cheap and easy to install.
Can I Wire Spot Lights To My High Beam Switch?
It’s possible, but not always legal. Some states ban extra lights on the high beam circuit.
If allowed, use a relay and tap into the high beam wire for the trigger. Always check your local laws before wiring.
What’s The Best Wire Gauge For Spot Lights?
For most spot lights (up to 120W total), 14 AWG wire is safe. For higher power or longer runs, use 12 AWG. Thicker wire prevents voltage drop and overheating.
How Do I Waterproof My Spot Light Wiring?
Use heat shrink tubing or quality electrical tape for all connectors. Cover wires with wire loom.
Seal entry points with silicone. Waterproofing keeps your lights working even in rain or mud.
Spot lights can make your Jeep TJ safer and more fun on the trail. With good planning, the right tools, and careful wiring, you’ll enjoy bright, reliable lighting wherever you go.
Taking the time to wire your lights correctly is worth it you get more confidence off-road and peace of mind knowing your setup is safe and strong.


















