Wiring LED lights on a Jeep can transform both its look and function. Whether you want brighter headlights, underbody glow, or off-road spotlights, adding LEDs gives you better visibility and a unique style.
But many Jeep owners feel nervous about wiring. The process sounds complex, especially when you want to connect the LEDs to a 7-pin connector for trailers or other uses.
This guide will break down every step in simple language, so even if you’re not an expert, you’ll understand exactly what to do.
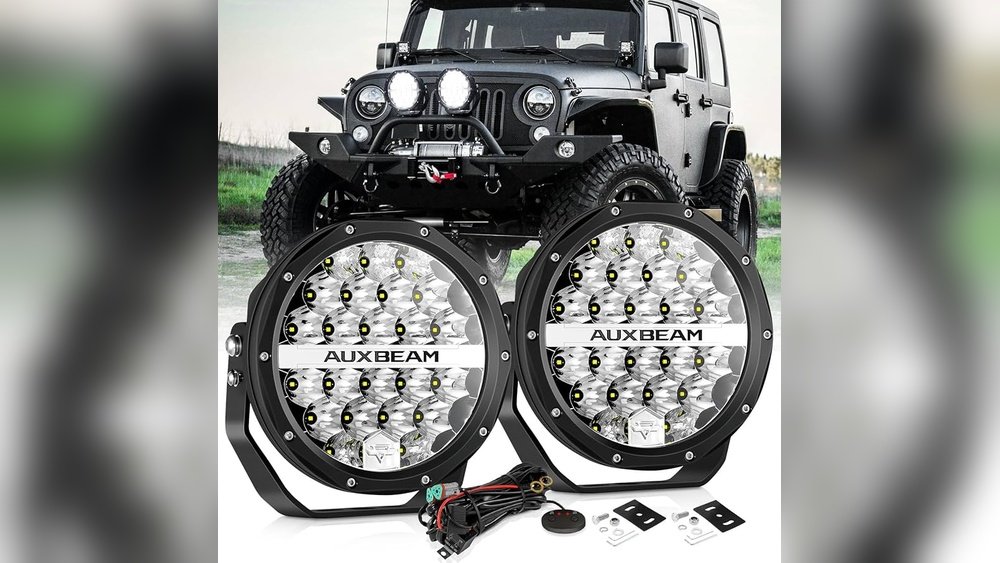
You’ll learn what tools and parts you need, how to plan your wiring, and how to connect everything safely. We’ll also cover the differences between direct wiring, using relays, and integrating with a 7-way trailer connector. By the end, you’ll be confident wiring your own LED lights and making your Jeep stand out.
Understanding The Basics
Before you start, it’s important to know a few basics about LED lights and Jeep wiring. An LED (Light Emitting Diode) is a low-power, bright light that works well on vehicles. Many Jeep owners choose LEDs because they last longer, use less energy, and handle bumps better than old-style bulbs.
A 7-pin connector is common on trailers and off-road accessories. It allows several circuits—like brake lights, reverse lights, turn signals, and power—to connect between the Jeep and another device. Wiring LED lights to this connector means you can use existing circuits and switches, and even control the lights from inside your Jeep.
Types Of Led Lights For Jeeps
- Headlights and Fog Lights – Replace old bulbs for better visibility.
- Light Bars – Mount above the windshield or bumper for off-road lighting.
- Rock Lights – Small LEDs under the Jeep to light up the ground.
- Accent/Interior LEDs – Add style and improve in-cabin lighting.
- Tail/Brake LEDs – Boost safety and brightness at the back.
Not all LEDs connect the same way. Some need only a power and ground wire, others (like brake or turn signals) need to connect to specific circuits.
Jeep 7-pin Connector Functions
Here’s a quick look at what each pin does:
| Pin Number | Function | Wire Color (Typical) |
|---|---|---|
| 1 | Ground | White |
| 2 | Tail/Running Lights | Brown |
| 3 | Left Turn Signal | Yellow |
| 4 | Right Turn Signal | Green |
| 5 | Brake Lights | Blue |
| 6 | Reverse Lights | Purple |
| 7 | 12V Power | Black or Red |
Tip: Always check your Jeep’s manual, since wire colors sometimes change.
Tools And Materials You’ll Need
Gather all your tools before starting. This saves time and avoids mistakes.
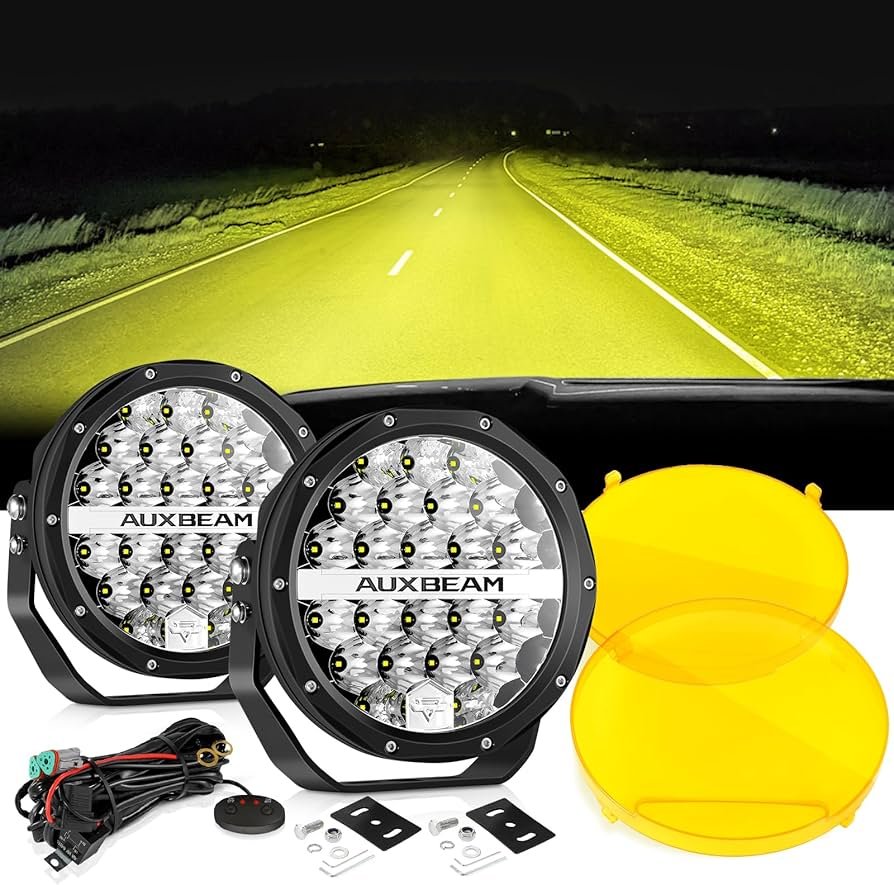
- LED light kit (make sure it fits your Jeep)
- 7-pin connector (pre-installed or aftermarket)
- Wire stripper/crimper tool
- Multimeter (for testing voltage)
- Electrical tape and heat shrink tubing
- Soldering iron (optional, for strong connections)
- Relay and fuse (for high-power LEDs)
- Zip ties or wire loom (for neatness and safety)
- Screwdrivers and wrench set
Pro tip: Never use household wire or connectors—they’re not rated for vehicle vibrations or weather.
Planning Your Wiring Route
Before connecting anything, plan your wiring. It sounds basic, but many people skip this and end up with tangled wires or short circuits.
Steps To Plan
- Decide where each LED will mount (bumper, roof, wheel wells).
- Measure wire lengths needed from the LEDs to the 7-pin connector.
- Plan how to run wires away from heat, sharp edges, and moving parts.
- Sketch a simple wiring diagram. Label each LED and which pin it connects to.
| LED Light Location | Wire Length (ft) | Connector Pin |
|---|---|---|
| Front Light Bar | 10 | 7 (12V Power) |
| Underbody Rock Lights | 8 | 2 (Tail/Running) |
| Rear Spotlights | 12 | 6 (Reverse) |
Non-obvious insight: Route wires along factory harnesses when possible—this protects them from road debris and makes future troubleshooting easier.
Step-by-step Wiring Guide
Now let’s walk through the actual wiring. These steps work for most Jeep models (Wrangler, Gladiator, Cherokee, etc.
), but always check your owner’s manual for unique details.
1. Disconnect The Battery
Always disconnect your Jeep’s negative battery terminal before working with electrical parts. This prevents shocks and accidental short circuits.
2. Prepare Your Led Lights
If your LEDs have extra-long wires, trim them to fit your plan. Strip about half an inch of insulation from each wire.
For waterproofing, slide a piece of heat shrink tubing on each wire before connecting.
3. Find The Right 7-pin Wires
Locate your Jeep’s 7-pin connector, usually near the rear bumper or under the tailgate. Use your multimeter to test each pin.
For example, if you want your LEDs to turn on with your running lights, find the pin with 12V power when the lights are on.
Beginner mistake: Trusting wire color alone—always test with a multimeter, since previous owners may have changed wiring.
4. Connect Leds To The Chosen Pins
- Power: Connect the LED’s positive (usually red) wire to the correct pin wire using a crimp connector or by soldering.
- Ground: Connect the LED’s negative (usually black) wire to the ground pin (Pin 1, white wire), or another solid ground on the Jeep’s frame.
If wiring multiple LEDs, use a relay to avoid overloading the connector. The relay lets a low-power circuit control a high-power load safely.
5. Install A Relay And Fuse (if Needed)
For LEDs drawing over 10 amps, always use a relay. Here’s a quick wiring example:
- Pin 30 (relay): Connect to battery positive with a fuse (sized for your lights, usually 15-20A).
- Pin 87: Connect to the LED positive wire.
- Pin 85: Connect to ground.
- Pin 86: Connect to the 7-pin power wire (the one you want to control the LED).
This setup means your LED only draws heavy current from the battery, not through the Jeep’s wiring.
6. Secure And Protect The Wires
Route all wires away from hot engine parts, moving suspension, and sharp metal. Use zip ties and wire loom to keep everything neat.
Cover all connections with heat shrink tubing or electrical tape to block water and dirt.
Extra tip: Leave a small service loop near each connector. This makes it easier to troubleshoot or replace LEDs later.
7. Test Your Work
Reconnect the battery. Flip the switch or activate the circuit (like turning on running lights or shifting to reverse). Check each LED:
- Does it light up as planned?
- Is there flickering or dimming?
- Are any fuses blown?
If something doesn’t work, check all connections and test each circuit with your multimeter.
Example: Wiring Jeep Rock Lights To The 7-pin
Let’s say you want to wire underbody rock lights that turn on with your running lights. Here’s how it works:
- Connect the positive wire of each rock light to the brown wire on the 7-pin connector (Pin 2).
- Connect the negative wire to the white ground wire (Pin 1) or a solid chassis ground.
- Add a fuse (5-10A) in line with the positive wire.
- Test by turning on your running lights—the rock lights should glow.
This method means your rock lights only work when your main lights are on, so you won’t accidentally drain your battery.
Safety Tips And Common Mistakes
Wiring is about more than just making lights turn on. If you rush, you could damage your Jeep’s computer or create a fire risk. Here are mistakes to avoid:
- Skipping fuses. Always use a fuse rated for your lights, close to the power source.
- Poor grounds. A weak ground means flickering or dead LEDs. Always sand paint off and use a strong bolt.
- Loose connections. Crimp tightly, solder if possible, and protect from corrosion.
- Ignoring wire size. Use the right gauge wire—thin wires overheat and can melt.
- Not checking polarity. LEDs only work if positive and negative are correct.
- Mixing up pin functions. Double-check your Jeep’s wiring diagram. Some older models use non-standard pinouts.
Non-obvious insight: If you plan to tow a trailer later, leave enough slack in your wiring and don’t permanently tie up all pin functions with LEDs.
Troubleshooting Guide
If your LEDs don’t work, try these steps:
- No power? Check the fuse and test for voltage at each connection.
- LEDs flicker? Check for a solid ground and tight connections.
- Only some LEDs light up? Test each one separately to find a bad bulb or loose wire.
- Blown fuses? Check for short circuits—maybe a wire is touching the frame.
Sometimes, the issue is as simple as a missed connection or a bad crimp. Go slowly, and don’t be afraid to redo a connection for safety.
Upgrades And Advanced Options
Once your basic LEDs are working, you can add smart features:
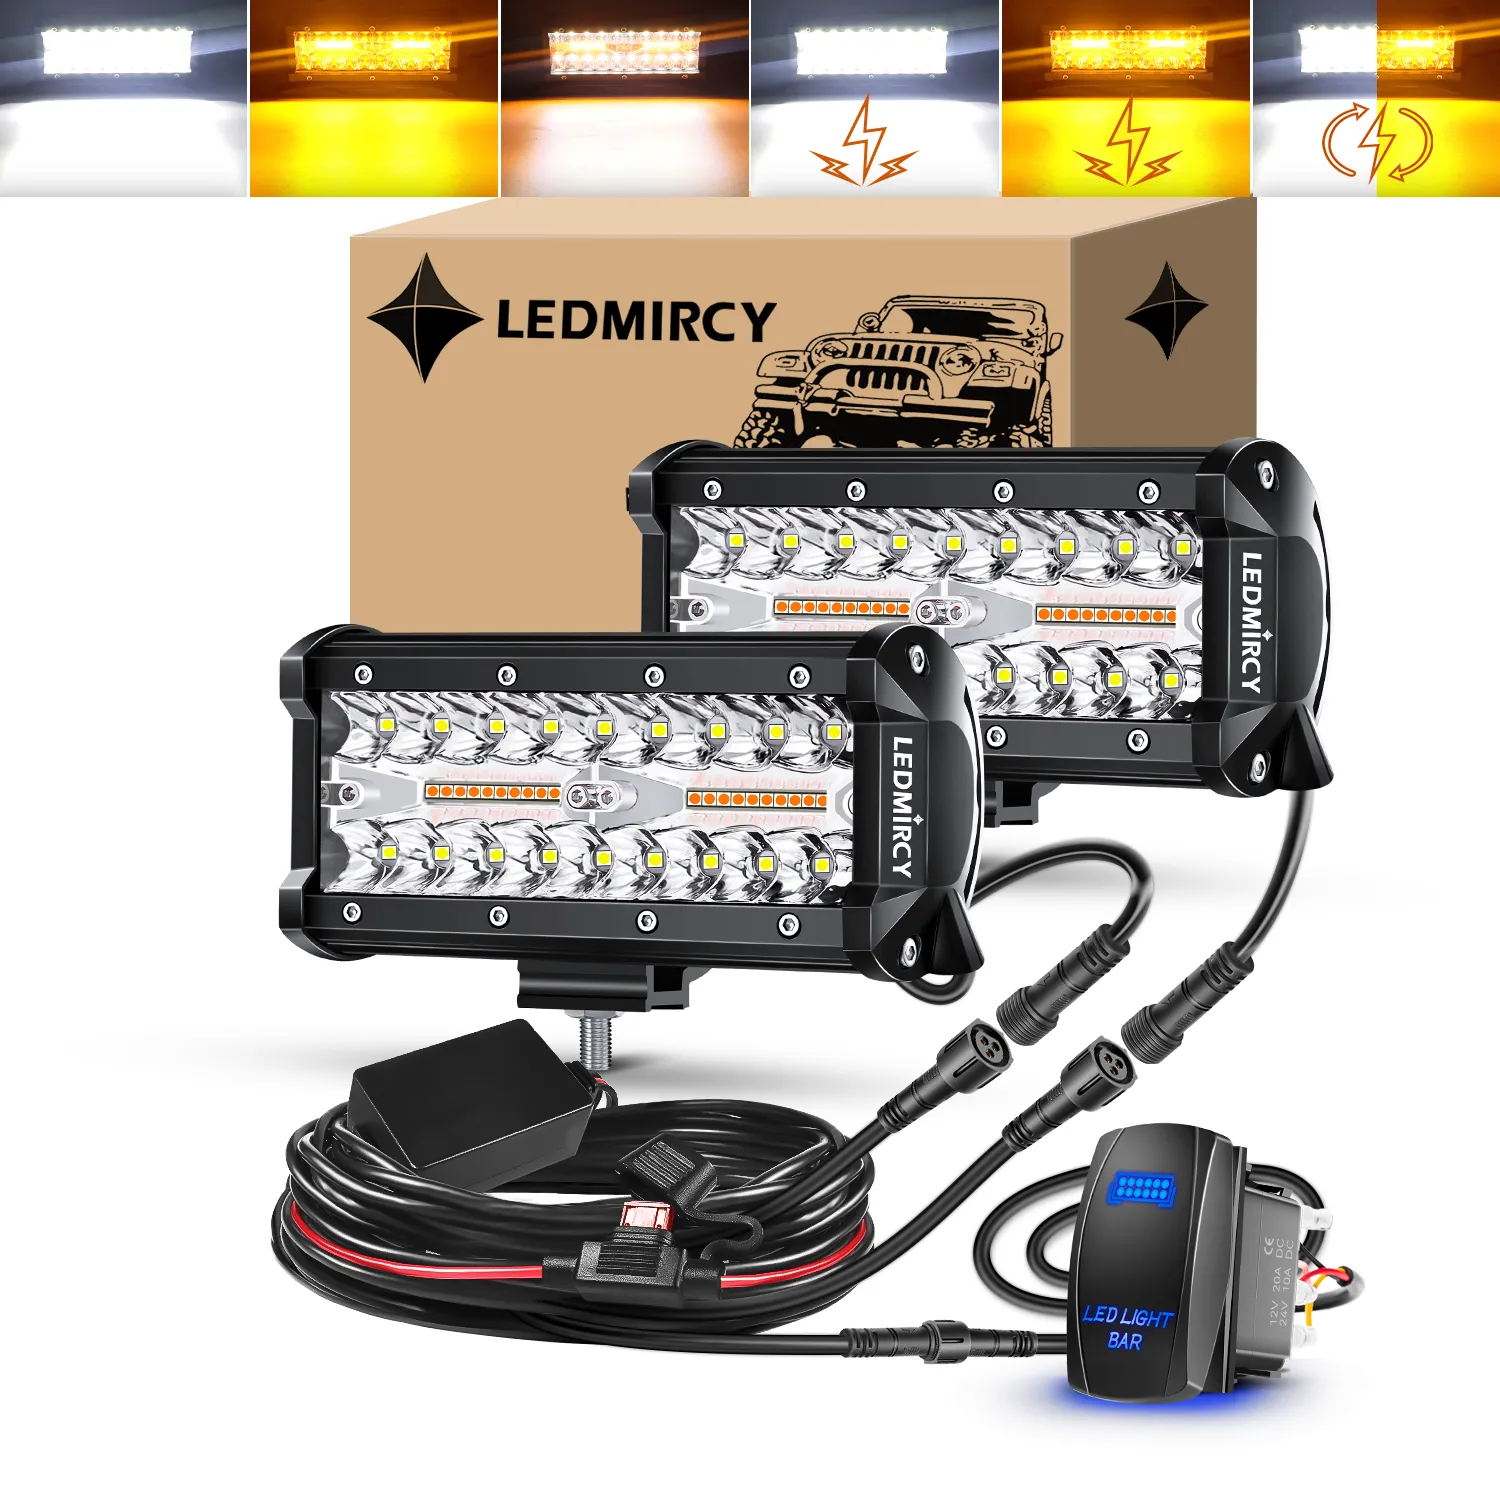
- Wireless controllers let you change colors or brightness from your phone.
- Extra relays and switches allow custom lighting setups.
- Waterproof connectors make your setup ready for deep water or mud.
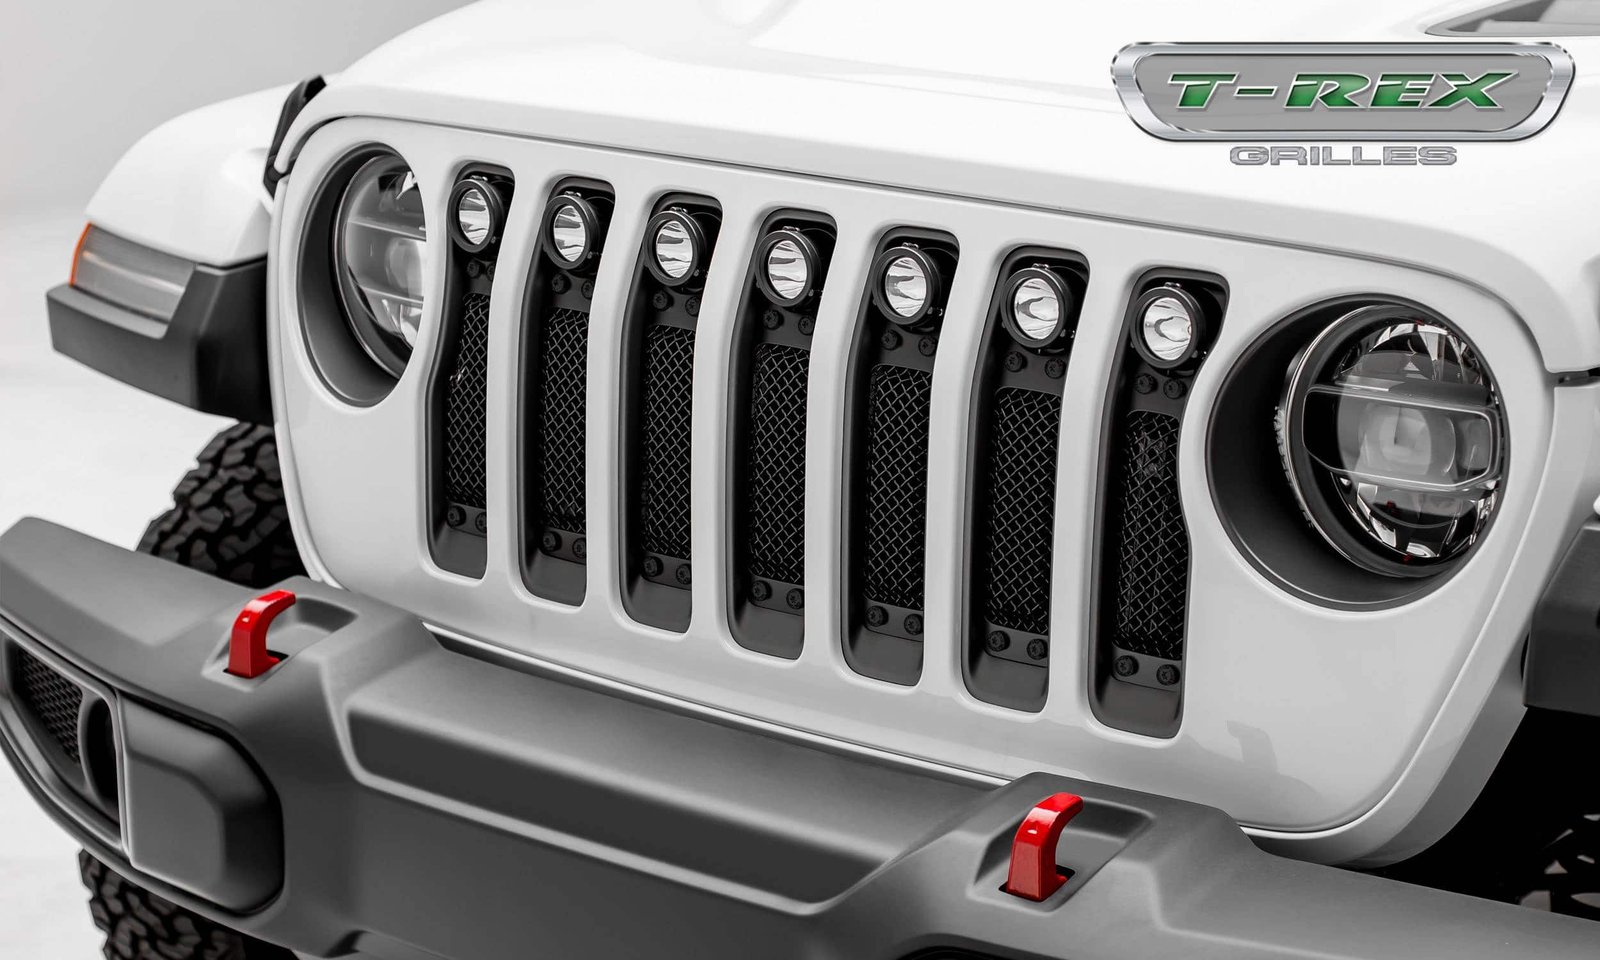
If you want even more control, consider adding a dedicated switch panel inside your Jeep. This lets you turn each LED circuit on or off without touching the factory wiring.
Cost And Time Estimate
Wiring LED lights to a Jeep’s 7-pin connector is affordable, especially if you do it yourself. Here’s a rough breakdown:
| Item | Average Cost (USD) | Time Required |
|---|---|---|
| LED Light Kit | 50 – 150 | 30 min – 2 hrs |
| Wiring Supplies | 20 – 40 | 15 – 30 min |
| Relay & Fuse | 15 – 30 | 15 – 30 min |
| 7-Pin Connector | 10 – 25 | 15 – 30 min |
| Total | 95 – 245 | 1 – 3 hrs |
Most DIYers finish this project in a weekend afternoon.
Final Thoughts
Wiring LED lights on a Jeep to a 7-pin connector can seem overwhelming, but with a little planning and patience, it’s a project almost anyone can handle. You’ll improve your Jeep’s visibility, safety, and style all while learning valuable skills.
Remember to measure twice, connect once, and always use proper safety tools and methods.
If you get stuck, ask for help on Jeep forums or from a professional. Well-wired LEDs last for years and make every night drive an adventure.
For more information about Jeep wiring standards, you can check the Wikipedia Trailer Connector Guide.
Frequently Asked Questions
How Do I Know Which Pin Does What On My Jeep’s 7-pin Connector?
Most Jeeps use the standard RV 7-pin wiring, but always check your manual or test with a multimeter. The pin layout is often stamped on the connector cover.
Can I Wire Multiple Led Lights To One Pin?
Yes, but make sure the total current draw does not exceed the pin’s rating (usually 15 amps). Use a relay for heavy loads and add up the amps for each LED.
Do I Need A Relay For Small Led Lights?
If your lights draw less than 5 amps each, you can wire directly. For larger light bars or more than two small LEDs, a relay protects your Jeep’s wiring.
What Gauge Wire Should I Use?
For most LED projects, 16-gauge wire is enough. For longer runs or high-power LEDs, use 14-gauge or thicker to prevent voltage drop and overheating.
Will This Affect My Jeep’s Warranty?
Simple plug-and-play wiring usually does not void your warranty. However, cutting factory wires or overloading circuits may cause problems.
Always keep receipts and photos of your work for reference.


















