Wiring extra lights on your 2019 Jeep JL is more than just a cool upgrade it’s about safety, style, and functionality. Whether you’re planning night off-road adventures or need better visibility on dark roads, installing auxiliary lights is a practical project.
Many Jeep owners think wiring is too difficult or risky, but with the right steps and knowledge, you can do it safely and confidently. This guide explains how to wire extra lights on your Jeep JL, using clear language and practical advice.
You’ll learn how to select the right lights, prepare your Jeep, connect everything, and avoid common mistakes. By the end, you’ll be ready to tackle this project yourself.
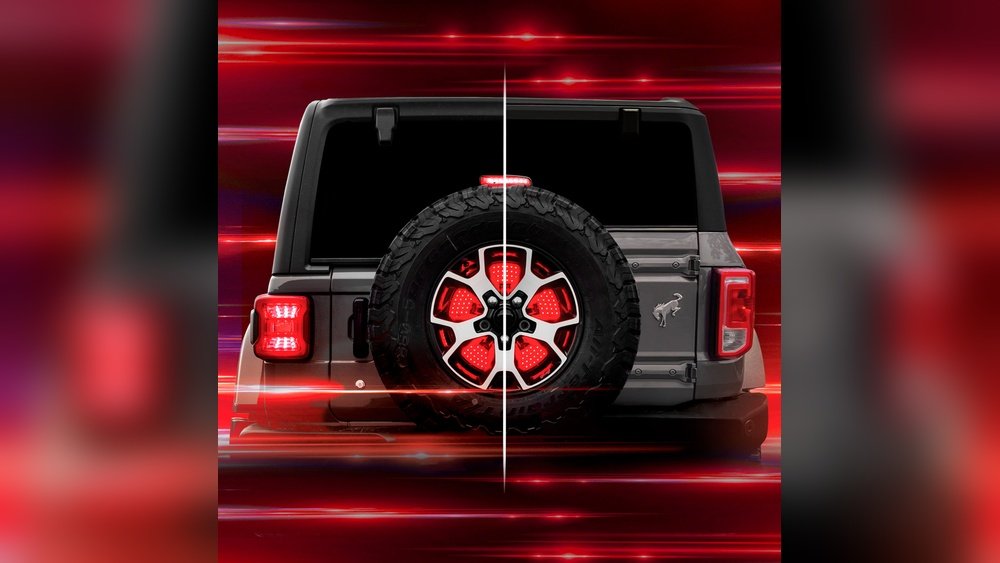
Understanding Jeep Jl Electrical Basics
Before you start, you need to understand the electrical system in your Jeep JL. The 2019 Jeep JL uses a modern, computer-controlled system called CAN bus. It manages power to lights, sensors, and accessories. If you wire extra lights incorrectly, you may trigger error codes or damage components.
Jeep JL’s battery is 12 volts, and the alternator provides power while the engine runs. Factory wiring uses relays and fuses to prevent overloads.
When adding lights, you must avoid overloading circuits and interfering with the CAN bus. This is why direct connections to the battery, and using relays, are essential.
Choosing The Right Extra Lights
Not all lights are the same. You must select lights that fit your needs and Jeep’s capabilities.
- LED vs Halogen: LED lights use less power and last longer. Halogen lights are cheaper but draw more current and get hotter.
- Spot vs Flood: Spot lights shine far ahead, good for highways. Flood lights spread light wide, perfect for off-road trails.
- Legal Considerations: Some states limit the number or placement of extra lights. Check your local laws before installing.
- Size and Mounting: Make sure the lights fit your mounting points—bumper, roof, or A-pillar.
The most popular choice for Jeep JL owners is LED pod lights or light bars. A typical pair draws 40–100 watts, so your wiring must handle this load.
Tools And Materials Needed
You’ll need a few basic tools and supplies:
- Wire harness with relay and fuse
- Electrical wire (14–16 AWG, rated for automotive use)
- Crimp connectors
- Switch (preferably waterproof)
- Mounting brackets
- Drill and drill bits
- Wire strippers and cutters
- Heat shrink tubing or electrical tape
- Zip ties
Buying a pre-made harness simplifies the process. It usually includes a relay, fuse, and connectors for two lights.
Planning The Wiring Route
Before drilling or connecting, plan your wiring route. This prevents mistakes and keeps your Jeep tidy.
- Map the path from the battery to the lights.
- Avoid hot areas, moving parts, and sharp edges.
- Route wires along the firewall, under trim, or through factory grommets.
- Leave slack for movement but avoid loose, dangling wires.
Many beginners miss the importance of planning. Poor wire routing leads to damage, electrical shorts, or ugly installations.
Step-by-step Wiring Guide
Follow these steps for a safe and reliable installation:
1. Disconnect The Battery
Always start by disconnecting the negative battery terminal. This protects you and the Jeep’s electronics.
2. Mount The Lights
Attach your lights to the desired location: bumper, roof, or pillars. Use brackets and hardware provided. Make sure they are secure and aimed correctly.
3. Install The Relay And Fuse
Mount the relay near the battery but away from direct heat. The fuse should be as close to the battery as possible.
This protects the wiring in case of a short.
4. Run The Power Wire
Connect the power wire from the relay to the battery’s positive terminal. Use a ring connector and tighten securely. Insert the fuse in the holder.
5. Ground The System
Connect the ground wire to a clean, bare metal surface on the chassis. Avoid painted or rusty areas. This ensures proper electrical flow.
6. Connect The Switch
Route the switch wire through the firewall. Use a factory grommet if possible never drill unless necessary.
Mount the switch inside the cabin, within easy reach.
7. Wire The Lights
Run wires from the relay to each light. Use crimp connectors or solder for strong connections.
Cover all exposed wires with heat shrink or tape.
8. Test The System
Reconnect the battery. Turn on the switch and check that the lights work.
If they flicker or don’t turn on, double-check all connections.
9. Secure The Wires
Use zip ties to keep wires neat. Avoid tight bends and leave enough slack for vibration or movement.
Many beginners skip the final step. Loose wires can catch on moving parts or rub against sharp edges, leading to shorts.
Common Mistakes And How To Avoid Them
Mistakes can damage your Jeep or make your lights unreliable. Here are some things to watch out for:
- Using Too Thin Wire: Thin wire overheats and fails. Always use 14–16 AWG for most LED lights.
- Wrong Fuse Size: If the fuse is too big, it won’t protect the circuit. Too small, and it blows too easily. Calculate fuse size by adding up the wattage of your lights.
- Skipping Relays: Relays prevent high current from running through the switch. Without one, switches melt or fail.
- Poor Grounds: Bad ground connections cause flickering or weak lights. Clean the area and use star washers for better contact.
- Drilling Through Wires: Plan your route carefully. Never drill without checking for wires or hoses behind panels.
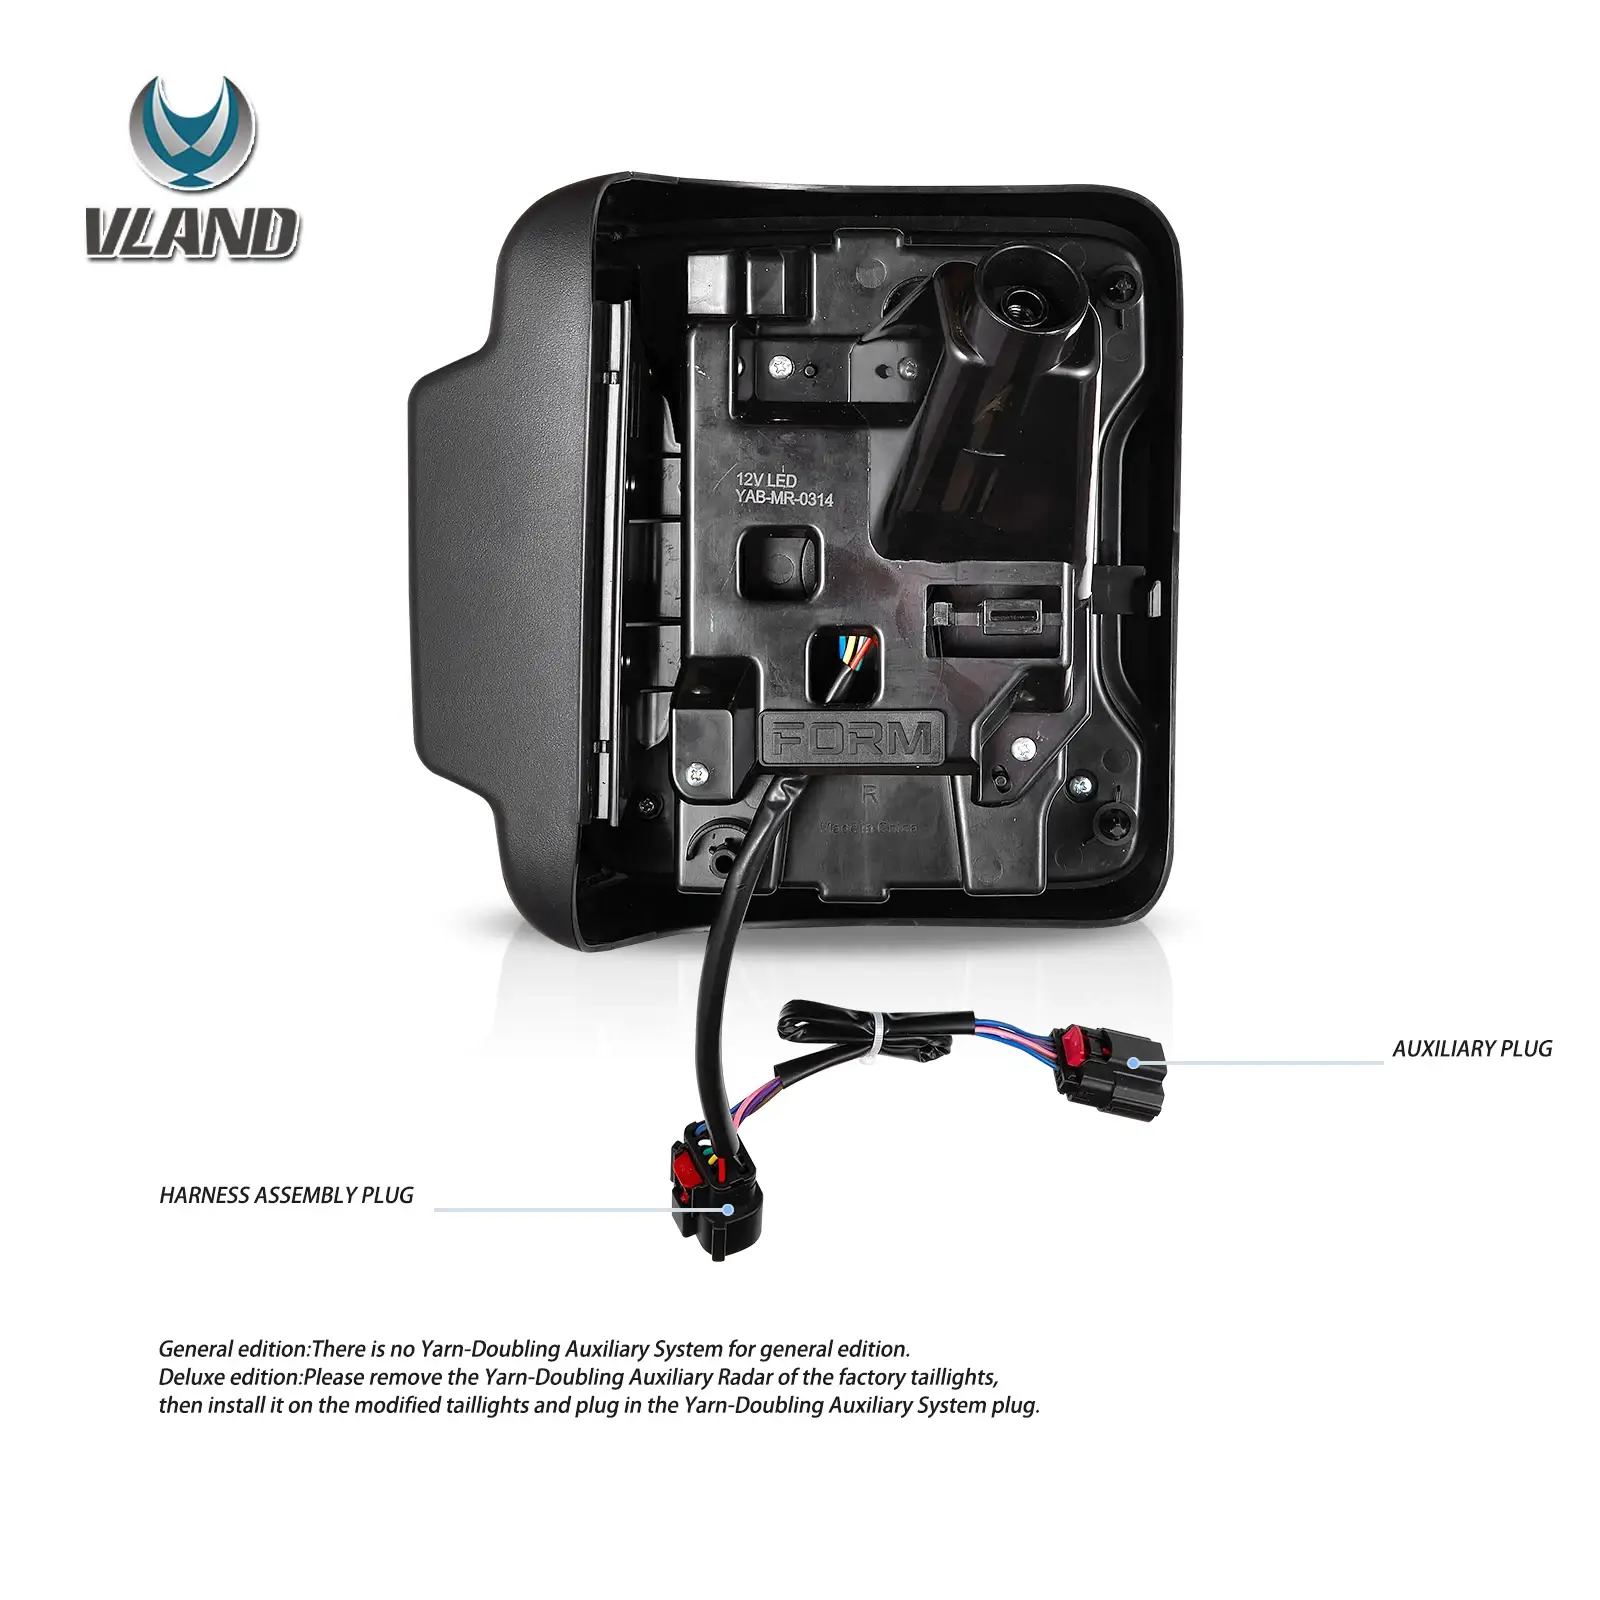
Jeep Jl Vs Other Jeep Models: Wiring Differences
Many Jeep owners upgrade from older models. The 2019 Jeep JL uses a more complex CAN bus system than earlier Wranglers. This affects wiring in several ways:
| Model | Electrical System | Relay Needed? | Fuse Placement |
|---|---|---|---|
| Jeep JL (2018–2024) | CAN bus, high sensitivity | Always | Near battery |
| Jeep JK (2007–2017) | Traditional wiring | Recommended | Flexible |
| Jeep TJ (1997–2006) | Basic wiring | Optional | Flexible |
JL’s system is more sensitive. Avoid connecting new lights to factory circuits directly. Always use a dedicated harness.
Comparing Light Types For Jeep Jl
Choosing the right light type depends on your needs. Here’s a quick comparison:
| Type | Power Draw | Brightness (Lumens) | Typical Use |
|---|---|---|---|
| LED Pods | 40–80W | 3,000–6,000 | Off-road, daily driving |
| Light Bars | 80–180W | 10,000–24,000 | Off-road, high-speed |
| Halogen | 55–110W | 1,500–3,000 | Budget, classic look |
LEDs are the best choice for most Jeep JL owners: they’re bright, efficient, and last longer.
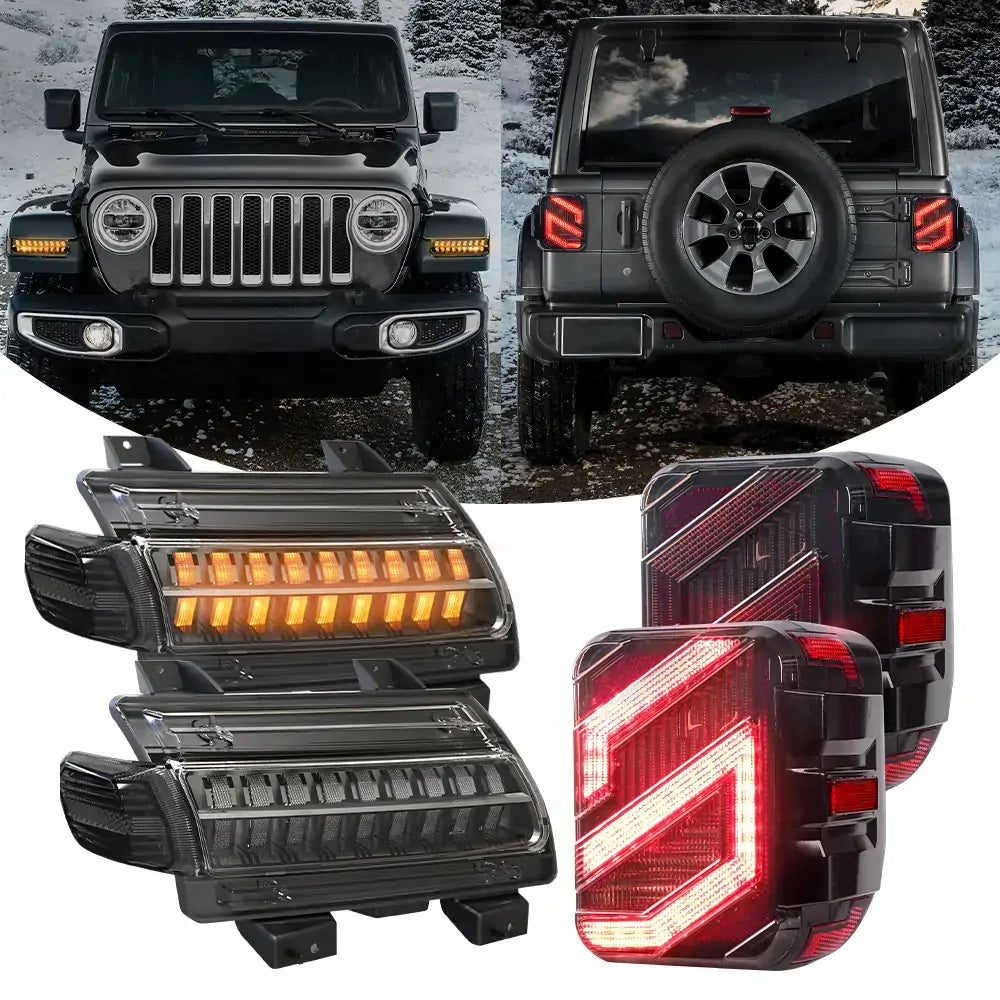
Real-world Example: Installing 2 Led Pods
Let’s see a practical example. Suppose you want to install two 40W LED pods on your bumper.
- Total power draw: 80W
- Required fuse: 10A (80W ÷ 12V = 6.7A; always round up)
- Wire size: 14 AWG
- Relay: 12V, 30A rating
- Mounting: Factory holes on bumper
This setup keeps your wiring safe and avoids CAN bus issues. Many beginners forget to size their fuse correctly.
If you use a 5A fuse, it will blow; a 20A fuse is too big and won’t protect the circuit.
Practical Tips For A Successful Installation
Here are two insights most beginners miss:
- Use dielectric grease on connectors. This prevents corrosion and keeps water out.
- Label your wires with tags or colored tape. If you add more accessories later, you’ll know what each wire does.
Also, consider weatherproofing your lights and switches. Jeep JL’s interior is designed for water resistance, but aftermarket parts can let in moisture.
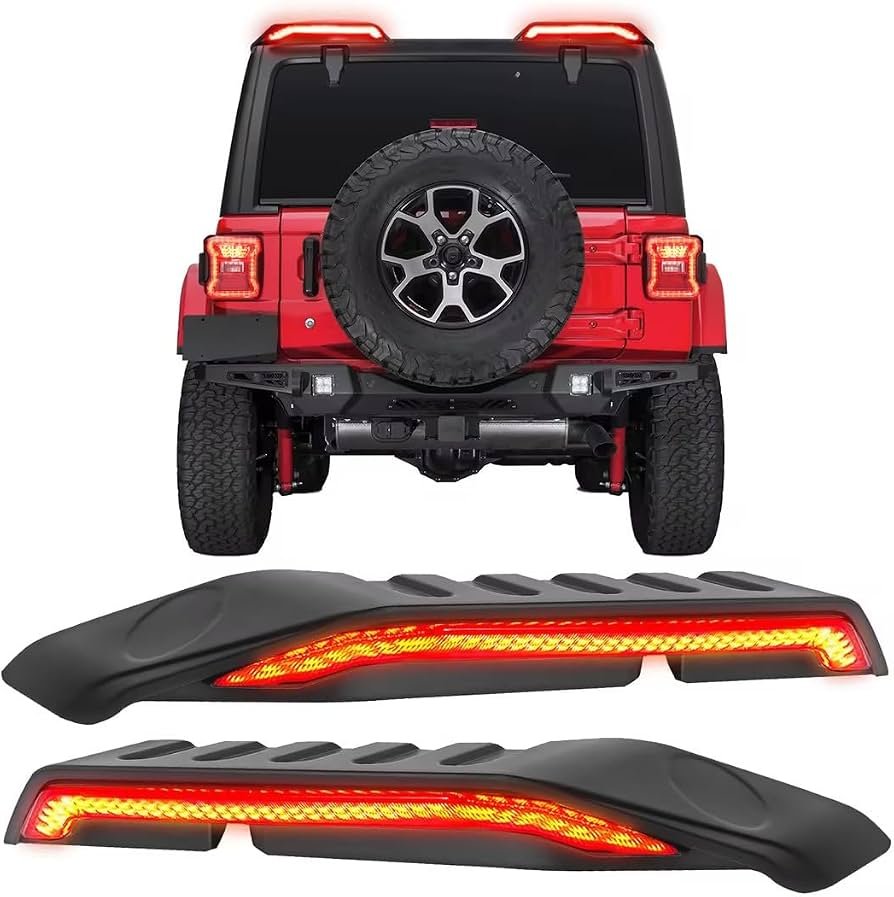
Troubleshooting: What To Do If Your Lights Don’t Work
If your lights don’t turn on, check these areas first:
- Battery Connection: Is the wire tight and clean?
- Fuse: Is it blown? Replace if necessary.
- Relay: Listen for a click when you flip the switch. No click means faulty relay.
- Ground: Is the connection to metal clean and tight?
- Switch: Is it wired correctly? Test with a multimeter.
Most problems are caused by poor connections or incorrect wire routing. Take your time and double-check each step.
Safety Precautions
Electrical work can be dangerous if not done carefully. Always:
- Wear safety glasses when drilling or working near the battery.
- Disconnect the battery before starting.
- Use insulated tools.
- Avoid working in wet conditions.
If you’re unsure, ask a professional or check official Jeep forums and manuals.
Maintenance After Installing Lights
Once your lights are installed, regular checks keep them working:
- Inspect wires for wear or damage every few months.
- Clean connectors and use dielectric grease.
- Make sure mounting brackets are tight.
- Check for water in the light housing after heavy rain.
Proper maintenance prevents problems and extends the life of your upgrade.
Frequently Asked Questions
How Many Extra Lights Can I Safely Add To My Jeep Jl?
You can add several lights, but the total power draw should not exceed what your battery and alternator can supply. For most setups, 2 4 LED pods or one light bar is safe.
Always check the wattage and use the correct wire and fuse.
Do I Need To Use A Relay For Extra Lights?
Yes, a relay is essential. It allows a small switch to control high-power lights safely.
Without a relay, the switch may fail or melt.
Will Adding Extra Lights Void My Jeep’s Warranty?
Adding extra lights does not usually void the warranty, but improper wiring can cause electrical problems that may not be covered. Always use a separate harness and avoid tapping into factory circuits.
Can I Use The Factory Auxiliary Switches On My Jeep Jl?
If your Jeep JL has factory auxiliary switches, you can use them. However, you still need to use a relay and fuse to protect your lights and wiring.
Where Can I Find Detailed Wiring Diagrams For My Jeep Jl?
Detailed diagrams are available in the Jeep JL service manual or on trusted forums. For more info, see Jeep Official Resources.
Wiring extra lights on your Jeep JL isn’t just for looks it’s a practical upgrade that improves safety and makes your adventures more fun. With careful planning, the right tools, and attention to detail, you can complete the project confidently.
Always follow safety steps and use quality materials.
In the end, you’ll enjoy better visibility and a more capable Jeep, ready for any trail or road you explore.


















