Wiring a light bar on your Jeep can make night driving, off-roading, and camping much safer and more enjoyable. A light bar adds serious brightness to the front of your vehicle, helping you see obstacles, trails, and wildlife in low-light conditions.
But installing one isn’t just a matter of bolting it on it also means connecting it safely to your Jeep’s electrical system. Many first-timers worry about cutting the wrong wire or blowing a fuse.
Luckily, with a bit of patience and the right tools, you can do this job yourself and save money on labor.
Below, you’ll find a step-by-step guide to wiring a light bar on a Jeep, plus practical tips, common mistakes, and answers to questions beginners often ask.
Whether you own a Wrangler, Gladiator, Cherokee, or any Jeep model, these steps will help you get bright, reliable lighting without headaches or electrical mishaps.
Why Add A Light Bar To Your Jeep?
A light bar is more than just an accessory—it can be a lifesaver on dark trails. Here’s why many Jeep owners choose to install one:
- Improved visibility: A powerful light bar can turn night into day, making it easier to spot rocks, animals, and mud holes.
- Safer off-roading: Extra light helps you avoid accidents or getting stuck.
- Versatile use: Great for camping, working at night, or emergencies.
- Style points: Many Jeep owners love the rugged look a light bar adds.
But to enjoy these benefits, you need to wire it correctly. Doing it wrong can lead to electrical failures, blown fuses, or even fire risks.
What You Need: Tools And Materials
Before starting, gather all the necessary tools and materials. Skipping one can slow you down or cause mistakes. Here’s what you’ll need:
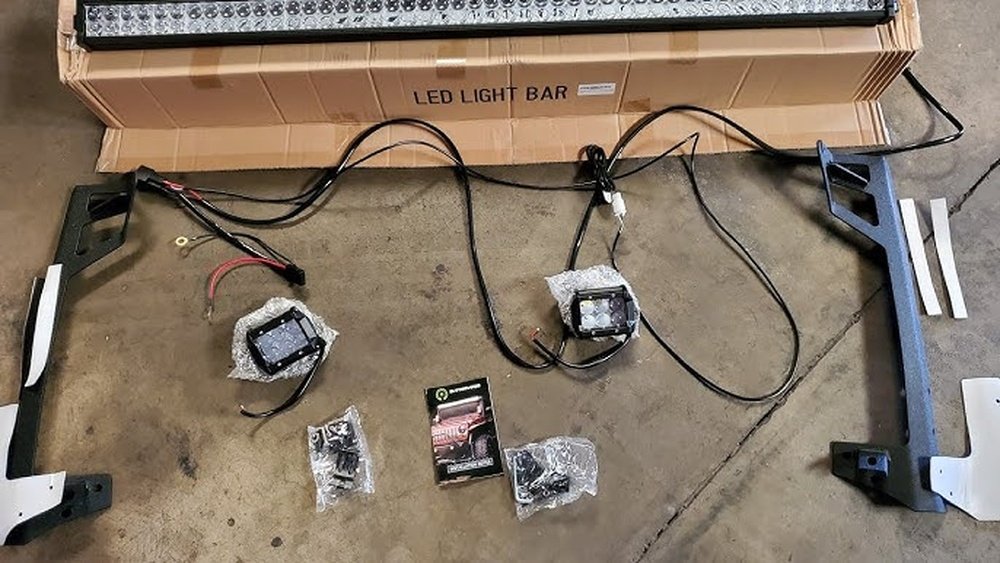
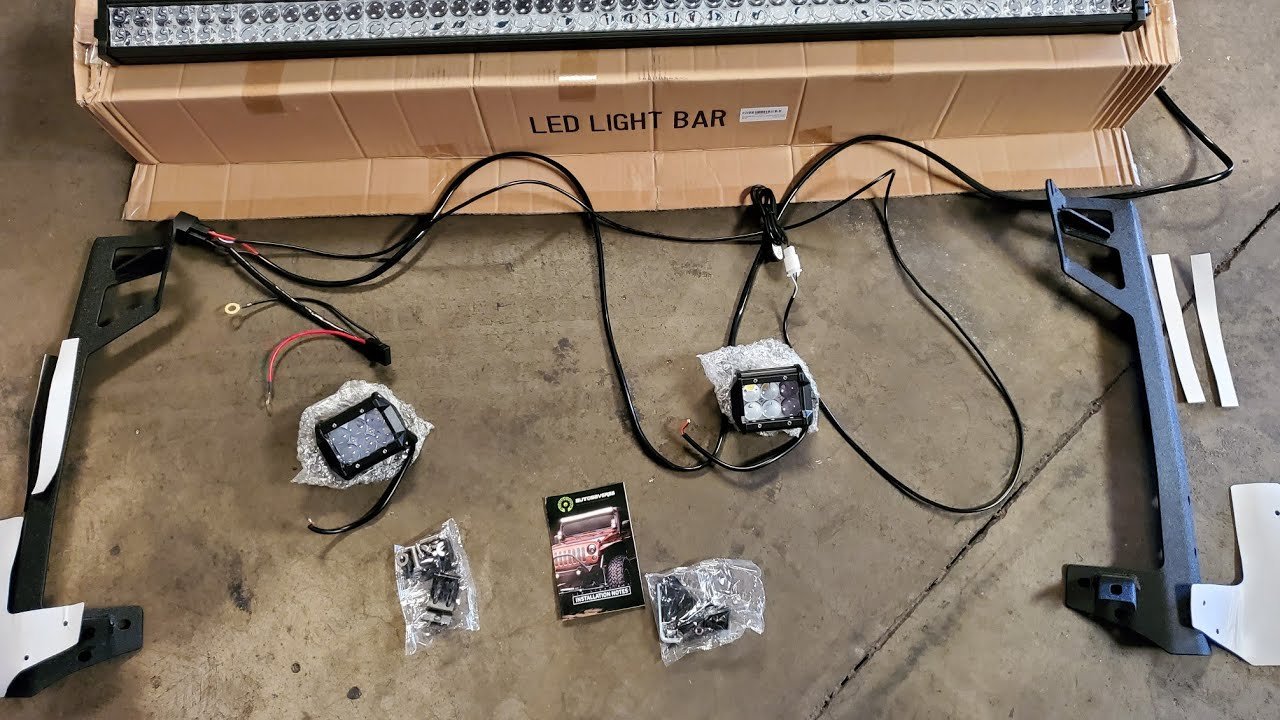
- Light bar (with mounting hardware)
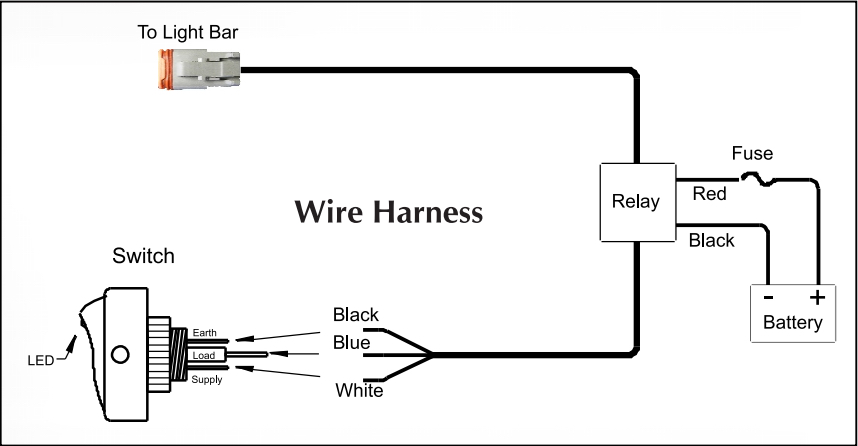
- Wiring harness (usually includes relay, switch, fuse)
- Electrical tape
- Wire strippers/cutters
- Crimping tool and connectors
- Zip ties
- Drill (may be needed for mounting)
- Wrenches/screwdrivers (for brackets)
- Multimeter (for testing voltage)
- Safety gloves and glasses
Pro tip: Buy a light bar kit that includes a wiring harness designed for your Jeep’s voltage and current. This prevents overloads and makes installation easier.
Choosing The Right Light Bar And Wiring Harness
Not all light bars are created equal. Here’s how to pick the right one for your Jeep:
| Feature | What to Look For | Why It Matters |
|---|---|---|
| Size (inches) | Matches your Jeep’s mounting space | Ensures proper fit and looks clean |
| Lumens | 8,000–20,000+ | Brighter lights for off-road use |
| Beam pattern | Spot, flood, or combo | Spot for distance, flood for width |
| Wiring harness | Includes relay, fuse, switch | Prevents electrical problems |
| Waterproof rating | IP67 or higher | Handles rain and mud |
Many beginners forget about the relay. This small device protects your Jeep’s wiring by handling the high current of the light bar without overloading the factory switch. Don’t skip it.
Step-by-step Guide: Wiring A Light Bar On A Jeep
The process can look intimidating, but breaking it into clear steps makes it manageable. Take your time, double-check each connection, and you’ll avoid common mistakes.
1. Plan Your Installation
Before touching any wires, decide where you’ll mount the light bar (roof, bumper, or grille). Check that the wiring harness is long enough to reach your battery and switch location. Measure twice to avoid surprises.
2. Disconnect The Battery
Always disconnect the negative battery terminal before working on your Jeep’s electrical system. This simple step prevents shocks, shorts, and accidental airbag deployment.
3. Mount The Light Bar
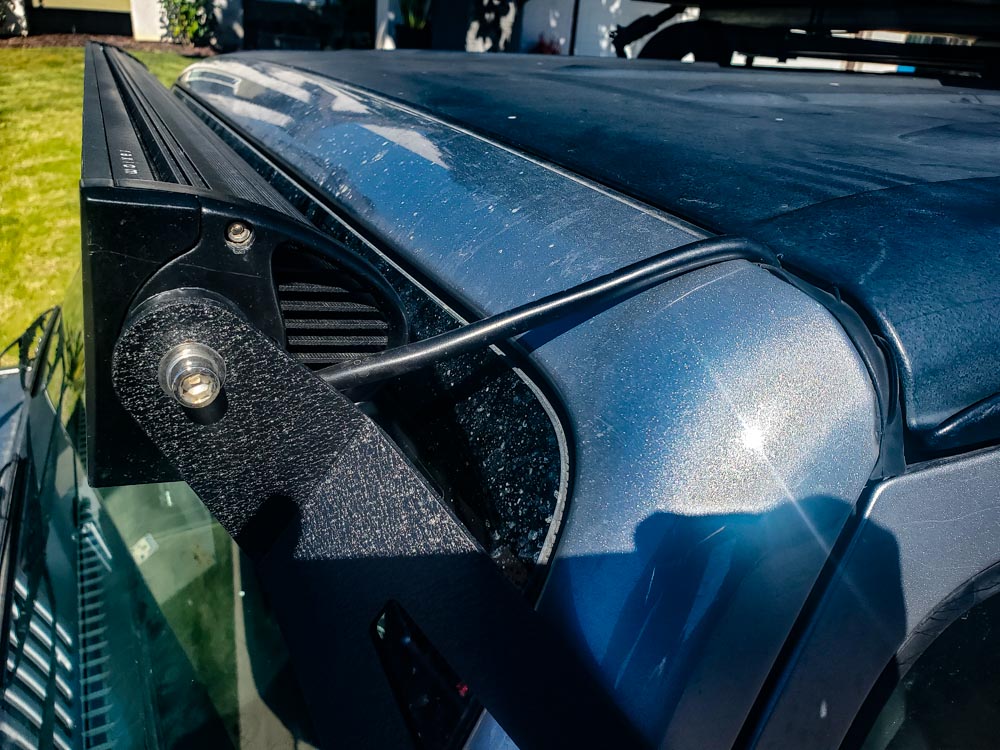
Attach the light bar using the included brackets and hardware. Make sure it’s secure, straight, and aimed where you want the extra light.
Tighten all bolts, but avoid over-tightening to prevent cracking the housing.
Tip: If drilling is needed, double-check for wires or hoses behind the surface.
4. Route The Wiring Harness
Lay out the wiring harness from the light bar to the battery and switch location. Run wires along existing factory wiring when possible. Use zip ties to keep everything tidy and away from hot or moving parts like the engine or fan.
Avoid sharp bends or tight corners, which can damage wires over time.
5. Connect The Light Bar
Plug the harness’s output connector into the light bar. If your light bar doesn’t have a matching plug, use crimp connectors or solder the wires, then seal with electrical tape or heat shrink tubing to keep out water.
6. Connect The Relay And Fuse
Mount the relay in a safe, dry spot (often near the battery). Secure the included fuse holder within easy reach, so you can replace the fuse later if needed.
Insight: Many new installers forget to mount the fuse holder close to the battery. This leaves the rest of the wiring unprotected. Always install the fuse as close to the battery as possible.
7. Connect To The Battery
Attach the harness’s positive (red) wire to the battery’s positive terminal and the negative (black) wire to the negative terminal or a solid ground point on the chassis. Use a wrench to tighten connections.
8. Wire The Switch
Most harnesses include a switch. Route the switch wire into the Jeep’s cabin, avoiding sharp edges or hot areas.
Mount the switch where it’s easy to reach many people use the dashboard or center console.
Drill a small hole if necessary. Snap the switch into place.
Double-check that the wiring matches the manufacturer’s instructions.
Example: If using a rocker switch, connect the power, ground, and relay trigger wires as marked.
9. Test The System
Reconnect the battery, turn on the ignition, and try the switch. The light bar should turn on and off smoothly, with no flickering. If it doesn’t work:
- Check the fuse (replace if blown)
- Use a multimeter to verify voltage at each connection
- Double-check all grounds
Never skip this test before closing up the wiring.
10. Secure And Finish
Once everything works, use zip ties to secure the harness out of sight and away from heat. Reinstall any panels or covers you removed.
Make sure no wires dangle or touch sharp edges.
Pro insight: Some Jeep owners add extra waterproofing by wrapping connections with extra tape or heat shrink tubing, especially if you drive in wet or muddy areas.
Common Mistakes (and How To Avoid Them)
Even careful installers can make errors. Watch for these issues:
| Mistake | What Happens | How to Prevent |
|---|---|---|
| No relay used | Burnt wires, switch failure | Always use a relay for high-power lights |
| Poor ground connection | Light flickers or won’t turn on | Sand paint off ground point, tighten connection |
| Fuse far from battery | Wiring unprotected from shorts | Install fuse holder next to battery terminal |
| Wires near hot parts | Melted insulation, shorts | Route harness away from engine and exhaust |
| Loose mounting bolts | Light bar rattles or falls off | Double-check all hardware after test drive |
Practical Tips For A Cleaner, Safer Install
- Label your wires as you go. This helps if you need to troubleshoot later.
- Use heat shrink tubing on all exposed connections for better waterproofing.
- Test the light bar before fully mounting, so you don’t need to remove hardware if something’s wrong.
- If running wires through the firewall, use a rubber grommet to avoid cutting into the insulation.
- Don’t mix wire sizes—always use the gauge recommended in your harness kit.
Non-obvious insight: Choose a spot for your switch that’s easy to reach at night without taking your eyes off the road. Some people install two switches—one for main use, one as a backup—especially for longer trips.
Should You Use A Factory Switch Or Aftermarket One?
Many Jeep owners wonder if they should wire the light bar to a factory auxiliary switch (if their Jeep has one) or use the included aftermarket switch. Here’s a quick comparison:
| Switch Type | Pros | Cons |
|---|---|---|
| Factory Auxiliary Switch | Looks OEM, easy to reach, may be pre-wired | Not all Jeeps have them, may need programming |
| Aftermarket Switch (included) | Simple to install, included with harness | May look less clean, extra drilling needed |
Pro tip: If your Jeep has factory auxiliary switches, use them—they’re designed for this purpose and are safer for high-current accessories.
Legal Considerations And Safety
Light bars are powerful, but in many states, it’s illegal to use them on public roads except in off-road conditions. Always check local laws before using your light bar on the street.
When not in use, keep the light bar off or covered to avoid tickets.
Also, make sure your installation doesn’t block airbag sensors or other safety equipment.
For a deeper look at off-road lighting laws, check the guide from SEMA.
Maintenance And Troubleshooting
A light bar requires little maintenance, but periodic checks keep it running:
- Inspect wiring for cracks, wear, or loose zip ties every few months.
- Clean the lens with mild soap and water—avoid harsh chemicals.
- Check mounting bolts after rough trails or car washes.
- Replace the fuse if the light stops working—never bypass the fuse.
- Listen for rattling, which could mean a loose bracket.
If your light bar flickers or fails, most issues trace back to a poor ground or blown fuse. Use a multimeter to test voltage at the light bar and relay.
Advanced insight: Some Jeep owners add a small LED indicator to the dash, so they know when the light bar is on—even if the switch is hidden.
Frequently Asked Questions
Can I Wire Multiple Light Bars To One Switch?
Yes, but only if the total current doesn’t exceed the switch, relay, and fuse ratings. For more than one light bar, use a relay rated for the combined amperage and a heavier gauge wire.
Do I Need To Drill Holes In My Jeep To Install A Light Bar?
Not always. Many light bar brackets use existing factory holes or mount to roof rails.
However, for some installations, drilling may be required for the cleanest look or firmest fit.
How Do I Know What Size Fuse To Use?
Check your light bar’s wattage and divide by voltage (usually 12V) to get the amperage. Add 25% for safety, and use the nearest larger fuse.
For example, a 120W light bar uses 10A (120/12), so use a 15A fuse.
Can I Wire A Light Bar Without A Relay?
It’s not recommended. The relay protects your Jeep’s wiring and switch from high current.
Skipping the relay can lead to melted wires or fire.
Will Installing A Light Bar Void My Jeep’s Warranty?
Usually, adding a light bar doesn’t void your warranty if installed properly. However, damage caused by incorrect wiring may not be covered.
Always follow manufacturer guidelines and keep your installation neat.
Wiring a light bar on your Jeep is a satisfying project that boosts both style and safety. With careful planning, the right tools, and attention to detail, you’ll enjoy bright, reliable lighting for every adventure day or night.