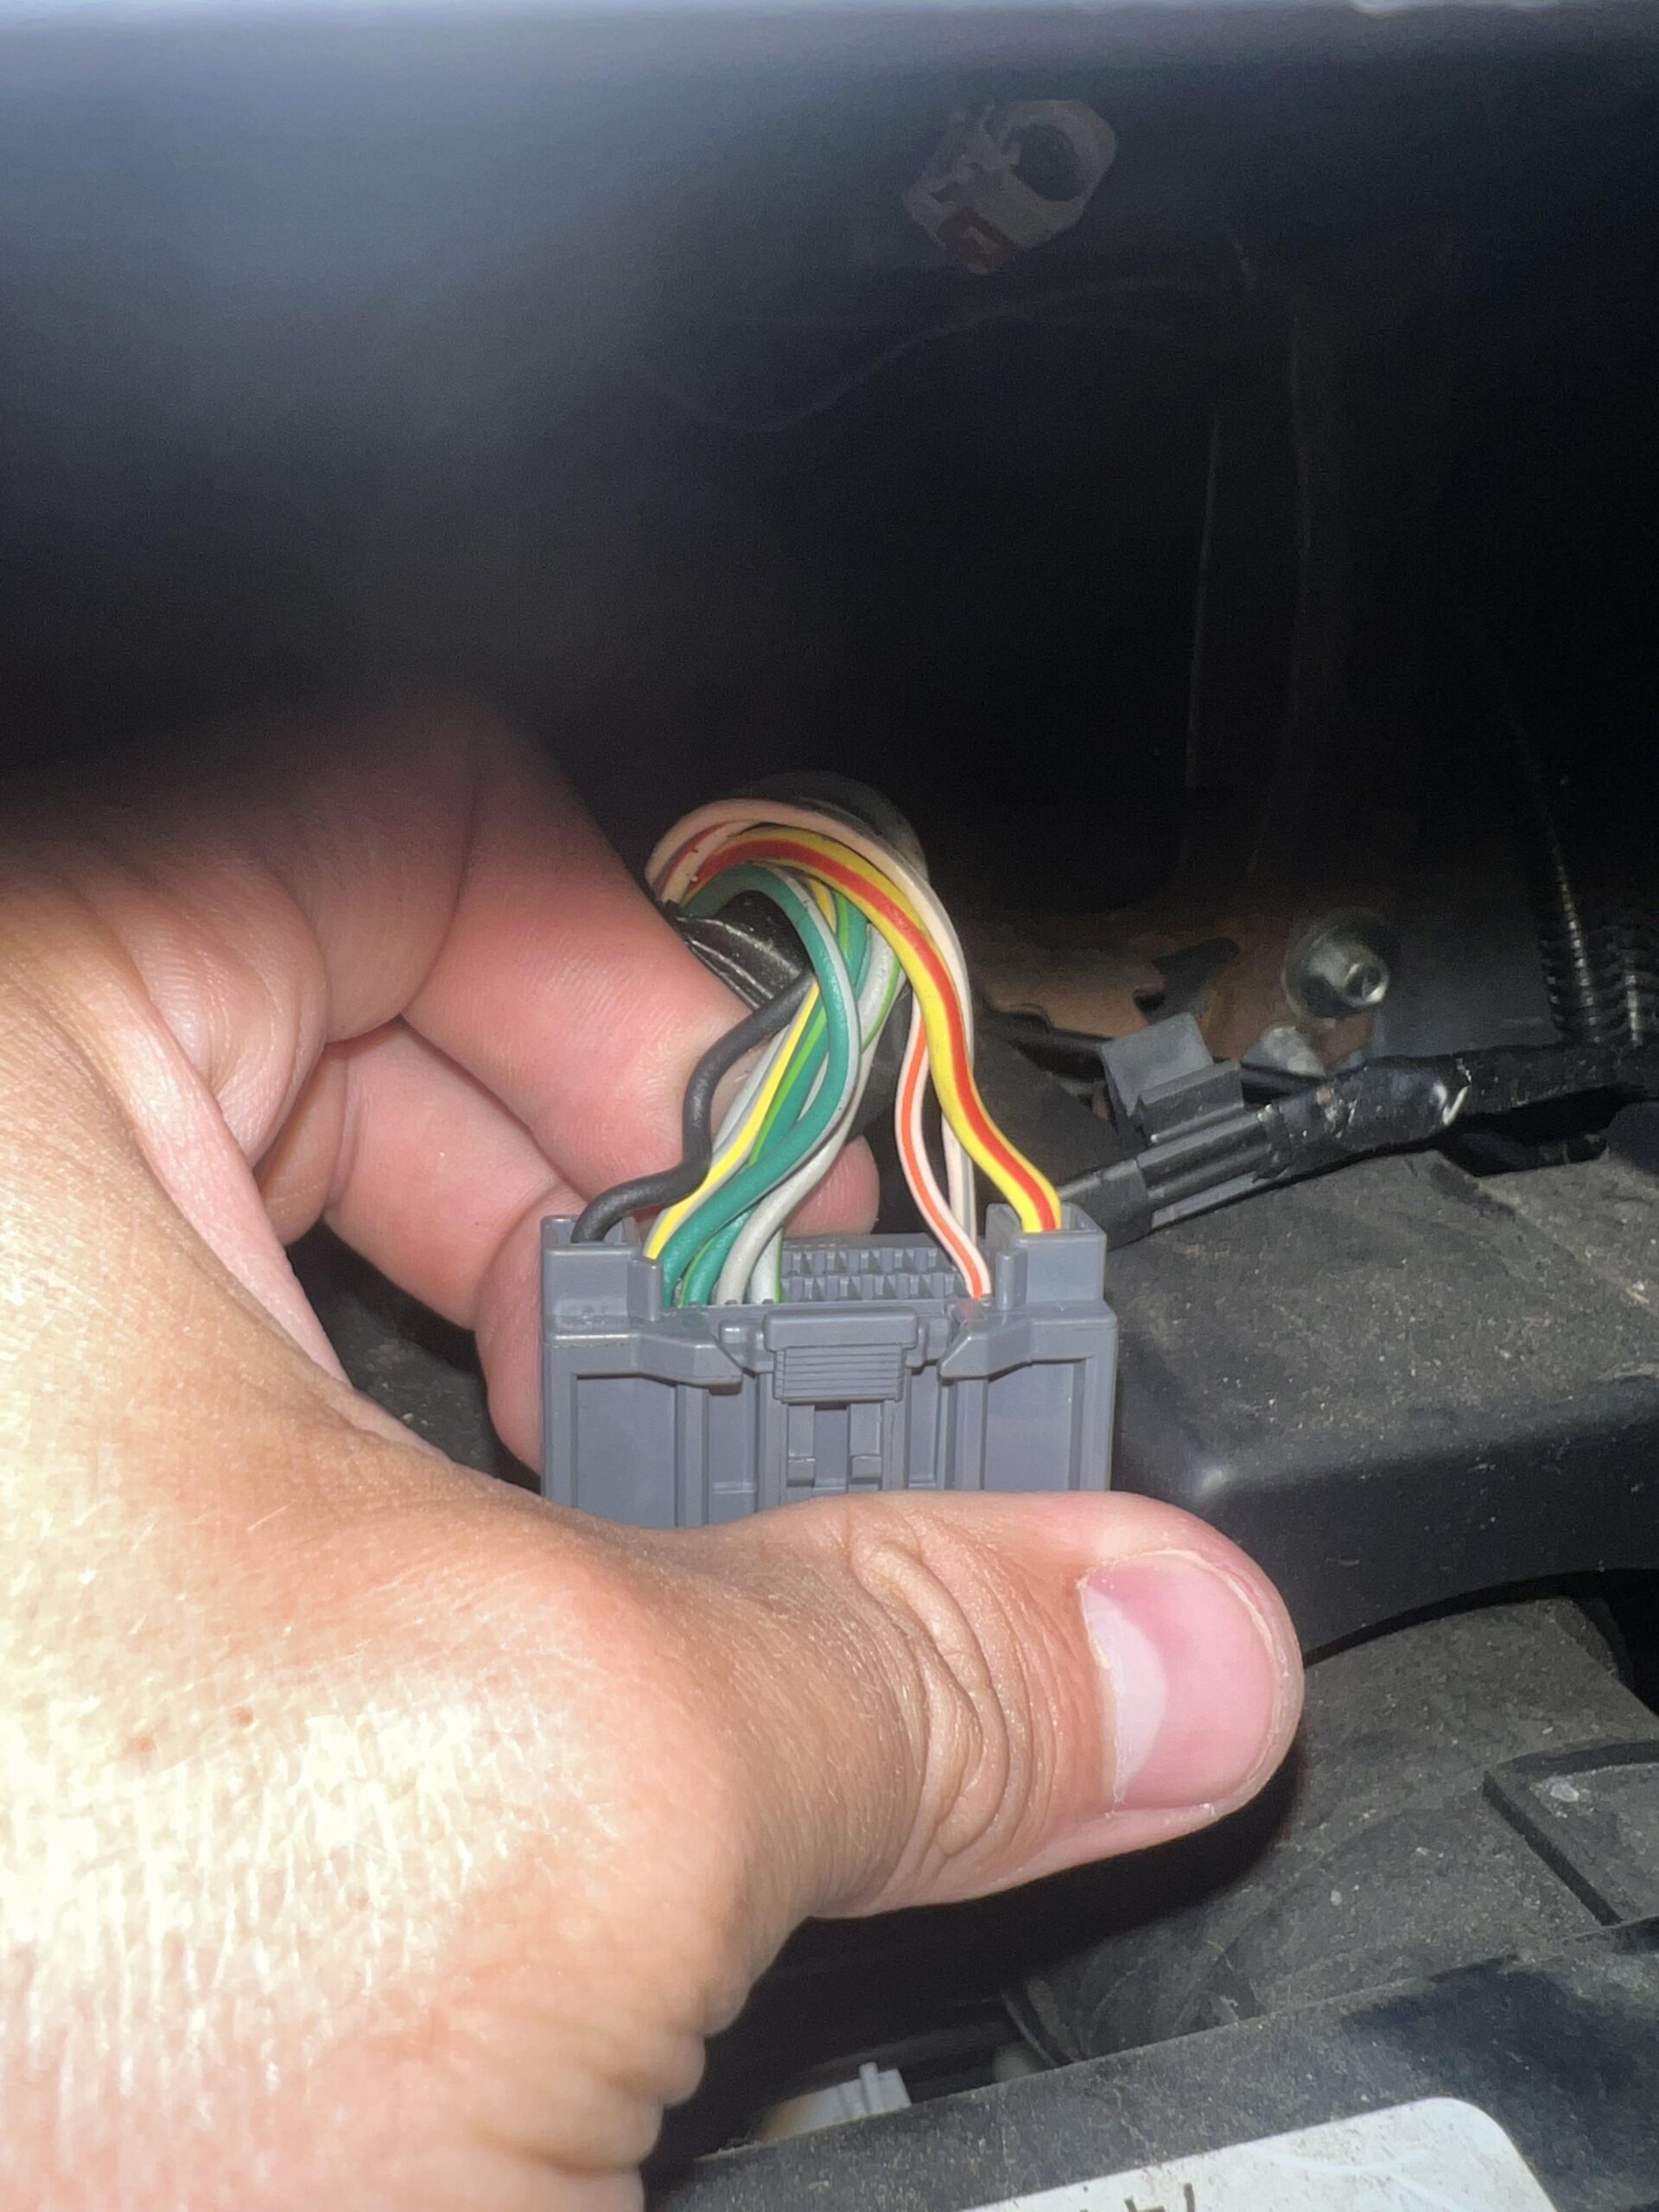
If you drive a Jeep JK and want extra lights to turn on when you reverse, tapping into your backup lights is a smart solution. Whether you’re adding rear flood lights, a camera, or a warning strobe, connecting to the factory reverse circuit means your new lights will only work when you need them. But wiring into your Jeep’s system can feel complicated, especially for beginners. This guide walks you through the process step by step, with practical advice, common mistakes, and clear explanations. You’ll learn how to tie into backup lights on a Jeep JK safely and confidently—without risking electrical issues or voiding your warranty.
Why Tie Into Backup Lights?
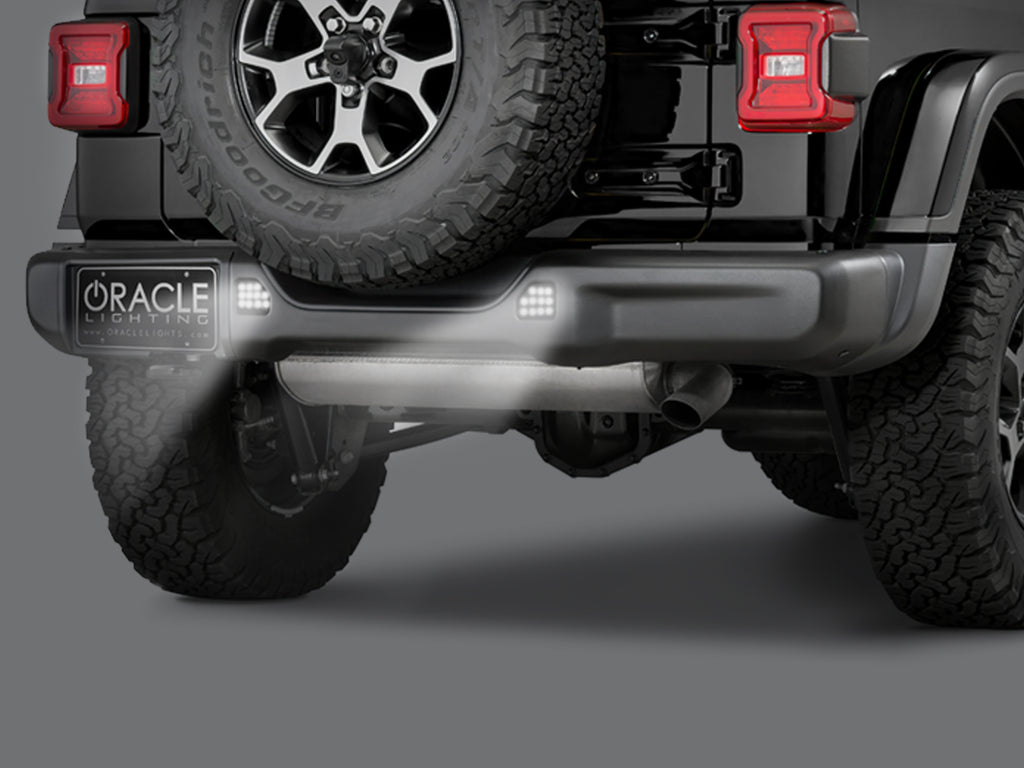
The backup lights on your Jeep JK come on automatically when you shift into reverse. Adding extra lights to this circuit gives you better visibility at night, makes backing up safer, and can help with off-road adventures or towing. You don’t want your new lights on all the time—just when reversing—so wiring into the reverse circuit is much smarter than using a manual switch.
Besides safety, tying into backup lights keeps your Jeep looking clean, avoids extra switches on your dash, and ensures your upgrades work exactly when needed.
Understanding The Jeep Jk Backup Light Circuit
Before you start, it’s important to know how the factory reverse circuit works. The Jeep JK’s backup lights are controlled by a wire that runs from the transmission to the rear lights. When you put the gear in reverse, this wire gets power and the lights turn on.
The main wire you’ll tap into is usually found in the tail light harness. On most Jeep JK models (2007–2018), the reverse light wire is:
- Color: White with a gray tracer
- Location: Driver’s side rear tail light harness
However, always check your Jeep’s wiring diagram or test wires with a multimeter before connecting. Some years may vary.
Tools And Materials You’ll Need
Get your tools and supplies ready before you start. Here’s what you’ll need:
- Wire stripper/cutter
- Multimeter (for testing wires)
- T-tap connectors or soldering kit
- Electrical tape or heat shrink tubing
- Relay (recommended for high-powered lights)
- Fuse holder and fuse
- Extra wire (16-18 gauge, depending on your lights)
- Zip ties
- Screwdriver (for removing panels)
- Wiring diagram (optional but helpful)
If you’re connecting powerful lights (over 5 amps), use a relay to protect your Jeep’s factory wiring. For smaller lights, a direct connection may be okay, but a relay is always safer.
Step-by-step Wiring Instructions
Let’s break down the process into clear steps. Follow these instructions to tie into your Jeep JK’s backup lights safely.
1. Access The Tail Light Harness
Open the rear tailgate and remove the driver’s side tail light. Most JK tail lights have two screws holding them in place.
Gently pull the light out to expose the wiring harness.
2. Identify The Reverse Light Wire
Look for the white with gray tracer wire in the harness. If unsure, use your multimeter:
- Set the multimeter to DC voltage.
- Turn the ignition on, but leave the engine off.
- Have someone shift the Jeep into reverse.
- Probe each wire until you find one that reads 12 volts only when in reverse.
This confirms the correct wire.
3. Tap Into The Wire
You can use a T-tap connector for a quick connection, or solder for a stronger bond:
- If using T-taps, clip the connector over the reverse wire, then insert your new wire.
- If soldering, strip a small section of the reverse wire, wrap your new wire around it, and solder.
- Cover the connection with electrical tape or heat shrink tubing.
4. Run Your New Wire
Route the new wire from the tail light area to where your extra lights will be mounted. Use zip ties to keep wires neat and avoid hot or moving parts. If running to the bumper or roof, follow existing wiring paths.
5. Connect To Relay (if Needed)
For powerful lights, use a relay. Here’s a simple relay wiring setup:
| Relay Pin | Connection |
|---|---|
| 85 | Ground |
| 86 | Reverse wire (from tail light) |
| 87 | Output to backup lights |
| 30 | 12V fused power source |
Install a fuse holder between the relay and battery for safety. Choose a fuse rated slightly higher than your lights’ draw.
6. Connect Your Extra Backup Lights
Attach your new lights’ ground wire to a clean metal surface (bare chassis or factory ground bolt). Connect the positive wire to the relay output (or directly to the reverse wire for low-power lights).
7. Test Everything
Before final mounting, test your setup:
- Turn ignition on.
- Shift into reverse.
- Confirm your new lights come on.
- Check for any flickering or electrical issues.
If all works, mount your lights securely and tidy up wiring.
8. Secure And Protect
Use zip ties and electrical tape to secure wires. Avoid sharp edges, moving parts, or areas exposed to heat. Double-check connections and keep everything neat for long-term reliability.
Real-world Example: Adding Rear Flood Lights
Many Jeep JK owners add rear flood lights for off-road reversing. Here’s a practical example:
- Mount two 18W LED flood lights on the rear bumper.
- Use the reverse wire (white/gray) to trigger a relay.
- Run a fused 12V line from the battery to the relay.
- Connect the relay output to the flood lights.
- Ground the lights to the bumper.
- When in reverse, both flood lights turn on with the factory backup lights.
This setup avoids overloading your factory circuit and gives strong lighting only when needed.
Comparing T-tap Connectors Vs Soldering
Which connection method is best for tapping into your Jeep JK’s wiring? Here’s a quick comparison:
| Method | Pros | Cons |
|---|---|---|
| T-Tap Connectors | Quick, no soldering, easy for beginners | Can loosen over time, less reliable |
| Soldering | Strong connection, long-lasting | Requires skill, more tools needed |
For most users, T-tap connectors are fine for low-power lights. For high-power or off-road setups, soldering is safer.
Safety And Warranty Considerations
Modifying your Jeep’s wiring can affect your factory warranty. If your Jeep is new or still under warranty, check your manual or ask the dealership before making changes.
Some key safety tips:
- Always use a fuse when adding extra lights.
- Don’t overload the factory circuit—use a relay for anything over 5 amps.
- Keep wires away from moving parts and heat.
- Test everything before final installation.
Common Mistakes To Avoid
Many beginners make errors that can cause problems later. Here are some common mistakes:
- Wrong wire selection: Always test wires before connecting.
- No fuse: Running without a fuse risks fire or damage.
- Poor connections: Loose wires can cause flickering or shorts.
- Overloading circuit: Too many lights on the factory wire can blow fuses.
- Bad grounding: Always ground to clean, bare metal.
A non-obvious mistake: Some users forget to protect wires from water. Always use heat shrink tubing or waterproof connectors if exposed to the elements.
Advanced Tips For A Cleaner Install
For a professional look and long-term reliability:
- Use split loom tubing to cover wires and prevent abrasion.
- Route wires through factory grommets when possible.
- Label your wires for future troubleshooting.
- If you plan to add more lights later, run extra wires now.
Some Jeep JK owners add a manual override switch. This lets you turn the extra lights on even when not in reverse. To do this, wire a switch in parallel with the relay trigger circuit.
Data: Typical Jeep Jk Backup Light Power
To help plan your install, here’s data on typical light power:
| Light Type | Power Draw (Watts) | Recommended Wire Gauge |
|---|---|---|
| Factory backup bulb | 10-15W | 18 gauge |
| LED flood light | 18-36W | 16 gauge |
| LED bar (large) | 50-100W | 14 gauge |
Always size your wires and fuse for the total power draw.
Reliable Sources For Jeep Wiring Info
If you need more technical details or wiring diagrams, check the Jeep JK factory service manual or visit Jeep’s official site. You’ll find accurate diagrams, wire colors, and troubleshooting tips.
What Color Is The Backup Light Wire On A Jeep Jk?
On most Jeep JKs, the backup light wire is white with a gray tracer. It’s found in the driver’s side tail light harness. Always test with a multimeter, as colors can change between model years.
Do I Need A Relay For Extra Backup Lights?
If your new lights draw more than 5 amps, a relay is strongly recommended. It protects the factory wiring and ensures safe operation. For small LED lights, a direct tap may be okay, but a relay is safer and more reliable.
Will This Affect My Jeep’s Warranty?
Modifying wiring can affect your factory warranty. If your Jeep is still under warranty, ask your dealer before making changes. Using a relay and fuse helps prevent damage and keeps your modifications safe.
Can I Add A Manual Switch To Control The Extra Lights?
Yes, you can add a manual switch in parallel with the relay trigger. This lets you turn the lights on even when not in reverse—handy for camping or off-road recovery. Use a waterproof switch and wire safely.
What’s The Best Way To Protect My Wiring?
Use heat shrink tubing, waterproof connectors, and split loom to protect wires from moisture, vibration, and abrasion. Secure wires with zip ties and avoid sharp edges, hot surfaces, and moving parts.
Adding extra backup lights to your Jeep JK is a practical upgrade for visibility and safety. By tapping into the factory reverse circuit, you keep your install clean and functional.
With careful wiring, a relay, fuse, and smart routing, your Jeep will be safer and more capable, day or night.
Take your time, follow these steps, and enjoy your new lights every time you shift into reverse.