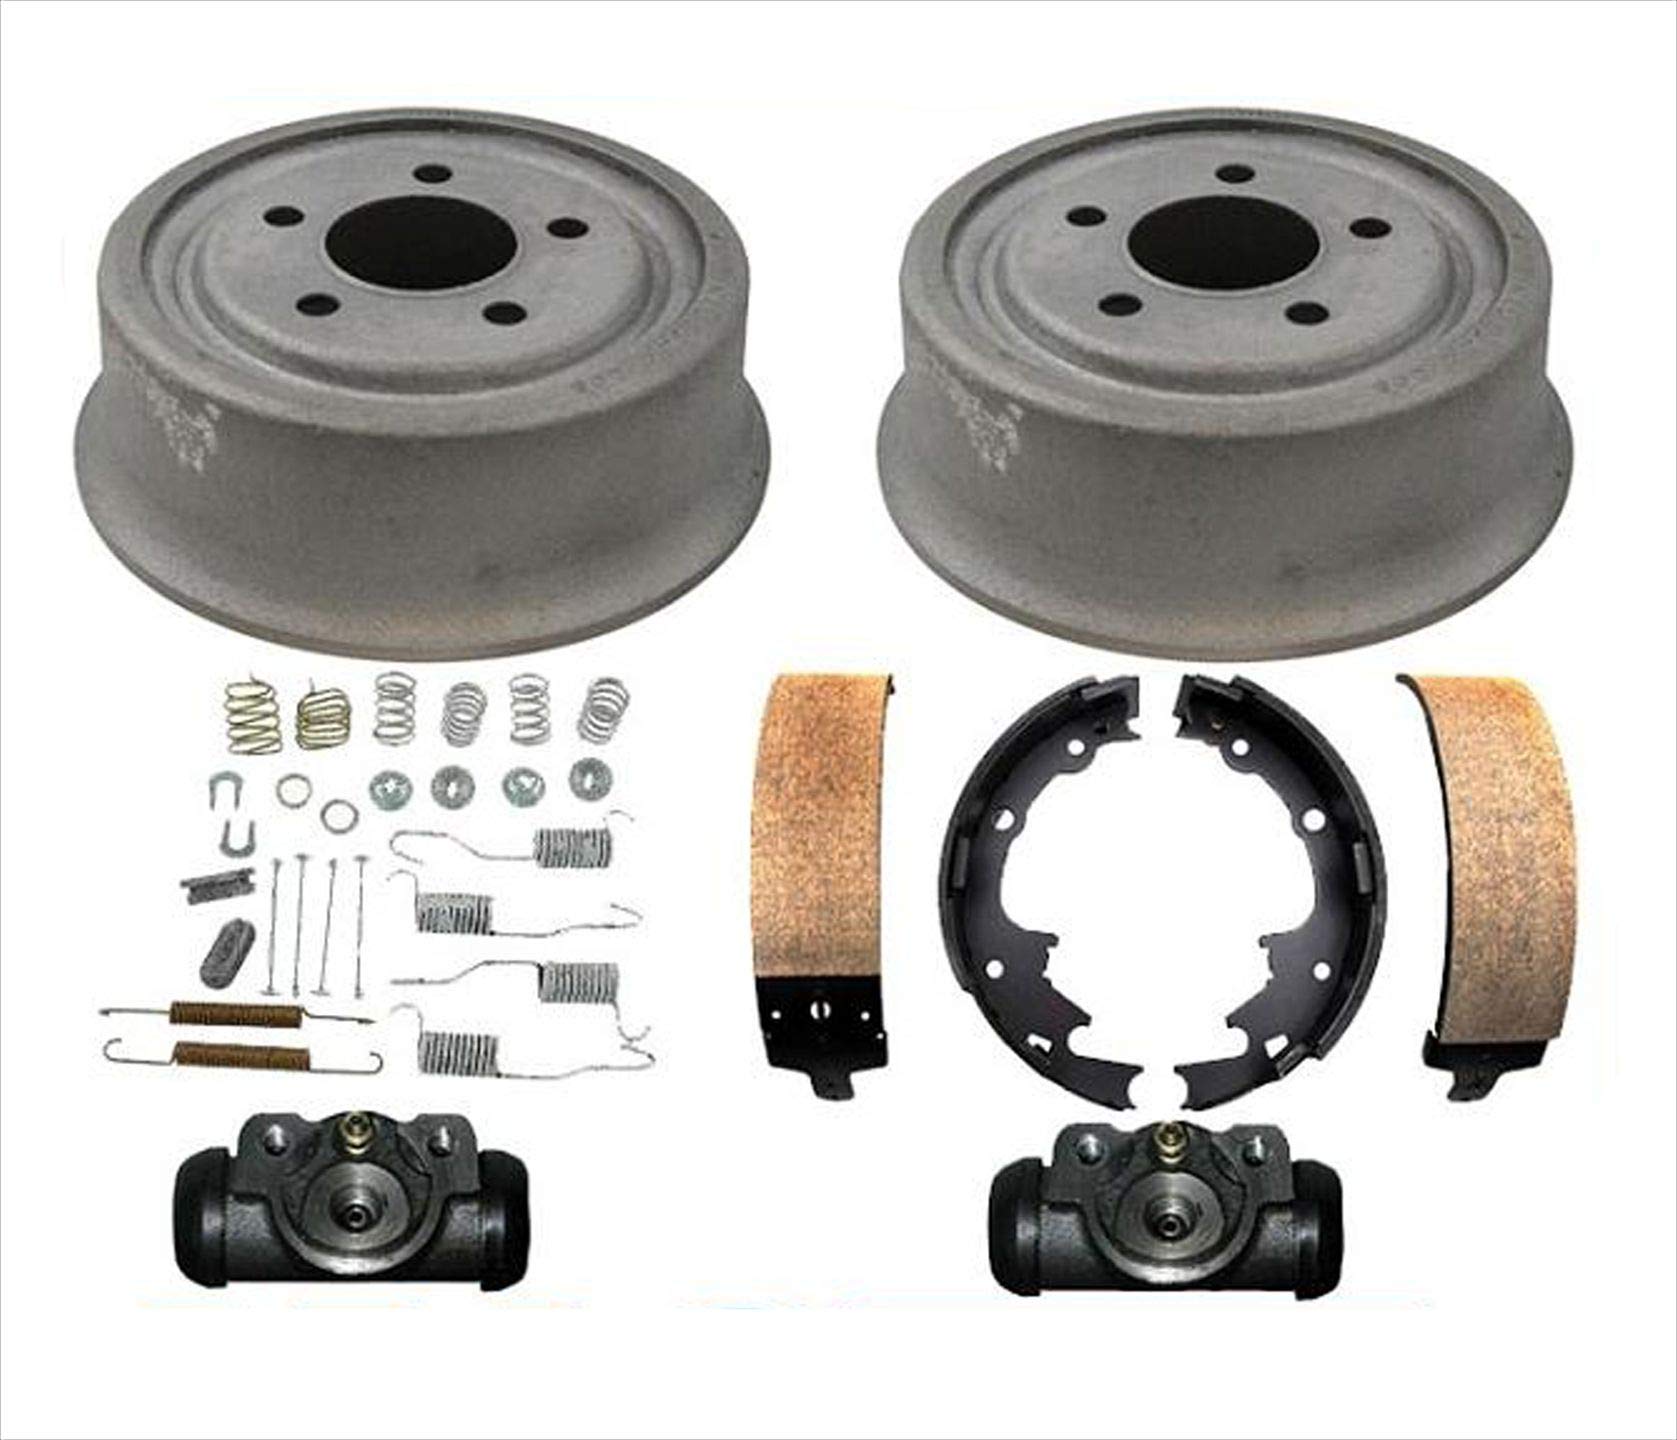
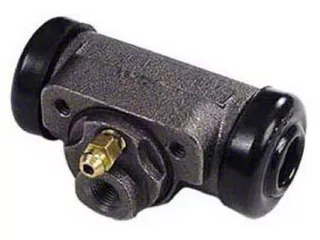
Replacing a wheel cylinder on a Jeep Wrangler is a task that many DIY mechanics can tackle with the right tools and some patience. This part is vital for your Jeep’s rear drum brakes, helping turn hydraulic pressure from the brake pedal into the force that pushes the shoes against the drum. When a wheel cylinder fails, you may notice a spongy brake pedal, fluid leaks behind the wheels, or poor stopping power. Fixing this issue quickly helps keep your Wrangler safe and performing at its best.
In this guide, you’ll find clear, step-by-step instructions to replace a wheel cylinder, including tips for avoiding common mistakes. Whether you own a classic YJ, a TJ, or a more recent JK, the process is very similar.
With basic tools and a bit of care, you can save money and gain confidence in your Wrangler’s maintenance.
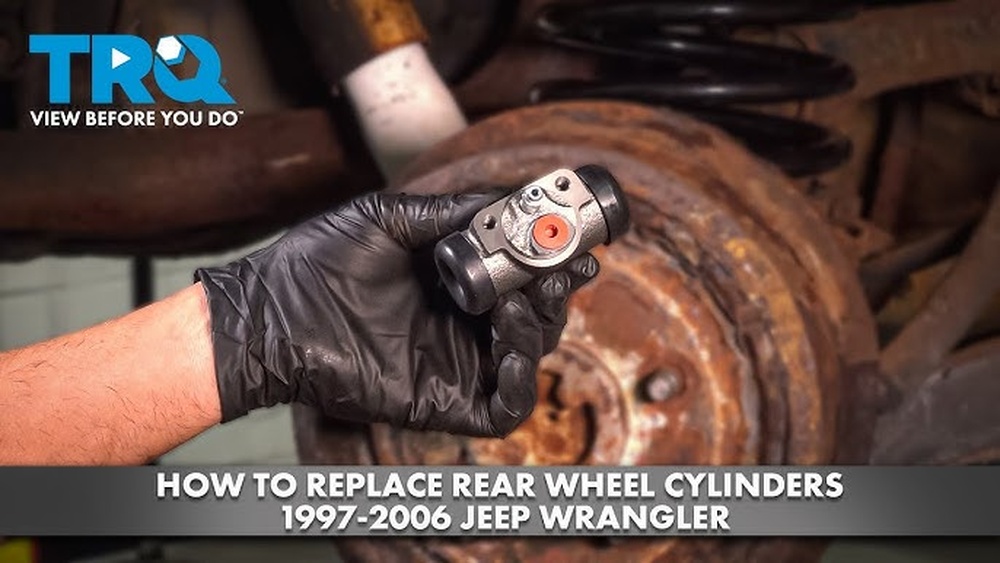
Understanding The Wheel Cylinder’s Role
Before you start, it’s helpful to know what a wheel cylinder does. The wheel cylinder is a small but crucial part inside the rear drum brake assembly. When you press the brake pedal, fluid pressure from the master cylinder moves pistons inside the wheel cylinder, forcing the brake shoes outward against the drum. This friction slows and stops your Jeep.
A leaking or stuck wheel cylinder can cause uneven braking or even total brake failure. Replacing it at the first sign of trouble is critical.
Tools And Materials You’ll Need
Gather all tools and parts before you begin to prevent interruptions. Here’s what you’ll typically need for a Jeep Wrangler wheel cylinder replacement:
- New wheel cylinder (check your Jeep’s year/model for the correct part)
- Brake fluid (DOT 3 or DOT 4, as specified in your manual)
- Socket set and ratchet (including 10mm or 11mm for brake line nuts)
- Box-end wrenches (line wrench recommended for brake lines)
- Flathead screwdriver
- Brake spring tool (optional, but makes the job easier)
- Needle-nose pliers
- Brake cleaner spray
- Shop rags or paper towels
- Jack and jack stands
- Lug wrench
- Drain pan
- Safety glasses and gloves
Optional but helpful:
- Torque wrench
- Anti-seize compound (for drum mounting surfaces)
- Penetrating oil (for stuck fittings)
Preparing The Jeep For Safe Work
Safety comes first. Here’s how to get your Wrangler ready:
- Park on a flat, solid surface. Apply the parking brake and chock the front wheels.
- Loosen the rear lug nuts slightly before lifting the vehicle.
- Use a jack to lift the rear axle and support with jack stands under the frame.
- Remove the rear wheels.
- Release the parking brake to allow the drum to come off.
Never work under a Jeep supported only by a jack. Always use jack stands.
Removing The Brake Drum
The brake drum can sometimes be stuck due to rust or brake shoe tension. Here’s how to remove it:
- Pull straight outward on the drum. If it’s stuck, tap gently around the edge with a rubber mallet.
- If it still won’t move, check for a small access hole on the drum or backing plate. Remove the rubber plug and use a flathead screwdriver to back off the adjuster wheel inside, releasing tension on the shoes.
- Avoid using excessive force, which can damage the drum.
Inspecting The Brake Assembly
Before removing anything else, look closely at the drum brake assembly. Take a clear photo with your phone.
This will help you remember how the springs and levers fit together.
Check for:
- Wetness or leaks around the wheel cylinder
- Worn or contaminated brake shoes
- Broken or missing springs
If you see brake fluid, the wheel cylinder is leaking and needs replacement.
Removing The Old Wheel Cylinder
This is the most delicate part, as brake lines can be rusted or fragile.
- Place a drain pan under the assembly to catch any brake fluid.
- Use a line wrench to loosen the brake line fitting on the back of the wheel cylinder. Go slowly and use penetrating oil if it’s stuck.
- Remove the small bolts (usually 8mm or 10mm) holding the cylinder to the backing plate.
- Carefully disconnect the brake line from the cylinder. Plug or cover the line to keep dirt out.
- Remove the brake shoes and springs that block access to the cylinder. Use pliers or a brake spring tool.
- Slide the old wheel cylinder out.
If the brake line fitting is rusted, avoid rounding it off. A line wrench is much less likely to slip than a standard open wrench.
Installing The New Wheel Cylinder
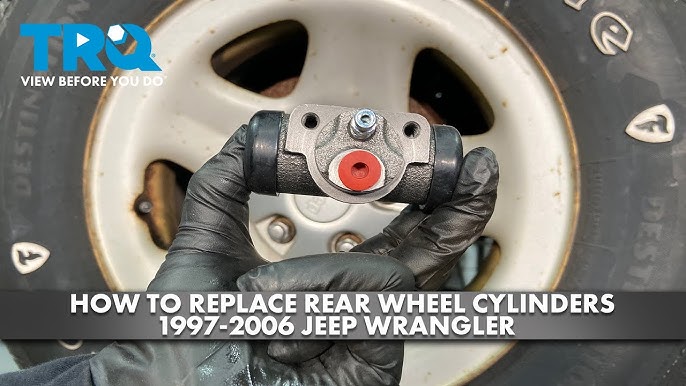
Installation is the reverse of removal, but attention to detail is important for a leak-free repair.
- Position the new wheel cylinder in the backing plate and loosely install the mounting bolts.
- Carefully thread the brake line into the cylinder by hand to avoid cross-threading.
- Tighten the mounting bolts to secure the cylinder.
- Reinstall the brake shoes and all hardware, using your reference photo for correct placement.
- Double-check all springs and connections.
Do not overtighten the brake line fitting. It just needs to be snug to seal.
Reassembling The Brakes
Once the new cylinder is installed:
- Spray the assembly with brake cleaner to remove oil or grease.
- Reinstall the brake drum. If it won’t fit, the shoes may need to be adjusted inward.
- Spin the drum by hand—it should turn with slight resistance but not drag heavily.
If you had to back off the adjuster to remove the drum, reset it to a light drag before reassembling everything.
Bleeding The Brake System
Air in the brake lines will cause a spongy pedal or poor braking. You must bleed the brakes to remove air after installing a new wheel cylinder.
Bleeding steps:
- Fill the master cylinder with fresh brake fluid.
- Have a helper pump the brake pedal several times and hold it down.
- Open the bleeder valve on the wheel cylinder with a wrench. Let fluid and air escape, then close the valve before your helper releases the pedal.
- Repeat this process until only clear fluid comes out with no bubbles.
- Check the master cylinder often and keep it topped up with fluid.
Bleed both rear brakes for best results, starting with the wheel furthest from the master cylinder.
Final Checks And Road Test
Before driving, check these points:
- All bolts and fittings are tight
- The master cylinder is full of brake fluid
- The pedal feels firm
- No leaks are visible
Reinstall the wheels, lower the Jeep, and torque the lug nuts to the manufacturer’s specification. Test the brakes at low speed in a safe area before regular driving.
Comparing Oem Vs Aftermarket Wheel Cylinders
Choosing between OEM (original equipment manufacturer) and aftermarket wheel cylinders is common. Here’s a comparison to help you decide:
| Feature | OEM Wheel Cylinder | Aftermarket Wheel Cylinder |
|---|---|---|
| Fit & Compatibility | Guaranteed correct fit | Varies by brand; check fitment |
| Warranty | Usually 1 year or more | Some offer lifetime warranty |
| Price | More expensive | Usually cheaper |
| Quality Control | High, factory specs | Varies widely |
Common Problems And Mistakes To Avoid
Many beginners make simple mistakes when replacing wheel cylinders. Here are some to watch for:
- Rounding off brake line nuts – Always use a line wrench, not a regular open-end wrench.
- Not bleeding brakes fully – Incomplete bleeding leaves air in the system, causing poor braking.
- Mixing up hardware – Keep springs and small parts organized and reinstall them in the correct locations.
- Letting dirt enter brake lines – Plug or cover lines during work.
- Forgetting to adjust shoes – Drums won’t fit or brakes may drag if shoes are misadjusted.
Cost Of Replacing A Wheel Cylinder
Doing the job yourself saves money, but it’s good to know the typical costs.
| Item | Typical Cost (USD) |
|---|---|
| Wheel Cylinder (each) | $15 – $40 |
| Brake Fluid | $5 – $12 |
| Basic Tools | $0 – $50 (if you don’t have them) |
| Mechanic Labor (if hired) | $100 – $200 |
DIY replacement usually costs $20 $60 for one wheel, compared to $100 $250 at a shop.
How Long Does It Take?
A first-time DIYer can expect to spend 2 3 hours on the job, including bleeding the brakes. With experience, it can be done in about 1 hour per side.
Pro Tips For A Smooth Job
Here are some insights even experienced DIYers sometimes miss:
- Use a brake spring tool: This inexpensive tool makes removing and reinstalling springs safer and much easier than using pliers.
- Replace both sides: If one wheel cylinder is leaking, the other is probably close to failing too. Doing both at once saves time and avoids another repair soon.
- Clean everything: Spray the whole assembly with brake cleaner before reassembly. Dirt or grease can cause uneven braking or squeaking.
- Check your shoes: If brake shoes are soaked with fluid, replace them. Cleaning usually isn’t enough for safety.
- Test on a hill: After the repair, gently test the brakes on a slight incline before heading into traffic.
When To Call A Professional
If you run into these problems, it’s best to get help:
- The brake line fitting is seized or damaged.
- You can’t get good pedal feel after bleeding.
- Brake fluid leaks persist after installation.
- You’re unsure about reassembling the drum brake hardware.
Brakes are critical never guess if you’re unsure.
Where To Find More Information
For more details, the official Jeep Wrangler service manual provides step-by-step guides and specifications. You can also check Wikipedia’s drum brake article for more background on drum brake systems.
How Do I Know If My Jeep Wrangler’s Wheel Cylinder Is Bad?
Common signs include brake fluid leaks behind the rear wheels, a spongy or sinking brake pedal, uneven braking, or visible wetness around the drum brake assembly. If you see any of these, inspect the wheel cylinder as soon as possible.
Do I Need To Replace Both Wheel Cylinders At Once?
It’s best practice to replace both rear wheel cylinders together. If one has failed, the other may be close behind.
This also helps keep braking force balanced from side to side.
What Type Of Brake Fluid Should I Use?
Check your Jeep’s manual, but most Wranglers use DOT 3 or DOT 4 brake fluid. Never mix different types unless specified. Use fresh, unopened fluid for best results.
Can I Reuse Old Brake Shoes After A Cylinder Leak?
If the shoes have been soaked in brake fluid, it’s safest to replace them. Brake fluid damages the friction material, even after cleaning.
If the shoes are dry and in good shape, they can be reused.
Do I Need Any Special Tools To Replace A Wheel Cylinder?
Basic tools like sockets, wrenches, and pliers are enough, but a brake spring tool and a line wrench make the job much easier and reduce the risk of damage.
Replacing a wheel cylinder on your Jeep Wrangler is a satisfying project that boosts your confidence and keeps your Jeep safe. With clear steps and the right tools, you can handle this task in your own garage and enjoy the ride with peace of mind.