If your Jeep Wrangler TJ’s brakes feel spongy or you see fluid leaking from the rear wheels, it may be time to replace the wheel cylinder. This small but crucial part is responsible for pushing the brake shoes against the drum when you press the pedal. Many Jeep owners put off this job, thinking it’s hard, but with the right steps, you can do it at home—even if you’re not a professional mechanic.
Changing a wheel cylinder is more than just swapping a part. It’s about understanding your vehicle’s braking system, using the right tools, and knowing what mistakes to avoid.
This guide will walk you through the process step by step, share tips learned from experience, and help you get your Jeep’s brakes back to working their best.
Why Replace The Wheel Cylinder?
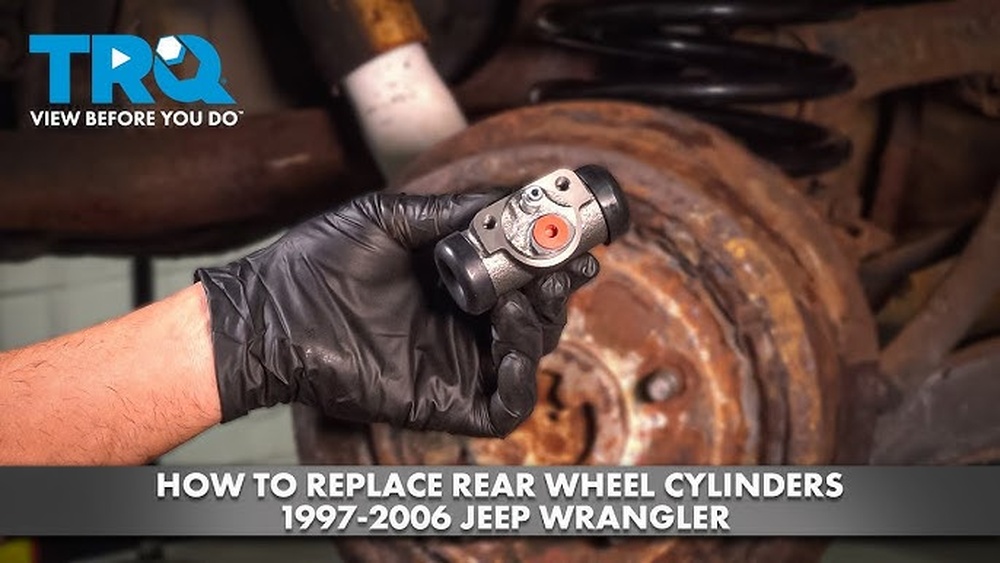
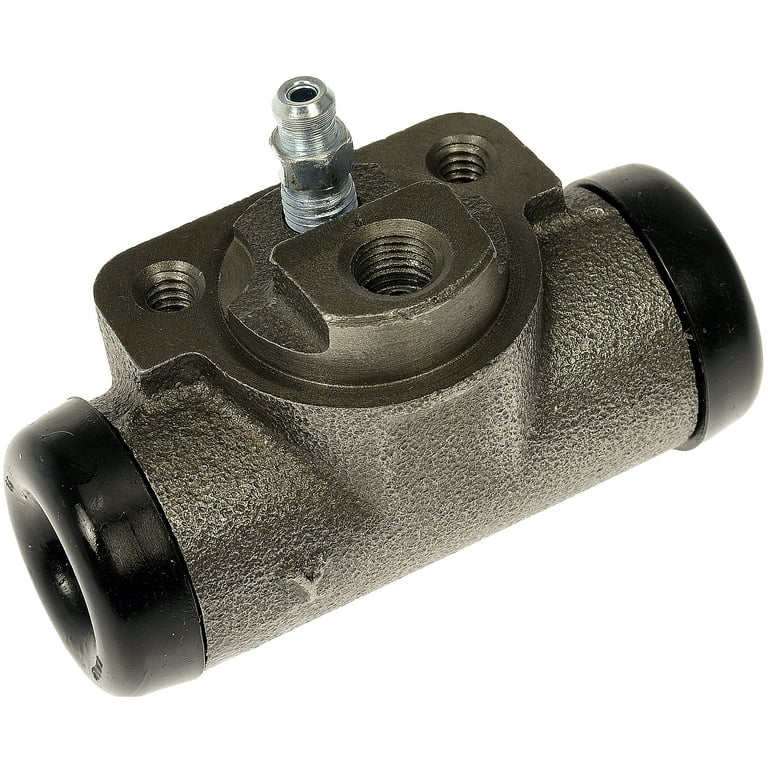
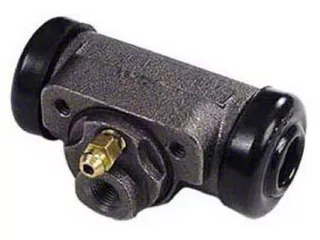
The wheel cylinder is a hydraulic component inside the drum brake system, usually on the rear wheels of the Jeep Wrangler TJ. When you push the brake pedal, brake fluid flows into the cylinder, causing two small pistons to press the brake shoes outward onto the drum. Over time, seals inside the cylinder wear out, leading to leaks, weak braking, or even total brake failure.
Ignoring a faulty wheel cylinder can lead to:
- Loss of braking power in one wheel
- Contaminated brake shoes and drums
- Expensive repairs if brake fluid damages other parts
Knowing when to replace a wheel cylinder saves you from unsafe driving and bigger repair bills.
Signs Your Wheel Cylinder Needs Replacement
You don’t need to wait for total brake failure. Watch for these warning signs:
- Spongy brake pedal – feels soft or goes to the floor
- Brake fluid leaks – wetness or fluid on the inside of the wheel or drum
- Reduced braking performance – takes longer to stop
- Brake warning light – comes on due to low fluid
If you see any of these symptoms, it’s time for inspection.
Tools And Parts Needed
Before you start, gather the essentials. Having everything ready makes the job smoother and less stressful.
Tools:
- Jack and jack stands
- Lug wrench
- Brake spring tool or needle nose pliers
- Line wrench (flare nut wrench) for brake line
- Ratchet and socket set
- Brake cleaner
- Small hammer or mallet
- Brake bleeder kit or clear hose and bottle
- Screwdriver (flathead and Phillips)
- Shop towels or rags
- Safety glasses and gloves
Parts:
- New wheel cylinder (make sure it fits your Wrangler TJ’s year/model)
- Brake fluid (DOT 3 or DOT 4, check your owner’s manual)
- Replacement brake shoe hardware kit (recommended)
- Anti-seize compound (optional)
Safety First
Working on brakes means you’re dealing with a critical safety system. Always:
- Park on a level surface and set the parking brake.
- Wear safety glasses and gloves.
- Use jack stands—never rely on the jack alone.
- Keep brake fluid off painted surfaces; it can damage paint quickly.
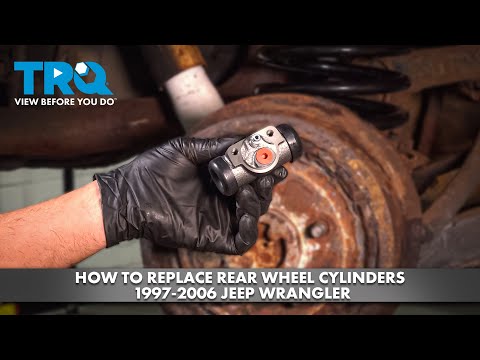
Step-by-step Guide To Replacing A Wheel Cylinder
1. Lift And Secure Your Jeep
Loosen the lug nuts on the rear wheel with the problem (but don’t remove them yet). Use a jack to lift the Jeep and set it securely on jack stands. Remove the wheel.
2. Remove The Brake Drum
- If the drum is stuck, tap it gently with a mallet.
- Some drums have retaining screws; remove these first.
- Don’t force the drum if it won’t budge. There might be a lip or rust. Use penetrating oil or a brake drum puller if needed.
3. Inspect And Remove Brake Shoes
- Take a picture with your phone to remember how everything fits.
- Carefully remove the brake shoe springs and hardware. A brake spring tool helps, but pliers work too.
- Pull the brake shoes away from the drum, but don’t let them hang by the parking brake cable if possible.
4. Disconnect The Brake Line And Cylinder
- Use a line wrench to loosen the brake line from the wheel cylinder. Be gentle—these can strip easily.
- Remove the bolts holding the wheel cylinder to the backing plate.
- Remove the old cylinder and set it aside. Be careful: Old brake fluid may leak out.
5. Install The New Wheel Cylinder
- Clean the backing plate and surrounding area with brake cleaner.
- Fit the new wheel cylinder in place and bolt it to the backing plate.
- Reconnect the brake line, making sure not to cross-thread.
- Wipe any spilled fluid with a rag.
6. Reinstall Brake Shoes And Hardware
- Place the brake shoes back into position, referring to your earlier photo if needed.
- Reattach all springs and hardware, making sure everything is secure.
- If brake shoes are soaked with fluid, replace them. Old, contaminated shoes can cause noise and poor braking.
7. Refit The Brake Drum
- Slide the drum back over the shoes. If it won’t fit, the adjuster may need to be compressed.
- Spin the drum by hand to check for drag or noise.
8. Bleed The Brakes
Anytime you open the brake system, air can enter. Bleeding removes air and restores firm pedal feel.
- Fill the master cylinder with the correct brake fluid.
- Attach a clear hose to the bleeder screw on the wheel cylinder. Place the other end in a bottle.
- Have a helper slowly press the brake pedal several times, then hold it down.
- Open the bleeder screw to let fluid and air escape, then close it before your helper lets up the pedal.
- Repeat until only clean fluid comes out and no air bubbles.
- Top off the brake fluid reservoir.
9. Reinstall The Wheel And Test
- Put the wheel back on and tighten the lug nuts by hand.
- Lower the Jeep and tighten the nuts in a star pattern.
- Start the Jeep and carefully test the brake pedal. It should feel firm.
- Test drive at low speed, checking for leaks and proper braking.
Wheel Cylinder Specifications For Jeep Wrangler Tj
Here’s a quick reference for the typical wheel cylinder specs for a Wrangler TJ:
| Model Year | Bore Size | Brake Fluid Type |
|---|---|---|
| 1997–2000 | 13/16 inch | DOT 3 |
| 2001–2006 | 13/16 inch | DOT 3 or DOT 4 |
Always check your Jeep’s specific requirements before buying replacement parts.
Common Mistakes To Avoid
Many first-timers make the same errors when tackling this job. Watch out for these:
- Stripping brake line fittings – Use a line wrench, not an open-end wrench.
- Mixing up hardware – Lay out springs and clips in order, or use a photo for reference.
- Forgetting to bleed brakes – Air in the system causes a soft pedal.
- Damaging brake shoes – Don’t get grease or fluid on friction surfaces.
- Not checking both sides – If one cylinder failed, the other may be close behind.
Comparing Wheel Cylinder Brands
Not all replacement wheel cylinders are the same. Here’s a look at some popular options for the Jeep Wrangler TJ:
| Brand | Material | Warranty | Price Range (USD) |
|---|---|---|---|
| Raybestos | Aluminum | 1 year | $12–$20 |
| Dorman | Cast Iron | Limited Lifetime | $15–$22 |
| ACDelco | Cast Iron | 1 year | $14–$19 |
The big difference is material and warranty. Cast iron is heavier and resists corrosion, while aluminum is lighter. For off-road use, cast iron is often preferred.
Practical Tips For A Smooth Job
- Use brake cleaner generously to keep everything clean and avoid contamination.
- Replace both rear cylinders if one failed—this keeps braking balanced.
- Invest in a brake spring tool if you plan to do more brake work in the future.
- Check the brake adjuster for smooth movement before reassembling.
- Test drive in a safe area before returning to regular driving.
One thing many people miss: small leaks may only show up under pressure. After your first drive, check for any new fluid around the drums.
When To Seek Professional Help
If you’re not comfortable with drum brakes, or if the brake lines are rusted and stuck, don’t hesitate to get help. Forcing parts can damage your Jeep and make repairs more costly.
Some shops will let you bring your own parts, which can save money.
Remember: your brakes are your last line of defense on the road. If anything seems wrong, double-check your work or ask a professional.
Cost To Replace A Wheel Cylinder
Doing the job yourself usually costs between $20 and $50 per wheel, depending on the brand and whether you buy a hardware kit. A professional shop may charge $150 to $300 per wheel, including parts and labor.
Here’s a quick comparison:
| Replacement Type | Parts Cost | Labor Cost | Total Cost |
|---|---|---|---|
| DIY | $20–$50 | $0 | $20–$50 |
| Professional | $20–$50 | $130–$250 | $150–$300 |
If you have basic tools and patience, doing this job yourself is a big money-saver.
What Brake Fluid Should I Use For My Jeep Wrangler Tj?
Most Wrangler TJs use DOT 3 brake fluid, but some later models can use DOT 4. Always check your owner’s manual or the cap on the master cylinder for the correct type.
How Long Does It Take To Replace A Wheel Cylinder?
For a beginner, expect about 2–3 hours for your first time. With experience, it can be done in 1 hour. Plan extra time for bleeding the brakes and cleaning up.
Do I Need To Replace Both Wheel Cylinders At The Same Time?
It’s not required, but highly recommended. If one cylinder failed due to age or wear, the other is likely close to failing too. Replacing both keeps braking balanced and saves time later.
Can I Drive With A Leaking Wheel Cylinder?
No, it’s unsafe. A leaking cylinder means you’re losing brake fluid and may not be able to stop properly. Fix the leak before driving any further.
What If The Bleeder Screw Is Stuck Or Broken?
Soak it with penetrating oil and try again. If it still won’t move, you may need to use heat or replace the wheel cylinder. Forcing it can break the bleeder off inside, making repairs harder.
For more detailed technical information on drum brake systems, you can visit the Drum brake Wikipedia page.
Replacing a wheel cylinder on your Jeep Wrangler TJ is a great DIY project that improves safety and saves money. Take your time, follow each step carefully, and you’ll have your Jeep stopping smoothly in no time.