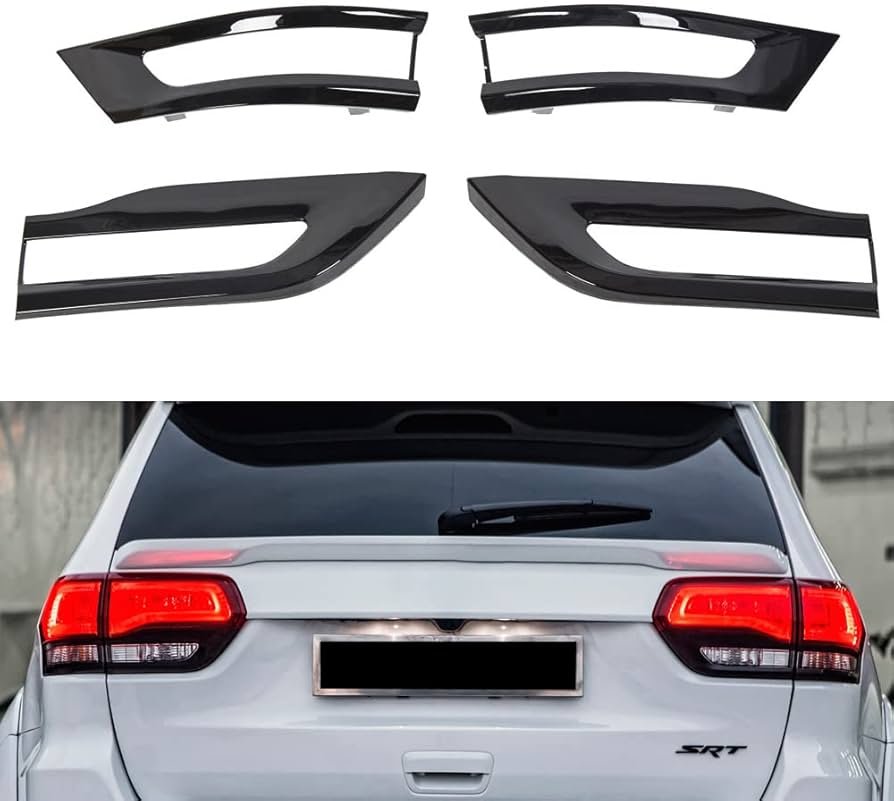
Replacing the tail light cover on your 2017 Jeep Grand Cherokee might sound difficult, but it’s easier than many people think. A cracked or foggy tail light cover not only looks bad, but can also reduce your car’s visibility, making driving less safe. Even if you have no experience with car repairs, you can do this yourself with a few simple tools and a bit of time. Taking care of this job yourself can save you money, and you’ll learn more about your vehicle in the process.
Why Replace The Tail Light Cover?
The tail light cover protects the light bulb and wiring from dust, water, and impacts. If it’s broken, water can get inside and damage the bulb or wiring, causing the light to fail. In the United States, driving with a broken tail light can also get you a ticket. A new cover keeps your Jeep Grand Cherokee looking sharp and helps avoid bigger problems later.
What You’ll Need
Before starting, gather the right tools and parts. Using the right equipment makes the job faster and safer.
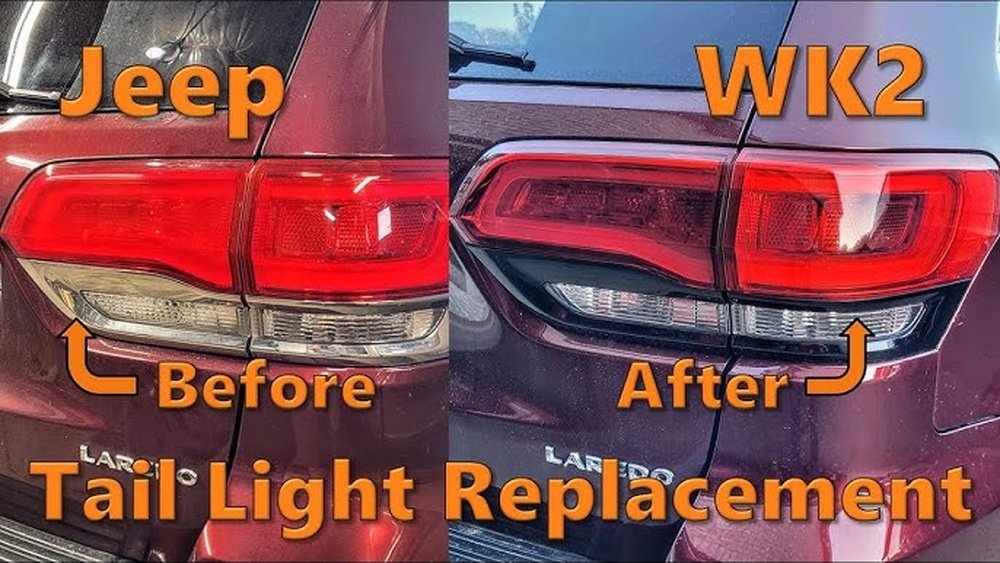
- New tail light cover for 2017 Jeep Grand Cherokee (check the part number)
- Screwdriver (Phillips and flat-head)
- Ratchet and socket set
- Plastic trim removal tool (optional, but helps avoid scratches)
- Work gloves
- Clean cloth
Step-by-step Guide To Replacing The Tail Light Cover
1. Open The Rear Hatch
Start by opening the rear hatch to access the tail light assembly. Make sure your Jeep is parked on a flat surface and the engine is off. This keeps the area safe and stable.
2. Remove The Screws
Look for the screws holding the tail light in place. On the 2017 Grand Cherokee, there are usually two screws on the inside edge of the tail light, near the hatch opening.
Use a Phillips screwdriver or socket set to remove them.
Place the screws in a safe spot so you don’t lose them.
3. Release The Tail Light Assembly
Carefully use your hands or a plastic trim tool to pull the tail light assembly outward. The assembly is held by clips that pop out with gentle force.
Avoid using metal tools, as these can scratch the paint.
4. Disconnect The Wiring Harness
Once the assembly is free, you’ll see a wiring harness attached to the back. Press down on the tab and gently pull the connector out.
This disconnects the power and prevents any electrical issues while you work.
5. Remove The Old Tail Light Cover
Place the assembly on a soft cloth to avoid scratches. The cover is attached with small screws or plastic tabs.
Unscrew these or carefully unclip the tabs. Take off the old cover and inspect the inside for dirt or moisture.
If you see water or corrosion, wipe it away before installing the new cover.
6. Install The New Tail Light Cover
Align the new cover with the assembly. Secure it with the screws or tabs you removed earlier.
Make sure it fits snugly and there are no gaps. This ensures water and dust stay out.
7. Reconnect The Wiring Harness
Plug the wiring harness back into the tail light assembly. You should hear a small click when it’s properly connected. Double-check that the connection is firm.
8. Reinstall The Tail Light Assembly
Push the assembly back into place, lining up the clips. Once it’s flush with the car body, reinstall the screws you removed at the start.
Tighten them until snug, but do not overtighten.
9. Test The Tail Light
Before closing the hatch, turn on your Jeep and check the tail light. Test the brake light, reverse light, and turn signal to make sure everything works. If the lights do not turn on, recheck the wiring connection.
10. Clean Up
Wipe the area around the tail light with a clean cloth. This removes fingerprints and makes the repair look professional.
Key Differences: Oem Vs Aftermarket Covers
When buying a replacement, you’ll see both OEM (Original Equipment Manufacturer) and aftermarket options. Here’s how they compare:
| Feature | OEM Cover | Aftermarket Cover |
|---|---|---|
| Fit | Exact, guaranteed | May vary |
| Price | Higher | Lower |
| Warranty | Usually included | Varies |
| Availability | Dealer or official parts store | Many online shops |
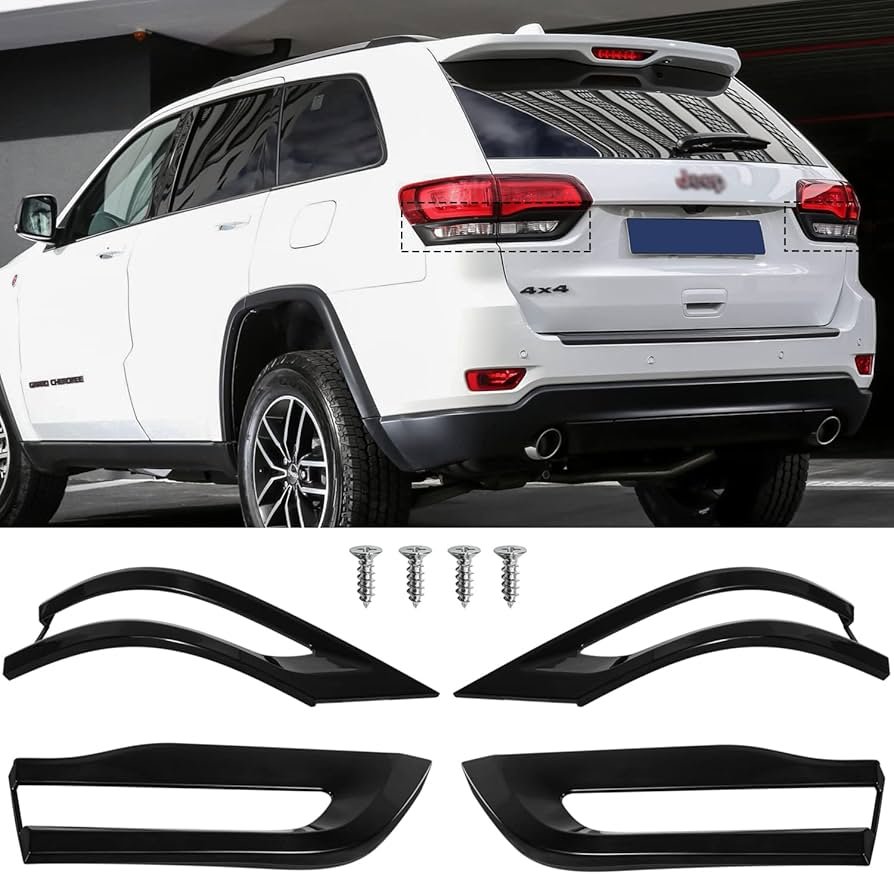
OEM covers cost more but are guaranteed to fit and match your Jeep’s look. Aftermarket covers are cheaper and easier to find, but may have small differences in color or fit.
Common Mistakes To Avoid
Many beginners make small errors that can cause trouble later. Here are common mistakes and how to avoid them:
- Not disconnecting the wiring: Always unplug the tail light before removing the cover.
- Using metal tools on paint: This can scratch your car. Use plastic tools or your hands.
- Forgetting to test the light: Always check the light before closing up.
- Not cleaning the inside: Dirt or water left behind can damage the new cover.
- Overtightening screws: This can crack the new cover or strip the threads.
Cost And Time Estimates
Replacing the tail light cover yourself usually takes 20–40 minutes. The cost depends on the cover you choose:
| Type | Price Range | Where to Buy |
|---|---|---|
| OEM | $80–$150 | Dealership, official parts site |
| Aftermarket | $30–$90 | Auto parts stores, online |
Labor at a shop can add $50 $100 to your total, so DIY is much cheaper.
Two Insights Beginners Miss
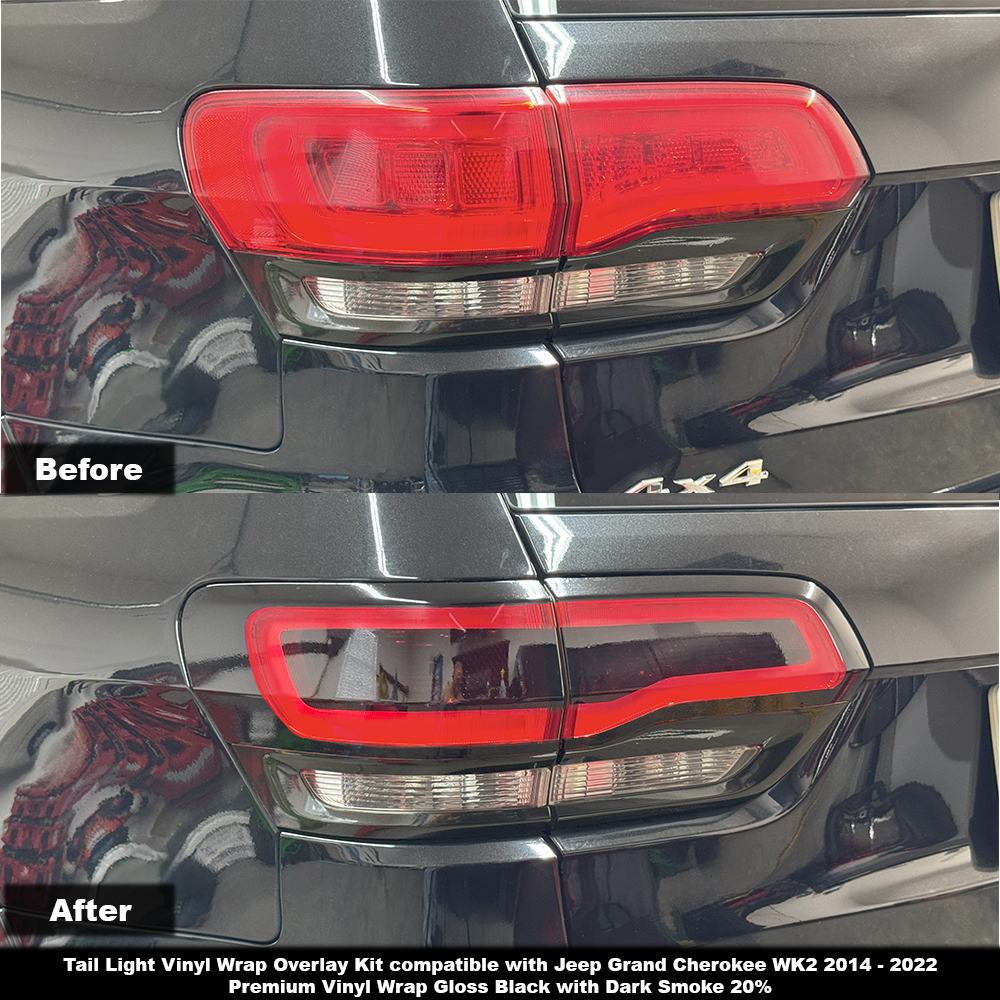
First, many people forget to check for moisture or rust inside the assembly. Even a small leak can damage the new cover or the bulb. Always dry and clean inside before installing the new cover.
Second, not all tail light covers are created equal. Some aftermarket covers may not have the same UV protection as OEM parts, which can cause them to turn yellow faster in the sun. If you park outside often, investing in a UV-resistant cover is smart.
For more detailed factory information, you can check the official Jeep Owner’s Site.
Frequently Asked Questions
How Do I Know If My Tail Light Cover Needs Replacing?
If you see cracks, holes, or foggy spots, it’s time to replace the cover. Moisture or dirt inside the light is also a sign the seal is broken.
Can I Drive With A Broken Tail Light Cover?
It’s not safe and may be illegal. Water can damage the bulbs, and you could get a ticket for faulty lights.
Do I Need Special Tools To Replace The Cover?
No special tools are needed. A screwdriver, socket set, and plastic trim tool are enough for most people.
Will A New Cover Fix A Light That Doesn’t Work?
A new cover won’t fix a broken bulb or wiring. If the light still doesn’t work after changing the cover, check the bulb and connections.
Where Can I Find The Right Part For My Jeep Grand Cherokee?
Check the owner’s manual for the part number. You can buy from a dealership, auto parts store, or online with the correct year and model details.
Replacing your 2017 Jeep Grand Cherokee’s tail light cover is a simple job that saves money and keeps your vehicle safe. Just follow the steps, avoid common mistakes, and take your time.
You’ll be back on the road with a clear, bright tail light in no time.