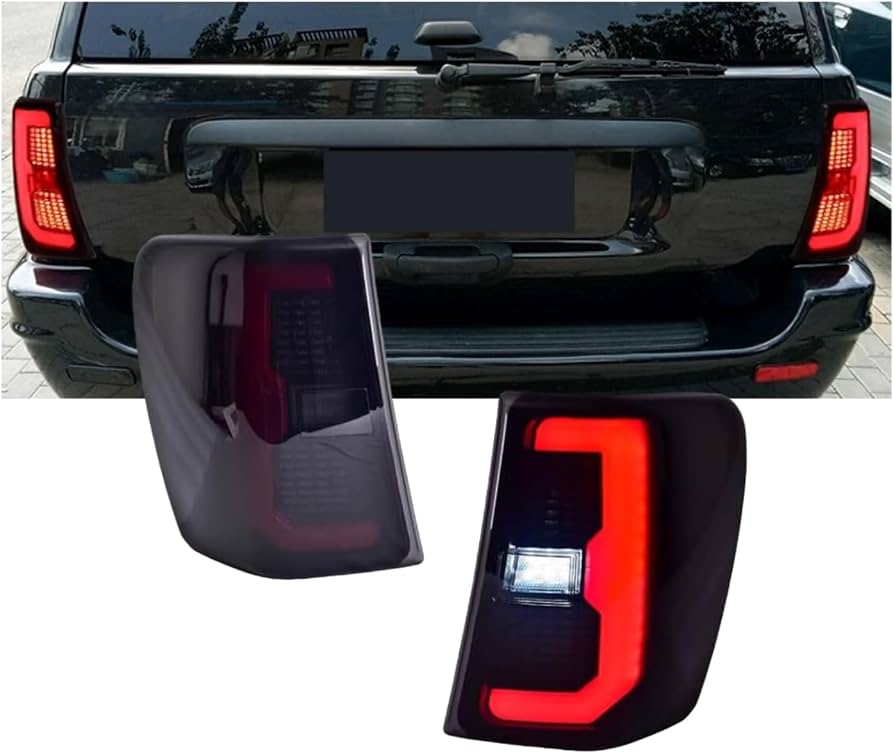
Replacing the tail light assembly on a Jeep Grand Cherokee may sound challenging, but with the right tools and clear steps, almost anyone can do it at home.
Whether your tail light is cracked, water is leaking inside, or it’s simply stopped working, changing the assembly yourself can save both time and money.
Many owners are surprised by how straightforward this process is, and a working tail light is not only required by law but also vital for safety.
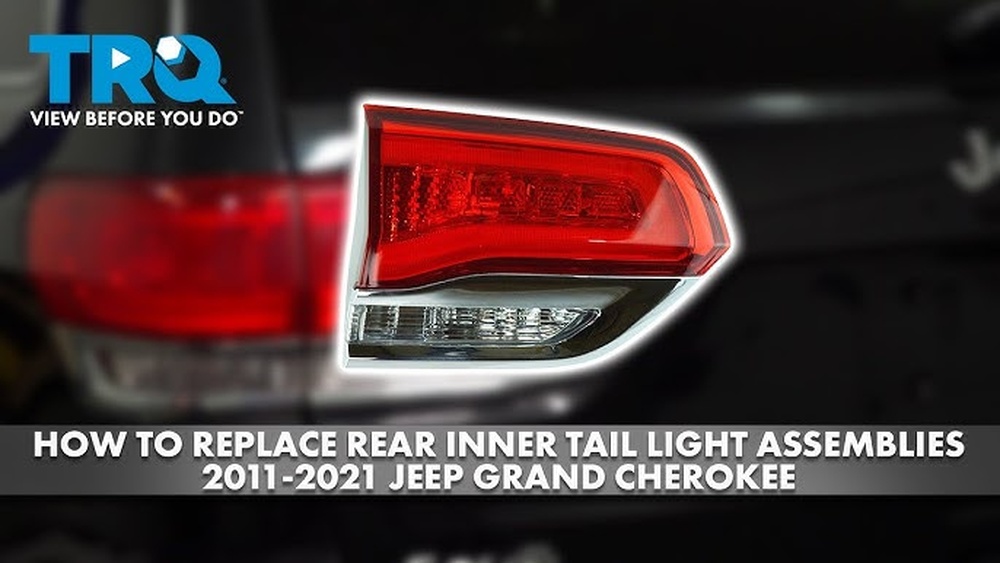
Here, you’ll find everything you need to know tools, step-by-step instructions, tips, and answers to questions people often miss.
Let’s make sure your Grand Cherokee stays visible and roadworthy.
Understanding The Tail Light Assembly
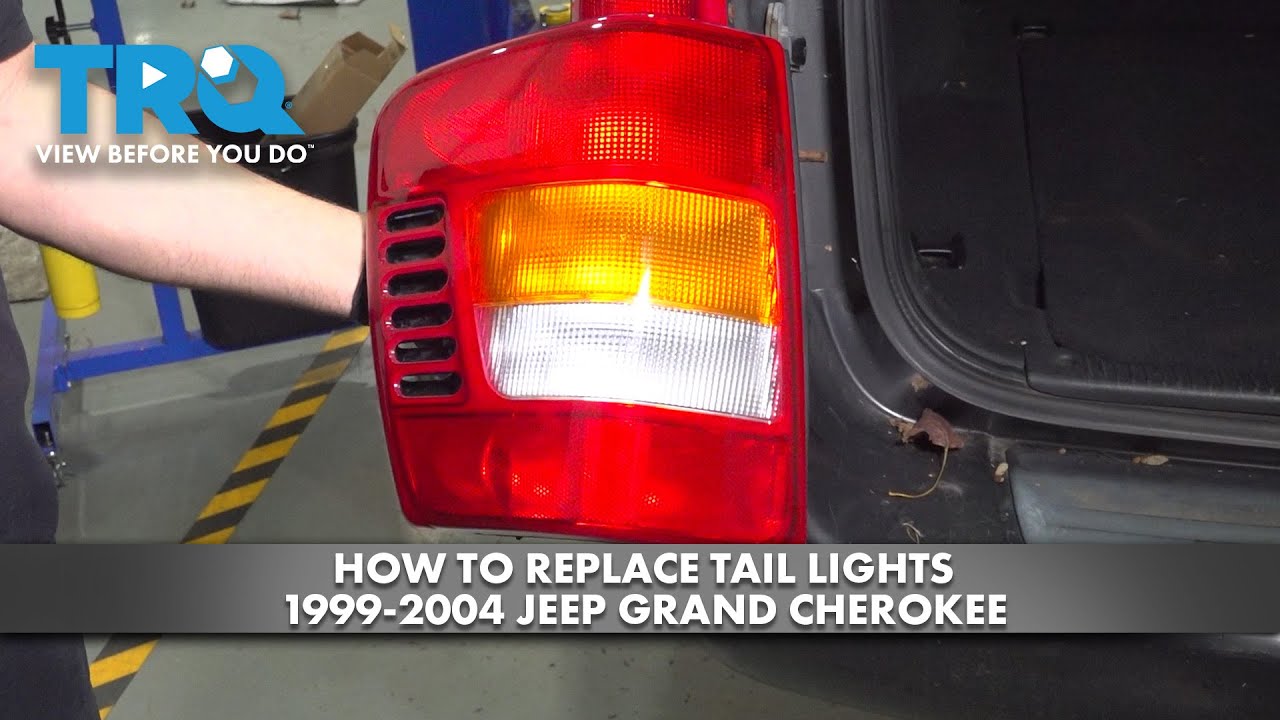
The tail light assembly is more than just a red cover. It’s a complete unit that includes the lens, housing, bulb sockets, and sometimes the bulbs themselves. On a Jeep Grand Cherokee, the assembly is designed to fit snugly into the rear quarter panel, keeping moisture out and ensuring all rear lights (brake, indicator, and reverse) work properly.
Over time, assemblies can become damaged from impacts, UV exposure, or simply wear out. If water gets inside, it can cause electrical problems or make bulbs burn out faster.
Many people think they can just change the bulb, but if the assembly is cracked or loose, a full replacement is often the safest choice.
Tools And Supplies You’ll Need
Before starting, gather these essential tools:
- Phillips and flathead screwdrivers
- 8mm or 10mm socket wrench (depending on model year)
- Trim removal tool or plastic pry tool
- Clean gloves (optional for handling bulbs)
- Replacement tail light assembly (for your Grand Cherokee’s specific year)
- New bulbs (if not included in the assembly)
- Microfiber cloth
Some owners overlook the need for a trim tool, but it prevents scratching your car’s paint when removing panels. Always double-check that your new assembly matches your Grand Cherokee’s model year.
Small differences in shape or wiring can cause big headaches.
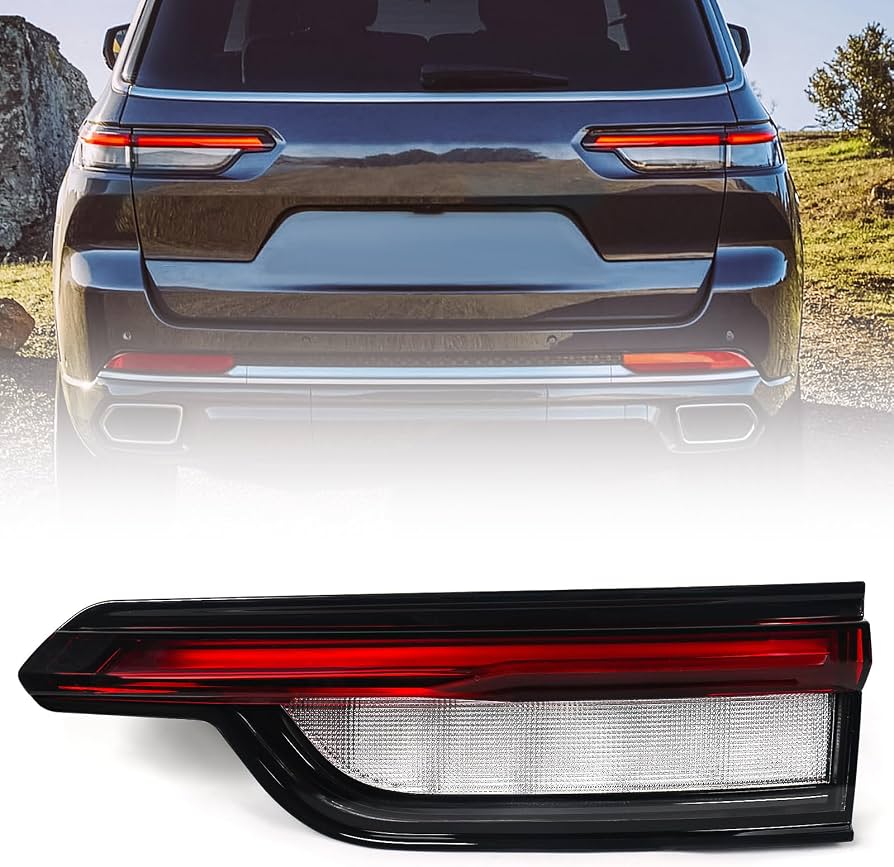
Step-by-step Guide: Replacing The Tail Light Assembly
Follow these steps to safely and effectively replace your tail light assembly.
1. Ensure Safety And Turn Off Power
Start by parking your Jeep on a level surface and turning off the ignition. Remove the key and, if possible, disconnect the negative battery cable. This extra step prevents accidental shorts or electrical issues.
2. Open The Rear Liftgate
Raise the rear liftgate to access the side of the tail light assembly. On some Grand Cherokees, you may need to fold down part of the rear seat for more space.
3. Remove Interior Access Panel
Inside the cargo area, locate the plastic access panel next to the tail light. Use the trim removal tool to gently pry this panel away. This exposes the mounting bolts for the assembly.
4. Unscrew The Tail Light Mounting Bolts
Using your socket wrench, remove the two or three bolts holding the assembly in place. Keep these bolts in a safe spot they’ll be reused.
5. Gently Remove The Tail Light Assembly
With the bolts out, grip the assembly and wiggle it gently. Some models have plastic clips, so pulling too hard can break them. If it’s stuck, use the trim tool to ease it out from the body.
6. Disconnect Wiring Harness
Carefully unplug the wiring harness from the back of the assembly. Press the release tab and pull straight out.
Avoid pulling on the wires themselves, as this can damage the connector.
7. Transfer Bulbs (if Needed)
If your new assembly does not come with bulbs installed, twist and remove the old bulbs from the old unit and insert them into the new one. Make sure each bulb is secured tightly.
8. Install The New Assembly
Plug the wiring harness into the new tail light. Align the assembly with the body, ensuring all clips and holes match up. Push it gently into place.
9. Reinstall Mounting Bolts
Screw the bolts back in, tightening them evenly. Do not overtighten, as this can crack the plastic housing.
10. Replace Interior Panel
Snap the interior access panel back into place.
11. Test The Lights
Before closing the liftgate, check all functions tail lights, brake lights, turn signals, and reverse lights. If something doesn’t work, double-check the wiring connections and bulb placement.
12. Final Clean-up
Wipe any fingerprints off the new assembly with a microfiber cloth. Reconnect the battery if you disconnected it.
Here’s a quick comparison of tail light assembly replacement steps for the 2015 and 2021 Jeep Grand Cherokee models:
| Step | 2015 Grand Cherokee | 2021 Grand Cherokee |
|---|---|---|
| Access Panel | Plastic, inside cargo area | Removable trim, similar location |
| Mounting Bolts | 8mm socket | 10mm socket |
| Wiring Harness | Single clip connector | Multi-pin connector, more sensitive |
| Bulb Transfer | Usually needed | Often included in assembly |
Common Mistakes To Avoid
Many DIYers make small errors that lead to frustration or more repairs. Here are some common mistakes and how to avoid them:
- Forgetting to test all functions before finishing. Always check every light—tail, brake, indicator, and reverse.
- Overtightening bolts, which can crack the plastic or strip the threads.
- Not matching the assembly to the model year. Assemblies look similar but small changes in wiring can cause fit or function issues.
- Skipping battery disconnection. This can lead to fuses blowing if you accidentally short wires.
- Touching new bulbs with bare hands. Oil from your skin can reduce bulb life—use gloves or a clean cloth.
One non-obvious insight: sometimes a tail light stops working not because of the assembly but due to a blown fuse or wiring issue. If a new assembly doesn’t fix the problem, check your fuses and wiring before replacing more parts.
Choosing The Right Replacement Assembly
With many options available, picking the right tail light assembly is important. Here’s a quick comparison of original equipment manufacturer (OEM) versus aftermarket assemblies:
| Feature | OEM | Aftermarket |
|---|---|---|
| Fit | Exact match | May require adjustments |
| Quality | Consistent, reliable | Varies by brand |
| Price | Higher | Lower to mid-range |
| Warranty | Usually included | May be limited |
OEM assemblies are always a safe bet for perfect fit and function, but many aftermarket brands also offer high quality at a lower price. Check reviews, return policies, and make sure the assembly is DOT (Department of Transportation) approved.
How Long Does It Take?
For most people, this job takes about 20 to 40 minutes. If it’s your first time, take it slow and double-check each step. Rushing can cause mistakes or missed connections.
Real-world Example
A Jeep Grand Cherokee owner noticed water pooling inside the tail light after heavy rain. The lights started to flicker and then stopped working.
After replacing the assembly using the steps above, the problem was solved and the new lens looked much better than the faded original.
Another owner thought the assembly was faulty, but after installing a new one, the tail light still didn’t work. The real problem was a bad fuse.
This is a reminder to check all parts of the circuit if the new assembly doesn’t fix the issue.
Cost To Replace Tail Light Assembly
Here’s a look at typical costs for a Jeep Grand Cherokee tail light assembly replacement:
| Option | Cost (Parts) | Labor (if paid) | Total Estimate |
|---|---|---|---|
| DIY with Aftermarket | $70 – $150 | $0 | $70 – $150 |
| DIY with OEM | $180 – $350 | $0 | $180 – $350 |
| Professional Shop | $180 – $350 | $80 – $120 | $260 – $470 |
Doing the replacement yourself can save a significant amount, especially if you’re comfortable with basic tools.
Tips For A Smoother Installation
- Check for moisture: If you see condensation inside the new assembly after installation, remove and reseat it, making sure the gasket seals tightly.
- Keep old hardware: Sometimes new assemblies don’t include mounting bolts or clips.
- Label wires: If you’re unsure which connector goes where, label them before unplugging.
- Test before final assembly: Plug in the new tail light and test it before screwing everything back together.
- Don’t rush: Taking your time reduces the risk of breaking clips or scratching paint.
A tip many people miss: if your Grand Cherokee is still under warranty, check with your dealer before replacing the assembly yourself. DIY repairs could affect coverage for related electrical issues.
How Do I Know If My Tail Light Assembly Needs To Be Replaced?
If your tail light lens is cracked, foggy, or has water inside, it’s time for a replacement. Also, if multiple bulbs keep failing or the assembly feels loose, these are signs of internal damage or poor sealing.
Can I Replace The Tail Light Assembly Myself, Or Do I Need A Mechanic?
Most Jeep Grand Cherokee owners can replace the assembly with basic tools and careful following of instructions. However, if you are uncomfortable with wiring or disassembly, a mechanic can do it quickly.
Do I Need To Disconnect The Battery Before Replacing The Tail Light?
It’s strongly recommended to disconnect the negative battery cable. This protects you from electrical shorts and prevents accidental fuse blowing.
Will An Aftermarket Tail Light Assembly Affect My Car’s Warranty?
In most cases, using an aftermarket assembly for a simple replacement will not affect your vehicle warranty. But if the assembly causes electrical issues or if your vehicle is under a bumper-to-bumper warranty, check with your dealer first.
Where Can I Find A Reliable Replacement Tail Light Assembly For My Jeep Grand Cherokee?
You can find high-quality assemblies at auto parts stores, Jeep dealerships, or trusted online retailers. Always check that the part is DOT approved and matches your year and trim. For official guidance and specifications, visit the Jeep Official Site.
Replacing your Jeep Grand Cherokee’s tail light assembly is a practical skill that saves money and ensures your safety on the road. With the right approach, you’ll have your lights shining bright again in no time.