Replacing the shifter light in a Jeep ZJ (the 1993–1998 Grand Cherokee) is a common fix for owners who want to restore visibility to their gear selector at night. The job is not as tricky as it might seem, but if you have never taken apart a center console before, it can be intimidating.
This guide will show you how to handle the replacement step by step, using plain English and clear directions. With a few basic tools, a bit of patience, and some attention to detail, you can bring back the shifter light and improve your night driving experience.
Why The Shifter Light Matters
The small light under your Jeep ZJ’s shifter isn’t just for looks. When working, it helps you see which gear you’re in, especially in low-light conditions. If you often drive at night or in early morning hours, a working shifter light is more than a convenience—it’s a safety feature. Many ZJ owners ignore a dead shifter bulb, but fixing it makes your Jeep feel newer and easier to use.

Tools And Parts You’ll Need
Before starting, gather the right tools and parts. Using the correct items will save time and prevent damage to the plastic interior panels.
Tools:
- Phillips screwdriver
- Flathead screwdriver (for prying)
- Small socket set (usually 10mm)
- Needle-nose pliers
- Flashlight
Parts:
- Replacement shifter bulb (Type: 161, 194, or equivalent)
- Clean rag or gloves (for handling the new bulb)
Optional but recommended:
- Vacuum or compressed air (to clean under the console)
- Interior trim removal tool (to avoid scratching plastic)
Understanding The Jeep Zj Shifter Light Assembly
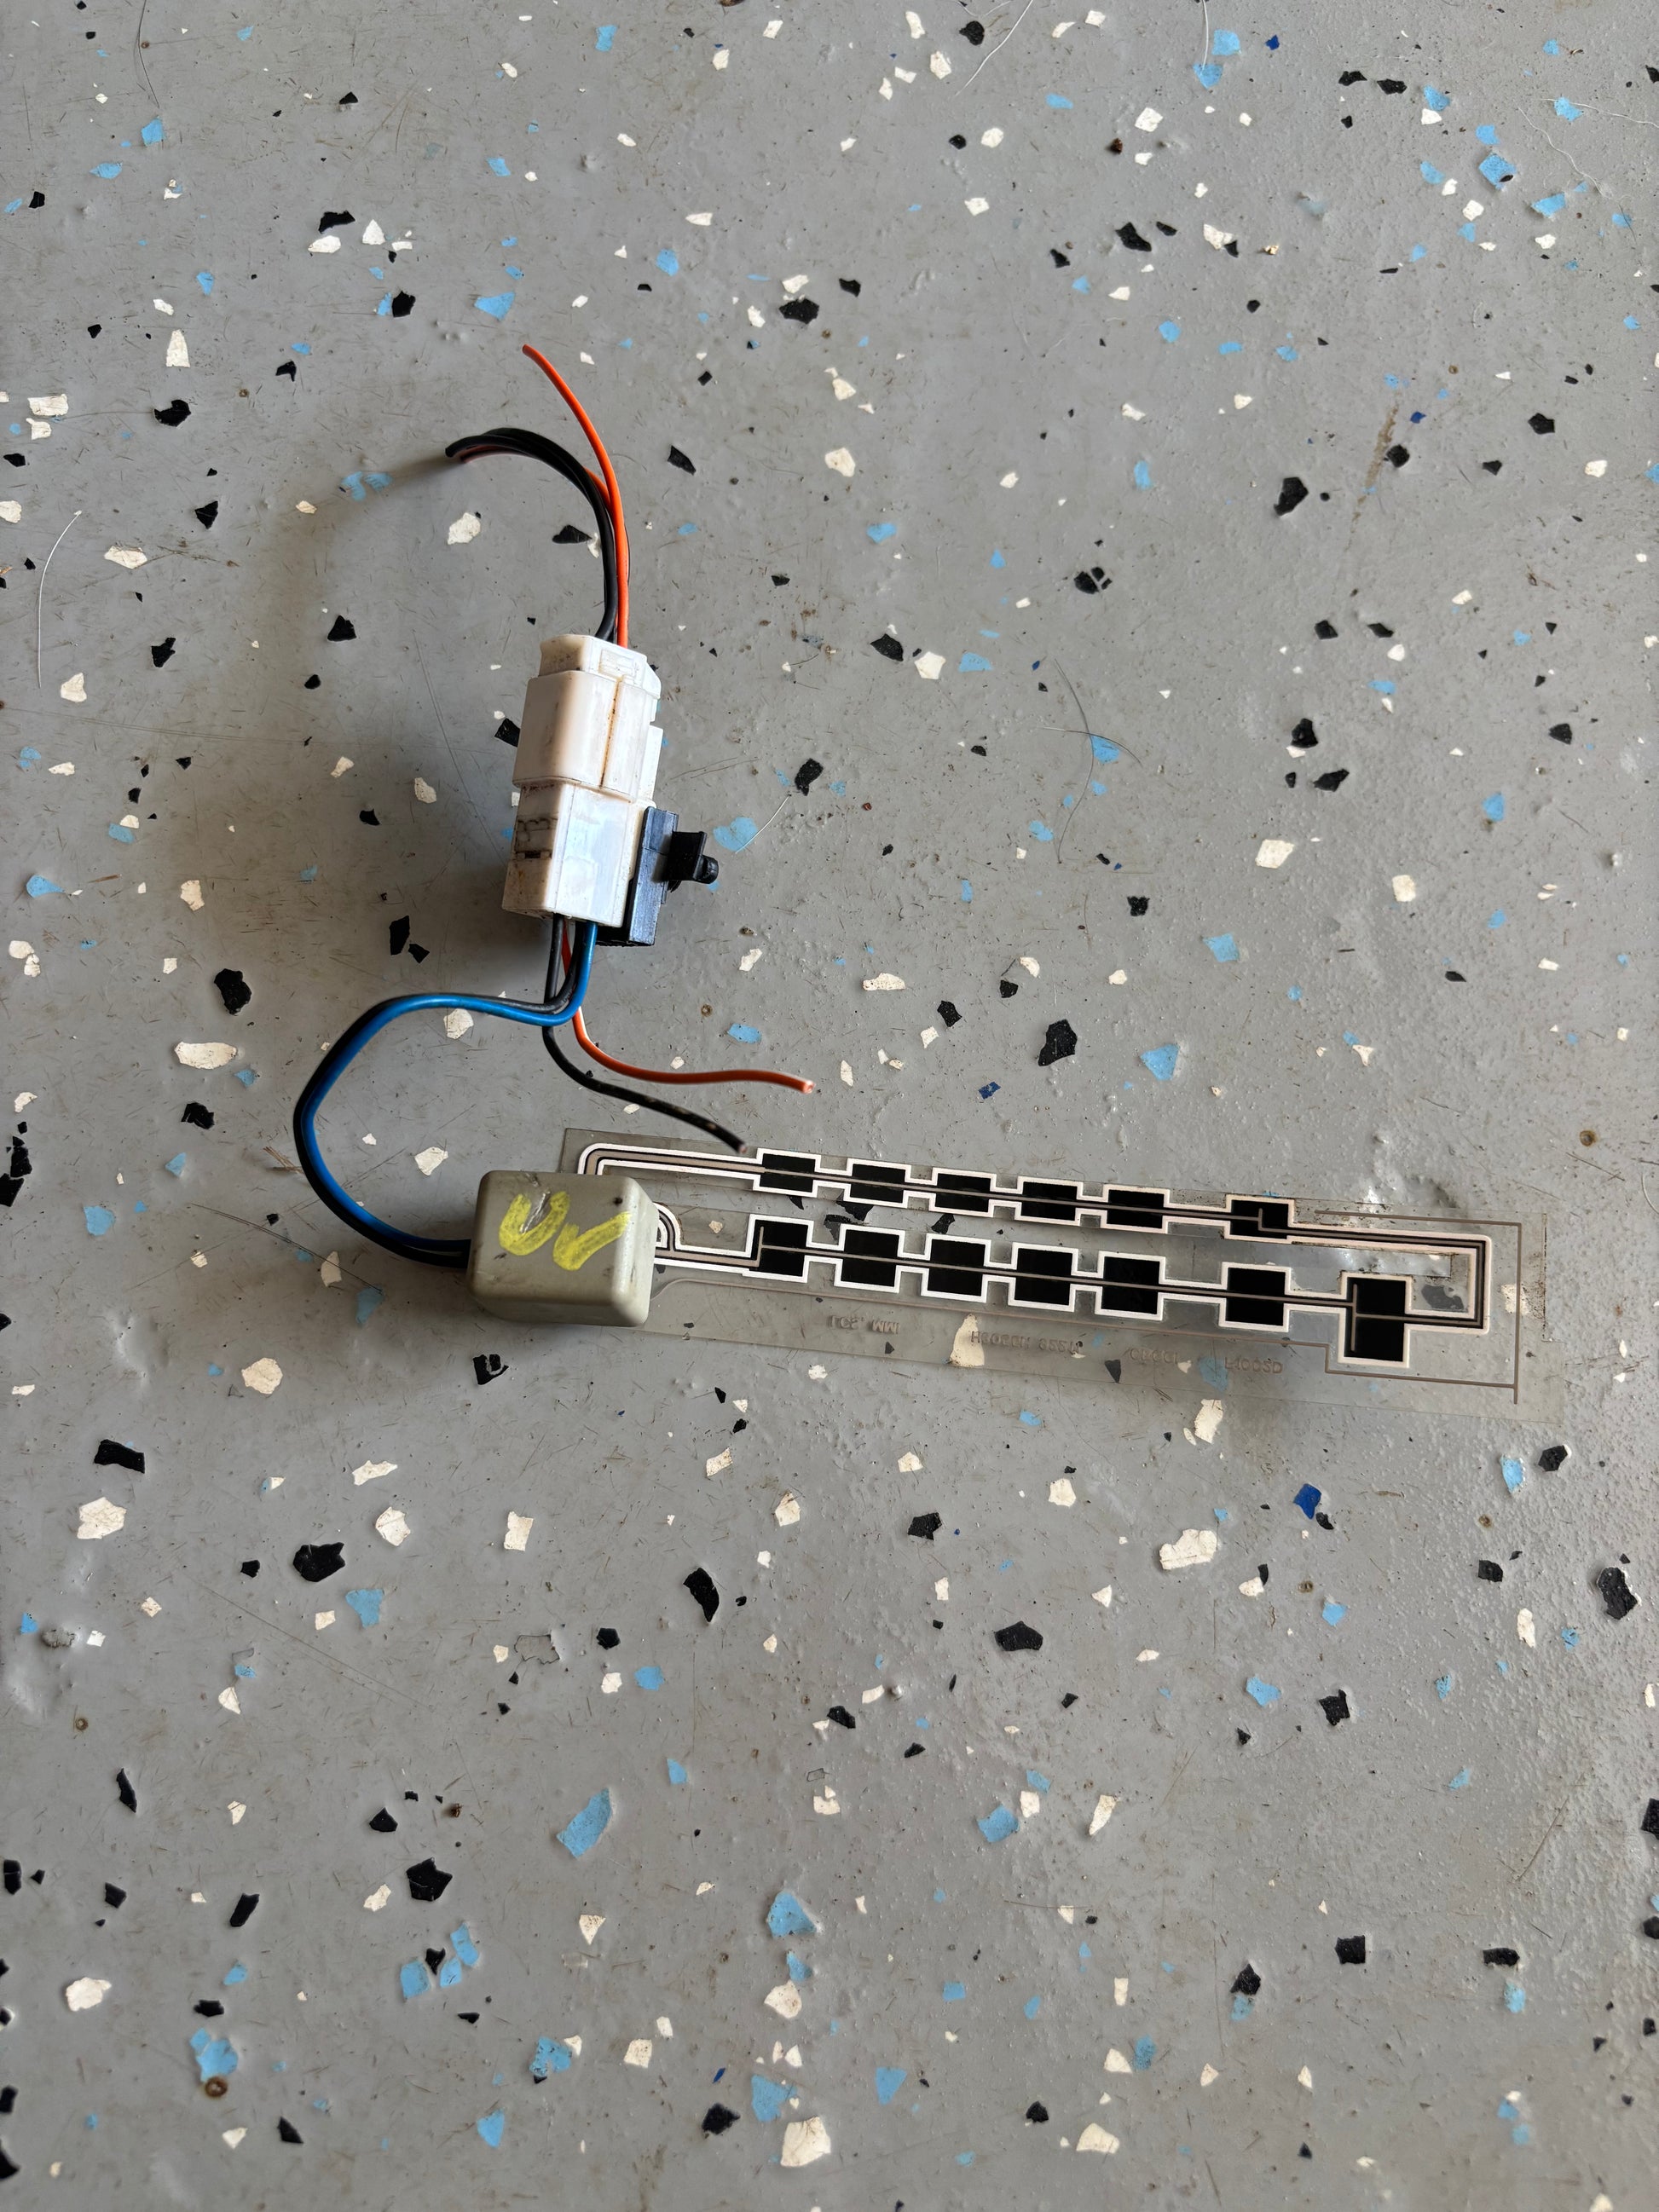
The shifter light is located under the center console, near the gear indicator. It’s a small bulb, but its location makes it less accessible than most dash lights.
Here’s a quick look at where the shifter bulb sits compared to other common Jeep ZJ bulbs:
| Bulb Location | Bulb Type | Ease of Access |
|---|---|---|
| Instrument cluster | 194 | Moderate |
| Climate controls | 74 | Easy |
| Shifter indicator | 161/194 | Difficult |
| Dome light | 212-2 | Easy |
Many ZJ owners discover that replacing the shifter light takes more time than swapping other bulbs due to the need to partially disassemble the center console.
Step-by-step: How To Replace Jeep Zj Shifter Light
Let’s break down the process so you can complete it confidently.
1. Ensure Safety And Prepare The Area
Park your Jeep on a flat surface. Shift into park and engage the parking brake. Turn off the engine and remove the key. Disconnect the negative battery terminal to prevent any accidental shorts or electrical issues while working with the console.
Place a rag or towel over the exposed metal parts to avoid scratches.
2. Remove The Center Console
You will need to access the area underneath the shifter bezel (the plastic trim around the shifter). Here’s how:
- Open the center armrest and remove anything inside the storage compartment.
- Look for screws at the bottom of the storage bin. Remove them with your Phillips screwdriver.
- Gently pry up the edges of the center console, starting from the rear. You may need a flathead screwdriver or a trim removal tool.
- Move the console upward and backward to clear the shifter. Be careful not to break any clips.
If your model has power window switches or other wiring attached, disconnect the connectors before fully removing the console.
3. Remove The Shifter Bezel
The shifter bezel is the plastic piece that surrounds the gear lever.
- Use a flathead screwdriver (wrapped in a cloth) to gently pry up the bezel.
- Some models have small screws; remove these first.
- Lift the bezel carefully, watching for any wires underneath.
4. Locate And Remove The Old Shifter Bulb
Once the bezel is off, you will see a small bulb holder near the shifter assembly. It may be dusty or dirty, so use a flashlight to help spot it.
- Twist the bulb holder counterclockwise to remove it from the housing.
- Pull the old bulb straight out. If it’s stuck, use needle-nose pliers gently.
Pro tip: Take note of the bulb’s orientation. Some holders only fit one way.
5. Install The New Bulb
- Using gloves or a clean rag, insert the new bulb into the holder. Oils from your skin can shorten the bulb’s life.
- Push it in firmly, but don’t force it.
- Reinstall the bulb holder by twisting it clockwise until it locks.
6. Test The New Shifter Light
Before reassembling everything, reconnect the negative battery terminal. Turn the ignition key to the “on” position (do not start the engine). Check if the shifter light comes on when you turn on the headlights.
If the bulb works, continue. If not, check the bulb orientation, the wiring, and the fuse.
7. Reassemble The Console
- Replace the shifter bezel, ensuring it clicks or screws into place.
- Reconnect any electrical plugs you removed.
- Slide the center console back into position, making sure it fits snugly.
- Replace all screws in the storage compartment.
- Return any items to the storage bin.
8. Final Check And Clean Up
Test the shifter light again at night to confirm it’s working as expected. Take this opportunity to vacuum or clean under the console, as this area often collects dust and debris.
Common Problems And Solutions
Some issues can pop up during or after replacing the shifter light. Here are a few you might encounter:
- New bulb doesn’t work: Double-check the bulb type, orientation, and connections.
- Console won’t fit properly: Ensure no wires are pinched or blocking the way.
- Loose or missing screws: Keep all hardware organized during disassembly.
- Broken clips: Replacement clips are available at most auto parts stores.
If the new bulb burns out quickly, consider using an LED replacement. LEDs last longer but may require a resistor to work correctly in older vehicles.
Tips For A Smoother Replacement
- Photograph each step. Use your phone to take pictures as you remove parts. This makes reassembly easier.
- Label small parts. Keep screws and clips in labeled bags.
- Use a magnetic tray. It prevents losing metal parts.
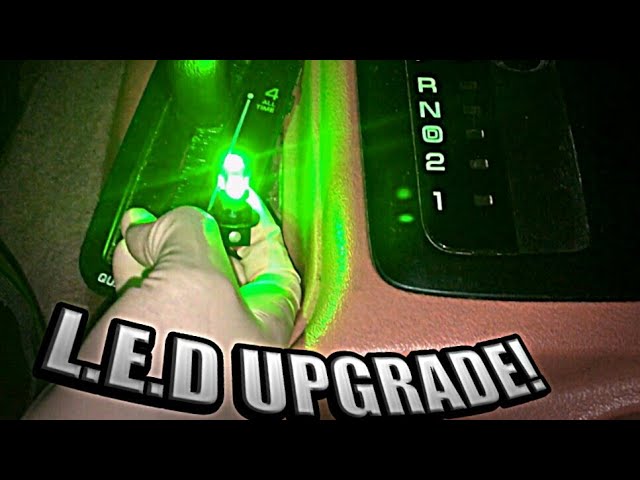
- Upgrade to LEDs. They provide a brighter, longer-lasting light, but check for compatibility.
- Clean as you go. A clean interior makes the job more pleasant.
How Long Does The Job Take?
Most Jeep ZJ owners can replace the shifter light in about 45 60 minutes. Beginners might need up to two hours, especially if it’s the first time taking apart a console.
Here’s a quick comparison of DIY skill levels and estimated time:
| Experience Level | Estimated Time | Risk of Errors |
|---|---|---|
| Beginner | 1–2 hours | Moderate |
| Intermediate | 45–60 minutes | Low |
| Expert | 30–45 minutes | Very Low |
Most delays happen when owners rush or lose screws. Taking your time and staying organized makes the process smoother.
Cost Breakdown
Replacing the Jeep ZJ shifter light is affordable. Here’s what you can expect:
| Item | Approximate Cost |
|---|---|
| Replacement bulb (single) | $2–$5 |
| LED bulb (upgrade) | $5–$15 |
| Trim removal tool (optional) | $5–$10 |
| Professional labor (optional) | $50–$100 |
Most owners will only need a bulb and a few basic tools, making this a budget-friendly repair.
Two Insights Beginners Often Miss
- Console wiring can be fragile. Many ZJs are over 20 years old. When disconnecting any plugs under the console, do so gently. Pull on the connector, not the wires. Damaging these can lead to more serious electrical problems.
- Bulb holder corrosion. Sometimes the bulb socket has light corrosion that blocks power. If the new bulb doesn’t light up, use a small brush or contact cleaner on the socket before giving up on the wiring.
Environmental And Led Considerations
While original equipment bulbs are cheap and easy to find, upgrading to an LED shifter bulb has benefits. LEDs use less energy and last much longer. However, in some cases, you may notice flickering or uneven lighting if the Jeep’s wiring isn’t compatible with LEDs. If you go this route, choose a high-quality LED bulb designed for automotive use and check online forums for other ZJ owners’ experiences.
Disposing of old bulbs properly is also important. Most auto parts stores accept used bulbs for recycling.

When To Ask For Professional Help
If you encounter broken parts, stubborn screws, or electrical problems, it’s okay to ask a mechanic for help. This is especially true if you notice other issues like flickering dash lights or a non-working power window while you have the console apart.
Sometimes, fixing one problem uncovers another.
Frequently Asked Questions
How Do I Know Which Bulb Type To Buy For My Jeep Zj Shifter Light?
Most Jeep ZJs use a 161 or 194 bulb for the shifter indicator. Check your owner’s manual or take out the old bulb and match the numbers printed on it. Auto parts stores can also look up the correct bulb if you tell them your vehicle year and model.
Can I Replace The Shifter Light With An Led Bulb?
Yes, you can use an LED replacement bulb if it fits the socket. LEDs are brighter and last longer than standard bulbs, but in some Jeeps, they may flicker or not work correctly without extra resistors. Always choose a quality LED designed for automotive use.
Why Did My New Shifter Bulb Burn Out Quickly?
This can happen if you touched the glass with bare fingers, if there’s a wiring issue, or if you used a poor-quality bulb. Always handle new bulbs with gloves or a clean cloth and check for corrosion in the bulb holder.
Is It Safe To Drive Without A Working Shifter Light?
While your Jeep will still drive, not having a working shifter light makes it harder to see gear positions at night. This can lead to shifting mistakes. For best safety and comfort, replace the bulb as soon as possible.
Where Can I Find More Information Or A Video Guide?
You can find detailed step-by-step videos and community advice on Jeep forums and reliable auto resources like WikiHow.
Replacing the shifter light in your Jeep ZJ takes a little time but pays off in night-time safety and comfort. With the right tools and a bit of patience, you can handle this DIY repair and avoid costly trips to the mechanic.
Whether you stick with a standard bulb or upgrade to LED, you’ll be glad you restored this small but important feature in your classic Grand Cherokee.