Replacing the tail light on a 2010 Jeep Liberty is a straightforward DIY task, but many owners feel nervous about tackling it themselves. With the right tools and a bit of guidance, you can save both time and money by skipping a trip to the mechanic. This guide will walk you through every step, highlight useful tips, and help you avoid common mistakes. Whether your tail light is cracked, faded, or simply not working, you’ll find all the information you need right here.
Why Tail Light Replacement Matters
A working tail light is not just about avoiding tickets—it’s a key safety feature. Tail lights make your vehicle visible to other drivers, especially at night or in bad weather. In the United States, driving with a broken or non-functional tail light can result in fines. According to the NHTSA, about 23% of rear-end collisions happen due to poor rear visibility. So, keeping your tail lights in top shape is more important than many people realize.
Tools And Parts You’ll Need
Before you start, gather these items:
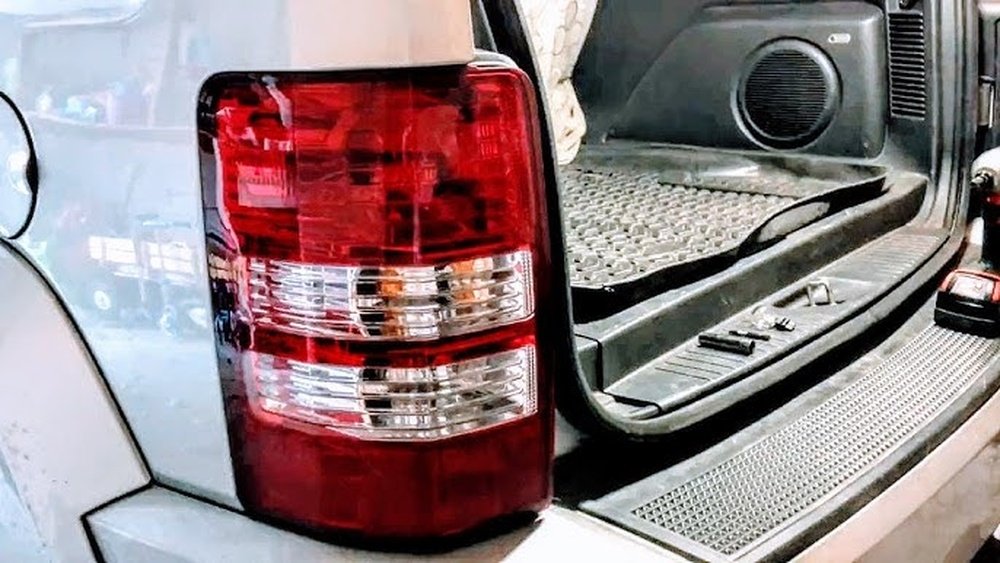
- New 2010 Jeep Liberty tail light assembly (right or left, as needed)
- Phillips head screwdriver
- Socket wrench set (commonly 8mm or 10mm)
- Gloves (to protect your hands)
- Clean rag
Tip: Double-check your tail light assembly. The 2010 Jeep Liberty uses slightly different assemblies for the right and left sides. Make sure you buy the correct one.
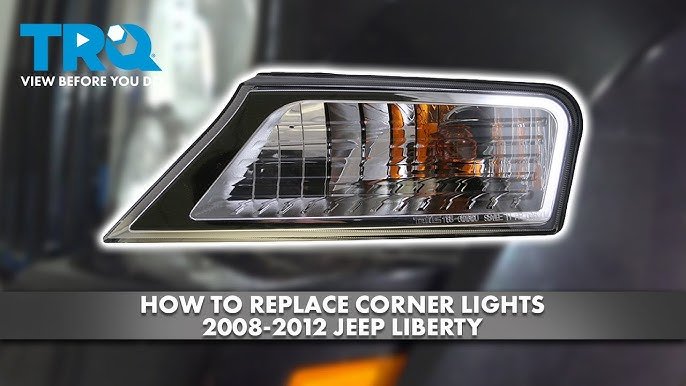
Removing The Old Tail Light
1. Open The Rear Hatch
Open the Jeep’s rear hatch to access the screws on the tail light housing.
2. Remove The Screws
Use a Phillips screwdriver to take out the two screws located on the inside edge of the tail light. Keep these screws safe they will be reused.
3. Gently Pull Out The Tail Light
With the screws removed, grip the tail light and gently pull it straight out. There may be plastic tabs holding it in place, so apply steady pressure but do not force it.
4. Disconnect The Wiring Harness
Press the tab on the electrical connector and carefully unplug it from the tail light assembly.
Common Mistakes To Avoid
- Don’t use excessive force; the plastic can crack.
- Never let the tail light dangle by the wires, as this may damage the harness.
Installing The New Tail Light
1. Connect The Wiring Harness
Plug the wiring harness into the new tail light until you hear a click.
2. Align And Insert The New Tail Light
Line up the tabs and gently push the new assembly into place.
3. Secure With Screws
Reinstall the two screws you removed earlier. Tighten them just enough to hold the assembly snugly overtightening can crack the plastic.
4. Test The Tail Light
Before closing the hatch, turn on your vehicle’s lights and check that the new tail light works for both the brake and running lights.
Replacing Tail Light Bulbs Only
Sometimes, only the bulb is burnt out. Here’s how to change just the bulb:
- Remove the tail light assembly as described above.
- Twist the bulb socket counterclockwise to remove it from the housing.
- Pull the old bulb straight out and insert the new one.
- Reinstall the socket and tail light assembly.
Tip: Use gloves or a clean rag when handling new bulbs. Oils from your skin can shorten bulb life.
Cost Comparison: Diy Vs. Mechanic
Here’s a quick look at what you might spend:
| Replacement Method | Parts Cost | Labor Cost | Total Cost |
|---|---|---|---|
| DIY | $40–$80 | $0 | $40–$80 |
| Mechanic | $40–$80 | $50–$120 | $90–$200 |
DIY replacement can save you as much as 60% compared to a visit to the shop.

How To Choose The Right Tail Light Assembly
There are several options when buying a replacement:
| Type | Price Range | Warranty | Quality |
|---|---|---|---|
| OEM (Original) | $70–$110 | 1 year | High |
| Aftermarket | $40–$70 | 6 months–1 year | Medium to High |
OEM parts fit perfectly and last longer, but aftermarket parts are more budget-friendly. Always check reviews before buying online.
Quick Reference: Bulb Types And Specs
For the 2010 Jeep Liberty tail light:
| Function | Bulb Type | Part Number |
|---|---|---|
| Brake/Stop | Incandescent | 3157 |
| Turn Signal | Incandescent | 3157 |
| Reverse | Incandescent | 921 |
Always confirm your bulb type in the owner’s manual or by checking the old bulb.

Practical Tips For Success
- Work in a well-lit area to spot small screws and tabs.
- Keep all removed parts together to avoid losing them.
- Inspect the tail light wiring for wear or corrosion during replacement.
- If water or moisture is present inside the tail light, check the gasket for damage.
Many DIYers miss the chance to check their other tail lights when replacing just one. A quick check can prevent future problems and keep you safe.
Frequently Asked Questions
How Long Does It Take To Replace A 2010 Jeep Liberty Tail Light?
Most people can finish the job in 10–20 minutes, even with basic tools.
Do I Need To Disconnect The Battery Before Replacing The Tail Light?
It’s not required for tail light replacement. However, if you feel safer or plan to touch any wiring, disconnecting the negative battery terminal adds extra protection.
Can I Use Led Bulbs In My 2010 Jeep Liberty?
Yes, you can upgrade to LED bulbs if they match the socket type. LEDs last longer and are brighter, but check for compatibility to avoid electrical issues.
What Should I Do If The New Tail Light Doesn’t Work?
First, check the wiring connection and bulb installation. If everything looks correct, test with another bulb or assembly to rule out a faulty new part.
Where Can I Find An Official Guide For Jeep Liberty Repairs?
You can view the official service manual and more detailed procedures on the Mopar Owner’s Site.
Replacing the tail light on your 2010 Jeep Liberty is a simple way to keep your vehicle legal and safe. With these steps and a bit of care, you’ll be back on the road in no time, with better visibility and peace of mind.


















