Removing the tail light wiring from a 2010 Jeep Grand Cherokee can seem challenging if you have never worked with automotive electrical systems before. However, with the right approach and a little patience, you can do this task safely and efficiently. Whether you’re replacing a damaged wire, upgrading your lights, or troubleshooting an electrical issue, understanding each step is essential.
Many owners are surprised to learn how accessible the tail light wiring is on this model. This guide will walk you through the process, highlight common mistakes, and share tips that even experienced DIYers sometimes overlook.
You’ll also find tables comparing tools and parts, plus answers to the most frequent questions.
Tools And Materials Needed
Before starting, gather all the necessary tools and materials:
- Phillips and flathead screwdrivers
- 10mm socket and ratchet
- Plastic trim removal tool
- Needle-nose pliers
- Electrical tape
- Multimeter (for testing)
- Replacement wiring (if needed)
- Gloves and safety glasses
Having everything ready saves time and reduces mistakes.
Preparing Your Jeep Grand Cherokee
Safety is the first priority. Start by parking your Jeep on a flat surface and turning off the ignition. Remove the key and disconnect the negative battery cable with the 10mm socket. This will prevent any accidental short circuits.
Open the rear liftgate and locate the tail light assemblies on either side. Clear out any cargo that might block access.
Accessing The Tail Light Assembly
To reach the wiring, you must first remove the tail light assembly:
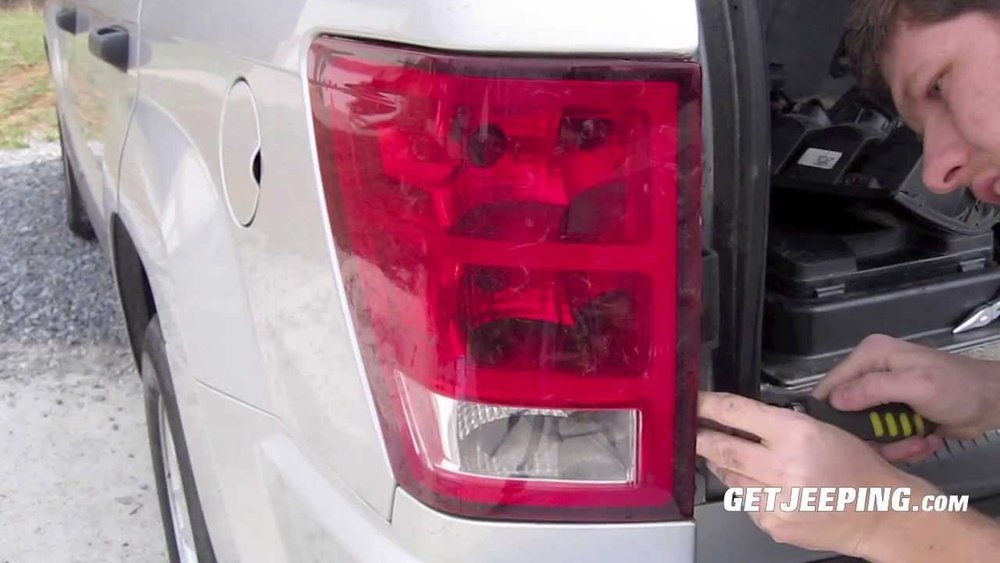
- Use the Phillips screwdriver to remove the two visible screws on the inside edge of the tail light.
- Carefully insert the plastic trim removal tool between the light and body. Gently pry outward to release the retaining clips.
- Pull the assembly straight back. Avoid wiggling side to side, as this can break the clips.
At this point, you will see the wiring harness connected to the tail light.
Common Mistakes
- Applying too much force and snapping the clips
- Forgetting to disconnect the battery, risking a short circuit
Disconnecting The Tail Light Wiring
The next step is to disconnect the wiring harness:
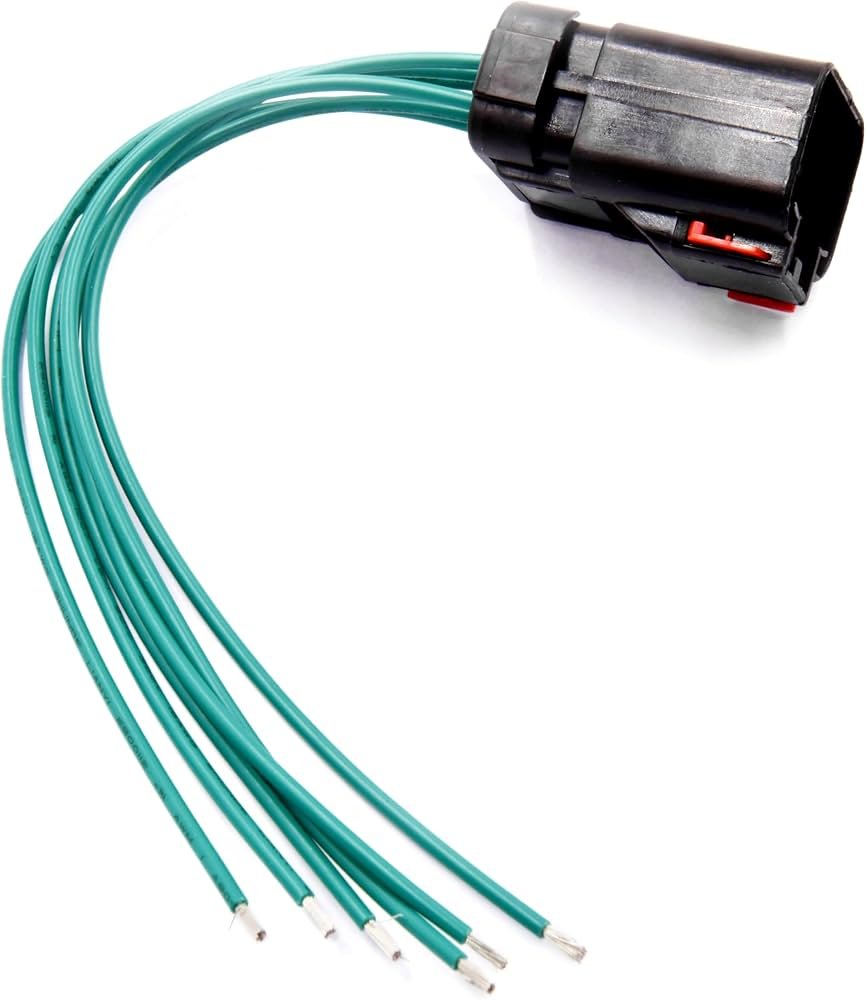
- Locate the main connector at the back of the tail light.
- Press down the locking tab and gently pull the connector free.
- If the tab is stuck, use the flathead screwdriver carefully to release it.
Each bulb socket (brake, turn signal, reverse) may have its own wiring. Twist each socket counterclockwise to remove it from the assembly.
Non-obvious Insights
- Sometimes, dirt or debris can make connectors hard to remove. A quick spray of electrical contact cleaner can help.
- Take photos before disconnecting anything. This makes reinstallation much easier.
Removing The Wiring From The Vehicle
To fully remove the wiring, trace the harness into the cargo area:
- Peel back the carpet or trim panel near the tail light opening.
- Locate the grommet where the wiring passes into the body.
- Pull the grommet free and gently feed the wiring through the hole.
Be careful not to yank or twist the wires. If the harness is clipped along the inside, use needle-nose pliers to release these clips.
Practical Tips
- If you feel resistance, check for hidden clips or zip ties.
- Label each connector with masking tape to avoid confusion during reassembly.
Inspecting And Handling The Wiring
Once removed, closely inspect the wiring harness:
- Look for any burned, frayed, or corroded wires.
- Use a multimeter to test for continuity if you suspect electrical problems.
- If you plan to reuse the harness, wrap any damaged areas with electrical tape or replace individual wires as needed.

Reinstallation (if Needed)
If you’re installing a new harness or reconnecting the old one:
- Feed the wiring through the grommet and into the cargo area.
- Secure all clips and ensure the grommet is seated to prevent water leaks.
- Reconnect the sockets and main connector to the tail light.
- Reinstall the assembly, aligning the clips and tightening the screws.
- Reconnect the battery and test all light functions before finishing.
Tool And Part Comparison
Here’s a quick look at the most common tools and their uses:
| Tool | Main Use | Notes |
|---|---|---|
| Phillips screwdriver | Remove screws | Essential for accessing assembly |
| Trim removal tool | Release clips | Prevents scratches |
| Needle-nose pliers | Release small clips | Useful for tight spaces |
| Multimeter | Test wiring | Diagnose electrical issues |
Wiring Harness: Oem Vs. Aftermarket
Choosing between OEM (original equipment manufacturer) and aftermarket wiring harnesses can affect performance and price.
| Type | Quality | Cost | Fit |
|---|---|---|---|
| OEM | High | $$$ | Perfect |
| Aftermarket | Varies | $$ | May need adjustment |
Electrical Connection Types
The 2010 Jeep Grand Cherokee uses a few different connector types:
| Connection | Function | Removal Method |
|---|---|---|
| Main harness connector | Powers all tail lights | Press tab, pull out |
| Bulb socket | Individual bulbs | Twist counterclockwise |
| Ground wire | Completes circuit | May be bolted or clipped |
Real-world Example
A common scenario is a Jeep owner noticing a tail light outage. They check the bulbs, but the issue remains. By removing the wiring and testing with a multimeter, they discover a broken ground wire inside the harness—a fix missed by just changing bulbs. This shows the value of thorough inspection.
Final Thoughts
Removing the tail light wiring on a 2010 Jeep Grand Cherokee is a manageable job with the right tools and careful attention. Take your time, document each step, and double-check all connections before finishing. If you’re ever in doubt, consult a professional or check the official Jeep website for diagrams and parts information.
With patience and preparation, you can handle this task confidently and keep your Jeep’s lights working perfectly.
Frequently Asked Questions
How Long Does It Take To Remove The Tail Light Wiring?
For most people, the whole process takes about 30-45 minutes. Beginners should allow extra time to avoid breaking clips or missing steps.
Do I Need To Remove The Bumper To Access The Wiring?
No, the bumper does not need to be removed. All wiring is accessible from inside the cargo area and behind the tail light assembly.
Can I Reuse My Old Wiring Harness?
If the harness is in good condition (no corrosion or broken wires), you can reuse it. However, any damaged wires should be replaced to avoid electrical problems.
What Are Signs Of A Faulty Tail Light Wiring Harness?
Common signs include flickering lights, bulbs that don’t work, or blown fuses. A multimeter can help you check for continuity and voltage.
Where Can I Find A Wiring Diagram For My Jeep?
The best source is the official Jeep service manual. Many diagrams are also available from trusted automotive websites or forums.


















