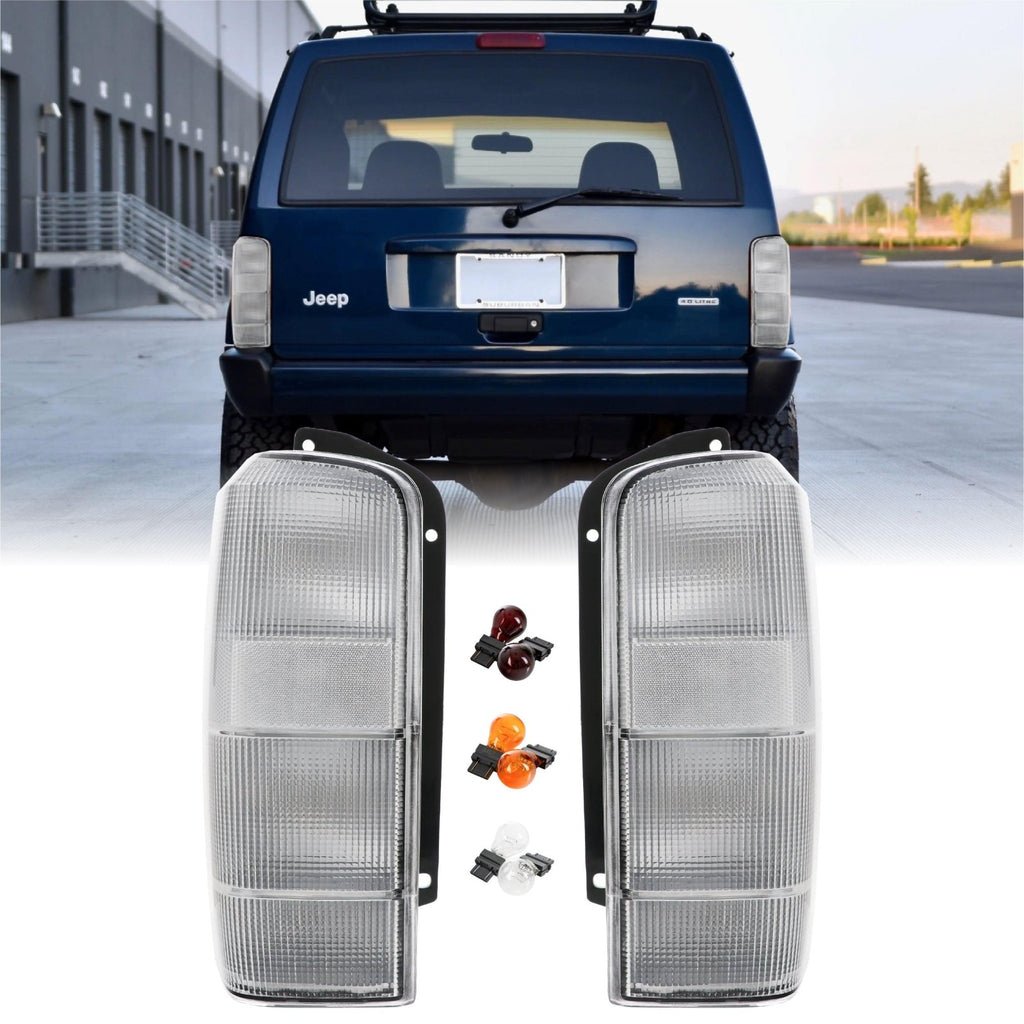
If you own a Jeep Cherokee XJ, you know it’s built for both adventure and reliability. Sometimes, though, you need to do a bit of maintenance—like replacing or cleaning the tail light. Whether your tail light is cracked, burnt out, or just needs a refresh, removing it yourself can save money and time. The process is straightforward with the right tools and a little guidance. Let’s walk through every step, including real tips that most guides miss.
Understanding Jeep Xj Tail Light Assembly
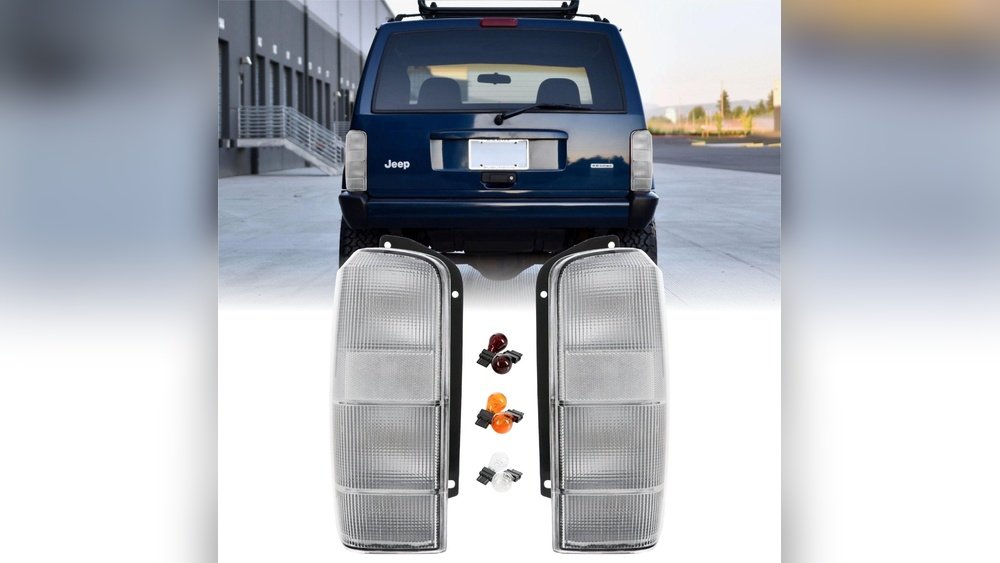
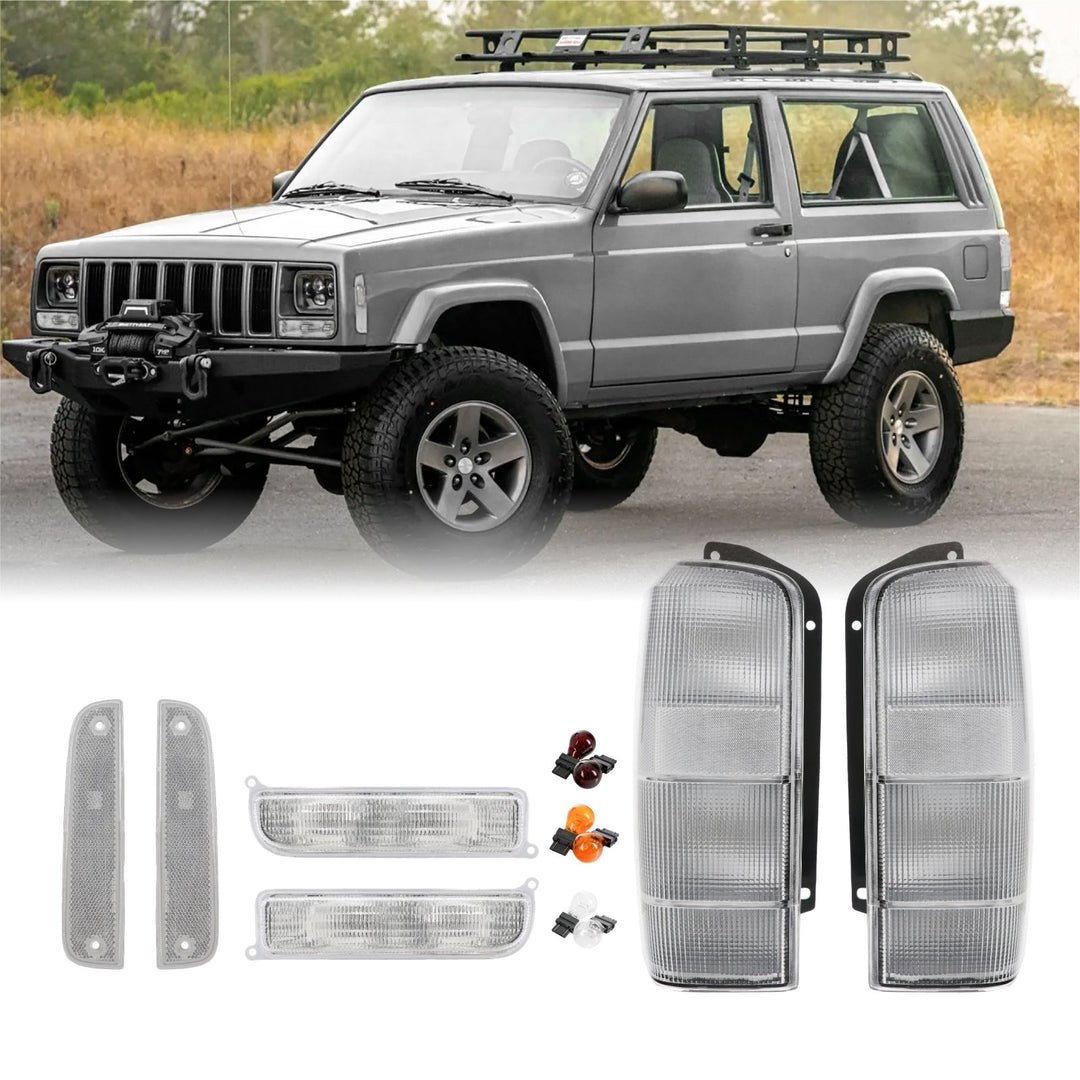
Before you start, it helps to know how the tail light assembly is constructed. The Jeep XJ (1984–2001) uses a simple design: the tail light is secured by a few screws and clips from inside the rear cargo area. The light itself is a combination unit, containing the brake, reverse, and turn signal lights.
Here’s a quick comparison of the Jeep XJ tail light assembly versus newer Jeep models:
| Model | Attachment Type | Tools Needed | Removal Difficulty |
|---|---|---|---|
| Jeep XJ (1984–2001) | Screws, clips | Phillips screwdriver, socket wrench | Easy |
| Jeep Grand Cherokee (2015+) | Clips, hidden bolts | Trim tool, Torx bit | Medium |
This simplicity means most owners can remove the tail light themselves with basic tools.
Tools And Preparation
Gather these items before starting:
- Phillips screwdriver
- Socket wrench (8mm or 10mm, depending on year)
- Trim removal tool (optional but helpful)
- Work gloves
- Protective eyewear
For safety, disconnect the negative battery terminal. This prevents electrical shorts if you accidentally touch wires.
Step-by-step: Removing Jeep Xj Tail Light
Follow these steps for a smooth removal:
- Open the Rear Hatch
- Access the tail light from inside the cargo area.
- Locate Mounting Screws
- Most XJs have two to three screws holding the tail light. They are on the side edge of the light, visible when the hatch is open.
- Remove Screws Carefully
- Use a Phillips screwdriver to loosen each screw. Keep them safe—you’ll need them for reinstallation.
- Gently Pry Out the Tail Light
- The tail light may stick due to weather seals or dirt. Wiggle it gently or use a trim tool to avoid cracking the plastic.
- Disconnect the Wiring Harness
- Press the connector tab and pull it out. If the connector feels stuck, spray a small amount of electrical contact cleaner and try again.
- Inspect the Area
- Check for rust or broken clips around the opening. Clean away dirt before installing a new or cleaned tail light.
Here’s a quick guide for screw locations:
| Year | Number of Screws | Position |
|---|---|---|
| 1984–1996 | 3 | Side edge |
| 1997–2001 | 2 | Side edge |
Common Mistakes And Insider Tips
Many first-timers make small errors that lead to frustration or extra work. Here’s how to avoid them:
- Don’t overtighten screws during reassembly—this can crack the plastic housing.
- Avoid prying with metal tools unless absolutely necessary; always use plastic trim tools to prevent paint scratches.
- Check the gasket before reinstalling. If it’s worn, water could leak into your cargo area or wiring.
- Save time by replacing burnt bulbs now, while the tail light is out.
- If you see corrosion on the wiring harness, clean it with a brush and apply dielectric grease.
When To Replace Vs. Repair
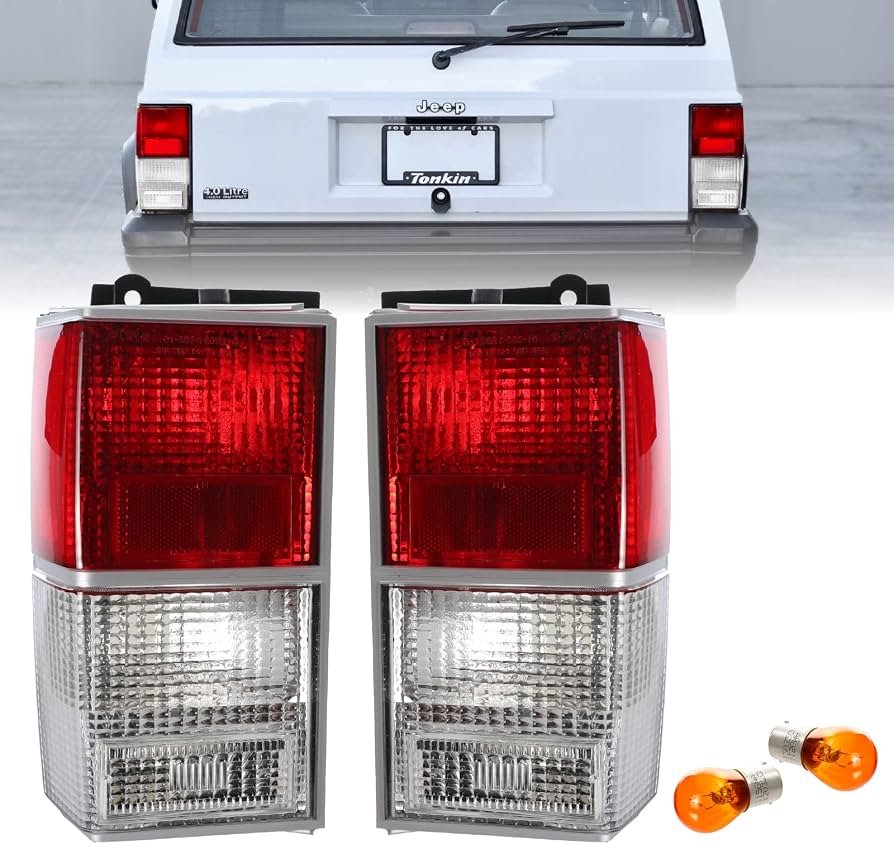
Sometimes a tail light is just dirty, but other times it needs full replacement. Here’s a quick comparison:
| Issue | Repair | Replace |
|---|---|---|
| Dirty lens | Clean with plastic polish | Unnecessary |
| Cracked lens | Temporary seal | Recommended |
| Burnt bulb | Replace bulb | Unnecessary |
| Broken housing | Not reliable | Replace |
Reinstalling The Tail Light
Reinstalling is just the reverse:
- Plug in the wiring harness
- Align the tail light with the body
- Hand-tighten the screws
- Test all lights (brake, turn, reverse) before fully tightening
- Finish tightening with a screwdriver—snug, not too tight
Final Checks
After the tail light is back, double-check:
- All functions (brake, turn, reverse) work
- No warning lights on the dash
- No rattling or movement of the tail light
- Hatch closes smoothly
These checks ensure your repair is safe and roadworthy.
Frequently Asked Questions
How Long Does It Take To Remove A Jeep Xj Tail Light?
It usually takes 10–20 minutes for most people. If it’s your first time, allow a little more time to avoid rushing.
Do I Need To Disconnect The Battery Before Removing The Tail Light?
Yes, it’s best to disconnect the negative battery terminal to prevent accidental shorts, especially when handling bulbs or wiring.
Are Aftermarket Tail Lights As Good As Oem?
Aftermarket options can be fine, but OEM parts often fit better and last longer. If you want original quality, stick with OEM.
Can I Upgrade To Led Tail Lights On My Jeep Xj?
Yes, you can upgrade, but you might need to add resistors to prevent hyper-flashing or error codes. Always check compatibility before buying.
Where Can I Find Replacement Tail Lights?
You can find them at auto parts stores, online retailers, or specialty Jeep shops. For more details about Jeep XJ parts, visit the Jeep Cherokee XJ Wikipedia page.
Removing the tail light from your Jeep XJ is a simple job that most owners can handle with confidence.
With just a few tools and the right steps, you’ll have it done in no time saving money and learning a little more about your vehicle along the way.