If you own a Jeep Wrangler, you know how important the tail lights are—not just for looks, but for safety and legal reasons. Sometimes, you need to remove the tail light harness to replace a damaged light, upgrade to LEDs, or fix wiring issues. The process may seem tricky, but with the right guidance, it’s manageable for most DIYers. This guide will show you, step by step, how to remove the Jeep Wrangler tail light harness safely and efficiently, without damaging your vehicle.
Why Remove The Tail Light Harness?
Before you start, it helps to understand why you might need to remove the tail light harness. Common reasons include:
- Replacing a broken tail light after an accident.
- Upgrading to aftermarket lights for better visibility or appearance.
- Fixing electrical problems such as flickering or non-working lights.
- Restoring corroded wiring—a frequent issue in older Wranglers.
A harness removal is sometimes required even for tasks like installing rear bumper accessories. Knowing how to do this correctly saves you time, money, and frustration.
Tools And Materials You Will Need
Having the right tools is key for a smooth removal. Here’s what you’ll need:
- Phillips and flathead screwdrivers
- 10mm socket and ratchet
- Trim removal tool or plastic pry bar
- Needle-nose pliers
- Electrical tape (for reassembly)
- Gloves and safety glasses (optional, but recommended)
- Flashlight or work light
Jeep Wrangler models from 2007 2024 (JK, JL, and newer) have some variation in tail light design. However, the basic harness removal steps are similar.
Preparation Steps
Before you start working on your Jeep, take a few minutes for safety and preparation:
- Turn off the engine and remove the key from the ignition.
- Disconnect the negative battery terminal using a 10mm socket. This prevents electrical shorts or accidental shocks.
- Open the tailgate to access the rear lights fully.
- If you have a hard or soft top, make sure it does not block access to the tail light area.
Taking these steps reduces the risk of damaging your Jeep’s electrical system and protects you from injury.
Removing The Tail Light Assembly
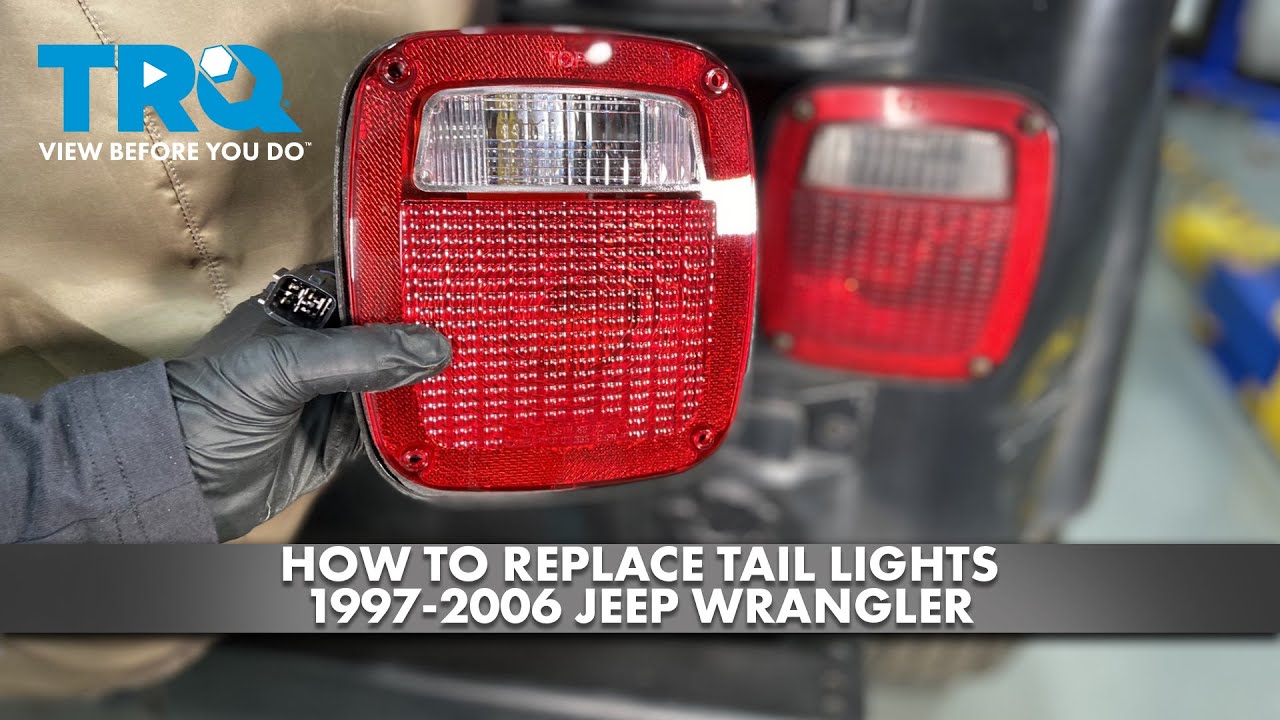
You can’t reach the harness without first removing the tail light assembly. Here’s how:
- Locate the two Phillips screws on the outside of the tail light (on most JK/JL models).
- Remove both screws and set them aside in a safe place.
- Gently pull the tail light straight out from the body. It might take a little wiggling, but don’t force it.
- If you feel resistance, check for hidden clips or bolts—some aftermarket lights have extra fasteners.
Pro Tip: Place a towel under the tail light to avoid scratching your paint if it slips.
Disconnecting The Tail Light Harness
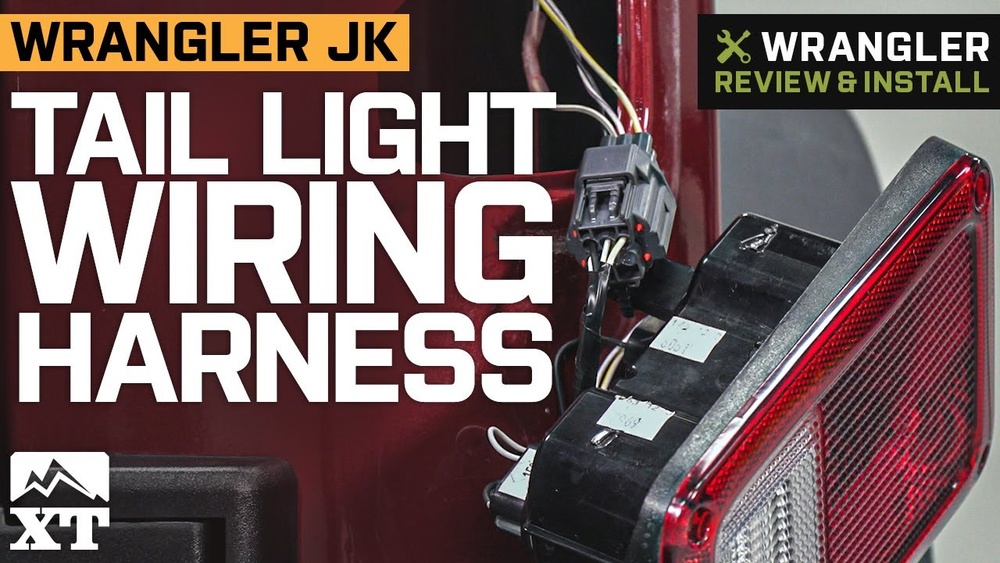
With the tail light pulled out, you’ll see the harness connection on the back. Follow these steps:
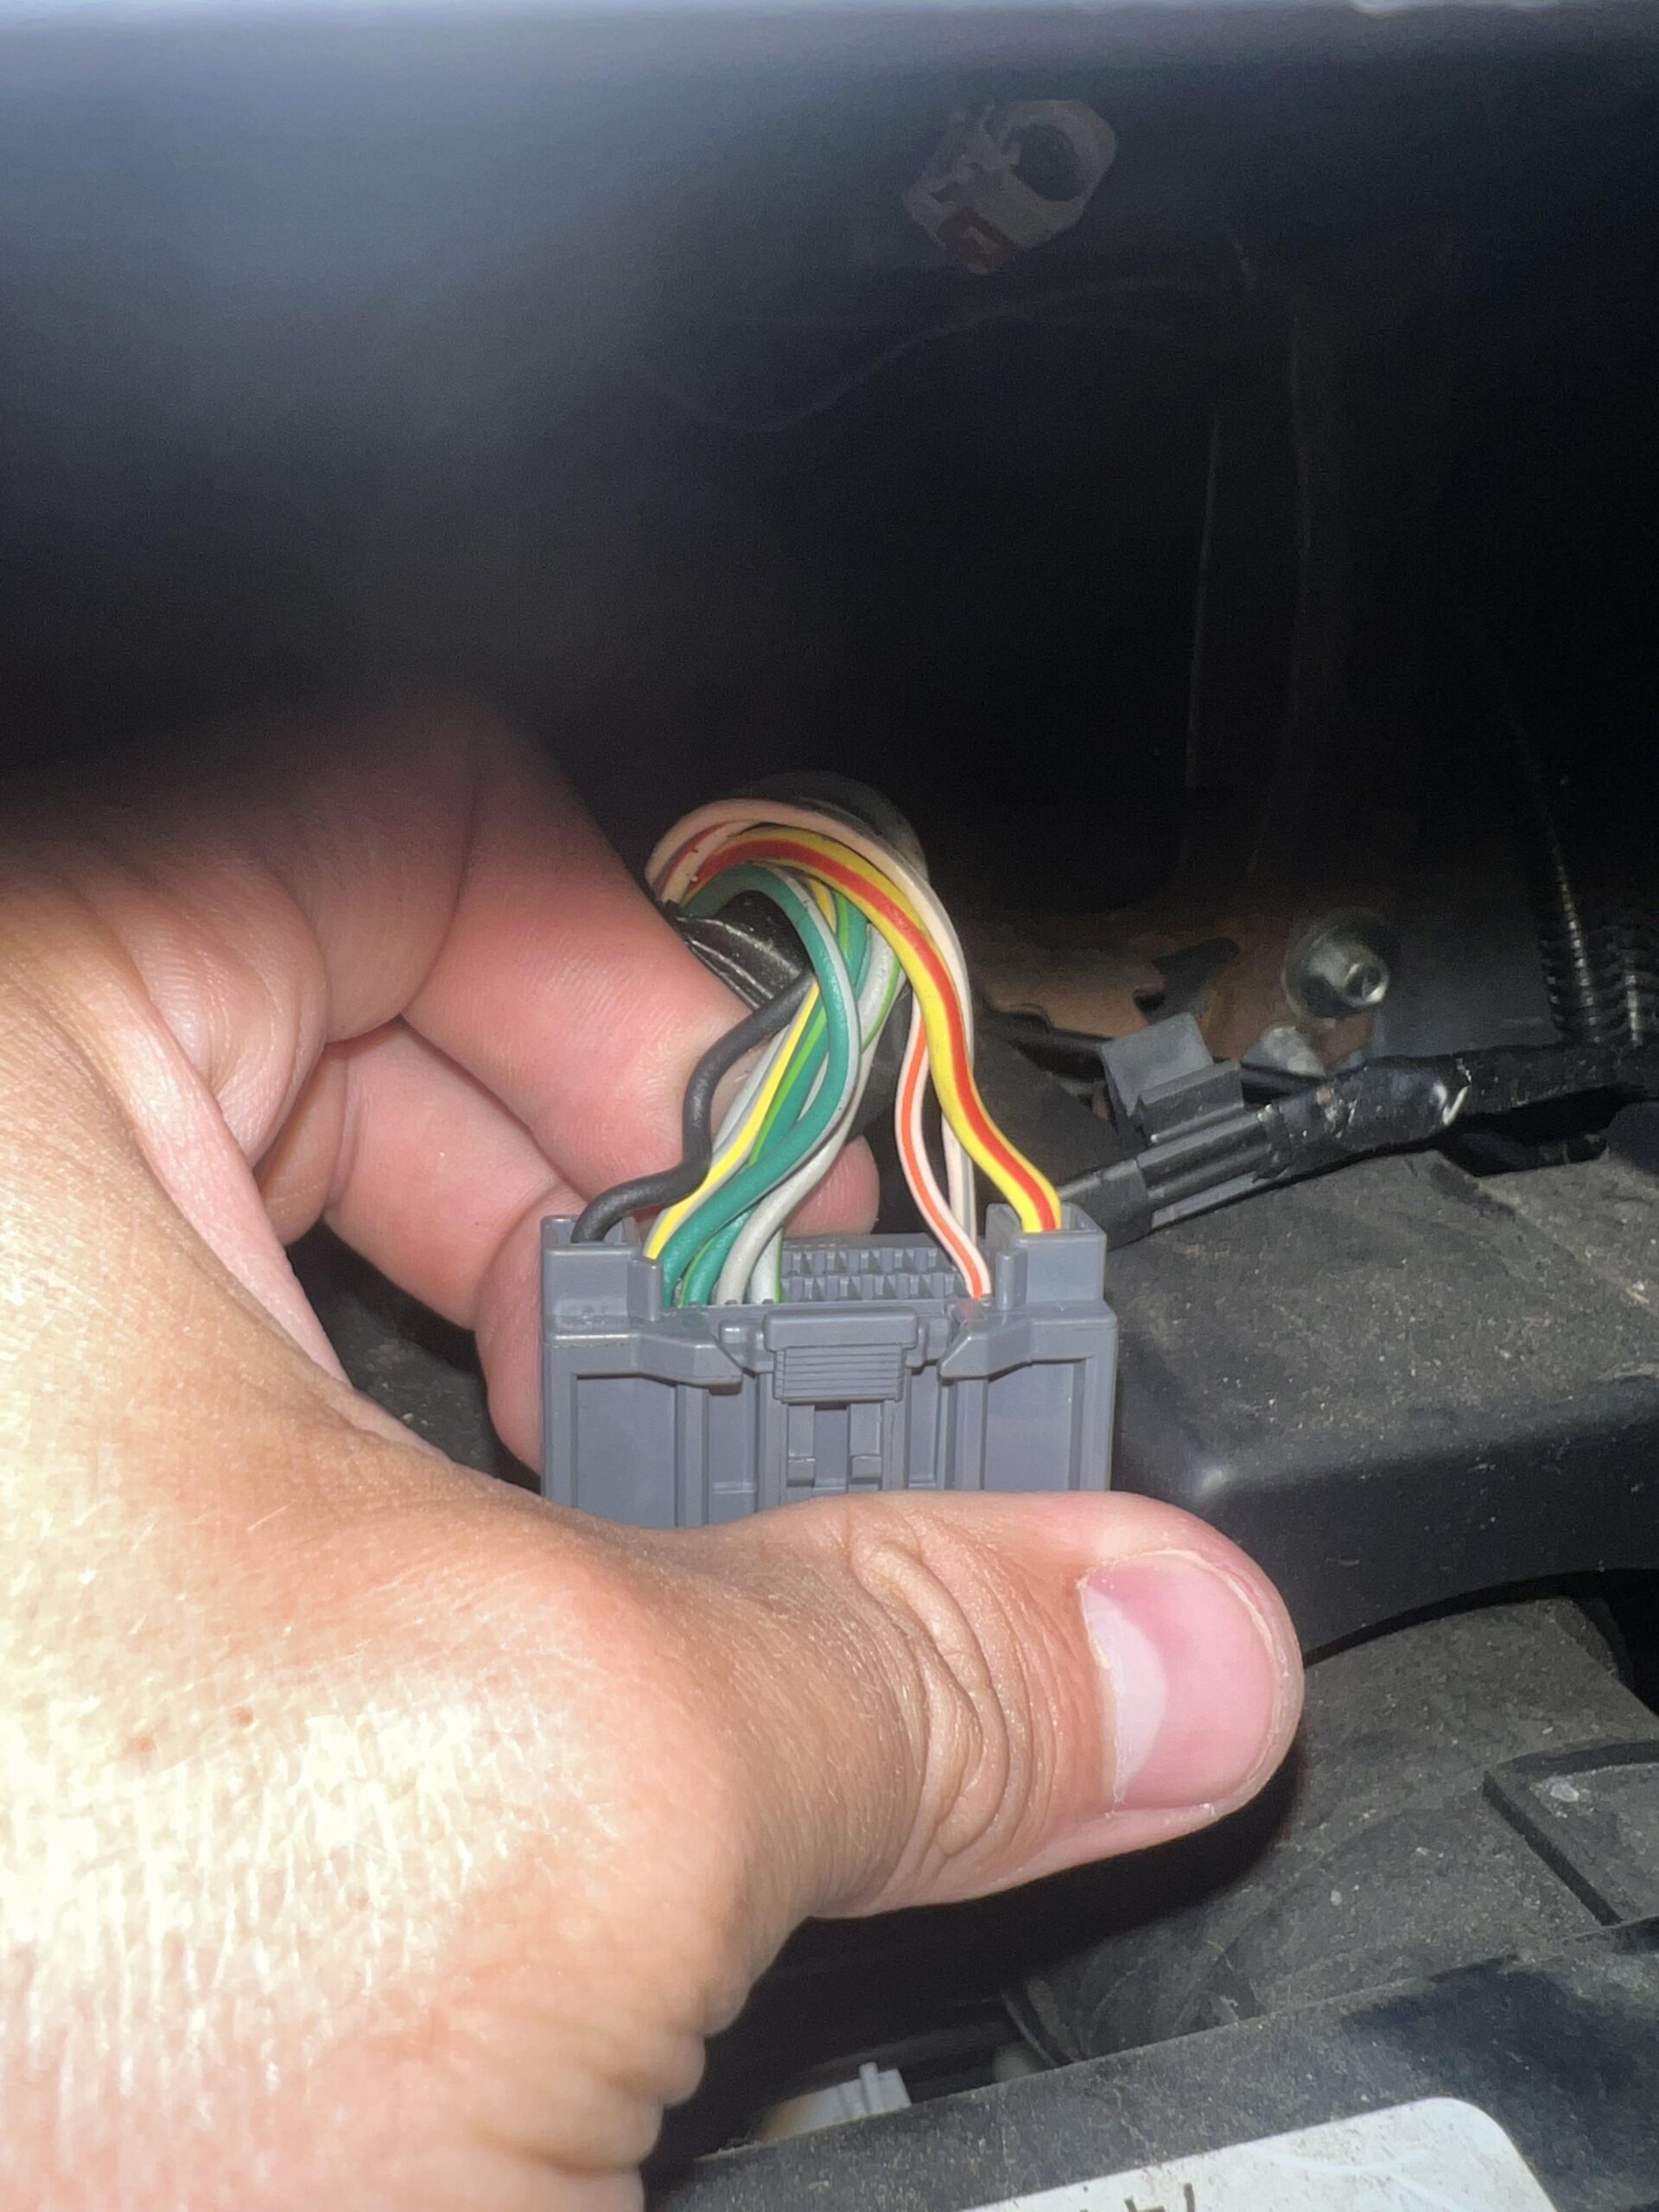
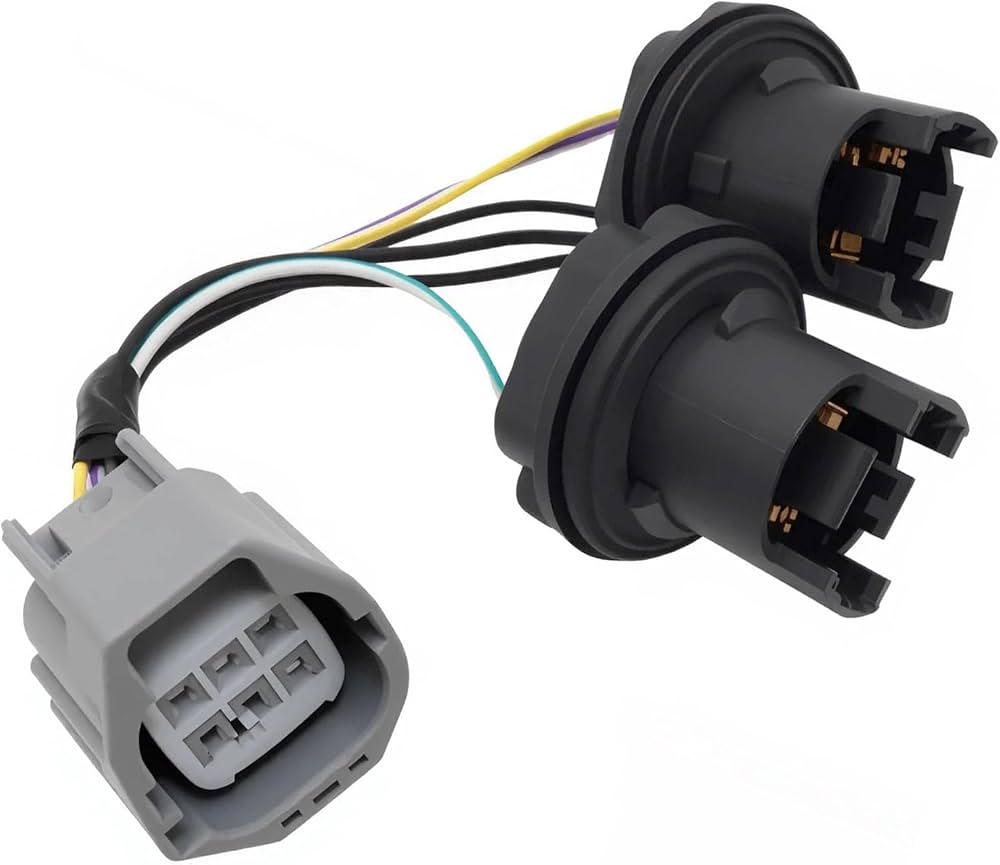
- Locate the harness plug—usually a black connector with a locking tab.
- Press the tab down (or up, depending on the model) to unlock the connector.
- While holding the tab, gently pull the connector away from the tail light. Don’t yank the wires.
- If the connector is stuck, use a small flathead screwdriver to help release the tab, but be careful not to break it.
Hidden Insight: On newer Wranglers, the harness may have a secondary lock (a red or gray slider). Slide this out before pressing the main release tab.
Removing The Harness From The Vehicle
If you need to remove the entire tail light harness—not just unplug it from the light—follow these steps:
- Trace the harness into the body cavity. It’s often secured with plastic clips or push-pins.
- Use a trim removal tool or needle-nose pliers to gently pop out each clip.
- If the harness runs behind interior panels, you may need to remove a section of the trunk lining or rear quarter panel. Pry gently to avoid breaking fasteners.
- Once all clips are released, carefully pull the harness out through the opening.
Here’s a quick comparison of how Wrangler tail light harness routing differs by model:
| Wrangler Model | Harness Access | Clip Type |
|---|---|---|
| JK (2007–2018) | Behind tail light, easy access | Plastic push clips |
| JL (2018–present) | Behind trim panel, tighter space | Push clips + harness guides |
| Gladiator (2020+) | Behind tail light, some wiring under bed | Push clips |
Practical Tip: Take photos of the harness routing before removal. This makes reinstallation much easier, especially if the harness weaves through tight spaces.
Handling Common Challenges
Removing the tail light harness is usually straightforward, but some issues can slow you down:
- Rusty or stuck screws: Spray a little penetrating oil and wait 5–10 minutes before trying again.
- Broken clips: These are cheap to replace—don’t reuse cracked or bent clips, as they won’t hold the harness securely.
- Tight spaces: For hard-to-reach clips, a long flathead screwdriver or a specialty trim tool helps.
If you find broken wires or melted connectors, it’s best to replace the entire harness rather than attempt a repair.
Installing A New Harness Or Reassembling
After removal, you might be installing a new tail light harness or putting everything back together. Here’s how:
- Thread the harness along the same path as before, using your reference photos.
- Secure all clips or push-pins firmly, so the harness doesn’t rattle.
- Reconnect the harness plug to the tail light until you hear a click.
- Slide any secondary lock back into place (on newer models).
- Carefully position the tail light assembly back in the opening and reinstall the screws.
- Reconnect the negative battery terminal.
- Test the tail lights—brake lights, turn signals, and reverse lights—before finishing up.
Here’s a handy comparison of common tail light harness connector types:
| Connector Type | Years Used | Locking Mechanism |
|---|---|---|
| Standard tab | 2007–2017 | Press tab |
| Slider lock + tab | 2018–present | Slide then press tab |
Non-obvious Insight: Always check the tail light fuse in your Jeep’s fuse box if the new harness doesn’t work after reassembly. A blown fuse is an easy fix, but often overlooked.
Mistakes To Avoid
Many beginners make the same errors—here’s how to avoid them:
- Forgetting to disconnect the battery: This can lead to electrical shorts or blown fuses.
- Pulling by the wires: Always hold the connector, not the wires, to avoid damaging the harness.
- Losing screws or clips: Use a magnetic tray or a small cup to keep all hardware in one place.
- Skipping test before final assembly: Always check all tail light functions before securing the tail light for good.
When To Seek Professional Help
While removing a Jeep Wrangler tail light harness is a DIY-friendly job, there are times when it’s best to call a pro:
- If your harness has multiple damaged wires or melted connectors.
- If you notice signs of water damage in the tail light cavity.
- If you’re not comfortable removing interior panels.
A qualified technician can diagnose deeper wiring issues and ensure a safe repair.
How Much Time Does It Take?
On average, removing and reinstalling a tail light harness on a Jeep Wrangler takes:
- 30–45 minutes for experienced DIYers
- 1–1.5 hours for beginners or first-timers
This estimate assumes no rusted hardware or complicated aftermarket modifications.
Here’s a quick look at time estimates by Wrangler generation:
| Wrangler Generation | Average Time | Difficulty |
|---|---|---|
| JK (2007–2018) | 30–45 min | Easy |
| JL (2018–present) | 45–60 min | Moderate |
| Gladiator (2020+) | 45–60 min | Moderate |
Experience-based Tip: First-timers often spend extra time figuring out how to release harness clips. Don’t rush—if a clip won’t move, check for hidden tabs before using force.
Final Checks And Safety
After you’ve reassembled everything, do a quick safety check:
- Test all tail light functions: Running lights, brake, turn signal, and reverse.
- Check for any warning lights on your dashboard.
- Make sure the tail light assembly is flush with the Jeep’s body—no gaps or loose fittings.
- Listen for rattles during a short test drive. Loose harnesses can cause annoying noises.
If anything isn’t working, double-check your connections, and inspect the tail light fuse.
How Do I Know If My Jeep Wrangler Tail Light Harness Is Bad?
Common signs include flickering tail lights, lights that don’t work at all, or a burning smell from the rear of your Jeep. Sometimes, you’ll see corrosion or melted plastic at the harness connector. If changing bulbs doesn’t help, the harness could be the problem.
Do I Need To Remove The Rear Bumper To Access The Tail Light Harness?
For most JK and JL Wranglers, removing the bumper is not necessary. The harness is accessible by removing the tail light and, sometimes, a small section of the interior trim. Only rare aftermarket setups or severe accidents might require bumper removal.
Are All Wrangler Tail Light Harnesses The Same?
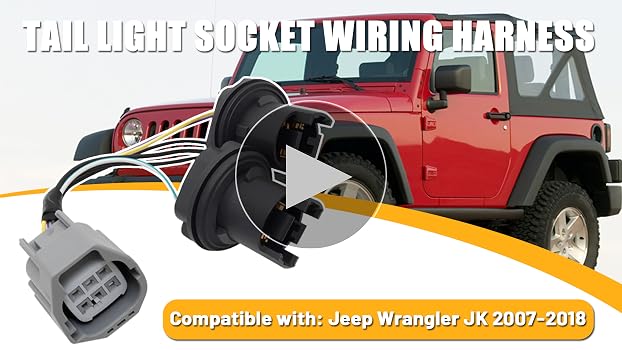
No, they vary by generation and trim level. JK, JL, and Gladiator models have different connectors and harness lengths. Always check the year and model before buying a replacement. For official part numbers, consult the Mopar Parts Catalog.
Can I Reuse My Old Tail Light Harness Clips?
If the clips are not cracked or bent, you can reuse them. However, plastic clips get brittle over time and may break during removal. If in doubt, replace them—they’re inexpensive and will keep your harness secure.
What Should I Do If My New Tail Light Doesn’t Work After Installation?
First, check that the harness connector is fully seated and any locking tab is engaged. Next, inspect the tail light fuse in the fuse box. If both are fine, test the tail light with a multimeter or try the old light to rule out a defective new part.
Removing a Jeep Wrangler tail light harness is a practical skill that can save you money and help you customize or repair your vehicle. Take your time, follow each step, and your Wrangler will be ready for the road—brighter and safer than ever.