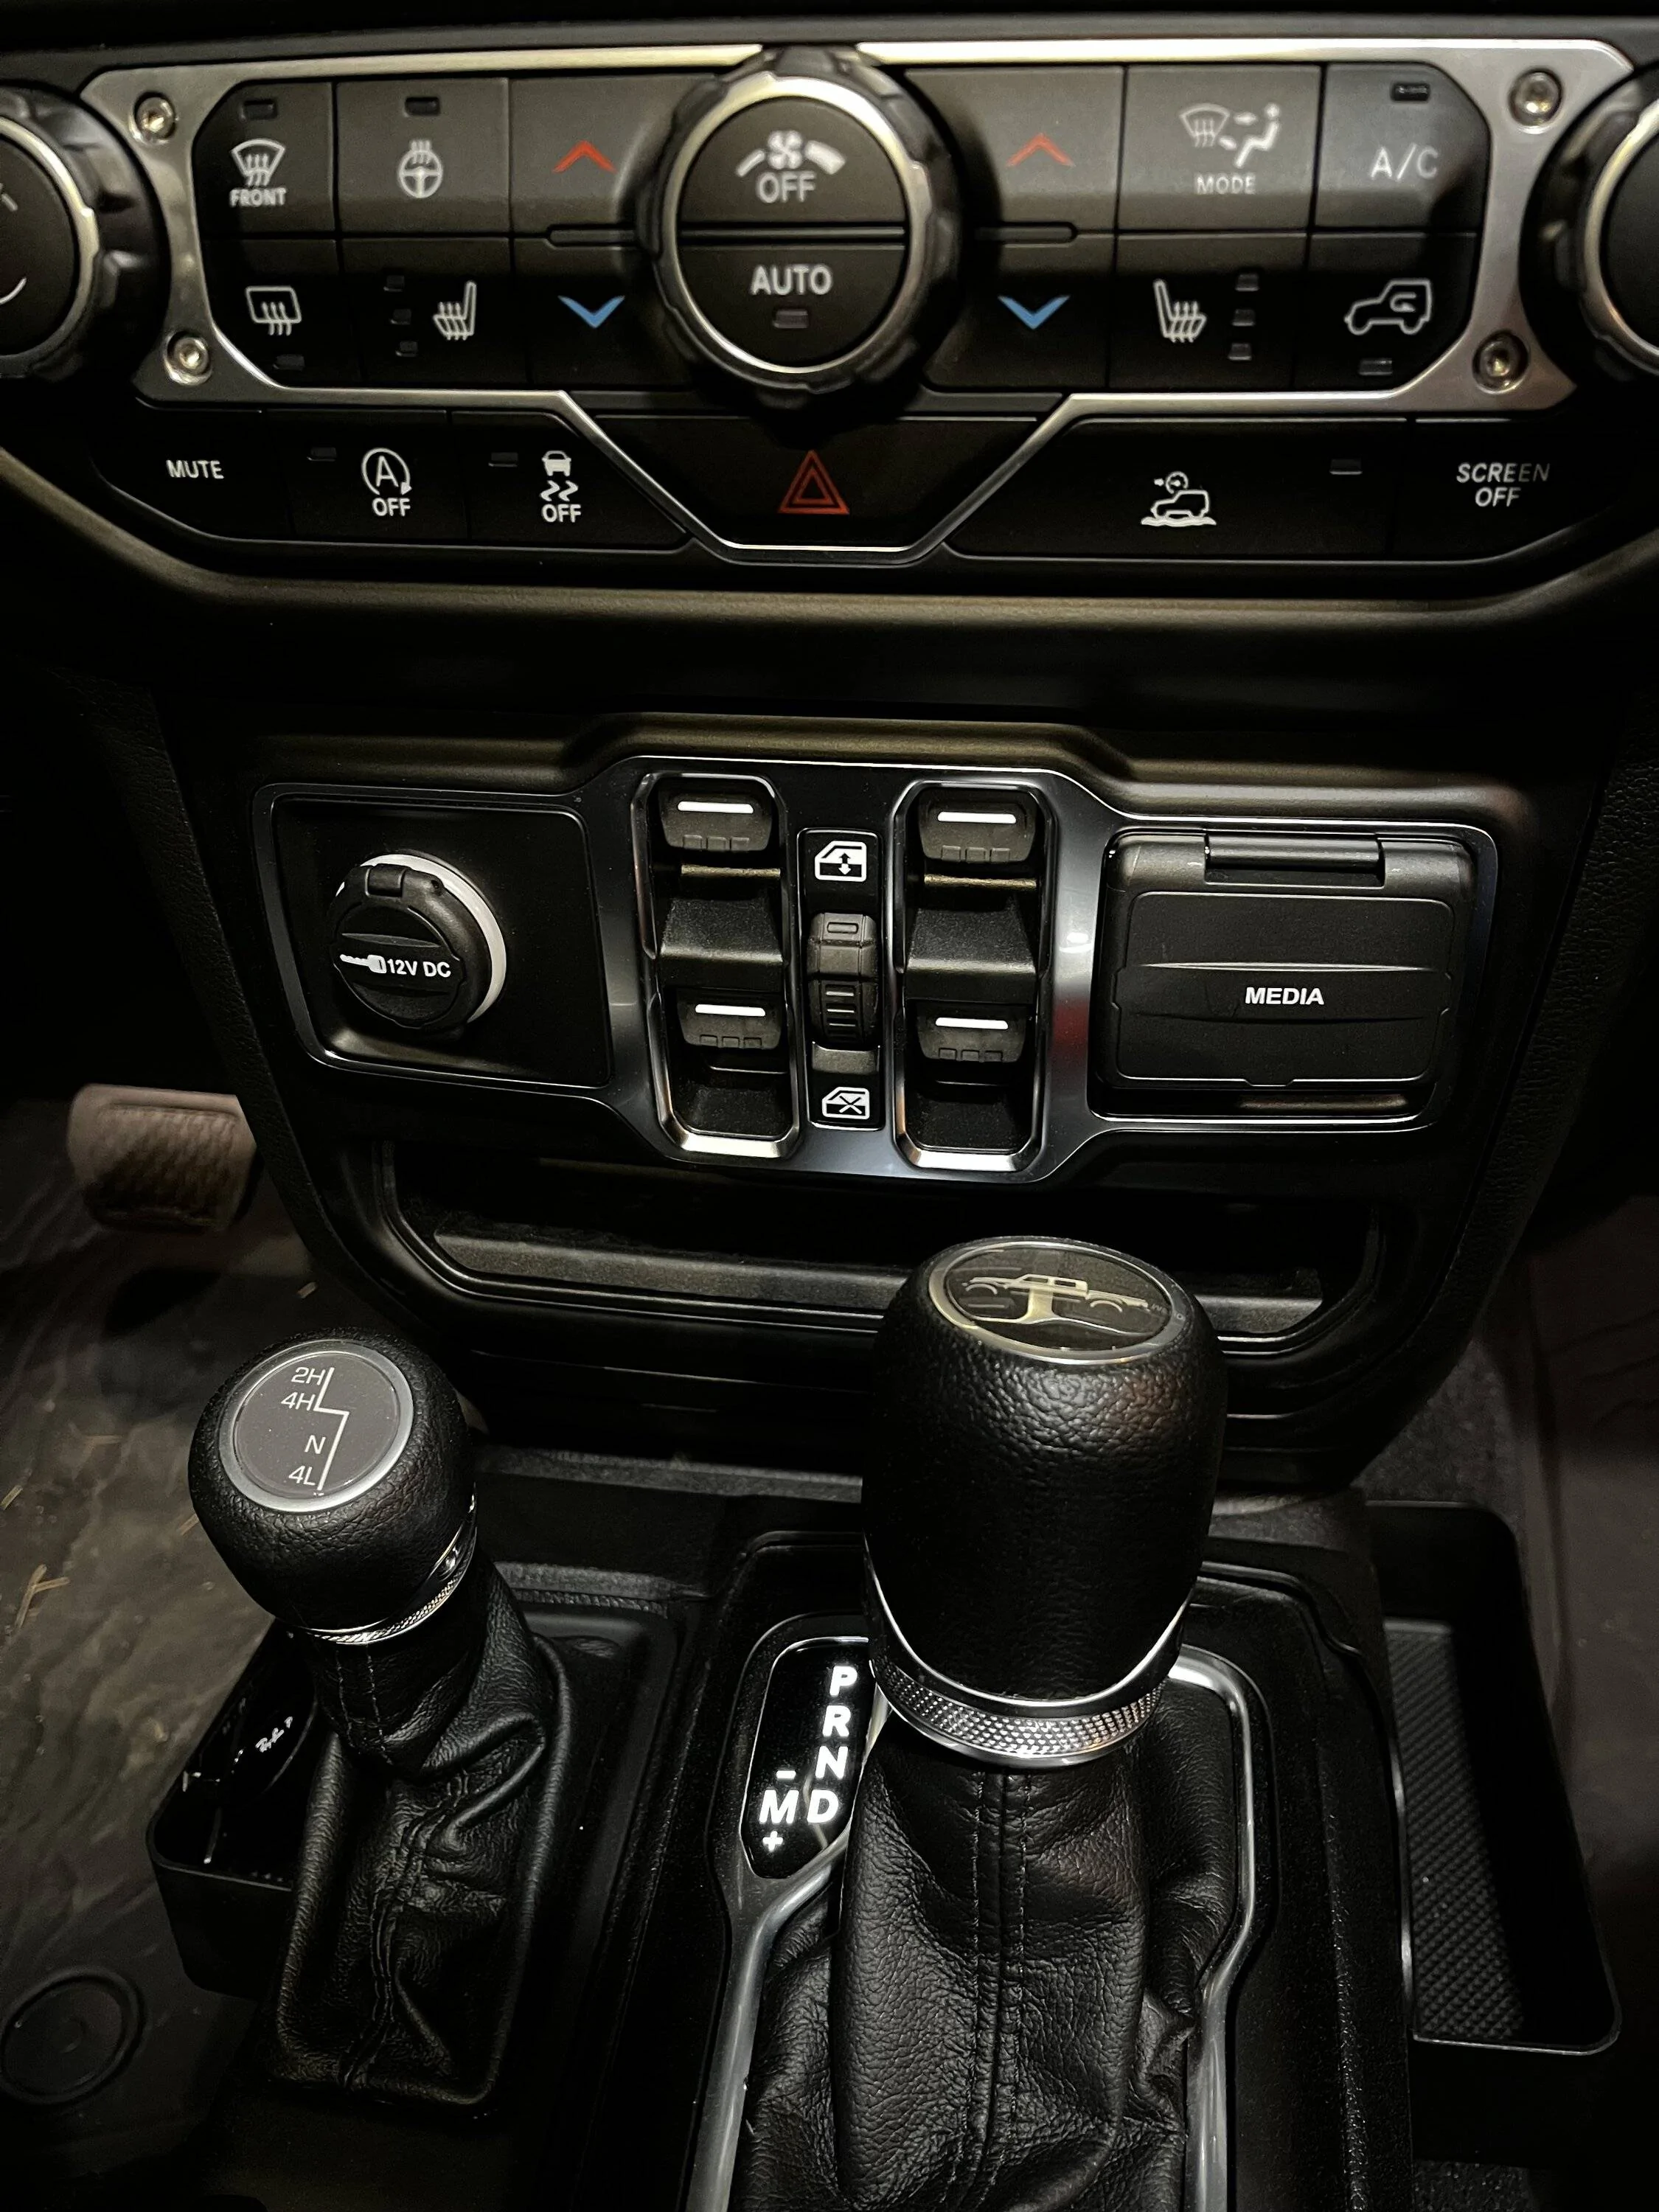
Removing the interior trim of a Jeep Wrangler can seem intimidating if you’ve never done it before. Whether you want to upgrade your sound system, install new accessories, or clean deeply, knowing the right steps will make the job easier and prevent damage.
This guide is designed for beginners and Jeep enthusiasts who want clear, practical advice. You’ll learn which tools to use, common mistakes to avoid, and the smartest ways to remove each trim piece.
Plus, you’ll find comparison tables and answers to the most frequent questions about Jeep Wrangler trim removal.
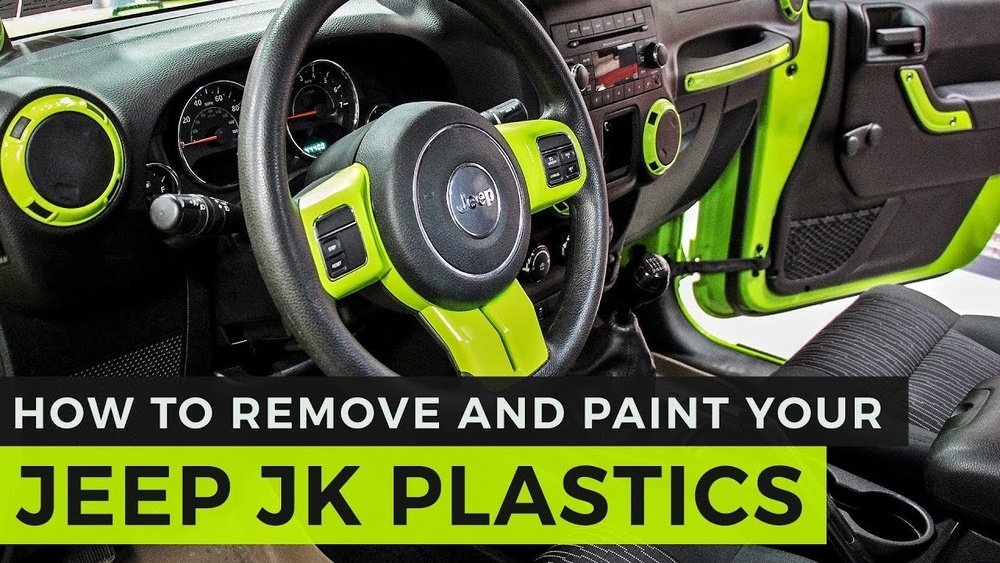
Why Remove Interior Trim?
Many Jeep owners remove interior trim for different reasons:
- Installing speakers or navigation units
- Accessing wiring for repairs
- Deep cleaning after off-road trips
- Upgrading with custom panels or lights
Understanding the purpose helps you prepare better. For example, removing trim for audio upgrades often requires extra care around wiring, while cleaning might focus more on panels.
If you’re installing new lights, you’ll need to expose wiring in hidden places.
For deep cleaning, removing trim lets you reach mud or dust that builds up after outdoor adventures, especially in hard-to-access corners. Some owners also remove trim to fix rattling noises or leaks, which can be caused by loose panels or missing clips.
Knowing your goal helps you plan which panels to remove and which tools you’ll need, saving time and avoiding mistakes.
Tools You’ll Need
Using the right tools makes removal safer and faster. Here’s a quick comparison:
| Tool | Use | Best For |
|---|---|---|
| Trim Removal Tool | Pries panels without scratching | Door, dash, and pillar panels |
| Phillips Screwdriver | Removes screws holding panels | Kick panels, dash trim |
| Socket Set | Removes bolts | Seats, center console |
| Torx Driver | Removes specialty screws | Door trim, hardware |
| Panel Clips | Replaces broken clips | All trim areas |
Tip: Many Jeep trims use Torx screws, not standard screws. Check your model before starting. Having magnetic trays or small containers helps organize screws and clips, preventing loss during the job. Some clips are unique to Jeep, so buying a full clip assortment is smart, especially if you plan to do several upgrades.
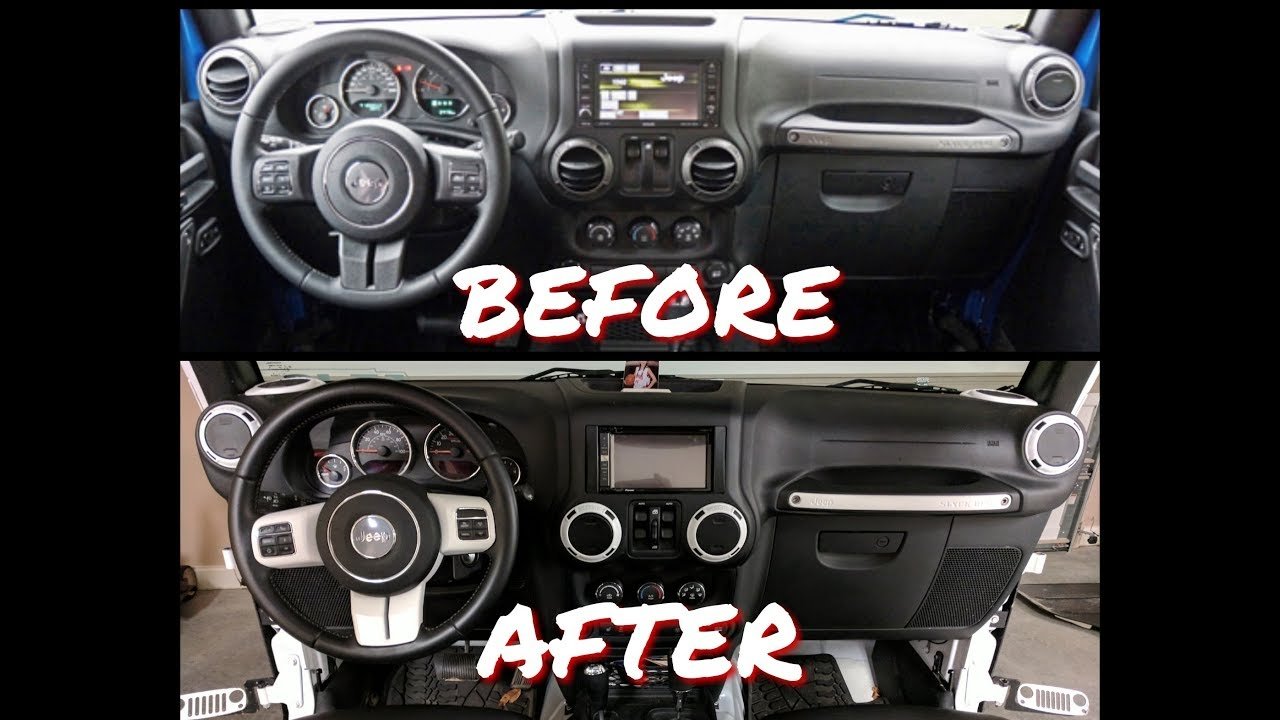
Step-by-step: Removing Jeep Wrangler Interior Trim
Removing trim is easier if you follow a logical order. Below are the main steps, with practical tips and examples for each area.
1. Prepare Your Jeep
- Disconnect the battery to avoid accidental airbag deployment.
- Clear seats and console of personal items.
- Place protective mats to keep screws and clips organized.
You may also want to wear gloves to protect your hands from sharp edges inside panels. Make sure you have good lighting flashlights or headlamps help you see hidden screws and clips, especially under seats or in footwells.
If you’re working outside, choose a dry day so moisture doesn’t get into exposed wiring.
2. Door Panels
- Use a trim tool to pry off the window switch panel first.
- Remove visible screws (usually Phillips or Torx).
- Gently pull the panel away from the door, starting at the bottom.
- Watch for hidden clips—don’t force them or you may break the panel.
| Door Panel Clip Types | Difficulty | Replacement Cost |
|---|---|---|
| Plastic push clips | Easy | $0.50 each |
| Metal spring clips | Medium | $1 each |
Non-obvious insight: Many beginners miss screws hidden under armrest pads or behind speaker covers. Sometimes, door panels require disconnecting the lock or handle cable, which can be tricky—take photos before removing cables so you remember where they go.
3. Dash Trim
- Remove the glove box by pressing the sides inwards.
- Unscrew the dash trim panels with a Phillips or Torx driver.
- Pry gently around air vents using a trim tool.
- If you’re removing the radio bezel, disconnect wiring harnesses before pulling.
Example: On the Jeep Wrangler JL, the center dash trim has four screws and six clips. Clips can break easily—have spares ready. Don’t rush—slow pressure avoids cracks. If you’re removing the main dash, label each wiring connector with tape or stickers. This prevents confusion when reinstalling, especially if you have different colored plugs.
4. Center Console And Floor Panels
- Slide seats back for better access.
- Remove the gear shift knob (often a twist-off).
- Unscrew and lift the center console trim.
- For floor panels, remove carpet fasteners and pry up panels.
Common mistake: Forgetting to disconnect wiring under the console, which can damage connectors. Some consoles have hidden screws under cup holders or rubber mats, so check carefully. If you see resistance when lifting, stop and look for missed screws—forcing panels often breaks them.
5. Pillar And Roof Trim
- Use a trim tool to pop off plastic covers over seat belt anchors.
- Remove screws and pull pillar trim downward.
- For roof panels, unscrew and gently lift to avoid bending.
Tip: Roof trim often hides airbags. Work slowly and avoid sharp tools in these areas. If your Wrangler has a hardtop, removing roof trim might require extra steps—refer to your model’s manual. Some roof panels need two people to prevent bending or dropping, so ask for help if possible.
Reinstalling Trim: What To Watch For
Putting trim back is just as important as removing it. Here’s a quick guide:
- Replace any broken clips or screws.
- Align panels carefully—misalignment can cause rattling noises.
- Check all electrical connections before finishing.
| Panel | Time to Reinstall | Common Issue |
|---|---|---|
| Door | 10-15 min | Clip misplacement |
| Dash | 15-25 min | Loose wiring |
| Console | 10-20 min | Alignment problems |
If panels don’t fit perfectly, check for leftover debris or misaligned clips. Sometimes, wiring harnesses get pinched between panels always double-check before tightening screws.
If you notice squeaks or rattles, tap each panel gently to find loose spots. Reinstalling is easier if you’ve organized screws and clips in small bags or trays during removal.
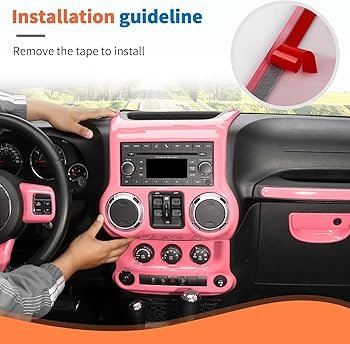
Advanced Tips And Common Mistakes
- Label wires before disconnecting, especially behind the dash.
- Take photos of each step for easier reinstallation.
- Don’t over-tighten screws—this can crack panels.
- If you hear rattles after reinstalling, check for missing clips.
Non-obvious insight: After off-road trips, dust can build up behind trim panels. Removing and cleaning helps prevent electrical problems. Some panel clips are reusable, but others lose tension after removal—replace them to avoid loose panels. If you struggle with stuck panels, try warming them up with a hair dryer; cold plastic is more likely to crack.
For extra detail on Jeep trim removal, see the official Jeep Owner’s Manual.
Frequently Asked Questions
How Long Does It Take To Remove All Trim From A Jeep Wrangler?
It usually takes 2–3 hours for a complete trim removal. Beginners may need more time, especially if working carefully. If you’re only removing one panel, it can take 15–30 minutes. Complex jobs, like full dash removal, take longer.
Do I Need Special Tools For Jeep Wrangler Trim?
Yes. A Torx driver is needed for many screws. Trim removal tools prevent scratching and breaking panels. Other helpful tools are panel clip pliers and magnetic trays.
Can I Remove Trim Without Damaging Clips?
It’s possible, but clips are delicate. Using proper tools and working slowly helps.
Always buy a few spare clips before starting. If a clip feels stuck, wiggle rather than pull hard.
Will Removing Trim Affect Airbags Or Electronics?
If you disconnect the battery first and avoid force near airbags, you minimize risk. Always check wiring and connectors before reinstalling. Some panels cover sensors—handle with care.
Are All Jeep Wrangler Models The Same For Trim Removal?
No. The JK, JL, and TJ models have different clip types and screw locations. Check your model’s manual for exact steps. Newer models may also have more electronics behind panels, so take extra care.
Removing Jeep Wrangler interior trim isn’t just about tools and steps it’s about patience and knowing your vehicle. With the right guidance, you can avoid mistakes, protect your Jeep, and make upgrades confidently.
Take your time, keep parts organized, and enjoy customizing your Wrangler.