Removing the door panel from a Jeep Wrangler might sound intimidating, but with the right approach, it’s a task that almost anyone can do at home. Whether you’re fixing a window, replacing a speaker, or just curious about what’s behind the trim, knowing how to remove the door panel safely can save you both time and money. This step-by-step guide will walk you through the process, share expert tips, and help you avoid the mistakes many beginners make.
Why Remove A Jeep Wrangler Door Panel?
There are several reasons why you might need to take off your Jeep’s door panel. The most common ones include:
- Fixing or replacing a window regulator
- Upgrading or repairing speakers
- Addressing wiring issues (like power locks or mirrors)
- Repairing door handles (inside or outside)
- Fixing water leaks or soundproofing
Understanding the reason helps you prepare for the tools and steps required. For example, replacing a speaker might mean you’ll also disconnect wiring harnesses, while fixing a window regulator may require removing more inner components.
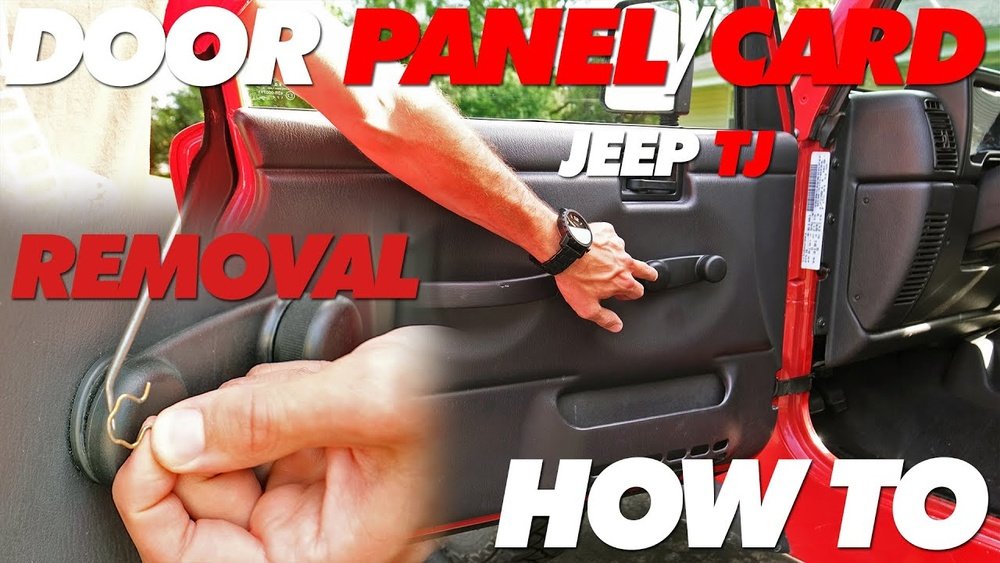
Tools And Supplies You’ll Need
Before you begin, gather these tools. Having everything ready makes the process much smoother:
- Phillips and flathead screwdrivers
- Trim removal tool (plastic is best to avoid damage)
- Socket wrench set (usually 7mm, 8mm, or 10mm sockets)
- Torx drivers (often T20 or T30)
- Panel clip pliers (optional but helpful)
- Small container for screws and clips
- Flashlight (if working in a dim area)
Different Wrangler models and years may need specific tools. For example, newer JL models often use more Torx screws, while older JK models might use Phillips screws.
Typical Fastener Types By Model
Here’s a quick comparison of the most common fasteners you’ll encounter by Wrangler generation:
| Model Year | Main Fastener Type | Common Locations |
|---|---|---|
| JK (2007-2018) | Phillips, Torx | Armrest, door handle, panel bottom |
| JL (2018+) | Torx, Plastic Clips | Mirror cover, handle, edges |
| TJ (1997-2006) | Phillips, Plastic Clips | All around panel |
Always check your owner’s manual or a reliable forum for your specific year to avoid surprises.
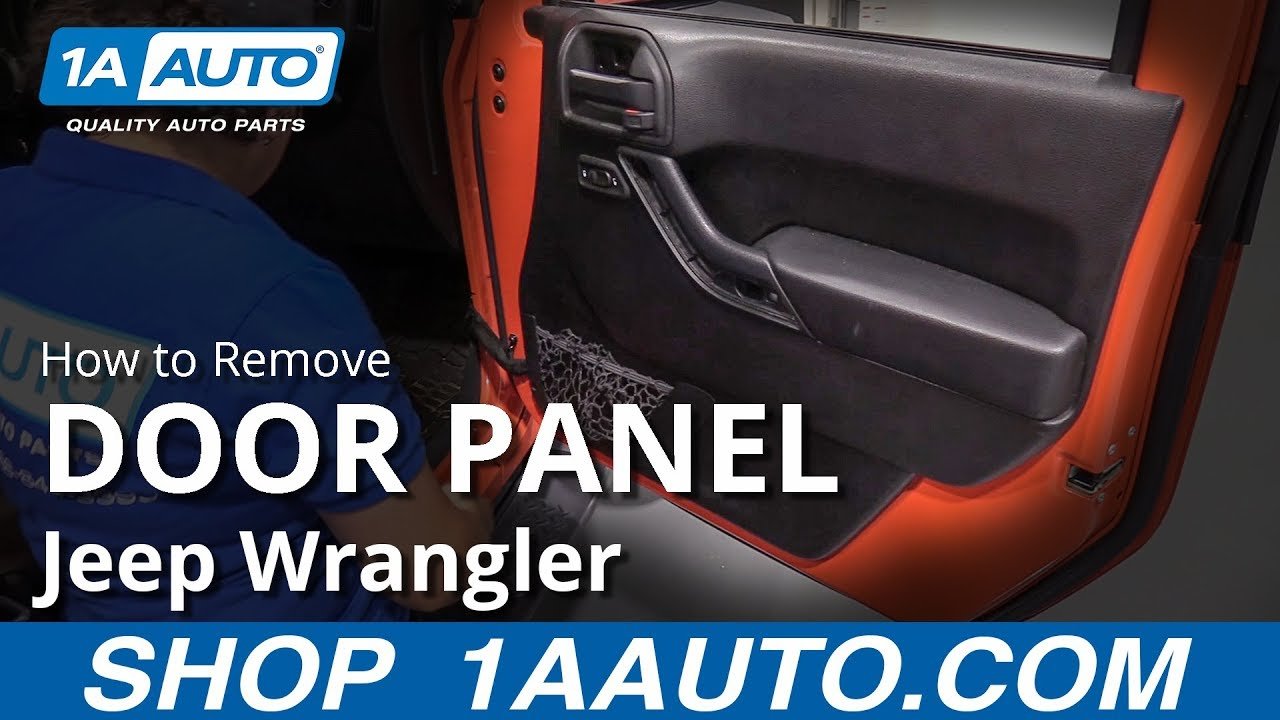
Step-by-step Guide: Removing The Door Panel
1. Prepare The Area And Disconnect The Battery
Start by rolling the window up. This protects the glass and gives you more space to work. If you’re working with any electrical components, it’s smart to disconnect the battery. This prevents accidental shorts or airbag triggers.
2. Locate And Remove Fasteners
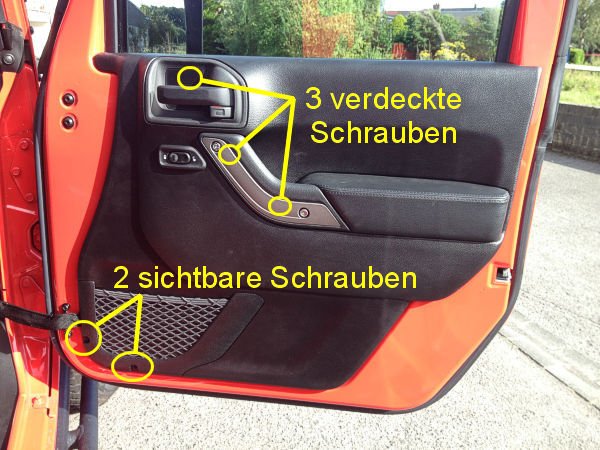
Jeep door panels are held by a mix of screws and hidden clips. Look for screws in these common spots:
- Behind the door handle (often hidden under a small cap)
- Inside the armrest (sometimes under a rubber insert)
- Along the bottom or edge of the panel
Use your screwdriver or Torx driver to remove these. Put the screws in your container so you don’t lose them.
Pro tip: Some screws are hidden under plastic covers. Pry these off gently with a trim tool.
3. Detach The Window Switch Panel (if Equipped)
If your Wrangler has power windows, you’ll need to remove the window switch panel. Usually, you can pry this up with your trim tool, then unplug the wiring harness. Be gentle these connectors can be fragile.
4. Pry The Door Panel Loose
Once the screws are out, the panel is still held by plastic clips. Insert your trim removal tool between the panel and the metal door at the bottom corner.
Pry gently until you feel a clip pop loose. Work your way around the panel until all clips are free.
Here’s a quick look at clip types you might encounter:
| Clip Type | Description | Removal Method |
|---|---|---|
| Christmas Tree | Push-in, ribbed stem | Trim tool or clip pliers |
| Push Pin | Plastic pin in center | Pop out center, pull clip |
| Metal Retainer | Springy metal, grabs onto door | Trim tool, careful prying |
5. Lift The Panel Off
After all the clips are loose, lift the panel straight up. This clears the door lock rod and window channel.
Don’t pull too hard there may still be electrical connectors attached.
6. Disconnect Remaining Connectors And Cables
If you haven’t already, unplug any wiring for speakers, courtesy lights, or power locks. Some Wranglers also use a cable for the inside door handle unclip this carefully.
Beginner insight: Many people forget the lock rod or handle cable, which can break if you yank the panel. Always check for resistance; if the panel doesn’t come free, look for missed connectors.
7. Set The Panel Aside Safely
Place the panel on a clean, soft surface to avoid scratches. If you plan to leave it off for a while, cover it with a towel or cloth.
Key Tips For A Smooth Removal
- Keep track of all screws and clips. Mixing them up makes reassembly harder.
- Take photos as you go. This helps you remember where everything fits.
- Label connectors if you remove more than one.
- Don’t force anything. If something feels stuck, look for a missed fastener.
- Work slowly. Rushing is the main cause of broken clips or scratched panels.
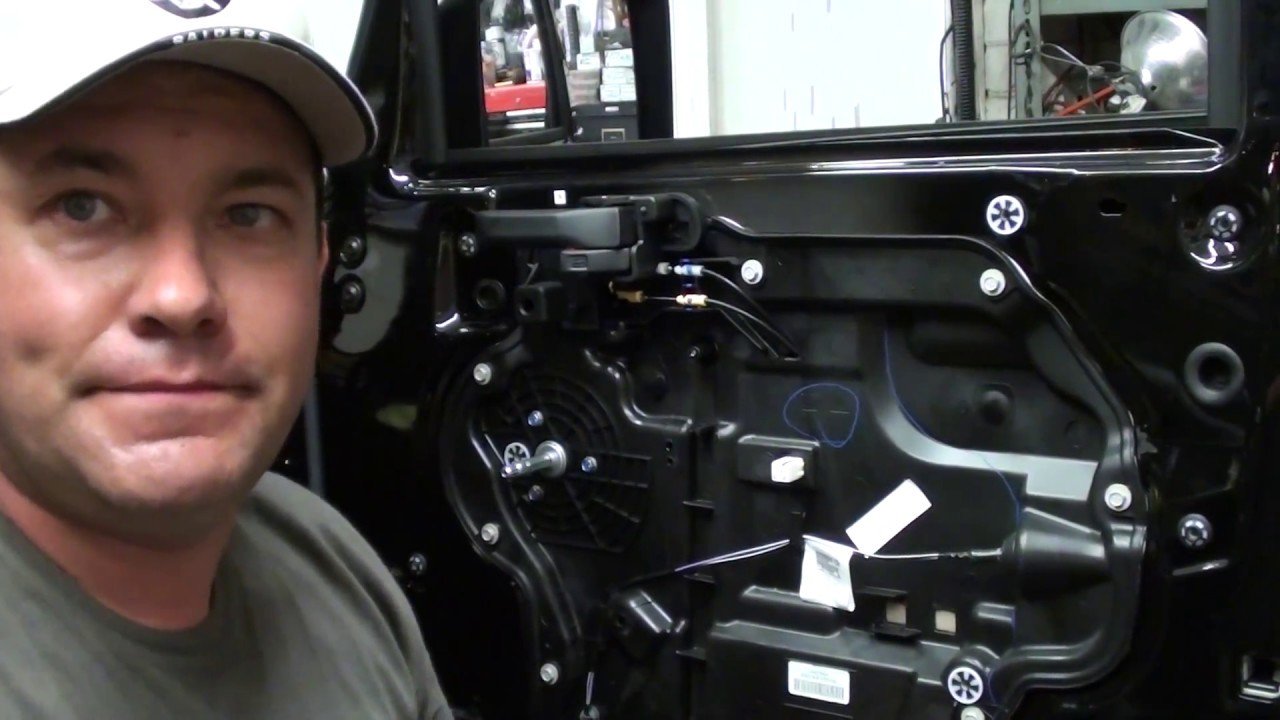
What To Watch Out For (common Mistakes)
Removing a Jeep Wrangler door panel isn’t difficult, but beginners often run into the same problems. Watch for these:
- Forgetting hidden screws. Some are under covers or inside the handle.
- Breaking clips by using metal tools. Always use plastic trim tools if possible.
- Pulling the panel away too fast. You risk damaging wires or the lock rod.
- Losing screws or clips. Use a container or magnetic tray.
- Damaging the paint. Be careful with tools near painted surfaces.
Many first-timers also forget to disconnect the battery when working near airbags or electrical systems, which can be risky.
Reinstalling The Door Panel
Putting the panel back is mostly the reverse of removal, but there are a few things to double-check:
- Reconnect all wiring and cables before positioning the panel.
- Align the panel with the lock rod and window channel.
- Press the panel firmly to engage all clips.
- Replace all screws and covers.
- Test all switches (windows, locks, speakers) before finishing.
If a clip breaks during removal, it’s best to replace it. Most auto parts stores sell universal door panel clips, but Jeep-specific clips are also available online.
Quick Reinstallation Checklist
- Check for any loose wires or tools inside the door.
- Reconnect all electrical connectors.
- Line up the door lock rod and any cables.
- Press panel into place, starting from the top.
- Secure with screws.
- Snap covers or trim pieces back on.
- Reconnect the battery and test everything.
How Much Time Does It Take?
Most people can remove a Jeep Wrangler door panel in 30 to 60 minutes their first time. With practice, it can take as little as 15 minutes. Older models may take longer due to stuck or rusted fasteners.
Here’s a quick reference comparing average removal times for different Wrangler generations:
| Wrangler Model | First-Time DIY (mins) | Experienced DIY (mins) |
|---|---|---|
| TJ (1997-2006) | 45-60 | 20-30 |
| JK (2007-2018) | 30-45 | 15-25 |
| JL (2018+) | 30-40 | 15-20 |
When Should You Call A Professional?
While most Jeep owners can handle this job, there are situations where professional help is a better choice:
- If your Wrangler has side airbags in the doors
- If you’re unsure about electrical connectors
- If the door is badly rusted or damaged
- If you’re replacing a complex part (like a full window regulator or lock mechanism)
A professional mechanic or car audio shop can usually remove and reinstall a door panel in less than 30 minutes and will have the right tools to avoid damaging parts.
Non-obvious Insights Most Beginners Miss
- Not all clips are reusable. Even if they look fine, some clips lose their grip after removal, leading to rattling panels later.
- Soundproofing opportunity: With the panel off, it’s a perfect time to add sound-deadening material. This can make a big difference in road noise, especially on older models.
- Inspect weather seals: While the panel is off, check the plastic moisture barrier and rubber seals. Damaged seals can let water into your door, causing rust or electrical issues.
Additional Resources
If you want more visuals or need a step-by-step guide for your exact model year, the Wrangler Forum is a great place to find photos, tips, and advice from other Jeep owners.
Removing a Jeep Wrangler door panel is a useful skill that opens the door (literally) to many repairs and upgrades.
With a careful approach and the right tools, you can handle the job confidently, avoid damage, and even improve your Jeep’s comfort or sound system at the same time.
Frequently Asked Questions
How Do I Know If My Jeep Wrangler Door Panel Has Airbags?
Look for an “SRS” or “airbag” label near the top of the panel. If you see this, disconnect the battery and wait at least 10 minutes before working.
Airbags require extra care consider asking a professional if you’re unsure.
Can I Reuse The Door Panel Clips After Removal?
Some clips can be reused, but many become loose after removal. If a clip looks damaged or does not hold tightly, replace it to prevent rattles. Most auto parts stores carry replacements.
What Should I Do If A Fastener Is Stuck Or Stripped?
Spray a little penetrating oil on the fastener and use the correct tool. If it’s stripped, try gripping it with locking pliers.
Never force a stuck fastener, as this can break the panel or strip the screw further.
Is It Safe To Remove The Panel If I Have Power Windows?
Yes, but always disconnect the battery first to avoid electrical issues. Carefully unplug the window switch harness, and handle connectors gently they’re often delicate.
What’s The Best Way To Avoid Damaging The Paint While Removing The Panel?
Use only plastic trim removal tools, and work slowly near painted surfaces. Avoid using metal screwdrivers to pry panels, as they can scratch the paint easily.
Place tape around the edge for extra protection if you’re worried.


















