If you own a Jeep WK2 (the fourth-generation Grand Cherokee, 2011–2021), you’ll probably need to remove the tail lights at some point—maybe to replace a bulb, fix wiring, or upgrade to LEDs. Many owners worry that the process is complicated. The good news: removing the tail lights on a WK2 is straightforward if you follow some simple steps. This guide will show you exactly how to do it safely and quickly, even if you’re not a car expert.
Understanding Jeep Wk2 Tail Lights
The Jeep WK2 tail lights are more than just bulbs and lenses. They contain brake lights, turn signals, and sometimes LED strips. On all trims, the removal process is similar, but some higher trims may have extra wiring for advanced lighting. Before you start, make sure you know your Jeep’s year and trim, as there can be small changes in wiring layout.
Here’s a quick comparison of common rear light types for the WK2:

| Trim | Tail Light Type | Extra Wiring? |
|---|---|---|
| Laredo/Limited | Halogen Bulbs | No |
| Overland/Summit | LED & Halogen Mix | Yes (LED strip) |
| SRT | Full LED | Yes |
Knowing your trim can help you avoid breaking fragile connectors.
Tools And Preparation
You don’t need many tools, but having the right ones will make the job easier and prevent damage.
- Trim removal tool (plastic, to avoid scratches)
- 10mm socket wrench or Phillips screwdriver (depending on year)
- Gloves (optional, but protects your hands)
- Flashlight (if working indoors or at night)
Before starting, park your Jeep on a flat surface, turn off the ignition, and remove the key. If your Jeep has automatic lights, make sure they’re switched off completely.

Step-by-step Guide To Removing Jeep Wk2 Tail Lights
Let’s break down the removal process into clear, easy-to-follow steps.
1. Open The Rear Hatch
Start by opening the rear hatch. This exposes the inside edge of the tail light where the bolts are hidden.
2. Locate And Remove Retaining Bolts
Look for two bolts or screws holding the tail light in place. These are usually visible on the inside edge of the light assembly, facing the cargo area.
- Use the 10mm socket or screwdriver to remove both bolts.
- Place them in a safe spot; they’re easy to lose.
3. Pry The Tail Light Out
The tail light is now held by clips. Gently wiggle the assembly outward.
- Use the trim tool if the light feels stuck. Avoid metal screwdrivers—they can crack the lens or scratch the paint.
- Don’t pull too hard; you don’t want to break the alignment pins.
4. Disconnect The Wiring Harness
Once the unit is loose, reach behind and find the wiring connector.
- Press the tab to release the connector.
- For models with LED strips, there might be an extra plug. Disconnect all plugs before fully removing the tail light.
5. Remove The Tail Light
The assembly should now come out easily. Set it on a soft surface to prevent scratches.
Here’s a quick summary of the steps:
| Step | Action | Key Tip |
|---|---|---|
| 1 | Open hatch | Ensure lights are off |
| 2 | Remove bolts | Keep screws safe |
| 3 | Pry assembly | Use trim tool |
| 4 | Unplug harness | Press tab gently |
| 5 | Lift out light | Protect lens from scratches |
Common Mistakes To Avoid
Many first-timers make these errors:
- Forcing the assembly: If it doesn’t come out, check for an extra hidden bolt or stuck clip. Don’t yank it.
- Losing bolts: Use a magnetic tray or small box.
- Touching bulb glass: If you’re changing bulbs, avoid touching the glass with bare hands. Oil from skin can shorten bulb life.
- Not disconnecting battery: For major wiring work, disconnect the negative terminal to avoid shorts. For just swapping bulbs, this is not required.
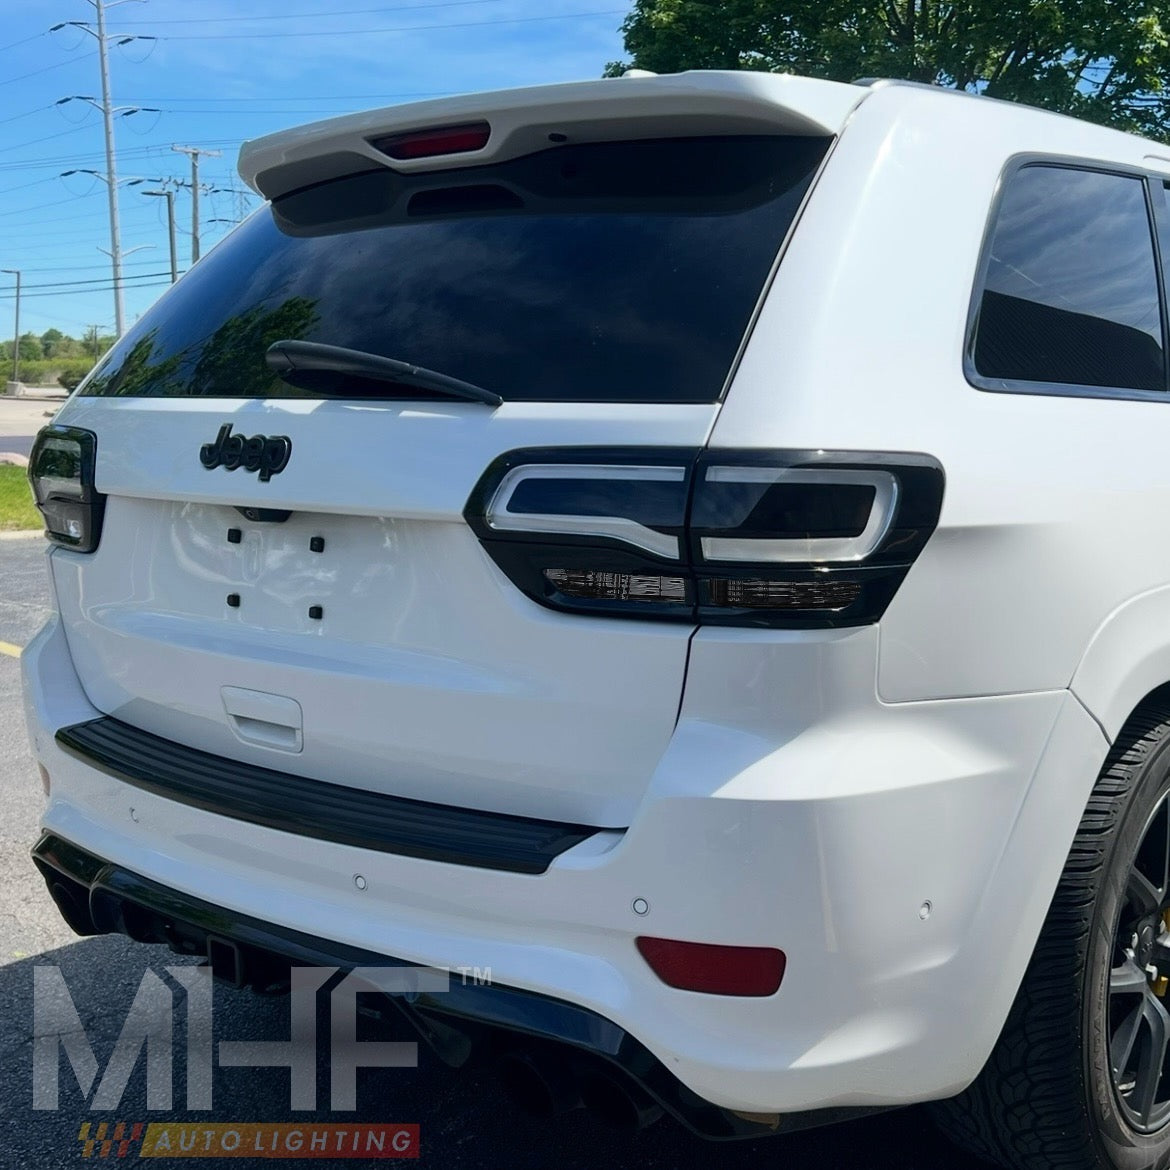
Practical Tips For A Smooth Removal
- Work in daylight for the best visibility.
- Keep a soft towel nearby to rest the light assembly and prevent scratches.
- Take a photo of the wiring before disconnecting, especially for LED models.
- Check for moisture or burnt connectors—this can hint at a deeper issue.
Here’s a simple comparison of time and difficulty by model:
| Model Year | Average Time | Difficulty (1-5) |
|---|---|---|
| 2011-2013 | 10 minutes | 2 |
| 2014-2021 | 15 minutes | 3 |
Older models are a bit simpler, while newer ones with more electronics take a few minutes longer.
Reinstalling The Tail Light
When you’re ready to put everything back:
- Plug in the wiring harness securely.
- Align the assembly with the body pins.
- Push it gently until it snaps in place.
- Reinstall the bolts and tighten firmly (but don’t over-tighten).
- Test all lighting functions before closing the hatch.

Why Remove The Tail Light Yourself?
Doing this job yourself can save $50–$150 in labor at a dealer. It also helps you understand your Jeep better. If you’re upgrading to LEDs or smoked lenses, you’ll need these skills. For more details on Jeep WK2 specs, visit the official Jeep Grand Cherokee page.
Frequently Asked Questions
How Do I Know If My Jeep Wk2 Has Led Or Halogen Tail Lights?
Check your trim level and look for a clear, even light strip (LED) or a visible bulb filament (halogen) inside the lens.
What If The Tail Light Won’t Come Out After Removing The Bolts?
It’s usually stuck on the clips. Use gentle pressure with a trim tool, working around the edges. Don’t force it.
Can I Drive With A Tail Light Removed?
No. Driving without a tail light is illegal and unsafe. Always reinstall before driving.
Do I Need To Disconnect The Battery?
Not for basic bulb swaps. If you’re doing wiring or installing aftermarket lights, disconnect the negative battery cable to prevent electrical shorts.
Are Aftermarket Tail Lights Legal For The Jeep Wk2?
They’re legal if they meet DOT/SAE standards. Check local laws before installing custom or smoked lights.
Removing Jeep WK2 tail lights is a simple DIY project with the right tools and steps. Take your time, stay organized, and you’ll avoid common mistakes. With a little patience, you’ll save money and boost your confidence for future car projects.