Removing the steering wheel from a Jeep Cherokee is not something you do every day. But sometimes, you need access behind the wheel—maybe to fix the ignition switch, replace the clock spring, or change a worn-out steering wheel. Many Jeep owners worry this is too technical or risky, but with the right steps and safety tips, you can do it yourself. Whether you drive an older XJ, a newer KL, or something in between, this guide will help you understand the process, avoid common mistakes, and stay safe.
What You Need Before You Start
Before you touch any tools, it’s important to gather everything you’ll need. Missing just one part or tool can delay the job.
Essential Tools and Parts:
- Socket set (including 13mm, 19mm, or 21mm sockets—check your model)
- Ratchet wrench
- Steering wheel puller kit
- Screwdrivers (Phillips and flat-head)
- Torx bits (T20 or T30 usually)
- Trim removal tool
- Torque wrench (for reassembly)
- Pen and paper (to note wire positions)
- Gloves and safety glasses
Extra Items for Safety:
- Battery terminal wrench
- Shop rag (to cover sharp edges)
- Zip ties (for securing loose wires)
Some Jeep Cherokees, especially after 1997, have airbags. This makes safety even more important, as mishandling can cause injury or expensive repairs.
Safety First: Airbags And Electrical Precautions
Removing the steering wheel means getting close to the airbag system. If the airbag goes off by accident, it can cause injury or even death. Here’s how to stay safe:
- Disconnect the battery. Remove the negative terminal first, then the positive. Wait at least 10–15 minutes before starting work to let the airbag power down.
- Check for stored energy. Some airbags hold power for several minutes after disconnecting the battery.
- Never use a multimeter on airbag wires. This can trigger deployment.
- Do not sit directly in front of the wheel while removing the airbag.
- Wear safety glasses and avoid static discharge by touching a metal part of the car.
These steps are not just for show. Many first-time DIYers forget the airbag can be dangerous even with the battery disconnected.
Step-by-step: How To Remove A Jeep Cherokee Steering Wheel
Let’s break down the process. The steps can be slightly different based on your Cherokee’s year, but the core method is similar.
1. Prepare The Vehicle
- Park on a flat, stable surface.
- Set the parking brake.
- Center your steering wheel (wheels straight ahead).
- Disconnect the battery (negative cable first).
2. Remove Airbag (if Equipped)
Most Cherokees from 1997 onward have a driver’s airbag. Here’s how to remove it safely:
- Locate the screws or Torx bolts on the back of the steering wheel. Usually, there are 2–3.
- Remove the screws. The airbag module will come loose.
- Gently pull the airbag toward you. There will be wiring connectors.
- Unplug the airbag connectors by releasing the safety locks (often small tabs).
- Place the airbag face-up on a soft surface, away from your work area.
Pro Tip: Do not use power tools when removing airbag screws. Hand tools give more control and reduce the risk of stripping bolts.
3. Mark Steering Wheel Position
Before you remove the steering wheel, mark the shaft and wheel with a marker or tape. This ensures you align it correctly during reinstallation.
4. Disconnect Wires And Controls
Modern steering wheels have controls for audio, cruise, or phone. Carefully unplug all connectors and note their positions.
Take a picture with your phone for reference.
5. Remove Steering Wheel Retaining Nut
- Use a socket and ratchet to remove the large center nut.
- Do not remove the nut completely—loosen it until it’s almost off. This prevents the wheel from flying into your face during the next step.
6. Use A Steering Wheel Puller
Most Cherokees require a puller tool because the wheel is pressed onto the shaft.
- Attach the puller to the wheel using the correct bolts (usually included in the kit).
- Tighten the puller center bolt. The wheel will pop loose with a “snap.”
- Remove the center nut and carefully pull the wheel off.
Insight: Many beginners try to yank the wheel off by hand, which can damage the shaft or clock spring.
7. Remove The Clock Spring (if Needed)
If you need access to the clock spring (the part that lets your steering wheel turn without breaking wires), follow your service manual. The clock spring is delicate and can be damaged easily.
Example: Steering Wheel Removal Steps For Different Cherokee Generations
Here’s a comparison of common differences between models:
| Model Year | Airbag Type | Retaining Nut Size | Special Notes |
|---|---|---|---|
| 1984–1996 XJ | N/A (no airbag) | 19mm | Simple removal, fewer wires |
| 1997–2001 XJ | Single-stage airbag | 21mm | Airbag removal required |
| 2014–2022 KL | Multi-stage, with controls | 21mm | Extra wiring, advanced airbag |
Common Mistakes And How To Avoid Them
Removing a steering wheel may sound straightforward, but it’s easy to make errors that cost time or money.
- Forgetting to disconnect the battery. This can trigger the airbag.
- Losing small screws or connectors. Use a magnetic tray to store hardware.
- Not marking alignment. This can make your wheel crooked when reinstalled.
- Forcing the wheel off. Always use a proper puller tool.
- Damaging the clock spring. The clock spring is fragile and expensive.
Non-obvious insight: If you turn the steering shaft with the clock spring removed, you can break the internal ribbon cable. Always keep the clock spring locked or taped in place.

Reinstalling The Steering Wheel
Once your repair is finished, putting the steering wheel back is just as important as taking it off.
Key Steps For Reinstallation
- Align your marks on the shaft and wheel.
- Install the steering wheel onto the shaft by hand.
- Thread the center nut and tighten with a torque wrench (check your manual for the correct torque—usually 35–40 ft-lbs).
- Reconnect all wiring and switches.
- Reinstall the airbag module carefully. Make sure connectors “click” into place.
- Reconnect the battery (positive first, then negative).
- Test all functions—horn, controls, and airbag warning light.
- Turn the steering wheel lock-to-lock to ensure smooth movement.
When To Seek Professional Help
While many DIYers can handle steering wheel removal, sometimes it’s safer to ask a mechanic. If you see damaged wiring, broken connectors, or airbag warning lights after reassembly, stop and consult a pro.
Also, if you don’t have the right puller tool or your wheel feels stuck, forcing the issue can cause hundreds of dollars in damage.

How Much Time And Money Does It Take?
On average, removing and reinstalling a Jeep Cherokee steering wheel takes about 60 90 minutes for most people with basic tools. If you need to buy a puller tool, expect to spend $15 $30.
Airbag-equipped models may take longer due to extra wiring.
Here’s a quick breakdown:
| Task | Time Estimate | Typical Cost |
|---|---|---|
| Basic removal (no airbag) | 30–45 mins | $0–$10 |
| With airbag | 60–90 mins | $15–$30 (puller) |
| Professional shop | 1–2 hrs | $100–$200 |
Non-obvious tip: Some auto parts stores rent steering wheel pullers for free with a refundable deposit. This saves money if you only need the tool once.
Tips For Success
Here are a few more details that can make your job easier:
- Photograph everything. Take pictures before and during each step. This is a lifesaver during reassembly.
- Label wires. Use masking tape to label wire connectors if they look similar.
- Check for recalls. Some Jeep Cherokee airbag modules have been recalled. Search your VIN before working on the airbag system.
- Use a service manual. Factory manuals give torque specs and wiring diagrams specific to your year.
Real-world Example
Imagine you own a 2000 Jeep Cherokee XJ. The horn stops working, and you suspect the clock spring is bad.
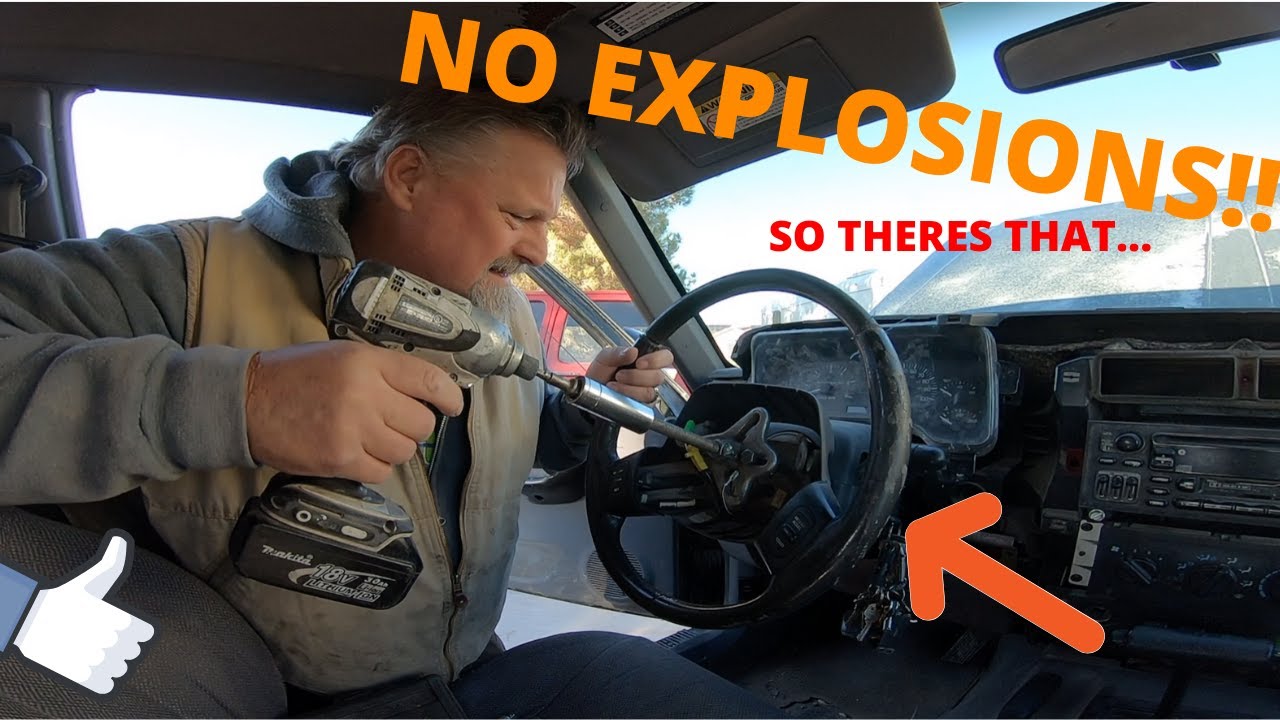
You disconnect the battery, wait 15 minutes, and remove the airbag with a Torx T30. You mark the wheel and shaft, loosen the 21mm nut, and use a puller to remove the steering wheel.
After replacing the clock spring, you reverse the process, using your marks to align everything. In about 1.
5 hours, you’ve fixed the problem no mechanic needed.
Steering Wheel Removal Vs. Other Repairs
How does removing a steering wheel compare to other common Jeep Cherokee repairs? Here’s a quick comparison:
| Repair | Difficulty | Special Tools Needed | Risk Level |
|---|---|---|---|
| Steering wheel removal | Moderate | Puller, Torx bits | Medium (airbag) |
| Brake pad change | Easy | Jack, wrenches | Low |
| Ignition switch replacement | Moderate | Screwdrivers, sockets | Low–Medium |
| Heater core replacement | Hard | Full tool set | High (dashboard removal) |
How Do I Know If My Jeep Cherokee Has An Airbag In The Steering Wheel?
Most Cherokees made after 1997 have a driver’s airbag. Look for “SRS Airbag” markings on the wheel. If unsure, check your owner’s manual.
Can I Drive Without The Airbag After Removing The Steering Wheel?
No, it’s not safe or legal in most places to drive without the airbag. Always reinstall the airbag module unless you’re replacing it with a new one.
What Happens If I Damage The Clock Spring?
A broken clock spring can cause the airbag warning light to stay on and stop horn or steering wheel controls from working. It must be replaced before safe driving.
Do I Need To Reset Anything After Reinstalling The Steering Wheel?
Usually, no. If you reconnect all wires correctly, everything should work. If the airbag light stays on, double-check your connections or consult a mechanic.
Where Can I Find More Details For My Exact Jeep Cherokee Model?
For detailed steps and diagrams, check the official Jeep service manual or trustworthy sources like the Jeep Factory Service Manual.
Removing a Jeep Cherokee steering wheel is a manageable project for most DIYers. With careful steps, the right tools, and respect for the airbag system, you can finish the job safely and save money.
Take your time, follow the steps above, and don’t hesitate to ask for help if you’re unsure.