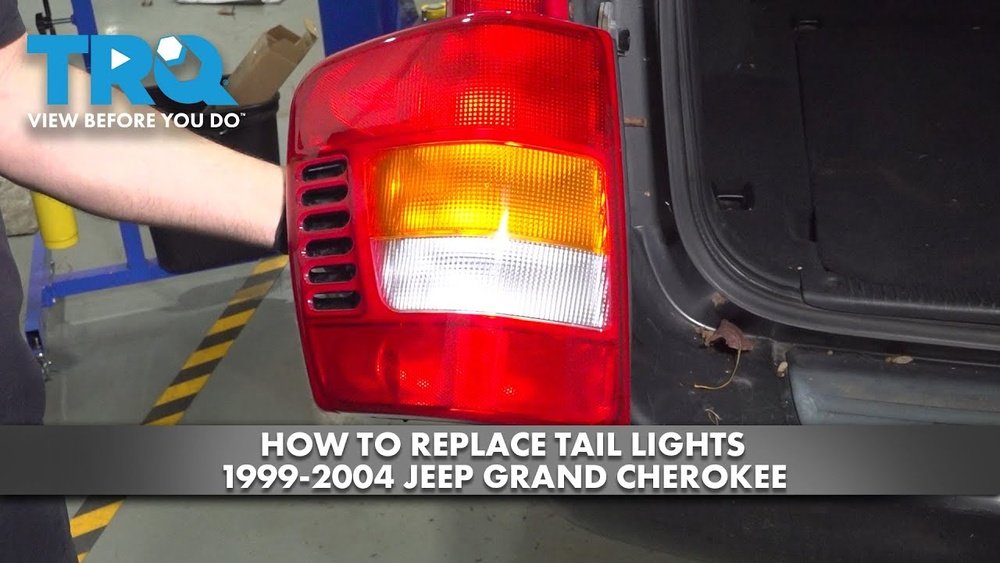
Removing the tail light from a 2000 Jeep Grand Cherokee is a common task for owners who need to replace bulbs, repair wiring, or install custom lights. You do not need special skills, but a careful approach will prevent damage to your vehicle. This guide will walk you through every step, so even beginners can feel confident.
Tools And Materials You Need
Before you start, gather these items:
- Phillips screwdriver
- Flathead screwdriver (optional)
- Gloves (to protect your hands)
- Soft cloth or towel (to prevent scratches)
Having the right tools nearby makes the process faster and reduces the risk of damaging the tail light or vehicle body.
Preparing Your Jeep
Park your Jeep on a flat surface and turn off the engine. Make sure the keys are out of the ignition.
If possible, disconnect the negative battery cable for extra safety, especially if you plan to touch any wiring. Opening the rear hatch will give you better access to the tail light area.
Step-by-step Guide To Removing The Tail Light
Follow these steps for smooth removal:
1. Locate The Tail Light Screws
Open the rear hatch. Look at the side of the tail light assembly facing the hatch. You will see two Phillips screws holding the tail light in place. These are usually visible and easy to find.
2. Remove The Screws
Use your Phillips screwdriver to turn each screw counterclockwise. Hold the screws so they do not fall inside the hatch area.
Keep them in a safe spot; you will need them to reinstall the tail light.
3. Free The Tail Light Assembly
Gently pull the tail light assembly straight back. You may feel some resistance because of alignment pins holding it to the vehicle.
Do not twist or force the assembly sideways, as this can break the pins.
Tip:
If the tail light feels stuck, insert a soft cloth between the light and the body. Use gentle pressure with a flathead screwdriver to ease it out.
4. Disconnect The Wiring Harness
Once the assembly is loose, you will see the wiring harness connected to the back. Press the tab on the connector and pull it out carefully. Do not yank the wires; hold the connector body firmly.
5. Remove The Tail Light
With the wiring disconnected, you can now fully remove the tail light assembly. Place it on a soft surface to avoid scratches.
Common Mistakes To Avoid
- Forcing the assembly: If it does not come out easily, check for extra screws or clips. Forcing can break the housing or pins.
- Losing screws: Small screws are easy to drop. Use a magnet or a tray to keep them secure.
- Touching bulbs with bare hands: Oils from your skin can cause bulbs to burn out faster.
When To Replace Vs. Repair
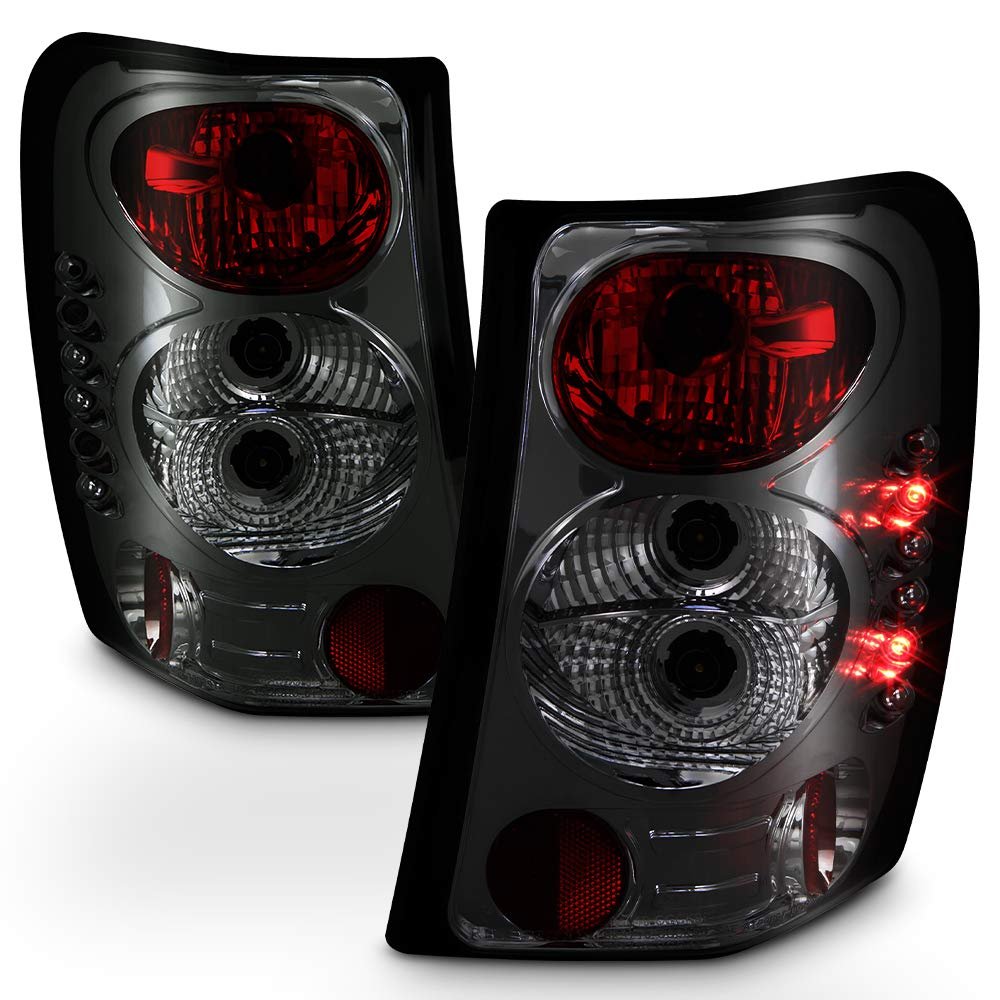
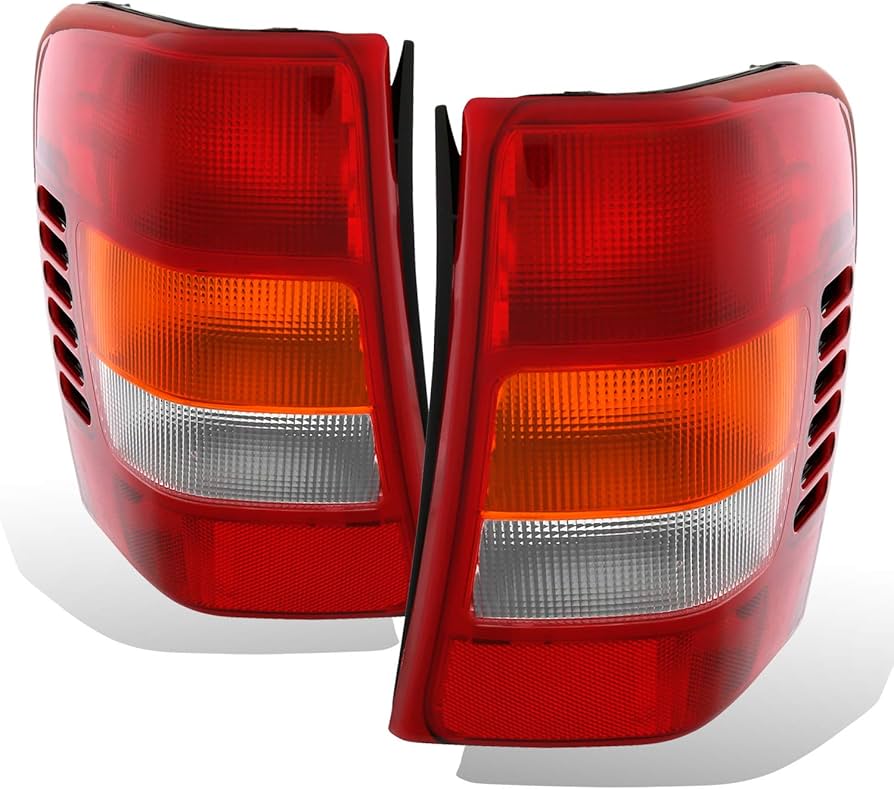
Sometimes, only a bulb is out, and you do not need to remove the whole assembly. But if the lens is cracked, water leaks in, or multiple bulbs fail, full removal is best. Aftermarket tail lights are also available for a custom look, but always check they are DOT-approved for safety.
Comparison: Factory Vs. Aftermarket Tail Lights
Here’s a quick look at differences:
| Feature | Factory Tail Light | Aftermarket Tail Light |
|---|---|---|
| Fit | Exact | May require adjustment |
| Warranty | Covered | Varies by brand |
| Appearance | Original look | Custom options |
| Price | Higher | Usually lower |
Practical Tips For A Smooth Removal
- Work in daylight or use a bright light to see all screws and pins.
- Wear gloves to protect your hands and keep the lens clean.
- If the wiring connector is dirty, clean it gently with electrical contact cleaner before reconnecting.
Reinstalling The Tail Light
After repair or bulb replacement, reinstall the tail light in reverse order:
- Connect the wiring harness securely.
- Align the assembly with the alignment pins.
- Press the tail light into place until it fits snugly.
- Insert and tighten the screws.
- Test all lights before closing the hatch.
If a light does not work, double-check the wiring connection and the bulb orientation.
Comparison: Bulb Types For 2000 Jeep Grand Cherokee
Your tail light may use different bulbs depending on the model. Here’s a simple chart:
| Function | Common Bulb Type | Average Lifespan |
|---|---|---|
| Tail/Brake Light | 3157 | Up to 1,200 hours |
| Turn Signal | 3156 | Up to 1,000 hours |
| Reverse Light | 921 | Up to 500 hours |
For accurate bulb numbers, check your owner’s manual or look up your VIN online.
Advanced Tip: Dealing With Rusted Screws
If screws are rusted, spray a small amount of WD-40 or a similar lubricant. Wait a few minutes, then try again. Do not use excessive force, as this may strip the screw head.
Frequently Asked Questions
How Long Does It Take To Remove The Tail Light?
Most people can remove the tail light in 10-15 minutes with basic tools. If screws are rusted or the assembly is stuck, it might take a bit longer.
Do I Need To Disconnect The Battery?
Disconnecting the negative battery terminal is not required for simple bulb changes, but is a good safety step if you will touch wiring.
Can I Replace Just The Lens?
The lens is usually part of the entire tail light assembly on the 2000 Jeep Grand Cherokee. You will need to replace the whole unit.
Are Aftermarket Tail Lights Legal?
Aftermarket tail lights are legal if they are DOT-approved and meet local laws. Always check before you buy. For more info, visit the NHTSA Lighting Requirements.
What If My New Tail Light Does Not Fit?
Check the part number and compare with your old assembly. Some aftermarket parts may need slight adjustments or extra brackets.
Removing a tail light from a 2000 Jeep Grand Cherokee is a task most owners can handle with patience and the right tools. Taking your time and following these steps will help you avoid damage and ensure your lights keep working safely.


















